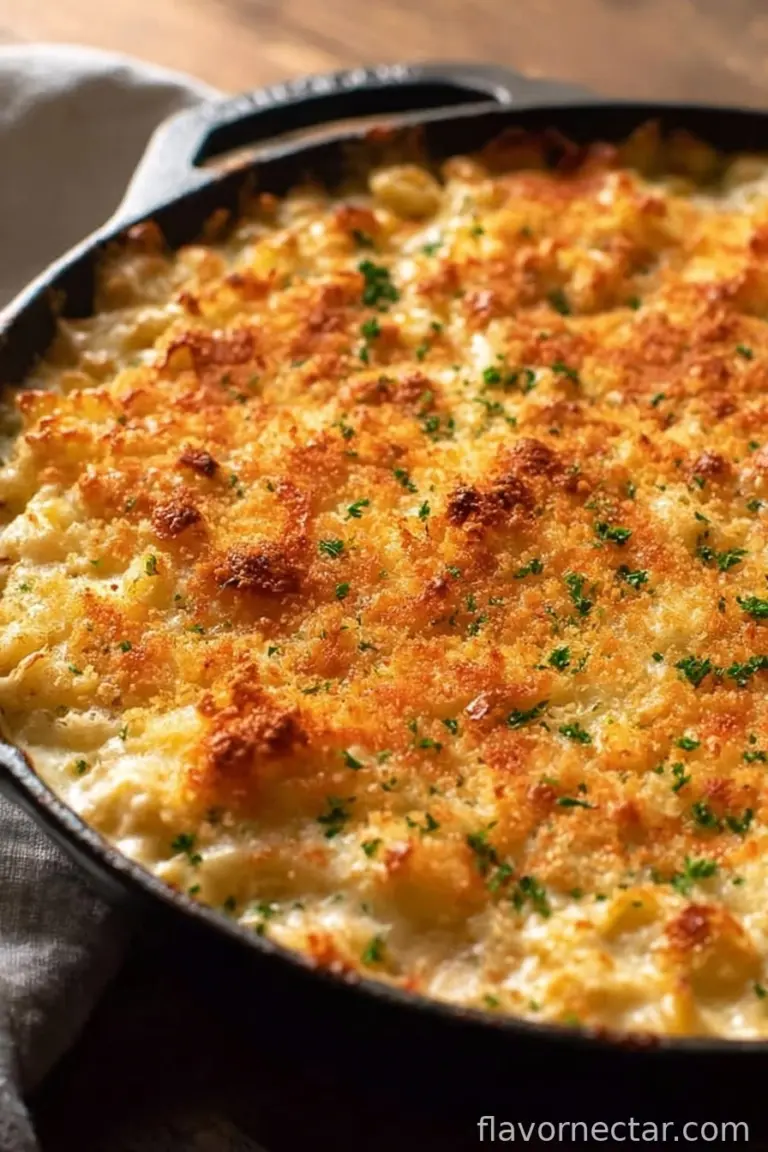
If Autumn Had a Smell, It’d Be This Pumpkin Crisp
Let’s just get this out there: my kitchen has seen some absolute chaos every fall. I love baking but, wow, the wrestling match I’ve had with proper pie crusts… not my highlight reel. A few years back, I started making this Pumpkin Crisp instead, mostly because I could—and because my sister once accidentally bought a 6-pack of pumpkin puree instead of just one can (I mean, who among us hasn’t?). This recipe is now my lazy day hero. It’s like pumpkin pie, minus the fuss, with a crunchy cinnamon lid that makes spooning up those first bites almost too easy. Only downside? My brother somehow snags the crispy topping before anyone else gets a chance. Every single time.

Why You’ll Love Pulling This Out of the Oven
I make this pumpkin crisp when I want all the cozy vibes but none of the pastry drama. My family goes nuts for it (seriously, my cousin Matt had thirds last Thanksgiving!). It’s my go-to when someone unexpectedly drops by because, let’s face it, it comes together pretty painlessly, and the house smells like a cinnamon candle factory exploded—in a good way. Now, getting the crumb just right took me a few tries (we’re talking cinnamon sugar clouds everywhere), but it’s so worth it. Oh, and did I mention the crisp almost always vanishes before I even get a second piece? Not mad. Just impressed.
The Ingredients (with a Few Swap Ideas!)
- Pumpkin Pie Layer:
- 1 (15 oz) can pumpkin puree (my neighbor swears by homemade, but I, uh, do not have time for that—canned works wonders)
- 1 cup granulated sugar (brown sugar is solid if you want a slightly caramel note)
- 3 large eggs
- 2 teaspoons pumpkin pie spice (add extra cinnamon if you’re feeling wild)
- ½ teaspoon salt
- 2 teaspoons vanilla extract (imitation works in a pinch, though I usually splash some real stuff in)
- ⅔ cup heavy cream (sometimes I use half-and-half if that’s what’s on hand, but don’t tell my mom)
- Cinnamon Streusel:
- 2 cups all-purpose flour
- 1 ½ cups granulated sugar (I do half-and-half with brown when feeling fancy, but not always)
- 2 teaspoons cinnamon
- ½ teaspoon salt
- 12 tablespoons (1 1/2 sticks) unsalted butter, melted (honestly, salted works if that’s what’s in your fridge—just skip the extra salt)
Let’s Actually Make This Pumpkin Crisp
- Preheat your oven to 375°F. Grab a 12-inch cast iron skillet (that’s my favorite) or a medium casserole dish if that’s easier. Smear some butter all over the bottom and sides—I just use my fingers, but you could use a paper towel if you’re feeling tidy.
- In a big mixing bowl, toss in the pumpkin puree, sugar, eggs, pumpkin pie spice, salt, and vanilla. Whisk that all together until it looks kind of like the world’s most questionable soup. Then slowly pour in your heavy cream and stir until everything is silky smooth. Go ahead and pour this into your buttered skillet. Set it aside; I know, it looks a little questionable but hang tight.
- In another bowl (or the same, if you’re like me and hate doing dishes—just give it a quick wipe!), whisk the flour, sugar, cinnamon, and salt together. Pour in the melted butter and use a fork to kind of mash and fluff until you’ve got nice crumbly, buttery bits. Sometimes I bust out a hand mixer if I’m feeling lazy—either way, the topping should be somewhere between sand and little pebbles in texture. Scatter this all over the pumpkin layer; don’t worry if it’s not perfectly even, it’ll spread itself out in the oven.
- Bake it for about 40-45 minutes. Watch for the filling to firm up a little and the top to turn golden brown (pro tip: if the top’s browning too fast, just drape a bit of foil loosely over it—learned that the hard way when my first one looked like a burnt marshmallow). You might start smelling something absurdly autumnal around the 30-minute mark—that’s when my dog starts lurking by the oven.
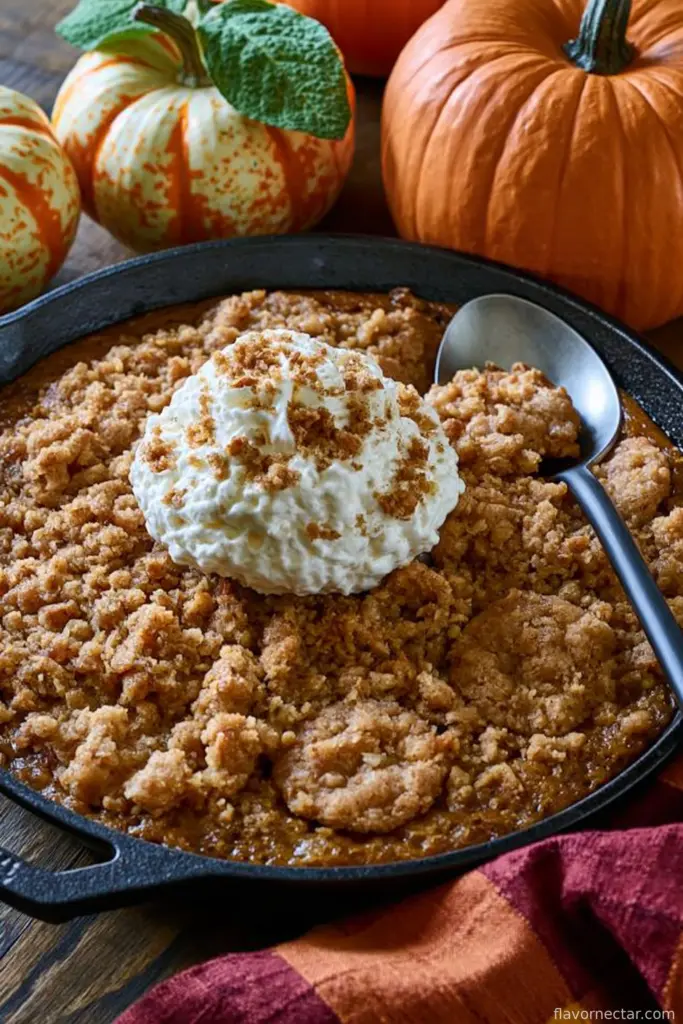
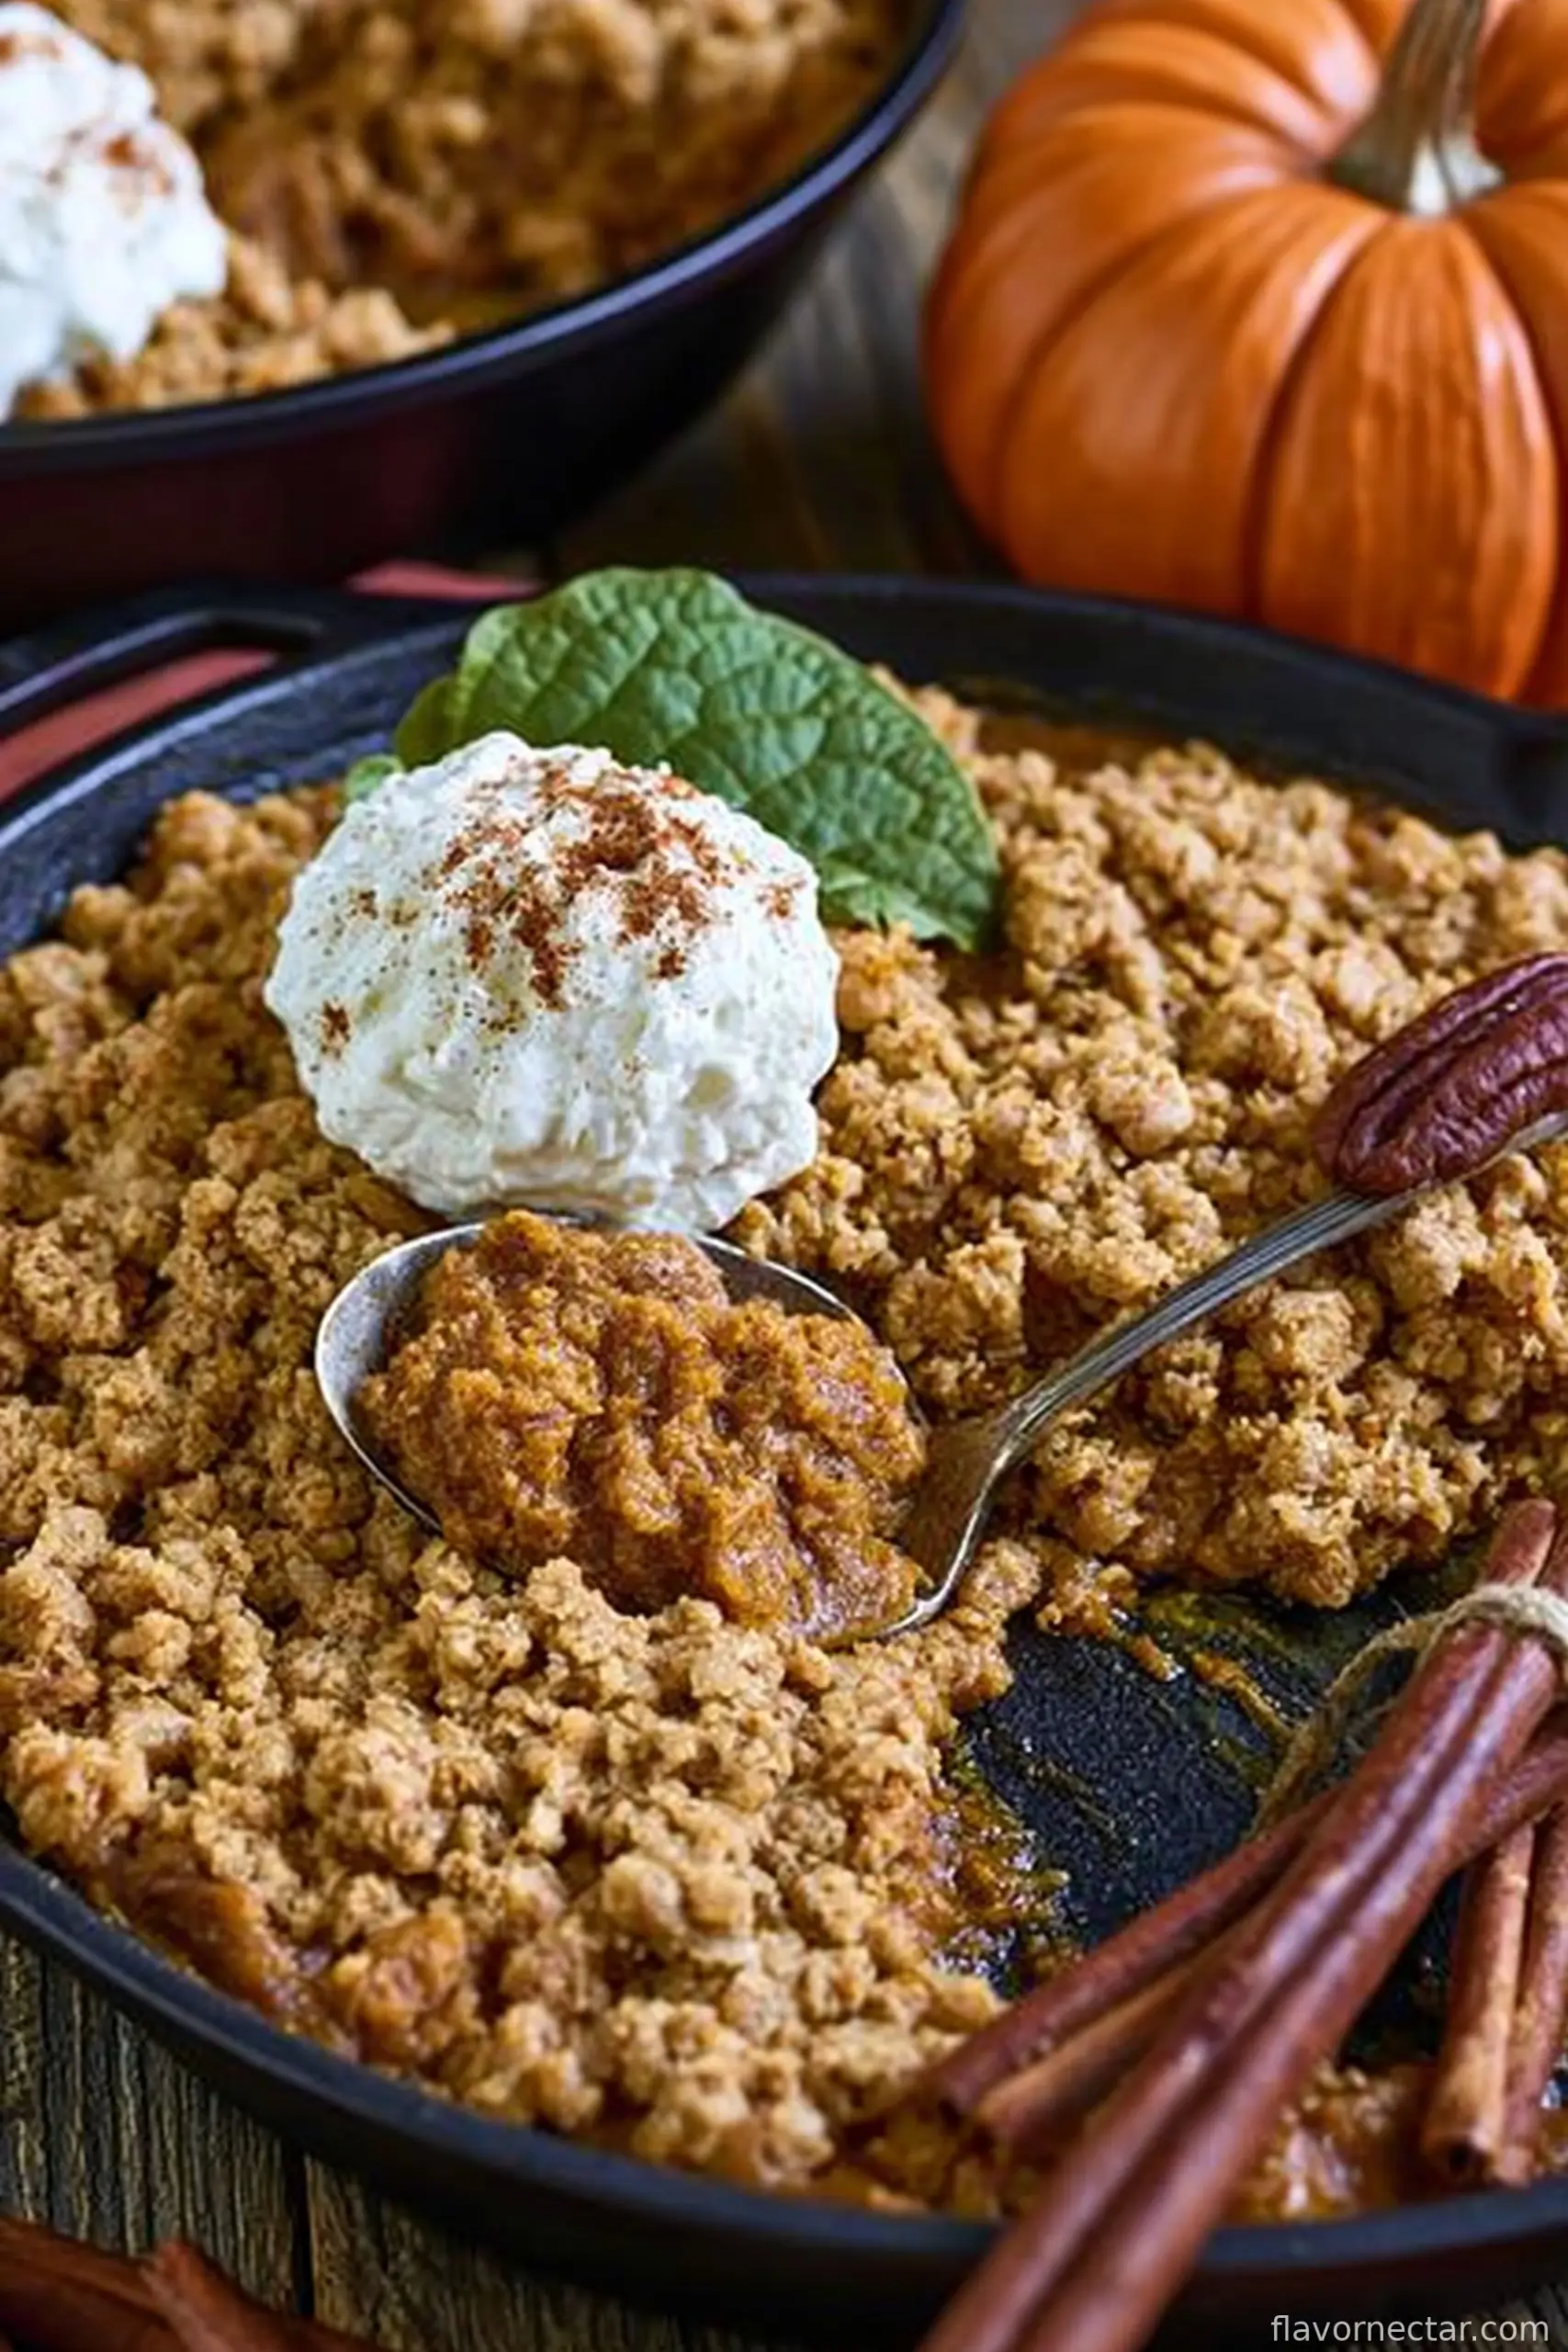
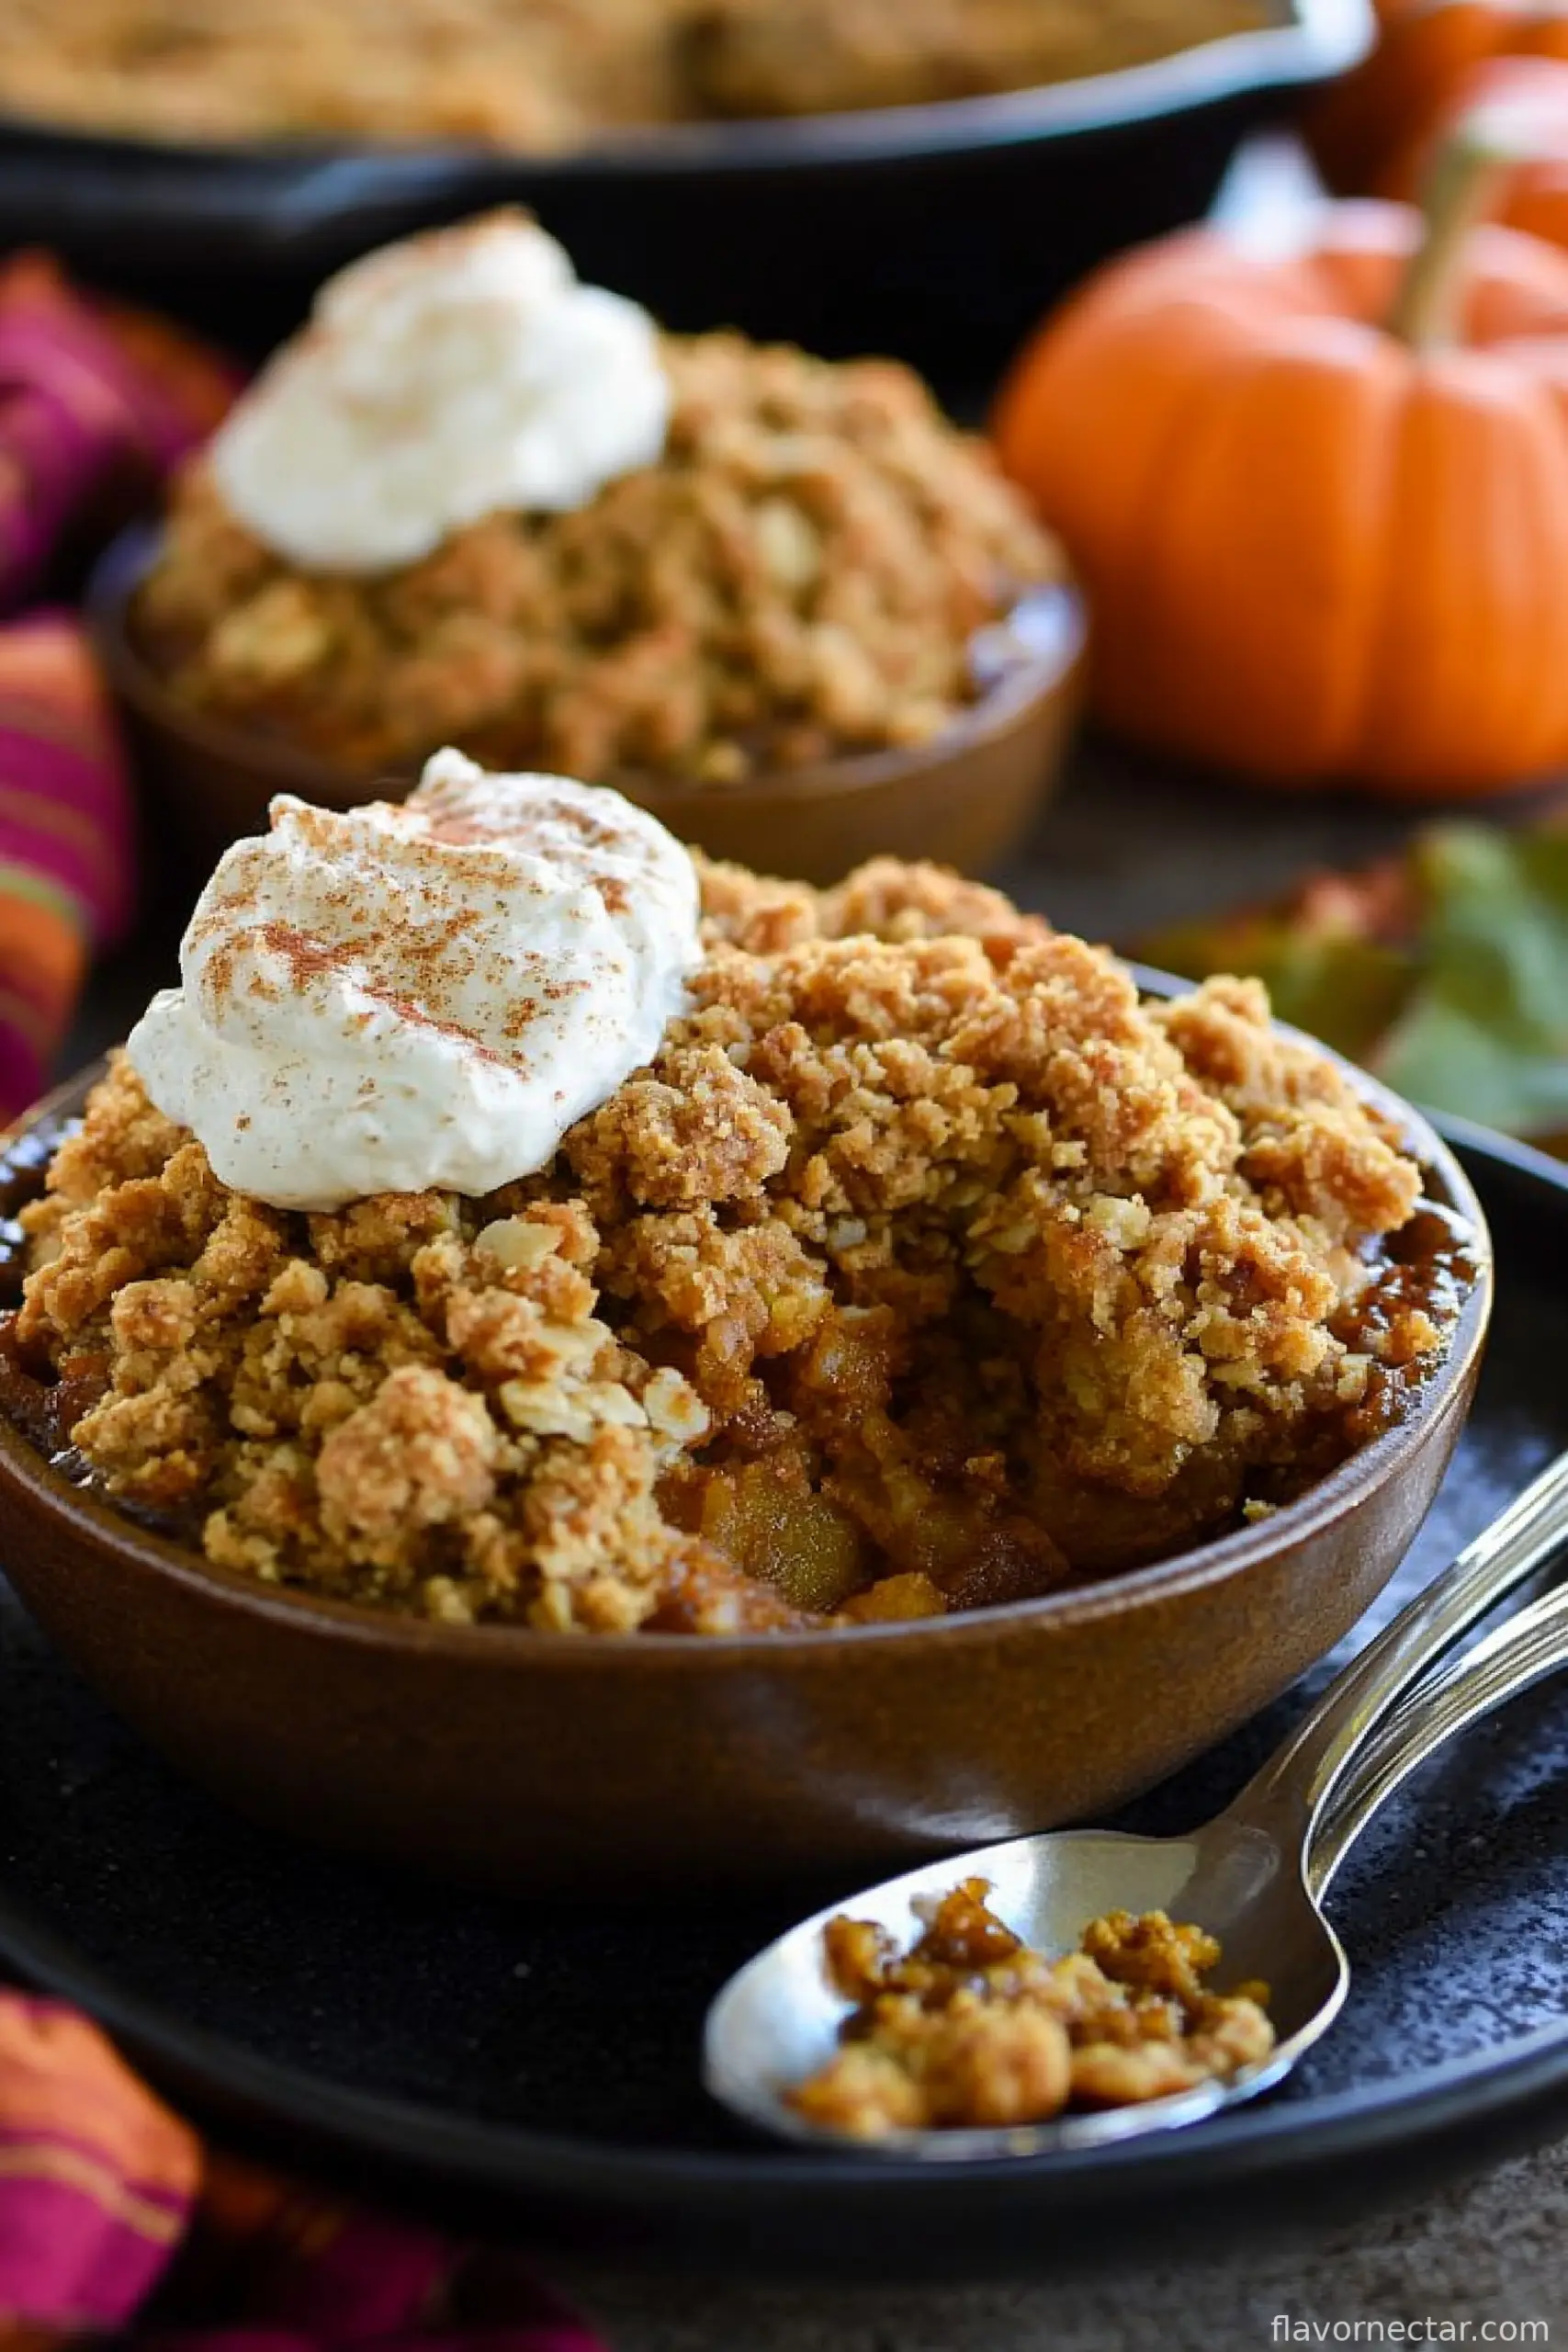
- Pull it out and let it cool for at least 10 minutes. This is probably the hardest part (waiting). If you cut it too soon, it kinda just puddles. But if you’re as impatient as I am, grab a spoon and scoop a corner—no shame. Serve warm, and if you can find cinnamon ice cream, trust me, that’s next level. Whipped cream is awesome too though.
Notes from My Many Attempts
- If the crisp topping looks dry going into the oven, you probably did it right—trust the process, it melts as it bakes.
- I find it actually tastes better on day two, but honestly, leftovers are a rare event here.
- Store-bought pumpkin spice works fine, just don’t overthink it. (I tried making my own once and, well, it’s not worth the hassle.)
Variations I’ve Tried (And One Fail…)
- I once added a handful of chopped pecans to the streusel—yum, but my kid picked them out, so maybe not for little ones.
- I swapped in half brown sugar for the topping once, and it made for deeper flavor. Good call.
- Once I tried making it dairy-free—let’s just say, it didn’t set up at all. Stick with the cream if you can.
Equipment Talk (Because Not Everybody Has Everything)
Don’t stress if you don’t own a cast iron skillet. Any medium-sized casserole dish works. I even tried it in my old glass Pyrex—just check it early in the oven, glass runs hot sometimes.
How to Store This (Or Not…)
Technically, this keeps in the fridge for two or three days (cover it up good so it doesn’t get weirdly soggy). But if your house is anything like mine, it’s nearly wiped out before bedtime—so storage is just wishful thinking!
My Go-To Ways To Serve
I’m all about warm pumpkin crisp and a scoop of cinnamon or vanilla ice cream. My cousin loves whipped cream with a shake of extra cinnamon—that’s become our dessert table handshake.
Pro Tips Learned the Hard Way
- Don’t skimp on letting it cool. I once tried serving it way too soon and it was like pumpkin soup (still delicious, just…not crisp).
- If your topping looks super wet, toss in another sprinkle of flour for better crumbles. It’s pretty forgiving, honestly.
- Try not to overmix the streusel—it ruins the crumbly magic.
FAQs From Friends (And My Unfiltered Answers)
- Can I use fresh pumpkin? You could, but, honestly, canned is easier and more reliable. Fresh can sometimes be watery, and who needs that hassle?
- Could you make this gluten free? Yes! Swop the flour for a good GF blend. I did that once for a friend and nobody noticed.
- What about other spices? Sure, toss a little nutmeg or allspice in if you want. I usually just stick with the basics, though.
- Can it be frozen? Technically, yes, but the topping gets kind of sad after thawing. I’d say just eat it fresh (which isn’t that hard).
Anyway—give this pumpkin crisp a shot! Even if your kitchen is total chaos or you’re wearing your favorite jammies. Trust me, the only real risk here is arguing over who gets the last bite. And if you do, I say the cook gets dibs. Happy baking!
Ingredients
- 1 (15 oz) can pumpkin puree
- 1 cup granulated sugar
- 3 large eggs
- 2 teaspoons pumpkin pie spice
- ½ teaspoon salt
- 2 teaspoons vanilla extract
- ⅔ cup heavy cream
- 2 cups all-purpose flour
- 1 ½ cups granulated sugar
- 2 teaspoons cinnamon
- ½ teaspoon salt
- 12 tablespoons (1 1/2 sticks) unsalted butter, melted
Instructions
-
1Preheat your oven to 375°F. Grab a 12-inch cast iron skillet (that’s my favorite) or a medium casserole dish if that’s easier. Smear some butter all over the bottom and sides—I just use my fingers, but you could use a paper towel if you’re feeling tidy.
-
2In a big mixing bowl, toss in the pumpkin puree, sugar, eggs, pumpkin pie spice, salt, and vanilla. Whisk that all together until it looks kind of like the world’s most questionable soup. Then slowly pour in your heavy cream and stir until everything is silky smooth. Go ahead and pour this into your buttered skillet. Set it aside; I know, it looks a little questionable but hang tight.
-
3In another bowl (or the same, if you’re like me and hate doing dishes—just give it a quick wipe!), whisk the flour, sugar, cinnamon, and salt together. Pour in the melted butter and use a fork to kind of mash and fluff until you’ve got nice crumbly, buttery bits. Sometimes I bust out a hand mixer if I’m feeling lazy—either way, the topping should be somewhere between sand and little pebbles in texture. Scatter this all over the pumpkin layer; don’t worry if it’s not perfectly even, it’ll spread itself out in the oven.
-
4Bake it for about 40-45 minutes. Watch for the filling to firm up a little and the top to turn golden brown (pro tip: if the top’s browning too fast, just drape a bit of foil loosely over it—learned that the hard way when my first one looked like a burnt marshmallow). You might start smelling something absurdly autumnal around the 30-minute mark—that’s when my dog starts lurking by the oven.
-
5Pull it out and let it cool for at least 10 minutes. This is probably the hardest part (waiting). If you cut it too soon, it kinda just puddles. But if you’re as impatient as I am, grab a spoon and scoop a corner—no shame. Serve warm, and if you can find cinnamon ice cream, trust me, that’s next level. Whipped cream is awesome too though.
CLICK FOR NUTRITION INFO
↑
Approximate Information for One Serving
Serving Size:
1 serving
Calories:
420 caloriescal
Protein:
5gg
Fat:
17gg
Saturated Fat:
0g
Trans Fat:
0g
Cholesterol:
0mg
Sodium:
0mg
Potassium:
0mg
Total Carbs:
65gg
Fiber:
0g
Sugar:
0g
Net Carbs:
0g
Vitamin A:
0
Vitamin C:
0mg
Calcium:
0mg
Iron:
0mg
Nutrition Disclaimers
Number of total servings shown is approximate. Actual number of servings will depend on your preferred portion sizes.
Nutritional values shown are general guidelines and reflect information for 1 serving using the ingredients listed, not including any optional ingredients. Actual macros may vary slightly depending on specific brands and types of ingredients used.
To determine the weight of one serving, prepare the recipe as instructed. Weigh the finished recipe, then divide the weight of the finished recipe (not including the weight of the container the food is in) by the desired number of servings. Result will be the weight of one serving.
Did you make this recipe?
Please consider Pinning it!