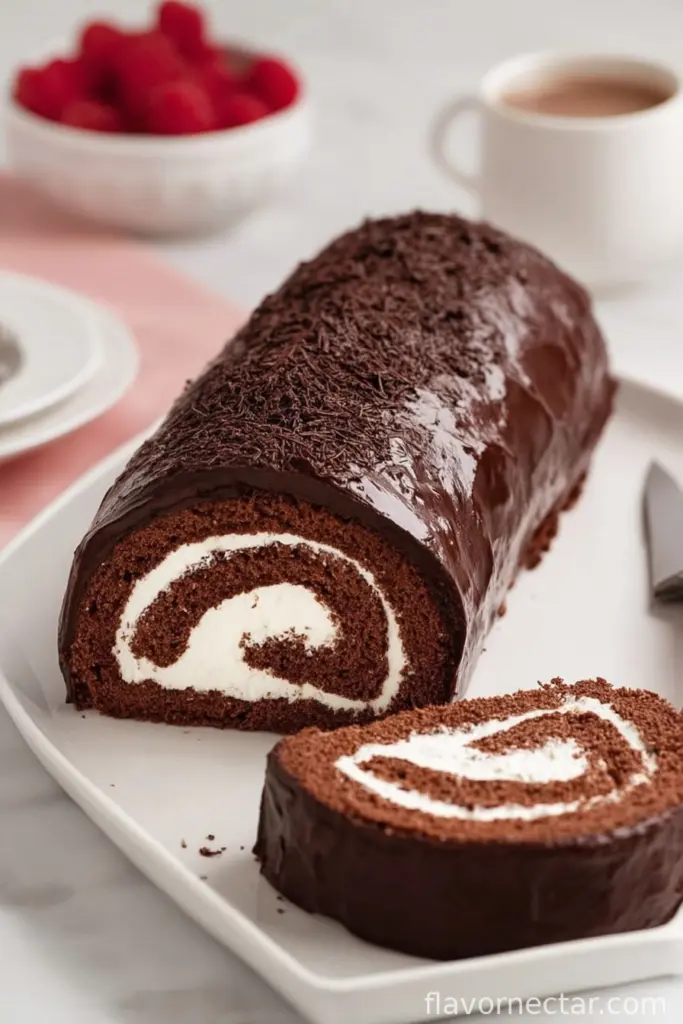
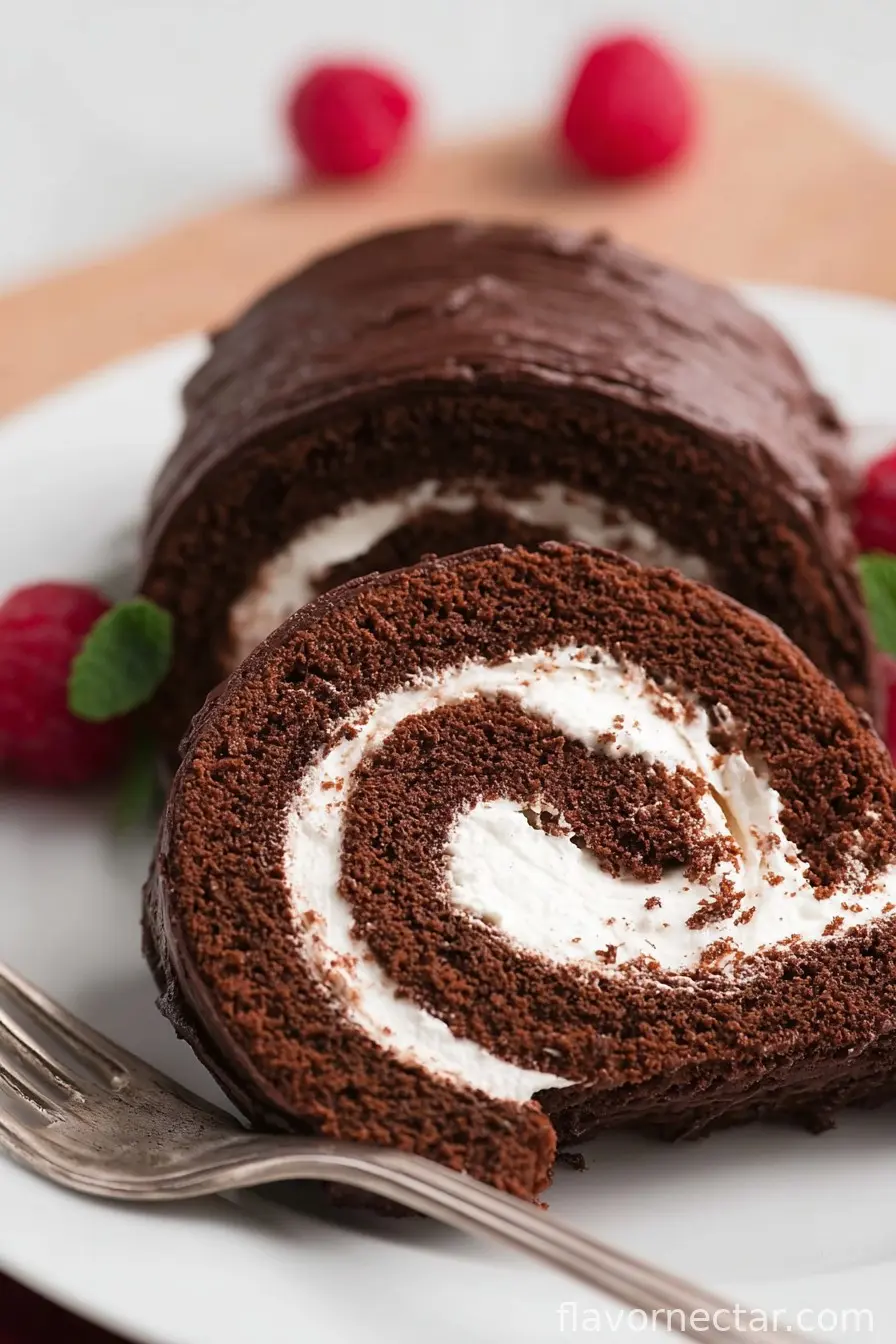
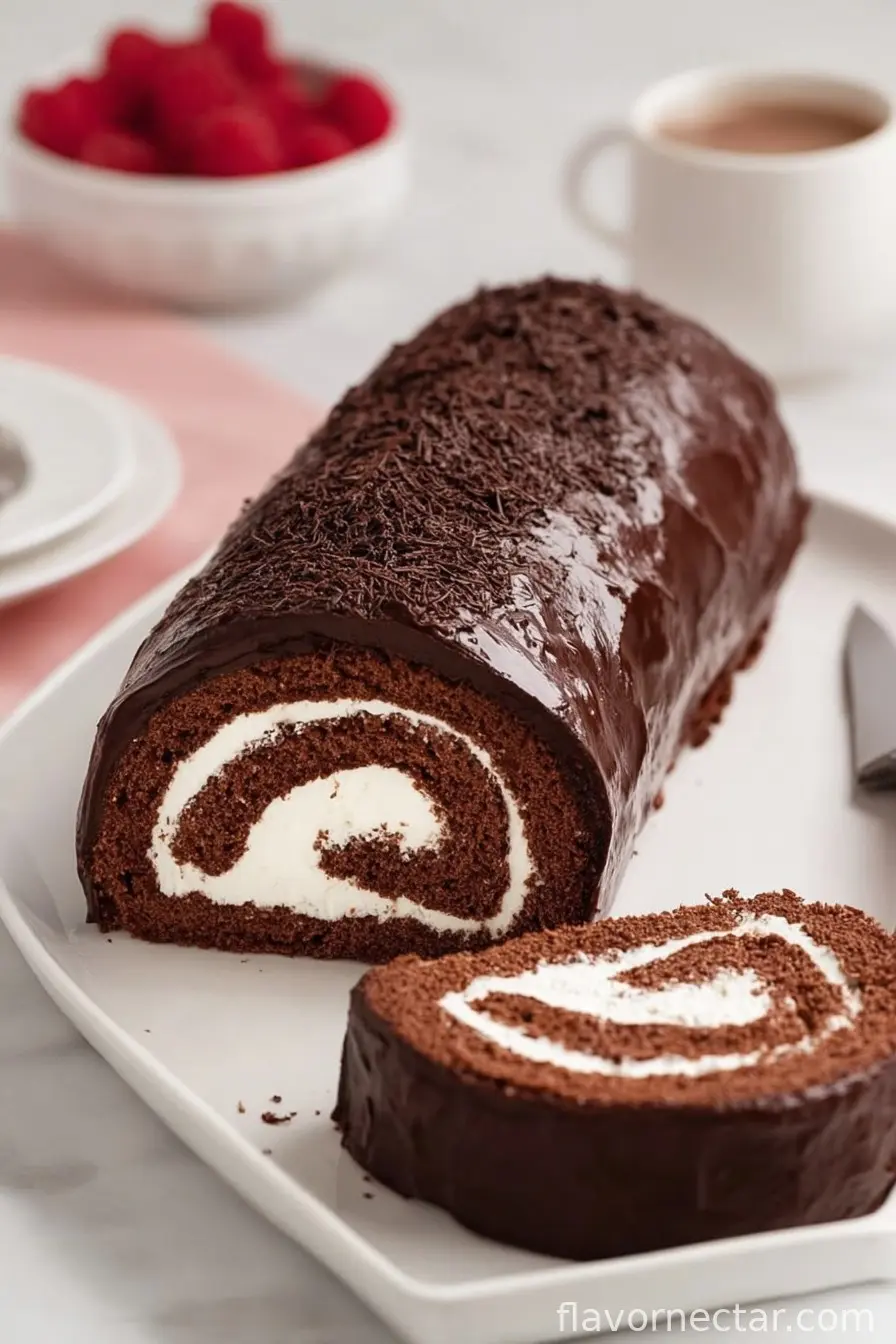
Let Me Tell You About This Chocolate Swiss Roll Cake…
You know that moment when you’re halfway through a Sunday and suddenly you NEED something special, but not too fussy? Well, that’s when I remember the chocolate Swiss roll Cake—a childhood classic that always felt way fancier than it actually was. First time I tried, my roll looked more like a lopsided log, but the flavor totally made up for it (and no one in my family cared what it looked like, just that there was chocolate and cream involved). At this point, I’ve made enough mistakes for all of us, so lucky you, you get the smooth version (mostly).
The first time I made this—honestly, I think I used cocoa powder that had expired during the London Olympics—but it turned out okay! Still, my cousin’s been known to refer to that one as the “Swiss Rocky Road.”
Seriously, Why You’ll Love This One
I whip this out when I want to impress people but don’t want lots of dishes. My family goes absolutely bonkers for it (the Cake, not the pile of cocoa on the countertop). Actually, I find it works better if you let it sit overnight, though my brother can’t wait longer than three hours. Sometimes I make it for birthdays; sometimes just because it’s Thursday. Oh, and it’s way more forgiving than it looks—if you think the roll will crack, don’t worry. Mine always does a little, and honestly I just call that ‘rustic.’
Gather Up These Ingredients (and a Few Swaps)
- 4 large eggs (I’ve used medium in a pinch; works fine!)
- 100g (about half a cup) caster sugar—granulated is fine if that’s all you’ve got
- 80g plain flour (my friend Ben swears by gluten-free flour, so give it a bash if you want)
- 30g cocoa powder (honestly, whatever brand’s in the cupboard, though my gran was religious about Cadbury’s)
- 1 tsp vanilla extract (I’ve forgotten this before… still good!)
- 1/4 tsp salt (sometimes I eyeball it… you probably can too)
- For the filling: 200ml double cream (heavy cream in the US, and sometimes I sneak in a handful of chocolate chips)
- 2 tbsp icing sugar (or just toss in a few spoonfuls and taste—nobody’s grading you)
- Optional: fresh berries, jam, or Nutella if you’re feeling extra
Okay, Here’s What You Do (More or Less)
- Preheat and Prep. Oven at 180°C (350°F) and line a roughly 23x33cm (about 9x13in) tray with baking paper. (If your pan’s a tad too big or small, don’t fret; it’ll just be thinner or thicker—rolls up either way.)
- Whip the Eggs and Sugar. Chuck eggs and sugar into a big bowl and beat with an electric whisk (or just a regular one and some elbow grease) for a good five minutes. You want fluffy, pale, and doubled in size. When I get bored I play a song to time it—it helps.
- Sift Flour, Cocoa, and Salt. Sift right over the egg mix. Fold in gently with a spatula—no power-tools here or you’ll knock the air out. This is where I usually sneak a tiny taste (just me?)
- Spread and Bake. Pour into your pan, smooth it out, then bake for 9 to 11 minutes. It should feel springy. If you’re worried it’s too early, give it a poke; it’ll bounce back when it’s done.
- Turn It Out, Roll it While Warm. Here’s the weird bit: While it’s still hot, flip it onto a sugared tea towel (yes, really) and peel off the paper, then roll the Cake and towel up together (not lengthways, but from the short edge—that was a BIG rookie mistake I made once). Let it cool rolled up. It’ll look weird at this stage—just trust me.
- Make the Whipped Cream. Beat cream, icing sugar, and vanilla till medium peaks form. If it gets a tad too stiff, you can add a splash of milk—I’ve fixed it this way more than once.
- Unroll, Fill, and Reroll. Carefully unroll the (cooled) Cake. Spread with cream. If it cracks, patch with cream and pretend nothing happened. Roll it up again, minus the towel. Don’t overstuff (I do this every time!).
- Chill and Serve. Pop it in the fridge for at least an hour (or eat right away, no one’s judging). Dust with more cocoa, icing sugar, or go wild with berries. Maybe a drizzle of melted chocolate too?
Notes from the “School of Slightly Imperfect Cakes”
- I always thought Swiss rolls would explode if you didn’t roll them fast enough. Turns out, they’re surprisingly chill. The roll might crack a little but the taste is still spot on.
- Once I forgot the sugar in the cream. Tasted like something form a diet plan. Never again.
- Sometimes I use a baking tray that’s a bit warped, so my rolls are… let’s just call them “artisanal.” But honestly, shape doesn’t matter (especially if you drizzle enough chocolate on top).
Variations (And Not All Were Genius)
- Chocolate–Orange: Mix in a tablespoon of orange zest to the batter, then fill with orange marmalade under the cream. Pretty fantastic.
- Nutella Swirl: Spread a thin layer of Nutella before the cream. Unbeatable—unless you hate hazelnuts.
- Coffee Kick: Dissolved a teaspoon of instant coffee in the cream once; might have overdone it, tasted like biting a coffee bean. Maybe use less…
- Lemon Swiss Roll: Did this in a fit of summer experimentation. Tastes good, but for me, nothing beats the chocolate.
Use These Tools (Or Make Do!)
- Baking tray—if you don’t have the official Swiss roll one, any low-sided pan about 9x13in works a treat
- Electric mixer—whisk by hand if you’re game (I’ve done it, my arms regretted it)
- Tea towel—unused for wiping up messes, preferably
- Parchment/baking paper—greasing alone is risky, but in a pinch, just flour the pan like mad and hope for the best
How to Store It…Or Not
If by some miracle you have leftovers, keep them in the fridge wrapped in cling film for up to three days. Although honestly, in my house, it never lasts more than a day—people start taking forkfuls straight from the plate. If you want to freeze it, slice first so you don’t have to defrost the whole thing, but I rarely have that much foresight.
Serving: Family Style or Fancy(ish)
I prefer to slice thick rounds and stack them on a plate… maybe drizzled with extra melted chocolate if we’re being fancy. Occasionally I serve with berries on the side—my uncle Phil takes his with a scoop of vanilla ice cream, every time. Oh, and sometimes we eat it straight out of the fridge, no shame.
Pro Tips (from Someone Who’s Messed Up Before)
- Don’t try to unroll the Cake too soon—trust me, it sticks. I once ripped the entire top layer clean off. Let it cool rolled up first, then gently unroll.
- Don’t overwhip the cream or it’ll be too stiff to spread nicely. I *may* have tried to fix this by adding extra cream, but ended up making butter.
- Go light on the filling near the edges or it squishes out and your cake looks like it’s bursting at the seams. Learned that one the hard way.
Random Digression (Because Why Not)
Real talk, there was a summer I made Swiss rolls every week, trying to get the roll just right for a picnic. My neighbor thought I was running a bakery—and not a good one, by her expression. But hey, my friends got free cake!
FAQs That Have Actually Come Up
-
Q: Do I really need to use a tea towel?
A: Technically, you could use parchment, but the towel works best for rolling without sticking. Or just live dangerously and skip it, but it’s messier! -
Q: Can I make this gluten-free?
A: Yes, I’ve done it using gluten-free flour. Holds up pretty well! -
Q: My cake cracked a bit. What now?
A: Welcome to the club! Just patch it up with cream and dust with cocoa. Or call it “rustic chic.” Works every time. -
Q: Can I make it ahead for a party?
A: Totally! Actually, I think this tastes better the next day—just keep it chilled. -
Q: What’s the difference between a Swiss roll and a roulade?
A: Pretty much nothing in my kitchen. Though the French would say a roulade can be savory too. Check out Delia’s version if you fancy getting fancy.
Now, if you give this a go and it’s more oval than roll, just laugh and eat it anyway. It’s only cake, after all—and a very good one.
Ingredients
- 4 large eggs
- 100g granulated sugar
- 80g all-purpose flour
- 25g unsweetened cocoa powder
- 1 tsp baking powder
- 1/4 tsp salt
- 120ml heavy cream
- 60g powdered sugar (plus extra for dusting)
- 1 tsp vanilla extract
Instructions
-
1Preheat your oven to 180°C (350°F). Line a 10×15-inch jelly roll pan with parchment paper and lightly grease it.
-
2In a large bowl, beat the eggs and granulated sugar together until pale and doubled in volume. Sift in the flour, cocoa powder, baking powder and salt. Fold gently until just combined.
-
3Pour the batter evenly into the prepared pan and smooth the top. Bake for 10–12 minutes, or until the cake springs back when lightly touched.
-
4Immediately turn the baked cake onto a clean kitchen towel dusted with powdered sugar. Peel off the parchment paper and roll the cake up with the towel from the short end. Allow to cool completely.
-
5Meanwhile, beat the heavy cream, powdered sugar and vanilla extract together until stiff peaks form. Unroll the cooled cake, spread the whipped cream mixture evenly over the surface, then carefully re-roll the cake.
-
6Place seam side down on a platter and dust with additional powdered sugar before slicing and serving.
CLICK FOR NUTRITION INFO
↑
Approximate Information for One Serving
Serving Size:
1 serving
Calories:
185cal
Protein:
4 gg
Fat:
8 gg
Saturated Fat:
0g
Trans Fat:
0g
Cholesterol:
0mg
Sodium:
0mg
Potassium:
0mg
Total Carbs:
24 gg
Fiber:
0g
Sugar:
0g
Net Carbs:
0g
Vitamin A:
0
Vitamin C:
0mg
Calcium:
0mg
Iron:
0mg
Nutrition Disclaimers
Number of total servings shown is approximate. Actual number of servings will depend on your preferred portion sizes.
Nutritional values shown are general guidelines and reflect information for 1 serving using the ingredients listed, not including any optional ingredients. Actual macros may vary slightly depending on specific brands and types of ingredients used.
To determine the weight of one serving, prepare the recipe as instructed. Weigh the finished recipe, then divide the weight of the finished recipe (not including the weight of the container the food is in) by the desired number of servings. Result will be the weight of one serving.
Did you make this recipe?
Please consider Pinning it!!