BBQ | Side Dishes | Vegetarian

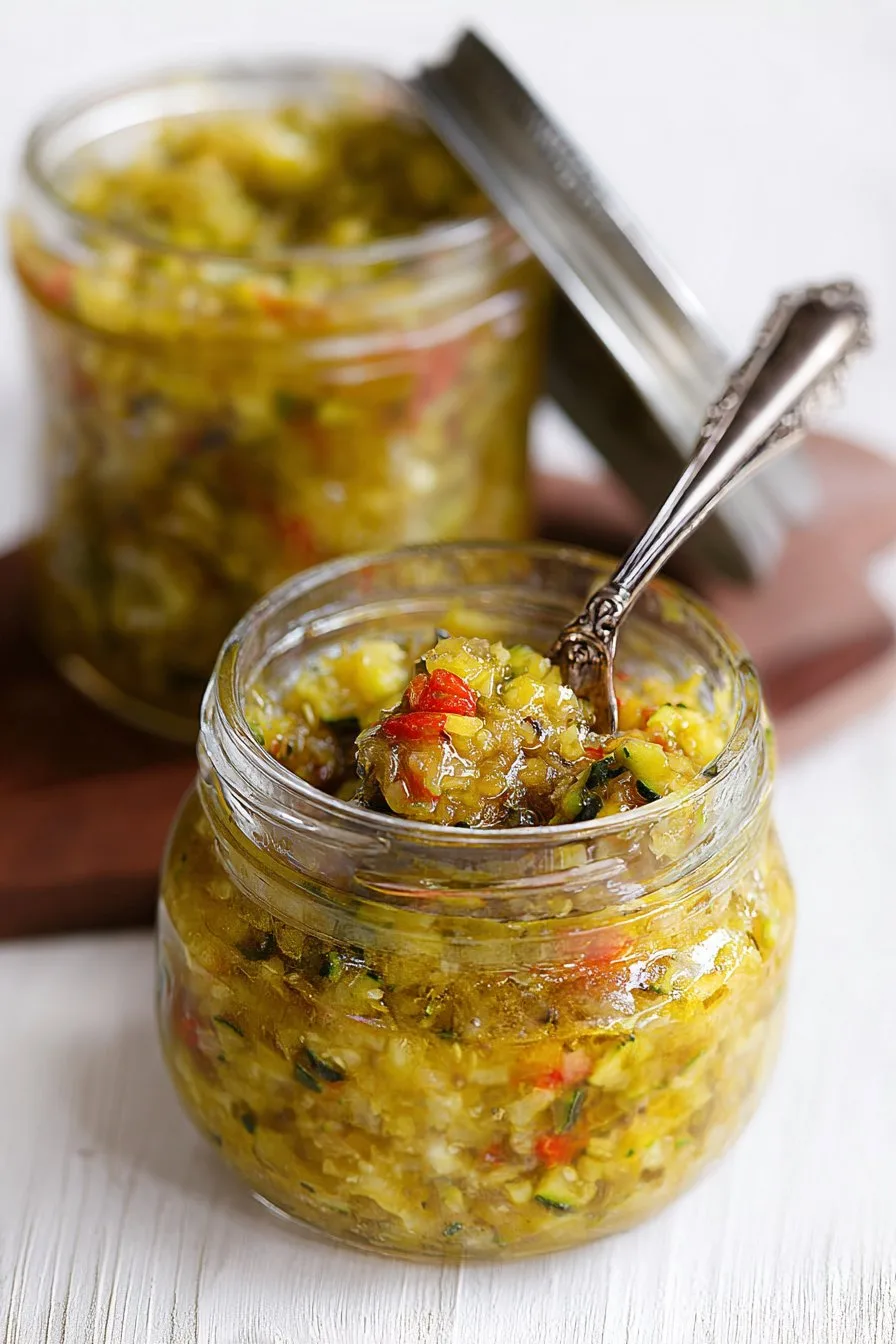
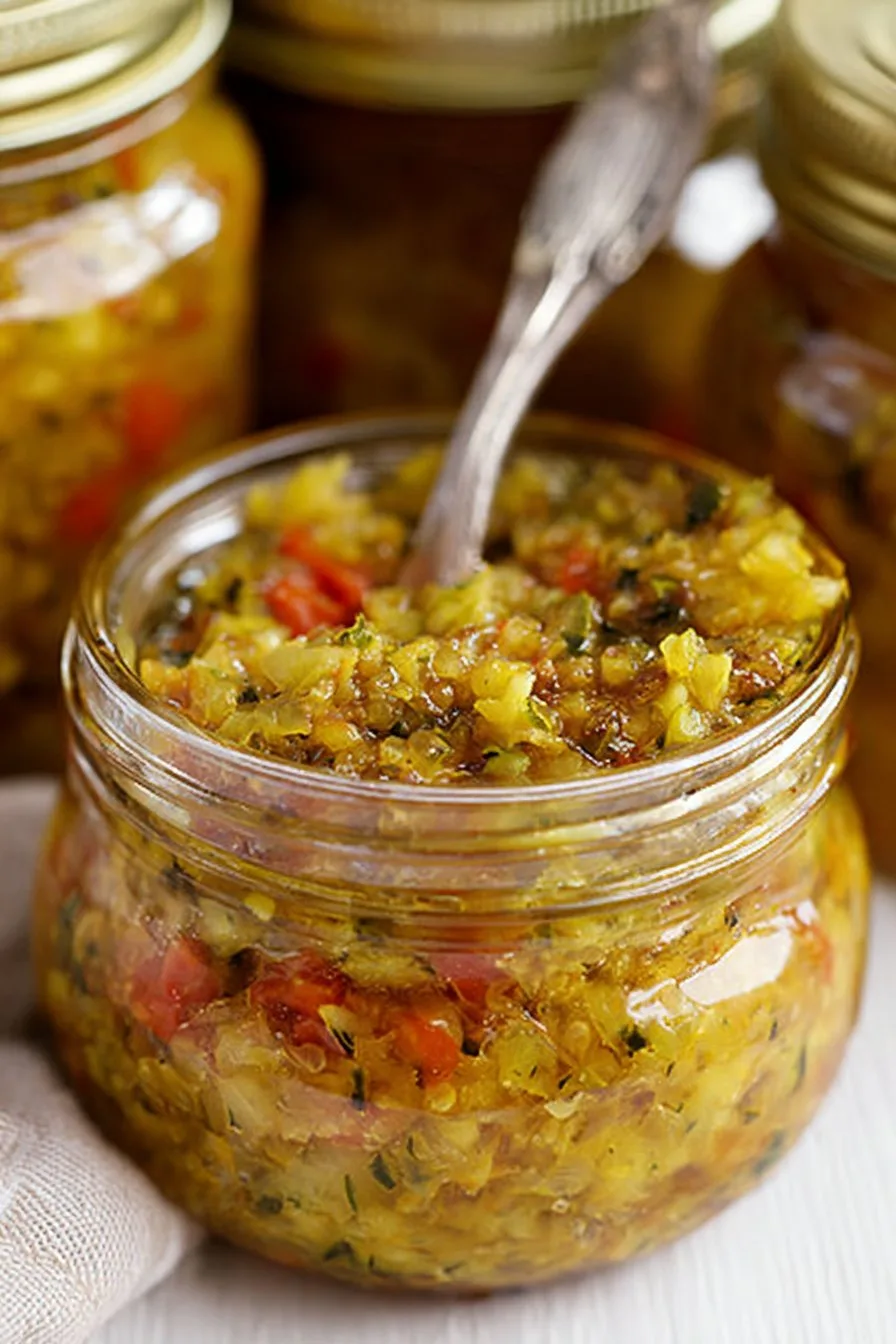
Hey y’all! If you’re looking for a zesty condiment to elevate your summer eats or brighten up your sandwiches year-round, this homemade Zucchini Relish is just what you need. It’s sweet, tangy, and crunchy—making every bite a burst of flavor, whether you’re topping off a juicy burger, a hot dog at your next BBQ, or jazzing up a charcuterie board. Let’s get cooking!
Why You’ll Love This Zucchini Relish
- It’s the perfect way to use up abundant garden zucchini in a delicious, versatile way.
- This relish adds a sweet and tangy crunch to burgers, hot dogs, and sandwiches.
- It’s easy to make in big batches and stores well for months.
- You control the ingredients—no preservatives or artificial flavors here.
- Customizable with your favorite spices and veggies!
Zucchini Relish Ingredients List
- 4 cups finely chopped zucchini (about 3 medium zucchini)
- 2 cups finely chopped onion (about 2 medium onions)
- 1 cup finely chopped red bell pepper (about 1 large pepper)
- 1 cup finely chopped green bell pepper (about 1 large pepper)
- 1 tablespoon kosher salt
- 2 cups granulated sugar
- 2 cups apple cider vinegar
- 1 tablespoon mustard seeds
- 2 teaspoons celery seeds
- 1 teaspoon ground turmeric
- 1/2 teaspoon ground black pepper
How to Make Zucchini Relish
Step 1: Prep the Vegetables
Finely chop the zucchini, onions, and bell peppers using a sharp knife or food processor for even, small pieces. Place all chopped vegetables into a large bowl.
Step 2: Salt and Rest
Sprinkle the tablespoon of kosher salt over the vegetables, toss well, and cover the bowl. Let it sit for 2 hours—this will draw out excess moisture and keep your relish crisp.
Step 3: Rinse and Drain
After 2 hours, pour the vegetables into a colander and rinse well with cold water to remove excess salt. Squeeze gently to remove any remaining moisture.
Step 4: Cook the Zucchini Relish
Transfer the drained vegetables to a large, heavy-bottomed pot. Add sugar, apple cider vinegar, mustard seeds, celery seeds, turmeric, and black pepper. Stir to combine and bring to a gentle boil over medium-high heat.
Reduce heat to a simmer and cook, stirring occasionally, for 25-30 minutes, until the mixture thickens and the flavors meld.
Step 5: Jar and Cool
Ladle the hot relish into sterilized glass jars, leaving about 1/2 inch of headspace. Wipe rims, seal with lids, and let cool at room temperature. Store in the refrigerator or process in a boiling water bath for 10 minutes if you plan on long-term pantry storage (guide to sterilizing jars).
Notes & Helpful Tips for Zucchini Relish
- For finely chopped veggies, a food processor is your best friend for consistent texture.
- Let your relish sit for at least 24 hours for flavors to develop before serving.
- For more information about safe canning practices, check out Ball’s Canning 101.
Zucchini Relish Variations
- Spicy Zucchini Relish: Add 1-2 diced jalapeños for extra heat.
- Sugar-Free Zucchini Relish: Replace sugar with your favorite sugar substitute (such as erythritol).
- Zucchini Corn Relish: Stir in 1 cup of fresh or thawed frozen corn during simmering for a sweet, crisp twist.
Required Equipment for Zucchini Relish
- Large mixing bowl
- Colander
- Food processor or sharp knife
- Large heavy-bottomed pot
- Wooden spoon
- Glass jars with lids (for storage)
Storage Instructions & Shelf Life for Zucchini Relish
Store cooled zucchini relish in airtight jars in the refrigerator for up to 3 months. For shelf-stable storage, properly process sealed jars in a water bath and store in a cool, dark pantry for up to 1 year. Once opened, keep refrigerated and use within 1 month.
Serving Suggestions & Pairings for Zucchini Relish
- Slather over grilled burgers, bratwursts, or veggie hot dogs for a tangy kick.
- Mix into egg or tuna salad for extra crunch and flavor.
- Spoon onto roasted meats or sandwiches for a sweet, savory boost.
- Serve alongside crackers and cheese for an irresistible appetizer.
Pro Tips for Perfect Zucchini Relish
- Make sure to drain and squeeze veggies well for a crisp, not watery, relish.
- Use apple cider vinegar for the best sweet-tart balance and a lovely golden color (learn about apple cider vinegar benefits).
- Letting the relish rest overnight enhances the overall flavor, so plan ahead for the best taste.
Zucchini Relish FAQ
- Can I freeze zucchini relish?
- Yes! Store cooled relish in freezer-safe containers and freeze for up to 6 months. Thaw in the refrigerator before using.
- Is this zucchini relish recipe gluten-free?
- Absolutely! This recipe contains only naturally gluten-free ingredients.
- Can I use yellow squash instead of zucchini?
- Yes, yellow squash works just as well and gives a beautiful golden hue to your relish.
Ingredients
- 4 cups finely chopped zucchini
- 1 1/2 cups finely chopped onion
- 1 cup finely chopped red bell pepper
- 1 cup finely chopped green bell pepper
- 2 cups granulated sugar
- 2 cups apple cider vinegar
- 1 tablespoon mustard seeds
- 1 teaspoon celery seeds
- 1 teaspoon turmeric
- 1 tablespoon salt
Instructions
-
1In a large bowl, combine the chopped zucchini, onions, and bell peppers. Sprinkle with salt, mix well, and let sit for 2 hours. Drain and rinse thoroughly.
-
2In a large pot, combine the sugar, apple cider vinegar, mustard seeds, celery seeds, and turmeric. Bring to a boil over medium heat, stirring until the sugar dissolves.
-
3Add the drained vegetable mixture to the pot. Stir well and bring to a simmer.
-
4Simmer uncovered for 40-45 minutes, stirring occasionally, until the relish thickens and the vegetables are tender.
-
5Ladle the hot relish into sterilized jars, seal, and let cool. Store in the refrigerator or process in a water bath canner for longer shelf life.
CLICK FOR NUTRITION INFO
↑
Approximate Information for One Serving
Serving Size:
1 serving
Calories:
45 caloriescal
Protein:
0gg
Fat:
0gg
Saturated Fat:
0g
Trans Fat:
0g
Cholesterol:
0mg
Sodium:
0mg
Potassium:
0mg
Total Carbs:
11gg
Fiber:
0g
Sugar:
0g
Net Carbs:
0g
Vitamin A:
0
Vitamin C:
0mg
Calcium:
0mg
Iron:
0mg
Nutrition Disclaimers
Number of total servings shown is approximate. Actual number of servings will depend on your preferred portion sizes.
Nutritional values shown are general guidelines and reflect information for 1 serving using the ingredients listed, not including any optional ingredients. Actual macros may vary slightly depending on specific brands and types of ingredients used.
To determine the weight of one serving, prepare the recipe as instructed. Weigh the finished recipe, then divide the weight of the finished recipe (not including the weight of the container the food is in) by the desired number of servings. Result will be the weight of one serving.
Did you make this recipe?
Please consider Pinning it!!