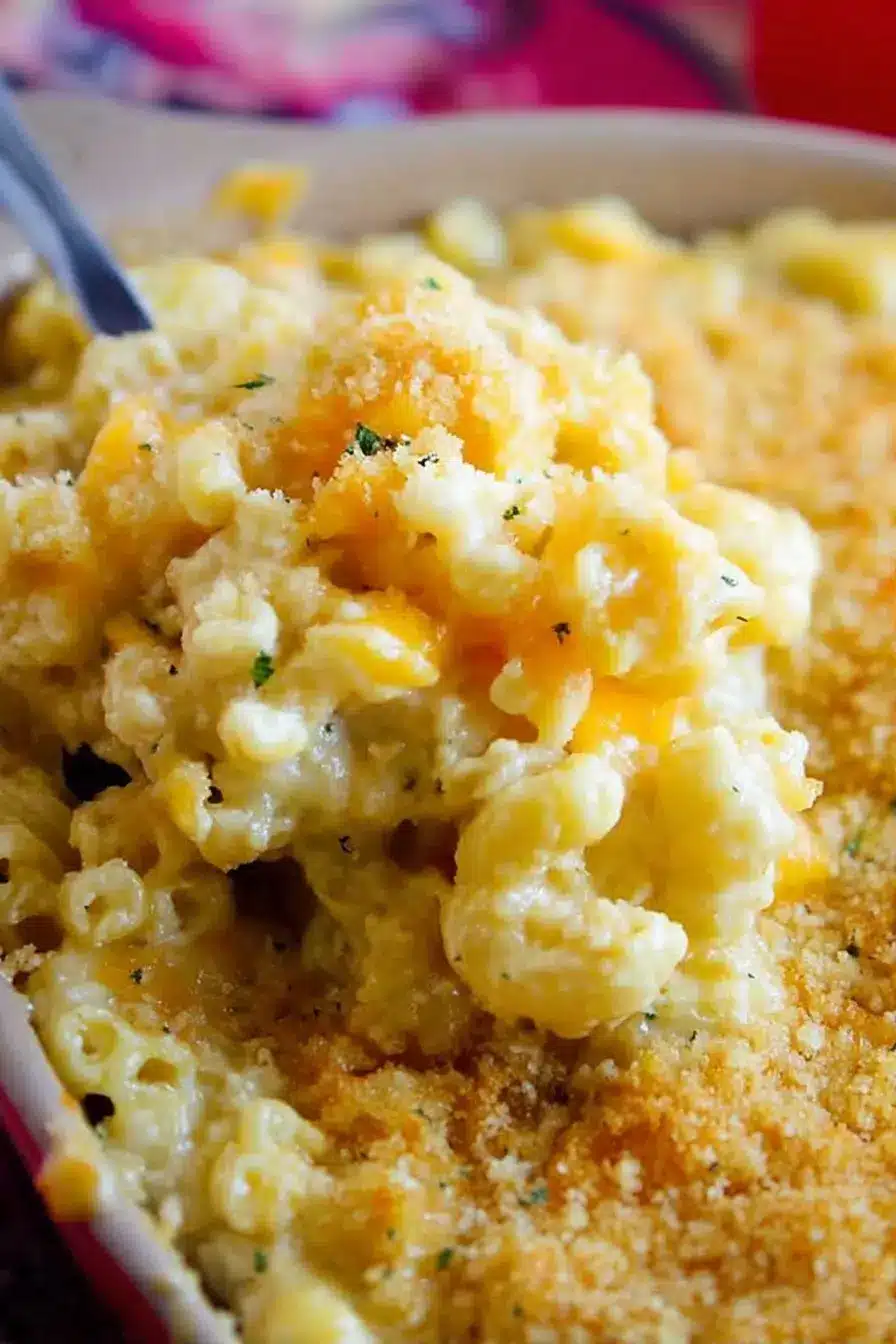
So Here’s the Thing About Mac N Cheese…
If you know me even a little, you know I can talk about mac n cheese for ages. Seriously, I still remember the first time I tried to make it “fancy” by sneaking in blue cheese—yeah, that went sideways fast. The smell alone scared off my little brother. But, if there’s one dish that’s always rescued me from gloomy days, broken hearts, or just plain hunger after a long, rainy walk home, it’s this one. Many kitchen experiments, a handful of burnt pans (RIP), and about a hundred tweaks later, here’s the one my friends request on cold nights when we need something cozy or those Sunday afternoons when we’re all pretending to be adults but just end up watching cartoons.
Why You’ll Love This (Or At Least, Why I Do)
I make this when nothing else will do, or when I’m just too tired to argue about takeout again. My family goes bonkers for this because it’s rich, loaded with actual flavor (not that sad, pale boxed stuff), and honestly—it’s just a big hug in a bowl. There was a spell when my roux just wouldn’t thicken, which drove me up the wall, but now? I just give it time, a stir, and a little faith. Some days I add extra cheese… because I can.
What You’ll Need (Plus My Debatable Substitutions)
- 250g elbow macaroni (or any short pasta, really—penne is what I grab if that’s all I’ve got; my neighbor claims it’s sacrilege, but whatever works)
- 2 cups whole milk (sometimes I use 1% if that’s what’s left; tastes a bit lighter but still solid)
- 2 tbsp butter (salted, unsalted, whatever’s there)
- 2 tbsp all-purpose flour
- 2 cups sharp cheddar, grated (my granny was a hardcore Cheddar-worshipper, but I’ve been known to sneak in Gruyère or Jack—no one’s complained yet… or maybe they’re just being polite?)
- 1/2 cup mozzarella, grated (for that gooey pull, but skip it if you can’t be fussed)
- 1/4 tsp smoked paprika (or cayenne, if you like a kick; once I forgot and used chili powder—never again)
- Big pinch of salt & more to taste
- Black pepper to finish
- Optional: 1/2 cup breadcrumbs, toasted (I skip this if I’m feeling lazy or just can’t find them anywhere)
How I Actually Make the BEST Mac N Cheese
- Boil Your Pasta: Chuck the macaroni into a big pot of salted boiling water. Cook till just al dente (or a smidge under—nobody likes mushy mac). Drain. Try not to snack half of it before the sauce is ready.
- Get Saucy: Melt the butter in another pan over medium heat. Sprinkle in the flour; whisk it around for about a minute. Don’t stress if it clumps a little, just keep stirring. Slowly pour in the milk, whisking like you mean it. Here’s where I used to panic—it always looks weird for a bit. But keep the faith, it’ll even out!
- Add the Cheesy Goodness: Toss in the cheddar, then mozzarella, and keep stirring till it’s melted and smooth. Hit it with paprika, salt, and a crack of black pepper. This is where I sneak a taste—okay, two tastes. Adjust things if something feels off, you know?
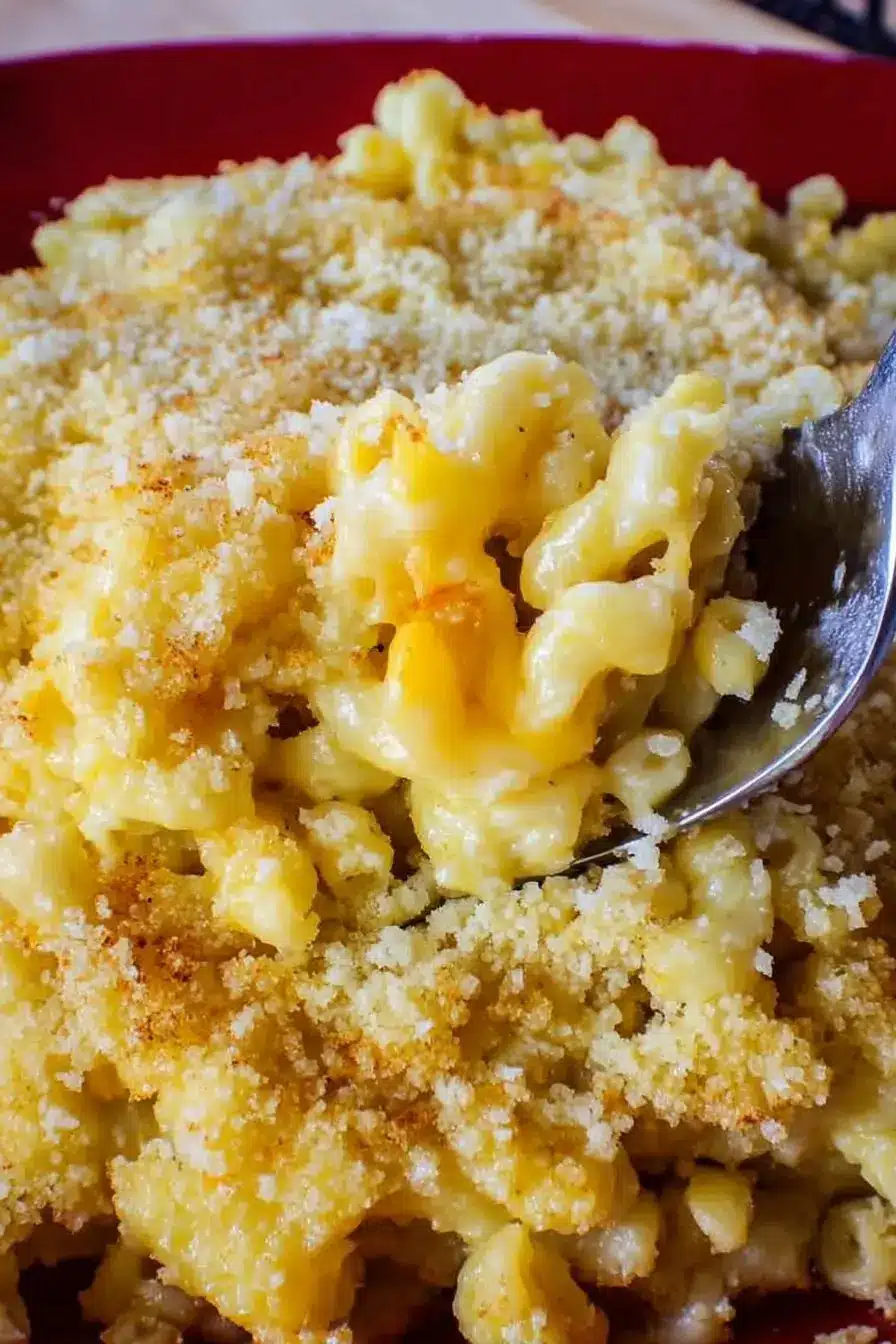
- Mix It Up: Combine the pasta with the sauce (in whatever pot is bigger, honestly—no shame in less dishwashing). Stir to coat every little piece. If you’re using breadcrumbs, scatter them on top. Sometimes I pop it under the grill for five mins to get crispy on top, but you can skip this if you’re already hungry and can’t wait.
- Spoon, Serve, and Sigh with Relief: Ladle it into bowls, finish with more black pepper if you’re feeling fancy. That’s it!
Stuff I Learned the Hard Way
- Grate your own cheese if you can—pre-grated saves time but actually, it melts a bit funny (who knew?).
- Don’t use skim milk unless you absolutely must—it comes out… sad? But, yeah, it still gets eaten.
- You can make the sauce ahead, but I think it always tastes better the day you make it; or maybe that’s me being impatient.
Weird Variations I’ve Tried
- Bacon Mac: Crispy bacon bits stirred in. Not even sorry.
- Veggie Mac: Peas and spinach stirred through—my sister loves it, but the kids called it “green weirdness” (kids, am I right?)
- The Salsa Disaster: One time I thought, “let’s go Tex-Mex” and dumped in salsa—huge mistake. Too runny, tasted odd. Would not recommend.
About That Equipment
I usually use a heavy-bottomed saucepan for the cheese sauce because it holds up better, but last week my favorite was in the sink (story of my life) so I used a random soup pot; honestly, worked just fine! Whisk is handy but a wooden spoon will do in a pinch. And, if your grater has gone walkabout, just chop the cheese small—as long as it melts, who cares?
What About Leftovers?
Technically, you could keep this in the fridge, covered, for up to 3 days. But between me and my crew, leftovers are basically a myth. If you somehow have any, it reheats best with a little splash of milk. Freezing? Eh, did that once, wasn’t for me—the sauce got grainy. Here’s someone who claims it works better: freezer mac n cheese guide (but your mileage may vary).
How I Like to Serve It
Huge bowl, PJ’s, drizzle of hot sauce on top—sometimes even with a side of roasted broccoli (if I’m feeling virtuous). Birthday dinners, rainy-day lunches, I even served it once at a tiny wedding picnic—people thought I was nuts. Didn’t stop them coming back for seconds. Oh, sometimes I light a candle and pretend it’s fancy for, like, two minutes.
Look, Here’s What Not to Do (Pro Tips… Sort Of)
- Don’t rush the sauce—been there, ate lumpy, floury regrets.
- Don’t let the pasta overcook, or it’ll turn into a gluey blob (yep, done that too)
- Actually, don’t stress too much if your cheese gets a bit oily—just stir it off heat a bit, usually sorts itself out. On second thought, sometimes I throw in a splash of milk here and hope for the best.
People Actually Asked Me These Mac N Cheese Questions
- Can I use gluten-free pasta?
- Oh, totally. Just watch the cooking time—gluten-free pasta can go from perfect to mush city right quick.
- What’s the best cheese for mac n cheese?
- Look, sharp cheddar is classic; but I’ve cobbled together versions with aged gouda, Monterey Jack—you name it. Here’s a super detailed cheese guide if you wanna go wild: Serious Eats cheese guide
- Why did my sauce split?
- Sauce problems? If it gets oily or splits, usually it just got too hot or didn’t get stirred enough. Take it off the heat, give it a stir, maybe whisper some encouragement. If all else fails, eat it anyway. Still tastes pretty fab.
- Can this be made ahead?
- You can assemble it, keep it in the fridge, and bake when you’re ready—add a splash of milk, as it’ll thicken. It’s never as magical as fresh, but does the job.
Oh, one last wandering thought: the smell of bubbling cheese will bring every creature in your house to the kitchen, so hide a bowl for yourself before you shout “dinner’s ready”. Or just embrace the chaos—I usually do.
Ingredients
- 1 pound elbow macaroni
- 4 cups shredded sharp cheddar cheese
- 2 cups whole milk
- 4 tablespoons unsalted butter
- 3 tablespoons all-purpose flour
- 1 cup grated Gruyère cheese
- 1/2 teaspoon paprika
- 1/2 teaspoon salt
- 1/4 teaspoon black pepper
- 1 cup panko breadcrumbs
Instructions
-
1Preheat oven to 350°F (175°C). Grease a 9×13-inch baking dish.
-
2Cook elbow macaroni in a large pot of salted boiling water until al dente; drain and set aside.
-
3In a large saucepan, melt butter over medium heat. Whisk in flour and cook for 1-2 minutes to form a roux.
-
4Gradually whisk in milk, stirring constantly until thickened, about 4-5 minutes. Add cheddar and Gruyère cheese, stirring until melted and smooth. Season sauce with salt, pepper, and paprika.
-
5Add drained pasta to the cheese sauce and stir to combine. Pour mixture into prepared baking dish.
-
6Top with panko breadcrumbs and bake uncovered for 20-25 minutes, or until bubbling and golden brown on top. Serve hot.
CLICK FOR NUTRITION INFO
↑
Approximate Information for One Serving
Serving Size:
1 serving
Calories:
610cal
Protein:
25 gg
Fat:
32 gg
Saturated Fat:
0g
Trans Fat:
0g
Cholesterol:
0mg
Sodium:
0mg
Potassium:
0mg
Total Carbs:
56 gg
Fiber:
0g
Sugar:
0g
Net Carbs:
0g
Vitamin A:
0
Vitamin C:
0mg
Calcium:
0mg
Iron:
0mg
Nutrition Disclaimers
Number of total servings shown is approximate. Actual number of servings will depend on your preferred portion sizes.
Nutritional values shown are general guidelines and reflect information for 1 serving using the ingredients listed, not including any optional ingredients. Actual macros may vary slightly depending on specific brands and types of ingredients used.
To determine the weight of one serving, prepare the recipe as instructed. Weigh the finished recipe, then divide the weight of the finished recipe (not including the weight of the container the food is in) by the desired number of servings. Result will be the weight of one serving.
Did you make this recipe?
Please consider Pinning it!!