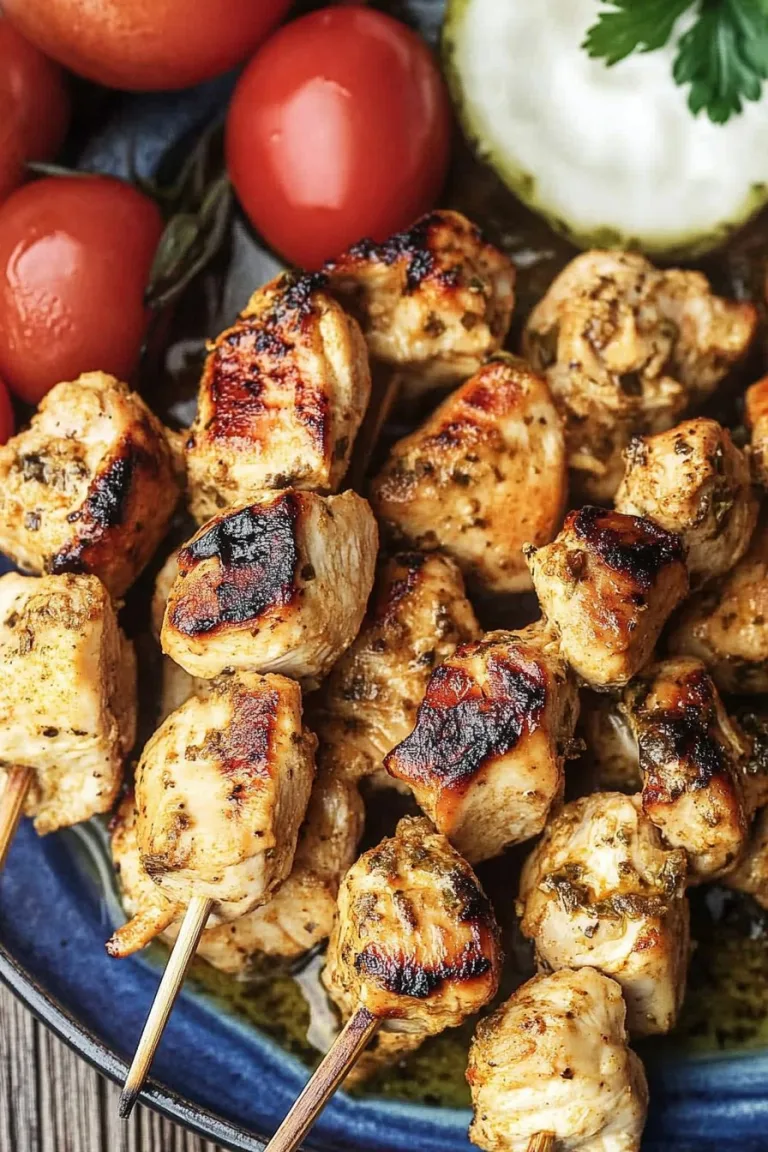
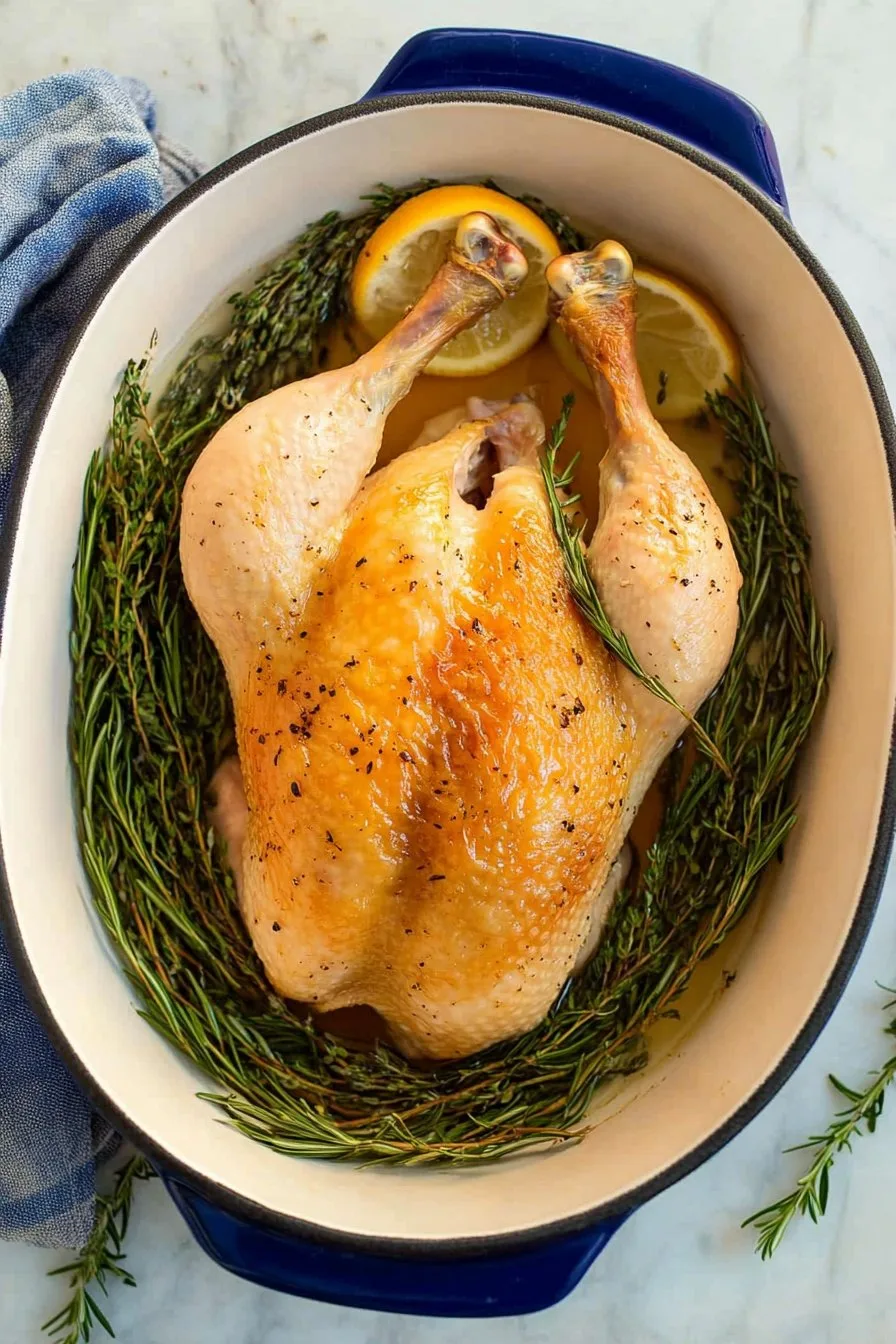
Hey y’all! Tired of dry, bland chicken? This Quick Chicken Brine for Perfect, Juicy Chicken Every Time is your secret weapon for flavorful, ultra-moist chicken, whether you’re grilling for a summer BBQ, prepping a weeknight dinner, or roasting a family feast. In just 15 minutes, you’ll have tender, succulent chicken that’s juicy to the last bite. Let’s get cooking!
Why You’ll Love This Quick Chicken Brine for Perfect, Juicy Chicken Every Time
- Transforms ordinary chicken into restaurant-quality, juicy perfection.
- Super fast—just 15 minutes of prep for maximum flavor.
- Uses pantry staples—no fancy ingredients required.
- Works for all chicken cuts, from breasts to thighs to drumsticks.
- Perfect for grilling, baking, or frying!
Ingredients for Quick Chicken Brine for Perfect, Juicy Chicken Every Time
- 4 cups (1 quart) cold water
- 1/4 cup kosher salt
- 2 tablespoons granulated sugar
- 2 cloves garlic, smashed
- 1 teaspoon black peppercorns
- 2 bay leaves
- 1 tablespoon lemon juice (optional, for brightness)
- 1 1/2 to 2 pounds boneless or bone-in chicken (breasts, thighs, or drumsticks)
Directions: How to Make Quick Chicken Brine for Perfect, Juicy Chicken Every Time
Step 1: Mix the Brine
In a large bowl, dissolve the kosher salt and sugar in 4 cups of cold water. Stir until completely dissolved. Add the smashed garlic cloves, peppercorns, bay leaves, and optional lemon juice.
Step 2: Add the Chicken
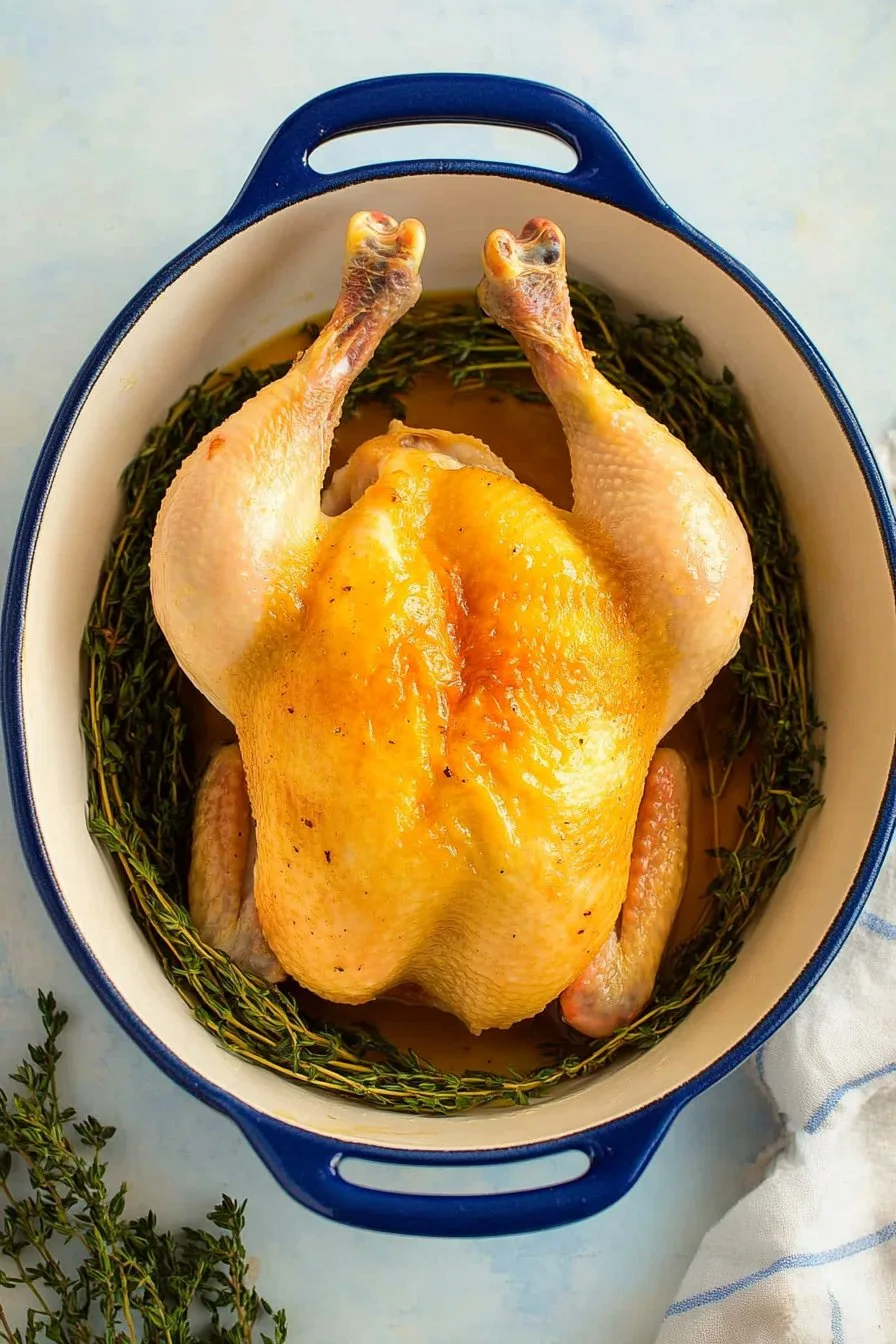
Place your chicken in the brine, ensuring it’s fully submerged. If needed, use a plate to weigh down the chicken.
Step 3: Brine Time
Cover and refrigerate for 30 minutes (for thin cuts) up to 2 hours (for bone-in pieces). Do not exceed 4 hours to prevent overly salty chicken.
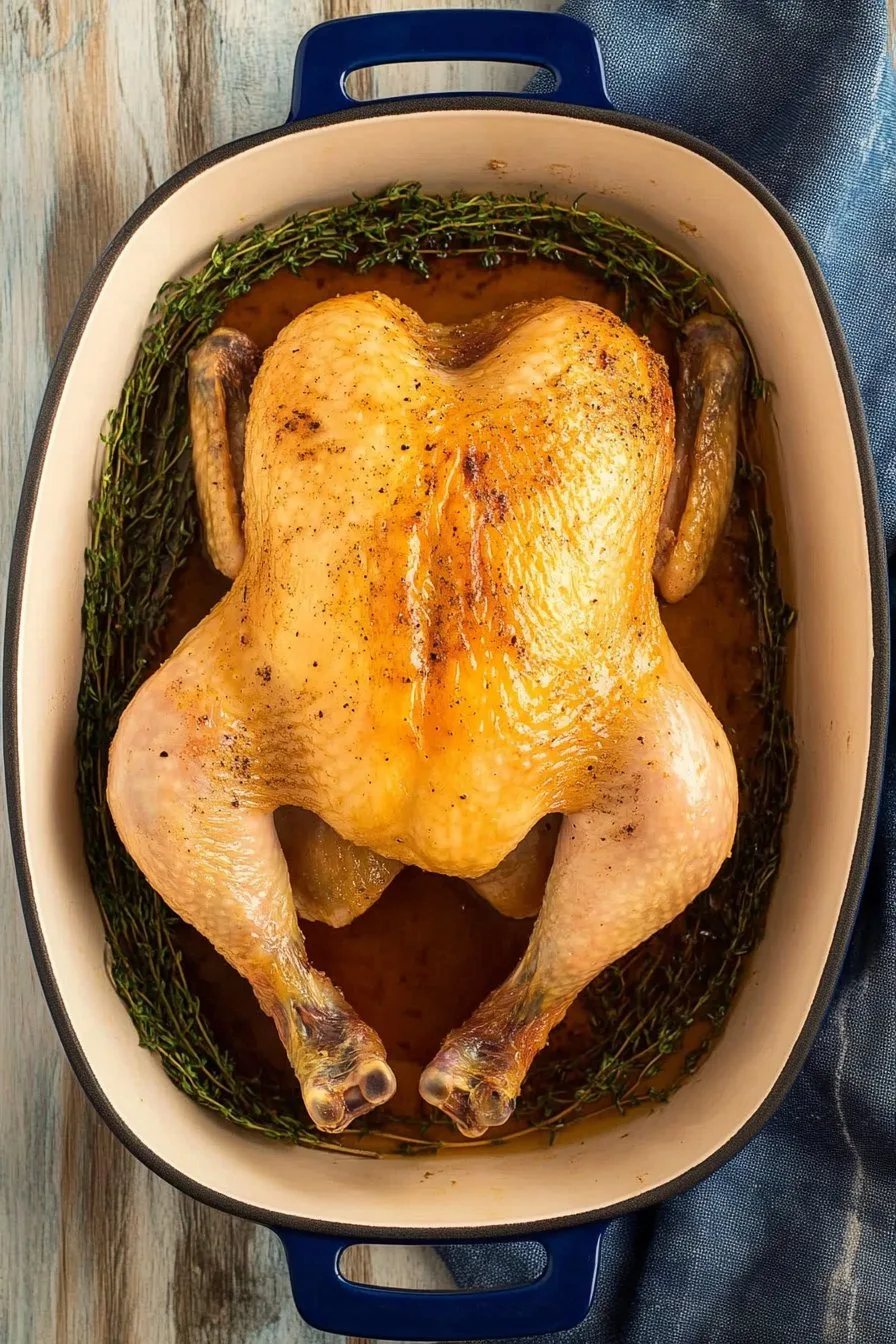
Step 4: Rinse and Dry
Remove chicken from the brine, rinse under cold water, and pat dry thoroughly with paper towels. Now your chicken is ready for cooking!
Notes: Tips for the Best Quick Chicken Brine for Juicy Chicken
- Always use kosher salt, not table salt, or reduce the amount by one-third if substituting. Learn more about brining from Serious Eats.
- For extra flavor, add a sprig of thyme, rosemary, or a pinch of chili flakes.
- Don’t skip the rinsing step—it prevents overly salty chicken!
Variations on Quick Chicken Brine for Perfect, Juicy Chicken Every Time
- Herb-Infused Brine: Add fresh herbs like rosemary, thyme, or sage for aromatic chicken.
- Citrus Brine: Swap lemon juice for orange or lime and add citrus zest for a brighter flavor.
- Spicy Brine: Toss in a sliced jalapeño or a teaspoon of crushed red pepper flakes.
Required Equipment
- Large mixing bowl or food-safe container
- Measuring cups and spoons
- Plate (to weigh down chicken, if needed)
- Paper towels
Storage Instructions for Quick Chicken Brine for Perfect, Juicy Chicken Every Time
Brined chicken should be cooked immediately after brining. Once cooked, store leftovers in an airtight container in the refrigerator for up to 3 days. Freeze cooked chicken for up to 2 months for best quality.
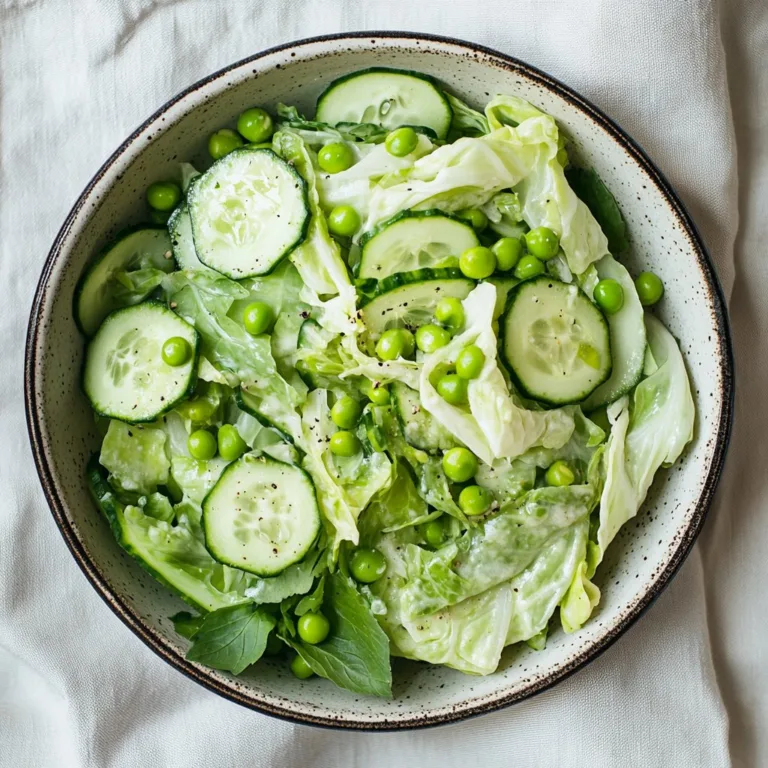
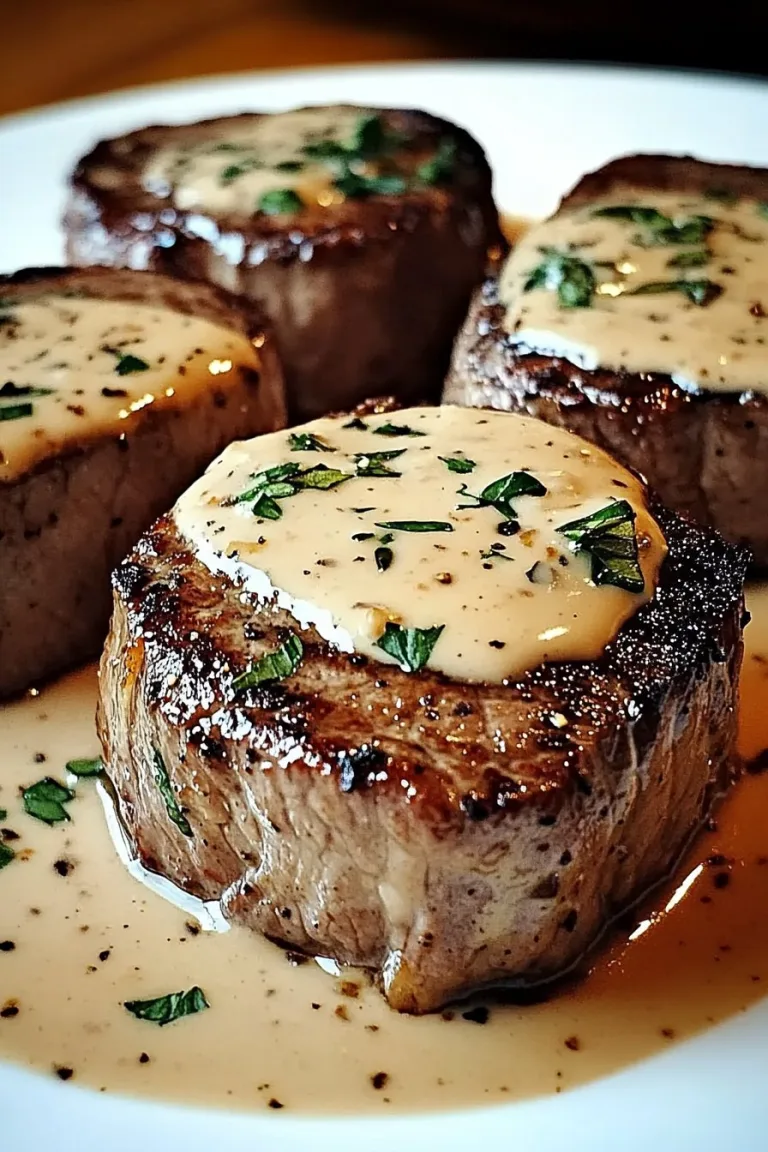
Suggested Pairings & Serving Recommendations
- Serve with creamy mashed potatoes, roasted veggies, or a crisp garden salad.
- Pair with your favorite BBQ sauce or honey mustard dressing.
- Great sliced atop a sandwich or mixed into salads for extra protein.
Pro Tips for Quick Chicken Brine for Perfect, Juicy Chicken Every Time
- Use chilled water and keep the brine cold for food safety. Check safe chicken cooking temperatures at foodsafety.gov.
- Don’t over-brine—stick to the recommended times for best texture.
- Let the chicken rest for 5-10 minutes after cooking for juiciest results. Find out why resting matters at Bon Appétit.
FAQ: Quick Chicken Brine for Perfect, Juicy Chicken Every Time
-
Can I use table salt instead of kosher salt?
Yes, but reduce the amount to 3 tablespoons, as table salt is denser and saltier than kosher salt. -
How long can I brine the chicken?
Boneless cuts: 30-60 minutes. Bone-in cuts: 1-2 hours. Don’t brine over 4 hours to avoid mushy, salty chicken. -
Does this brine work for turkey or pork?
Absolutely! Adjust the brining time: turkey needs 8-12 hours, and pork (chops or tenderloin) needs 2-4 hours.

Ingredients
- 4 cups water
- 1/4 cup kosher salt
- 1/4 cup granulated sugar
- 2 cups ice cubes
- 2 cloves garlic, smashed
- 1 teaspoon black peppercorns
- 2 bay leaves
- 1 tablespoon fresh lemon juice (optional)
Instructions
-
1In a large bowl, combine 2 cups of water, kosher salt, and sugar. Stir until the salt and sugar are fully dissolved.
-
2Add the remaining 2 cups of water, ice cubes, smashed garlic, black peppercorns, bay leaves, and lemon juice (if using). Stir to combine.
-
3Submerge the chicken pieces in the brine, ensuring they are fully covered.
-
4Let the chicken brine in the refrigerator for at least 30 minutes and up to 2 hours for best results.
-
5Remove the chicken from the brine, pat dry with paper towels, and cook as desired.
CLICK FOR NUTRITION INFO
↑
Approximate Information for One Serving
Serving Size:
1 serving
Calories:
30 caloriescal
Protein:
0gg
Fat:
0gg
Saturated Fat:
0g
Trans Fat:
0g
Cholesterol:
0mg
Sodium:
0mg
Potassium:
0mg
Total Carbs:
7gg
Fiber:
0g
Sugar:
0g
Net Carbs:
0g
Vitamin A:
0
Vitamin C:
0mg
Calcium:
0mg
Iron:
0mg
Nutrition Disclaimers
Number of total servings shown is approximate. Actual number of servings will depend on your preferred portion sizes.
Nutritional values shown are general guidelines and reflect information for 1 serving using the ingredients listed, not including any optional ingredients. Actual macros may vary slightly depending on specific brands and types of ingredients used.
To determine the weight of one serving, prepare the recipe as instructed. Weigh the finished recipe, then divide the weight of the finished recipe (not including the weight of the container the food is in) by the desired number of servings. Result will be the weight of one serving.
Did you make this recipe?
Please consider Pinning it!!