Alright, Story Time—The Soup That Broke My Winter Funk
I’ll be honest, Spring Pea Soup With Mint wasn’t something I grew up eating. The first time I made this was after a truly unforgivable week of April rain—my socks were never dry, my cat was annoyed, and I just craved something, well, green. Not, you know, bitter salad green or “Oops, that’s cilantro, not parsley” green. Sweet, oh-it’s-finally-spring green. So out came the peas and mint (the ones growing like wild behind my shed), and this soup found its way firmly into my spring rotation. My first batch was a little more like pea mush than soup—blender exploded, too, but that’s a different story for another recipe.
Why You’ll Love This—Honestly
I make this when the sun finally streams through the kitchen and I want something ridiculously easy that looks way fancier than it really is. My family goes crazy for this because—even though, confession: they’re not usually “pea people”—the bright flavor with that kick of mint makes everyone go back for seconds. It’s brilliant for those days when you fancy a warm bowl but don’t want a heavy stew. Also, let’s not lie, it’s an excellent way to use up the massive bag of frozen peas you panic-bought last time there was a sale. (Anyone else? Just me?) Sometimes I get lazy and skip the fancy toppings; the soup’s honestly still good by itself.
What Goes In (Plus a Few Real-Life Swaps)
- 2 tbsp olive oil (you could use butter if you want it a bit richer—my grandmother always said real Irish butter, but whatever’s on hand)
- 1 large onion, chopped (a shallot if you’re feeling posh; sometimes I use a leek—great for when the onion’s gone sort of…suspicious)
- 2 garlic cloves, minced (okay, I admit it: sometimes I just use garlic paste on busy nights)
- 750g (about 1.5 lbs) frozen peas (fresh if you’re rolling in them, but frozen’s so much easier and honestly tastes just as good here)
- 750ml (about 3 cups) vegetable stock (I reach for store-bought more often than not, but homemade’s great if you happen to have it—broth cube will do in a true pinch)
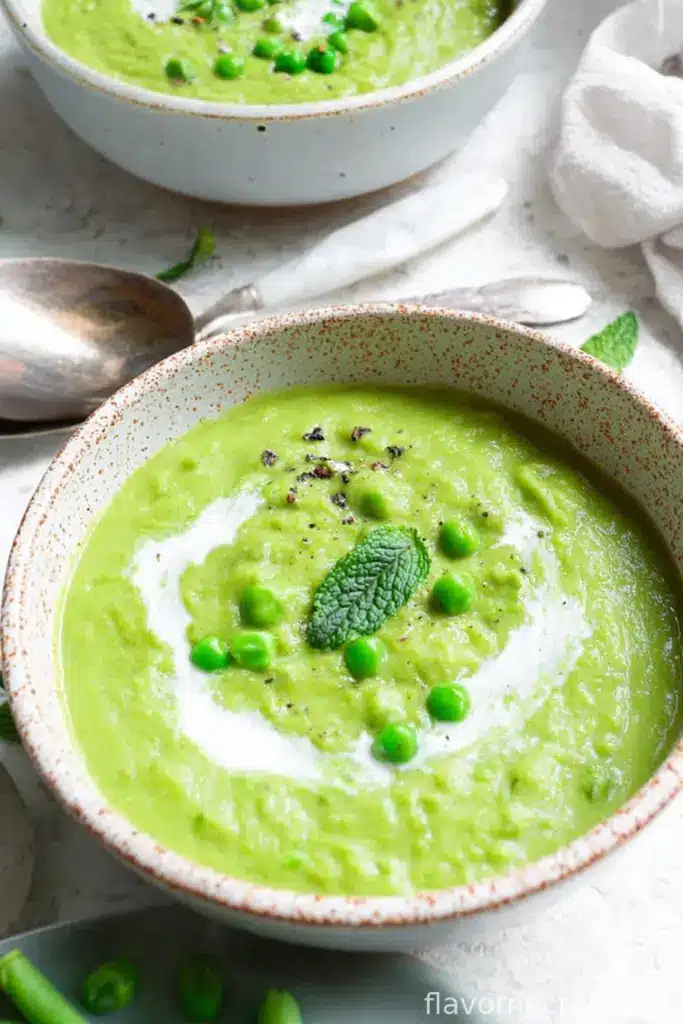
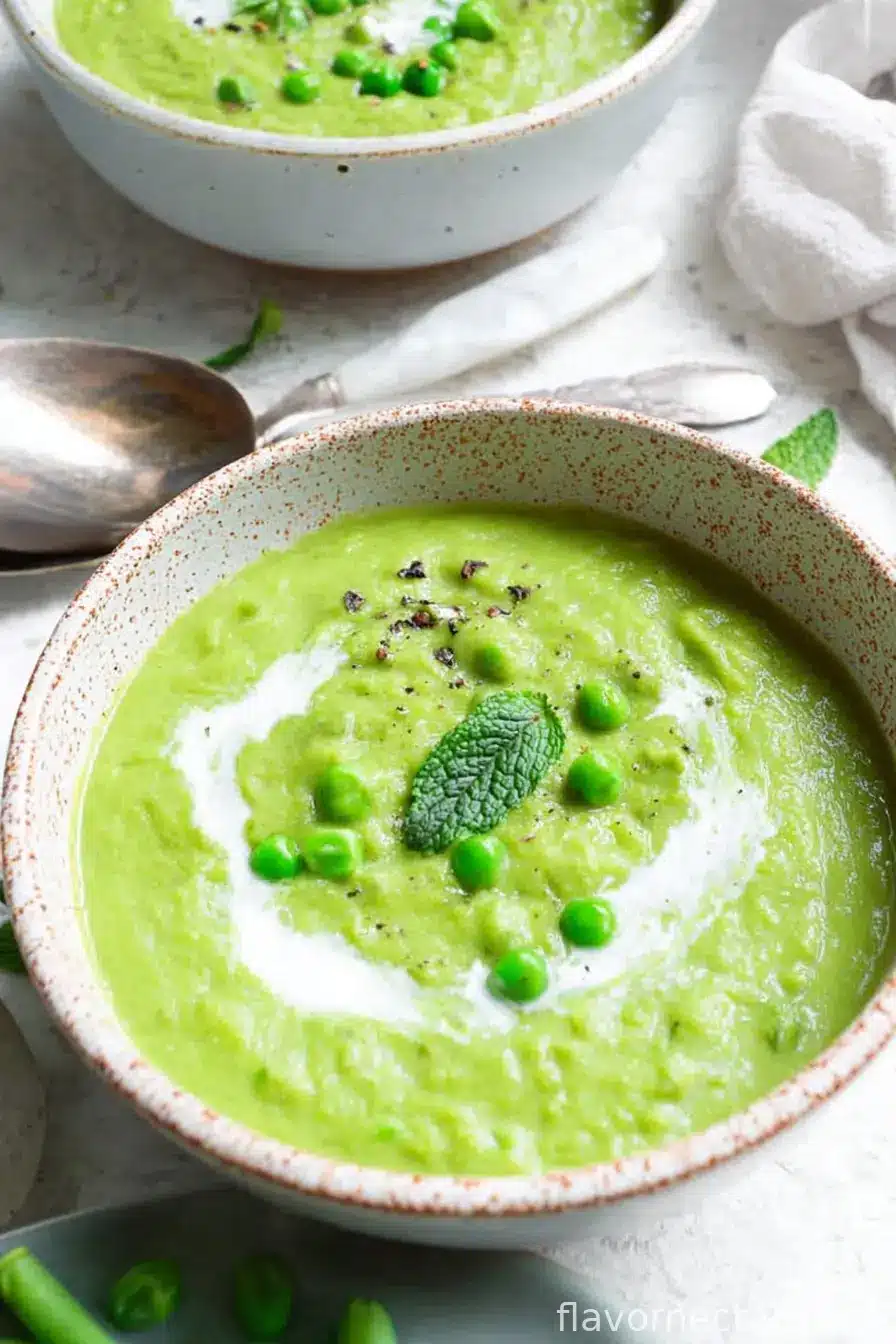
- Good handful of fresh mint leaves (or a few teaspoons of dried if you can’t find fresh—but go easy, dried’s potent)
- Juice of 1/2 lemon (I’ve used lime when that’s all I could find; different, but oddly lovely)
- Salt and black pepper, to taste (always taste at the end, I once over-peppered and, well, let’s just say my brother STILL mentions it)
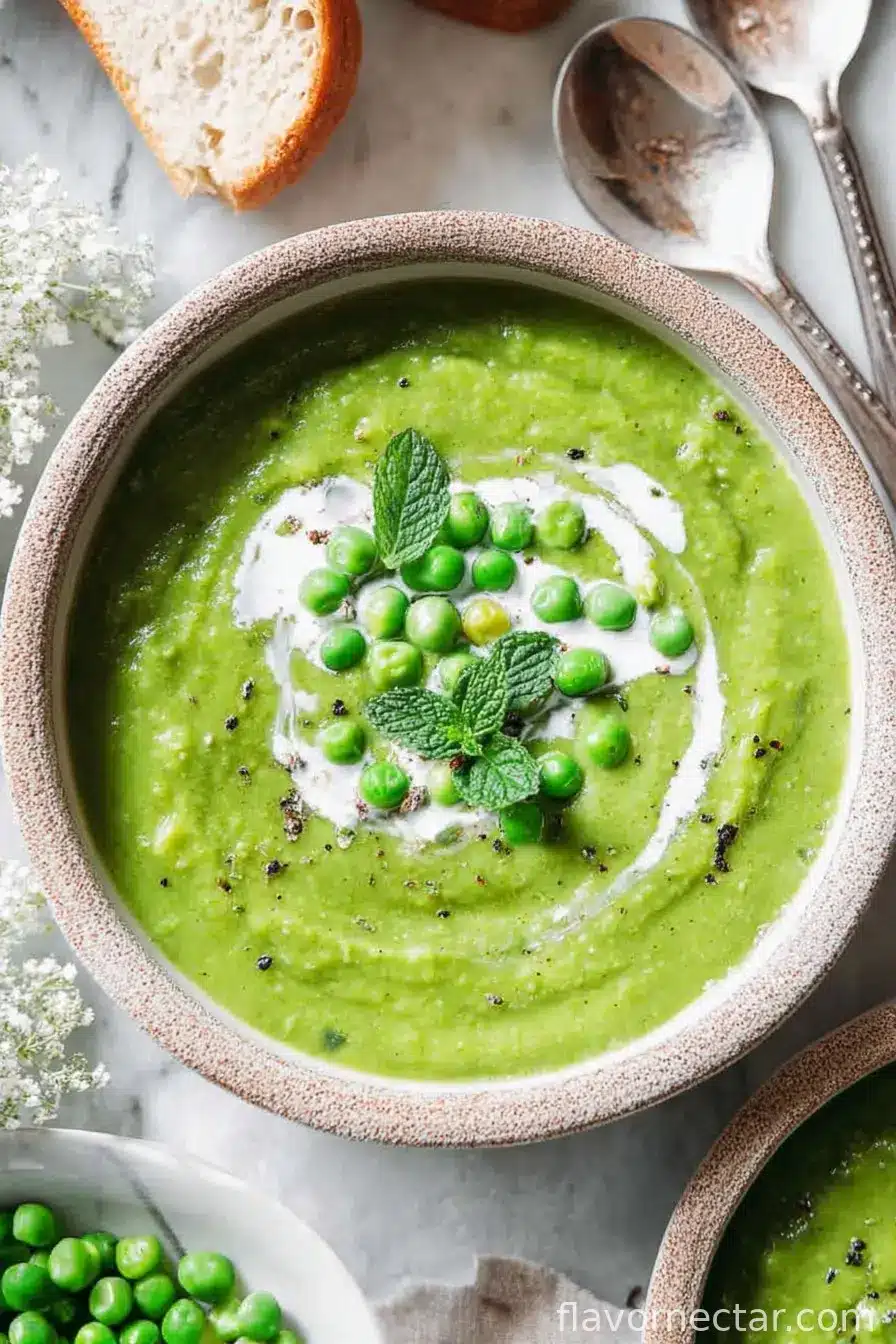
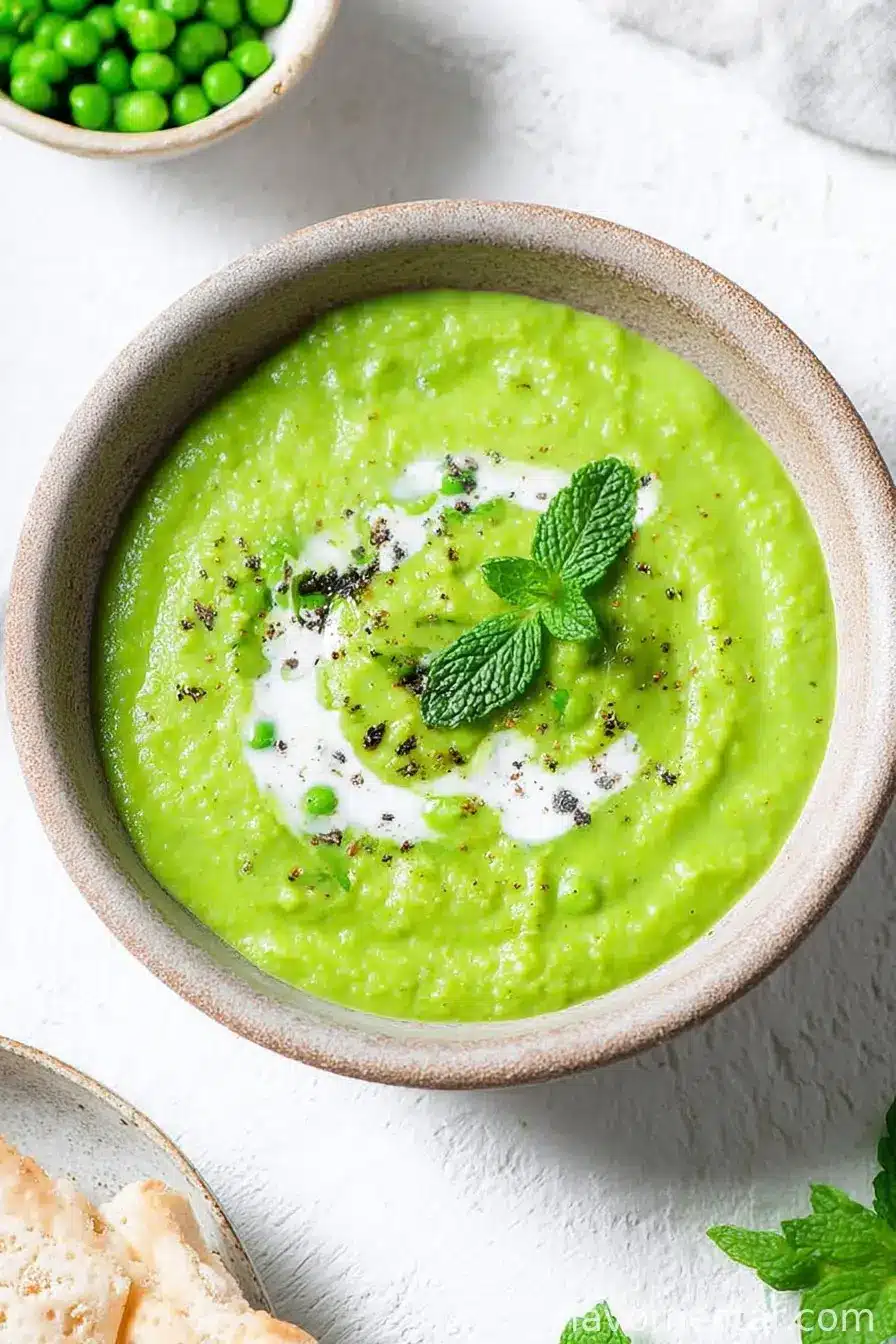
- To serve: swirl of cream or crème fraîche, extra mint leaves, crusty bread (optional—I sometimes skip this when there’s none left because someone ate it all)
Let’s Make It! Here’s What You Do
- Heat the olive oil (or butter) in a big pot over medium heat. Chuck in the chopped onion and cook till soft—about 5ish minutes. Don’t let it brown! (This is where I usually start washing up just to feel productive, but inevitably get distracted.)
- Add the minced garlic. Stir for a minute or so, just until it’s fragrant—not burnt. If you’re using garlic paste like I sometimes do, no judgment, just mix it in well.
- Tumble in the peas (yes, straight from the freezer). Pour in the stock. Give everything a good stir and let it come to a gentle bubble. Not a wild boil—just enough so the peas cook through. It’s usually 4 to 5 minutes—don’t wander off; they overcook fast and lose their spring green.
- Now throw in the mint leaves. Save a few for the garnish if you want to act fancy. Simmer just another minute or so. The peas should still look bright, not tired.
- Take the pot off the heat. Add the lemon juice. This is where I always taste for salt and pepper. Usually needs a bit more salt than I expect, for reasons unknown to science.
- Blend! Either use a stick blender right in the pot (my favorite shortcut), or blend in batches in a regular blender. Careful with hot liquid—learned that the messy way. If it’s too thick, add a splash of hot water or extra stock until it’s just how you like it.
- Pour into bowls. Swirl with cream or crème fraîche, if you have some. Scatter over a little extra mint. Grab that crusty bread (or don’t). Dig in! This is the part where I always snag the first bowl, just to “check for seasoning.”
My Scrappy Notes
- Actually, I find this tastes even better cold the next day—almost like a savory smoothie. Don’t knock it ‘til you try it.
- If you use dried mint, go slow with it. Once I added a heaping spoonful and felt like I’d licked a toothpaste tube. Not ideal.
- I tried topping this with crumbled feta once, and you know what? Not bad at all.
Variations I’ve Attempted (Plus One Dud)
- A swirl of Greek yogurt instead of cream makes this a bit lighter. I adore it this way for lunch.
- Sometimes I toss in a small boiled potato with the peas for extra thickness (good if you want it more substantial—but don’t overdo or you lose the pea flavor).
- Once, on a dare, I tried adding coconut milk. Eh, didn’t love it—got a bit too sweet, and my cousin said it tasted like a tropical smoothie that forgot itself.
What If I Don’t Have a Fancy Blender?
Honestly, a stick blender is easiest (easier cleanup!). But before I had one, I’d ladle the soup into my old-school blender in small batches. Just keep a tea towel on top in case the lid gets ideas. Or, in a real pinch, mash with a potato masher for a rustic texture—it’s a peasant soup at heart!
Storing—If There’s Any Left!
This keeps in the fridge, covered, for 2–3 days, but honestly, in my house it never lasts more than a day—everyone keeps coming back “just for a spoonful…” You can freeze it, too, though occasionally I find the texture goes a bit grainy after thawing. Still tasty, mind.
How I Serve Mine
I almost always have this with slices of whatever slightly-stale baguette’s around (never let good bread die in vain). My family joke is that the first bowl needs a swirl of sour cream—my dad insists it “keeps the peas honest.” Don’t ask, I have no idea what he means either.
Pro Tips from Past Disasters
- I once tried to skip the cooling time before blending in the big blender—big mistake. Soup everywhere. Let it cool a bit or use a stick blender for sanity.
- If you let the peas cook too long, the color does go a bit swampy. It’s still edible, just less peppy-looking.
FAQ—All the Things People Actually Ask Me
- Can I use canned peas? Hmm. You could, but it’s just not the same. The flavor’s sort of dull; texture’s a touch mushy. Frozen really is best.
- Is this okay without mint? Yep! It’ll just be a classic pea soup. Sometimes I use basil or parsley if mint’s run out—still lovely.
- Can I make this vegan? Oh, for sure. Just skip the cream or use a vegan alternative—coconut yogurt is tasty if you like a hint of sweetness.
- How do I make this fancy for guests? A drizzle of truffle oil or a sprinkle of roasted seeds. Or serve it in espresso cups for a super-posh starter! (Don’t worry if your cups don’t match—mine never do, either.)
- Any tips for picky kids? I tell them it’s Hulk soup. Never fails—until they’re teenagers, at least.
Sometimes I wonder if the cat likes peas, but she hasn’t tried it yet. Maybe that’s for next spring?
Ingredients
- 2 tbsp olive oil (you could use butter if you want it a bit richer—my grandmother always said real Irish butter, but whatever’s on hand)
- 1 large onion, chopped (a shallot if you’re feeling posh; sometimes I use a leek—great for when the onion’s gone sort of…suspicious)
- 2 garlic cloves, minced (okay, I admit it: sometimes I just use garlic paste on busy nights)
- 750g (about 1.5 lbs) frozen peas (fresh if you’re rolling in them, but frozen’s so much easier and honestly tastes just as good here)
- 750ml (about 3 cups) vegetable stock (I reach for store-bought more often than not, but homemade’s great if you happen to have it—broth cube will do in a true pinch)
- Good handful of fresh mint leaves (or a few teaspoons of dried if you can’t find fresh—but go easy, dried’s potent)
- Juice of 1/2 lemon (I’ve used lime when that’s all I could find; different, but oddly lovely)
- Salt and black pepper, to taste (always taste at the end, I once over-peppered and, well, let’s just say my brother STILL mentions it)
- To serve: swirl of cream or crème fraîche, extra mint leaves, crusty bread (optional—I sometimes skip this when there’s none left because someone ate it all)
Instructions
-
1Heat the olive oil (or butter) in a big pot over medium heat. Chuck in the chopped onion and cook till soft—about 5ish minutes. Don’t let it brown! (This is where I usually start washing up just to feel productive, but inevitably get distracted.)
-
2Add the minced garlic. Stir for a minute or so, just until it’s fragrant—not burnt. If you’re using garlic paste like I sometimes do, no judgment, just mix it in well.
-
3Tumble in the peas (yes, straight from the freezer). Pour in the stock. Give everything a good stir and let it come to a gentle bubble. Not a wild boil—just enough so the peas cook through. It’s usually 4 to 5 minutes—don’t wander off; they overcook fast and lose their spring green.
-
4Now throw in the mint leaves. Save a few for the garnish if you want to act fancy. Simmer just another minute or so. The peas should still look bright, not tired.
-
5Take the pot off the heat. Add the lemon juice. This is where I always taste for salt and pepper. Usually needs a bit more salt than I expect, for reasons unknown to science.
-
6Blend! Either use a stick blender right in the pot (my favorite shortcut), or blend in batches in a regular blender. Careful with hot liquid—learned that the messy way. If it’s too thick, add a splash of hot water or extra stock until it’s just how you like it.
-
7Pour into bowls. Swirl with cream or crème fraîche, if you have some. Scatter over a little extra mint. Grab that crusty bread (or don’t). Dig in! This is the part where I always snag the first bowl, just to “check for seasoning.”
CLICK FOR NUTRITION INFO
↑
Approximate Information for One Serving
Serving Size:
1 serving
Calories:
210cal
Protein:
8 gg
Fat:
9 gg
Saturated Fat:
0g
Trans Fat:
0g
Cholesterol:
0mg
Sodium:
0mg
Potassium:
0mg
Total Carbs:
26 gg
Fiber:
0g
Sugar:
0g
Net Carbs:
0g
Vitamin A:
0
Vitamin C:
0mg
Calcium:
0mg
Iron:
0mg
Nutrition Disclaimers
Number of total servings shown is approximate. Actual number of servings will depend on your preferred portion sizes.
Nutritional values shown are general guidelines and reflect information for 1 serving using the ingredients listed, not including any optional ingredients. Actual macros may vary slightly depending on specific brands and types of ingredients used.
To determine the weight of one serving, prepare the recipe as instructed. Weigh the finished recipe, then divide the weight of the finished recipe (not including the weight of the container the food is in) by the desired number of servings. Result will be the weight of one serving.
Did you make this recipe?
Please consider Pinning it!