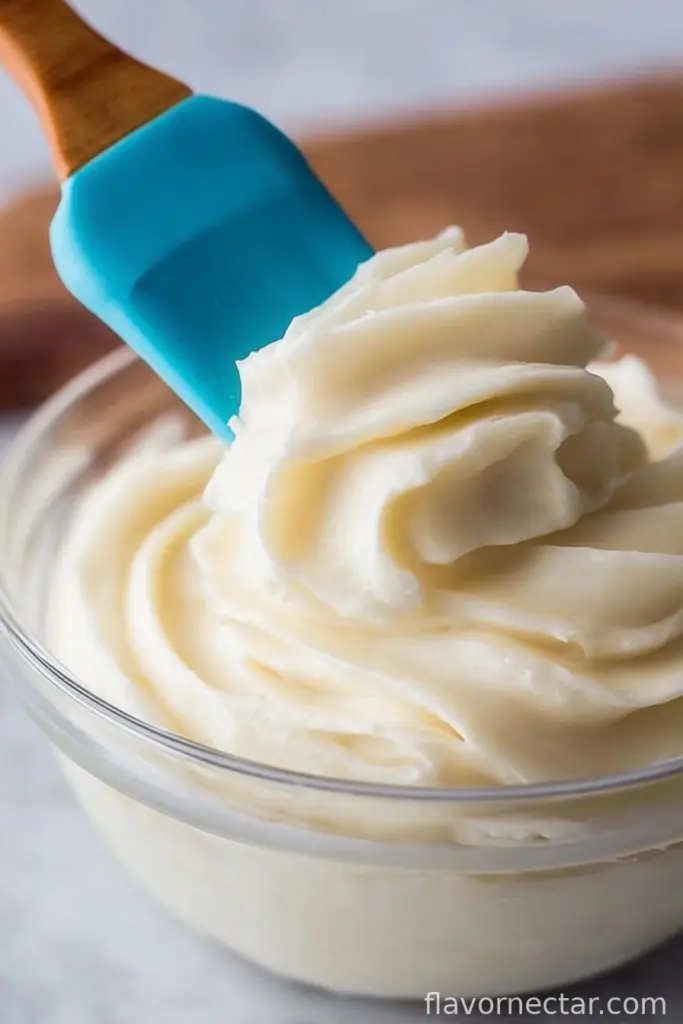
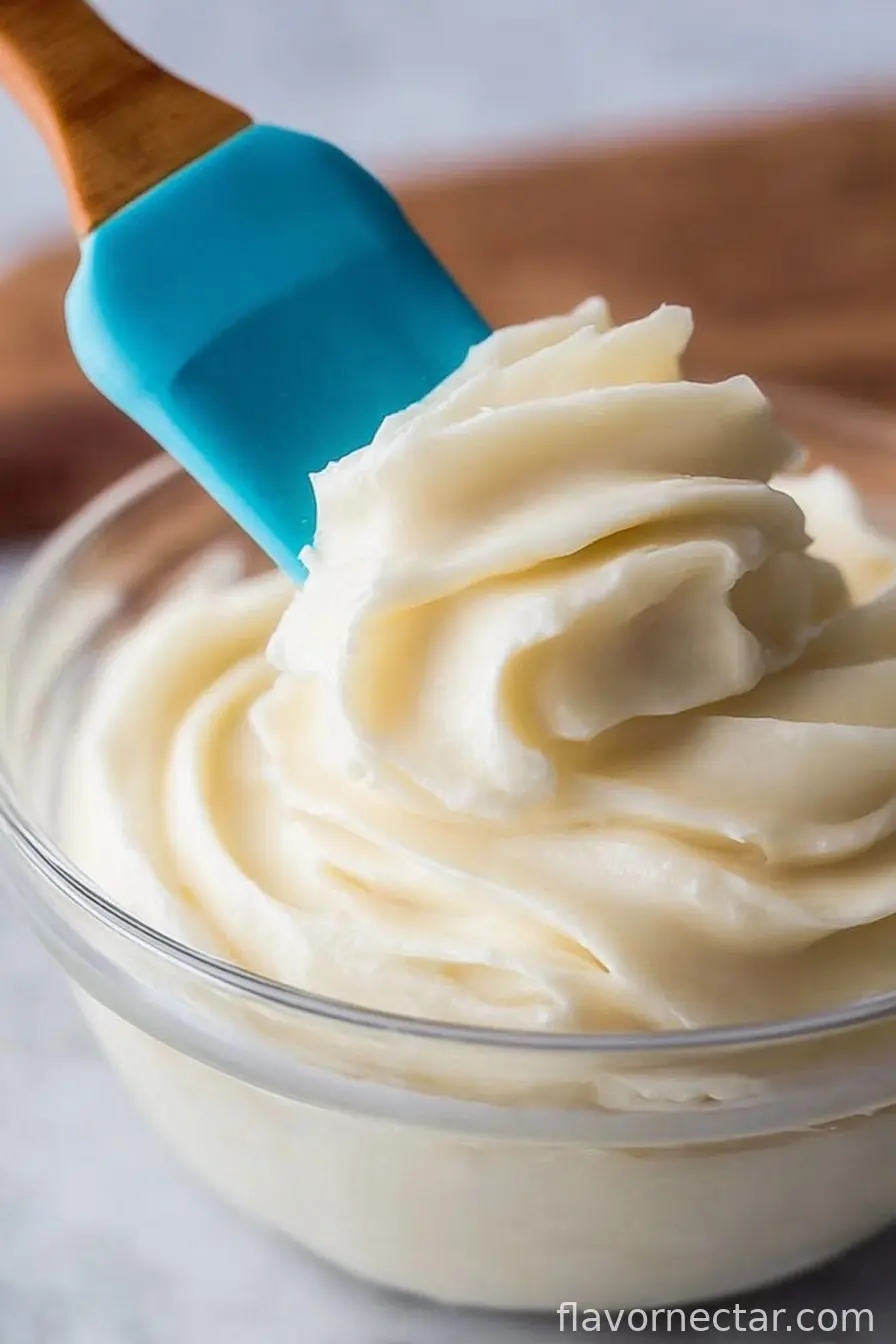
Alright, let’s be honest for a sec—I didn’t always make frosting from scratch. There was a period in my twenties where I thought store-bought was just as good, especially when I’d already spent half my day wrestling with temperamental cake layers (don’t get me started on the time the cat *sat* on my unfrosted cupcakes; story for another day…). But then I tried whipping up this small-batch cream cheese frosting, all tangy and cloud-soft, and realized it takes about five minutes if you’re not chasing a runaway mixer plug around the countertop. This one doesn’t even make too much, so you won’t be “accidentally” eating it by the spoonful for three days—though, honestly, you still might.
Why I Keep Coming Back to This Recipe
I find myself making this when I have just a couple of cupcakes to decorate, or when I’m trying to justify a mid-week cinnamon roll with something homemade on top. My family goes bananas for it—especially my brother, who claims it’s better than the cake itself (can’t say he’s wrong). Sometimes I just want a fix that’s not too sweet, not too much, and doesn’t require a mountain of dishes. Oh, and actually, it also saves me when I forget to soften butter, since you can just microwave the cream cheese a bit (just don’t melt it into a puddle—that’s a lesson you only need to learn once!).
Gather Up These Ingredients (Substitutions Welcome)
- 4 oz (half a standard block) cream cheese, softened (I sometimes use whipped cream cheese if that’s all I’ve got, though it’s a bit lighter)
- 2 tbsp unsalted butter, also softened (Grandma always said salted butter gave it “more spirit” but honestly, you do you)
- 3/4 cup powdered sugar (icing sugar, confectioners’—depends where you are in the world)
- 1/2 tsp vanilla extract (though I’ve used almond extract once, it’s a little different but actually sort of dreamy on chocolate)
- Pinch of salt (totally optional, but I usually toss in a little because I think it brightens everything up)
Let’s Get Whipping: Directions (No Stress)
- Chuck the softened cream cheese and butter into a medium-ish bowl. Use a hand mixer to beat them together ’til it goes fluffy and there are pretty much no lumps left. Or, if you don’t have a mixer, just mash everything with a fork then switch to a whisk—your arms get a little workout, but it works okay.
- Toss in the powdered sugar, a bit at a time. Otherwise? Sugar cloud all over your kitchen. Mix on low at first so it doesn’t go everywhere, then ramp up ’til it’s smooth. This is where I usually sneak a taste (quality control, promise).
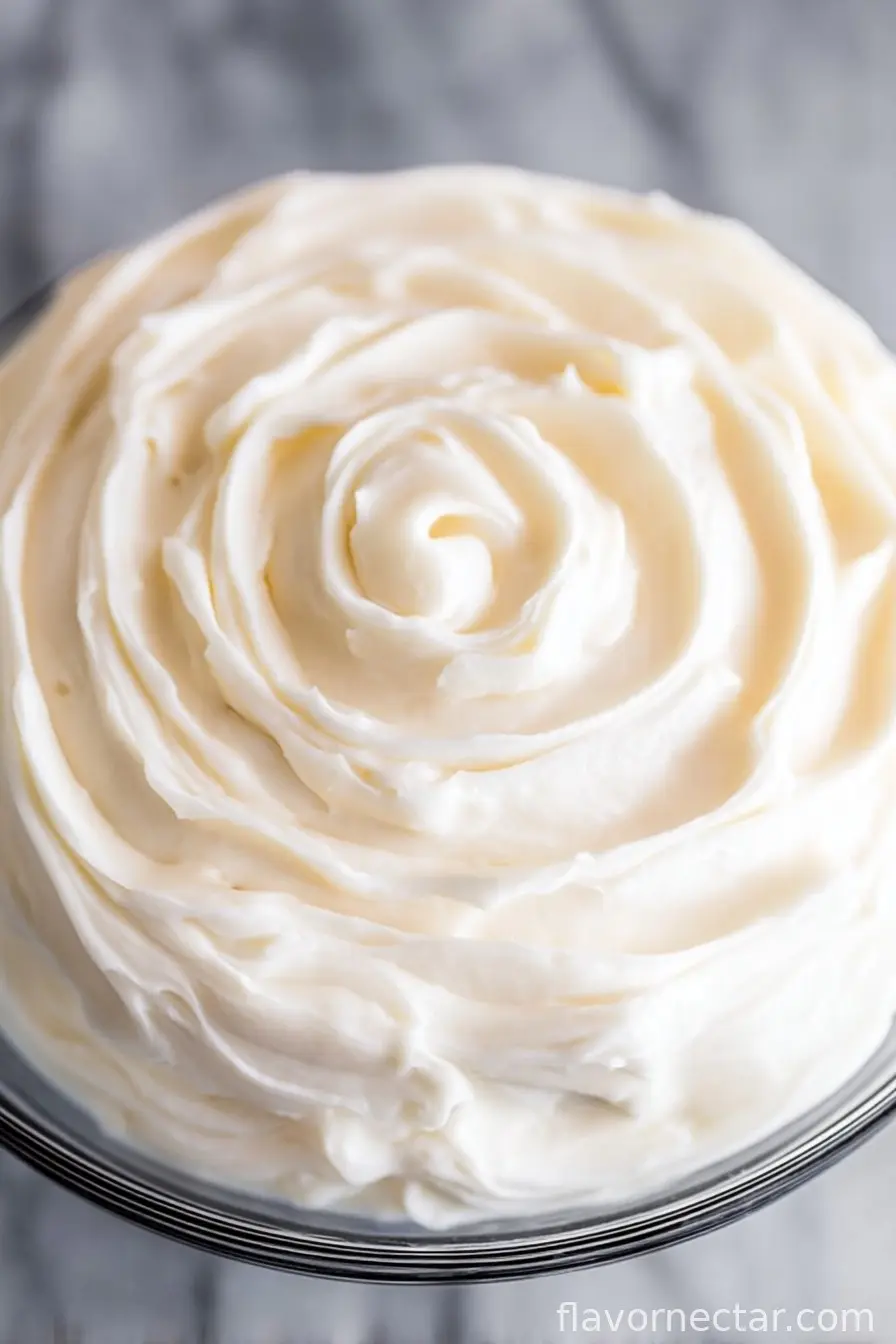
- Stir in the vanilla extract and your teeny pinch of salt. If it seems a bit runny, pop it in the fridge for a few minutes. And don’t panic if it looks weird—it’ll thicken up, honest.
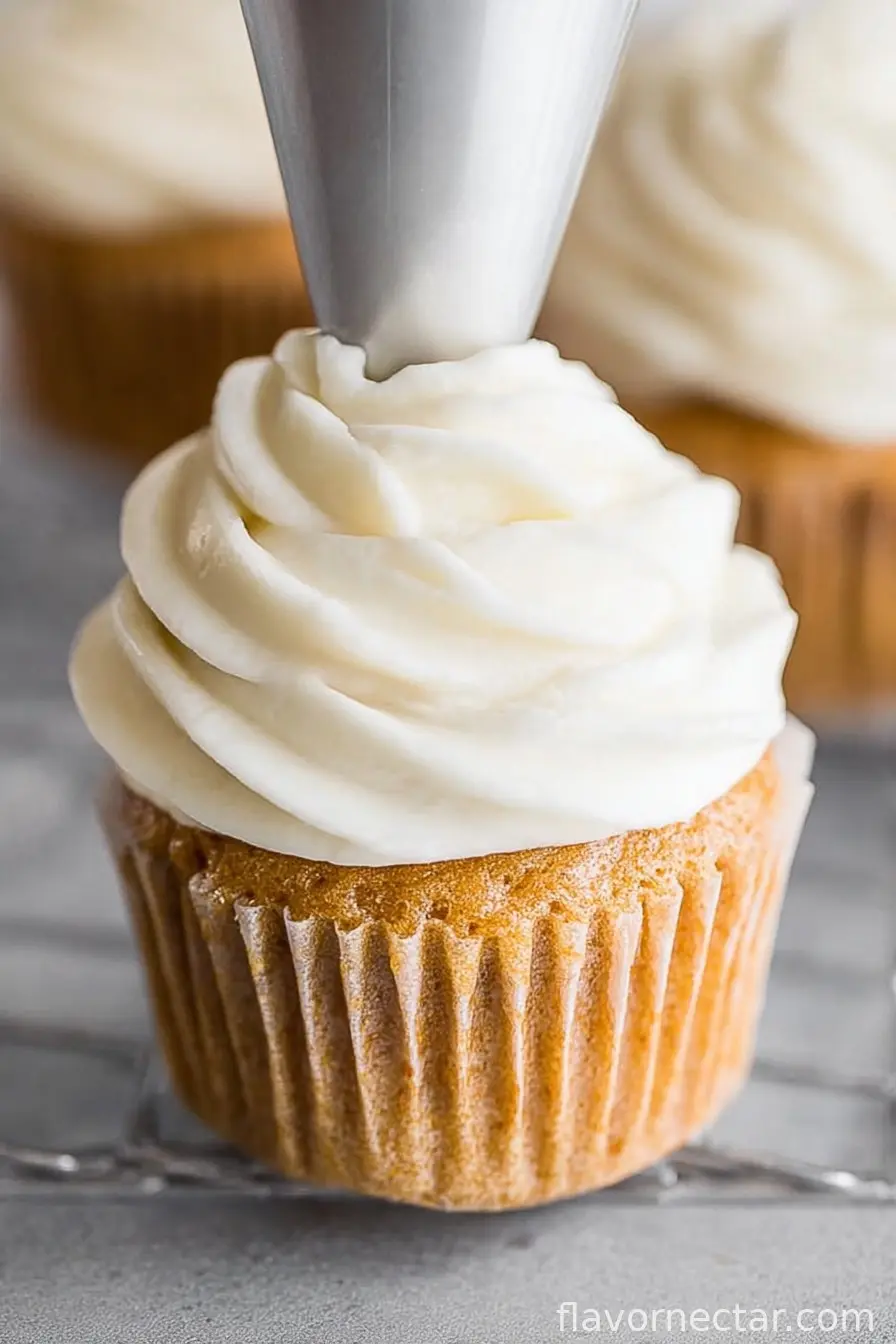
- Slather it onto cooled cupcakes, cookies, or, in a pinch, graham crackers. Or your finger. No judgement.
What I’ve Learned (The Honest Notes)
- If you use freshly-washed, still-wet beaters, it’ll make the frosting weirdly lumpy—I don’t actually know why (chemistry?), but just pat ’em dry first.
- I tried doubling the powdered sugar once thinking it would be fluffier, but it was way too stiff and sweet—even I couldn’t eat it by the spoonful.
- If you overbeat it, it can go a bit soupy. I tend to just chill it and call it a day, but it won’t hold big swirly shapes as nicely.
Variations I’ve Toyed With (Some Hits, One Miss…)
- Added a tsp of lemon zest—super perky but kinda overpowered my carrot cake.
- Swapped the vanilla for maple extract once. Not bad, but made everything smell like pancakes (which isn’t always a bad thing!).
- Tried Greek yogurt in place of the butter for a “healthy twist”—turned out weirdly tangy, wouldn’t recommend unless you like a yogurt-cream cheese experiment.
Tools You’ll Need (And Workarounds If You Don’t)
- Hand mixer (or just use a sturdy whisk and some elbow grease—mine went missing during a move and I survived, just sweatier than usual)
- Medium bowl (preferably not your favorite soup bowl ’cause the sugar really sticks)
- Rubber spatula or big spoon
How to Store Cream Cheese Frosting (If You Have Any Left, That Is)
Pop it in an airtight container in the fridge. It’ll keep for 3 to 4 days, but to be totally honest, in my place it maybe—maybe—lasts overnight. Give it a stir before spreading if it looks a little separated.
How I Love to Serve This Frosting
I mostly slather it on banana bread (especially those neglected overripe ones), or spread it thick on a single-layer chocolate cake for birthdays. My niece likes to dip strawberries in it, which I admit is not half-bad for an after-school snack.
Mistakes I’ve Made (So You Don’t Have To)
- I once tried to frost a warm cake—don’t. The frosting will just melt and form a sad puddle. Let things cool all the way (painful, but necessary).
- If the cream cheese is too cold, I end up with little lumps, so give it a minute to warm up (but not so long it turns to soup!).
Real-life Questions People Ask Me
- Can I halve this recipe? Totally—you just need a small bowl, and maybe some patience measuring half an egg, except wait, there’s no egg here, nevermind, you’re good.
- Can I make this ahead? Yep, but I think it actually tastes better the next day. I just let it come up to room temp for ten minutes before using, otherwise it’s a bit hard to spread.
- How do I fix frosting that’s too runny? Add a spoonful or two more powdered sugar, or toss it back in the fridge for a bit. One way or another, it’ll thicken.
- Is it pipe-able for fancy decorations? Kind of, if you don’t mind it being softer. For super crisp shapes, try using a bit less butter, but honestly, I’m no cake artist so mine never look perfect and they still get eaten!
- Can I freeze it? You technically can, but I find it gets crumbly when thawed. So I don’t, but if you’re desperate for leftover frosting storage, go for it and just stir well after defrosting.
Anyway, that’s my not-so-secret sauce for small-batch cream cheese frosting. If you find yourself standing at midnight debating whether to bake a cookie just to justify making this—well, same. Happy frosting!
Ingredients
- 4 oz (half a standard block) cream cheese, softened (I sometimes use whipped cream cheese if that’s all I’ve got, though it’s a bit lighter)
- 2 tbsp unsalted butter, also softened (Grandma always said salted butter gave it “more spirit” but honestly, you do you)
- 3/4 cup powdered sugar (icing sugar, confectioners’—depends where you are in the world)
- 1/2 tsp vanilla extract (though I’ve used almond extract once, it’s a little different but actually sort of dreamy on chocolate)
- Pinch of salt (totally optional, but I usually toss in a little because I think it brightens everything up)
Instructions
-
1Chuck the softened cream cheese and butter into a medium-ish bowl. Use a hand mixer to beat them together ’til it goes fluffy and there are pretty much no lumps left. Or, if you don’t have a mixer, just mash everything with a fork then switch to a whisk—your arms get a little workout, but it works okay.
-
2Toss in the powdered sugar, a bit at a time. Otherwise? Sugar cloud all over your kitchen. Mix on low at first so it doesn’t go everywhere, then ramp up ’til it’s smooth. This is where I usually sneak a taste (quality control, promise).
-
3Stir in the vanilla extract and your teeny pinch of salt. If it seems a bit runny, pop it in the fridge for a few minutes. And don’t panic if it looks weird—it’ll thicken up, honest.
-
4Slather it onto cooled cupcakes, cookies, or, in a pinch, graham crackers. Or your finger. No judgement.
CLICK FOR NUTRITION INFO
↑
Approximate Information for One Serving
Serving Size:
1 serving
Calories:
120 caloriescal
Protein:
1gg
Fat:
7gg
Saturated Fat:
0g
Trans Fat:
0g
Cholesterol:
0mg
Sodium:
0mg
Potassium:
0mg
Total Carbs:
14gg
Fiber:
0g
Sugar:
0g
Net Carbs:
0g
Vitamin A:
0
Vitamin C:
0mg
Calcium:
0mg
Iron:
0mg
Nutrition Disclaimers
Number of total servings shown is approximate. Actual number of servings will depend on your preferred portion sizes.
Nutritional values shown are general guidelines and reflect information for 1 serving using the ingredients listed, not including any optional ingredients. Actual macros may vary slightly depending on specific brands and types of ingredients used.
To determine the weight of one serving, prepare the recipe as instructed. Weigh the finished recipe, then divide the weight of the finished recipe (not including the weight of the container the food is in) by the desired number of servings. Result will be the weight of one serving.
Did you make this recipe?
Please consider Pinning it!