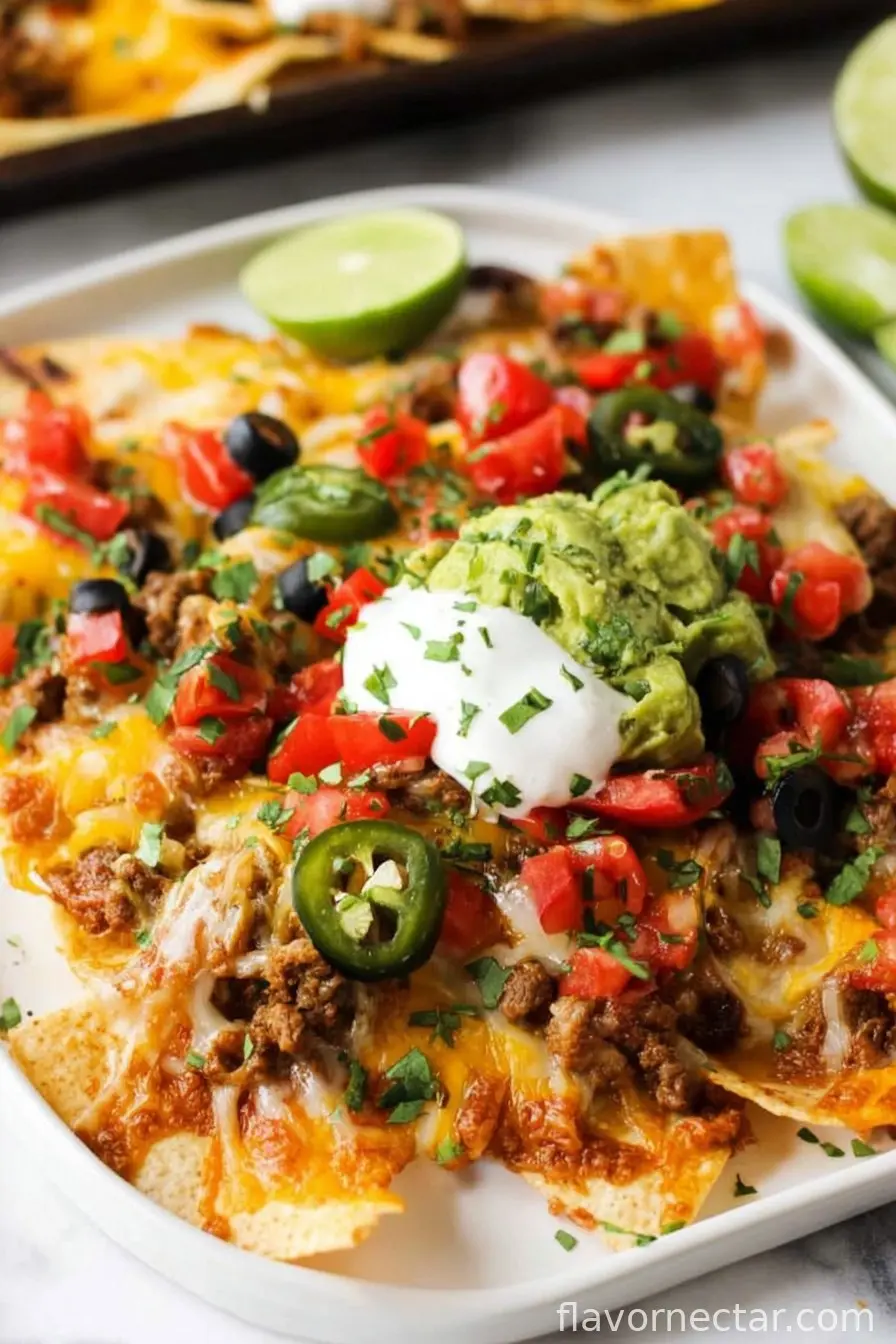
Making Sheet Pan Beef Nachos—The Messy, Happy Way
Alright, I’ll level with you—sheet pan nachos are my go-to when I’m hungry and patience is not on the menu (which, let’s be honest, is most weeknights around here). It started back in college; my roommate had a cheap little toaster oven, and we engineered the first “garbage nachos” after a long exam day. Somehow, the ritual stuck around even after I should’ve learned some more refined life skills. But who needs finesse when you have melty cheese and crispy chips?
Why You’ll Love This (Or, Why I Keep Making These Nachos)
I make sheet pan beef nachos when the fridge looks a bit sad but I’ve got a bag of chips and half a block of cheese lurking around. My family goes bananas for these—possibly because there’s minimal waiting and maximum topping. Occasionally, someone will ask, “Are we really just eating nachos for dinner?” (to which the answer is: yes, stop judging, and grab a plate!). Also, that moment when the cheese bubbles in the oven is always way more exciting than it should be. Not sure why, but it just is!
Here’s What Goes Into These Nachos (Substitutions? Sure!)
- 1 pound (about 450g) ground beef — Sometimes I use ground turkey if I’m pretending to be healthy, but honestly any ground meat will do. My cousin swears by chorizo for a nice kick.
- 1 packet taco seasoning, or 2-3 tablespoons homemade — My grandmother always insisted on a certain brand, but just use what you have lurking in your spice rack.
- 1/3 cup water — It’s just to blend the seasoning, so don’t fret if you eyeball it.
- 1 big bag of sturdy tortilla chips — I once tried a cheap brand and ended up with chip confetti. Go thick if you can!
- 2 cups shredded cheddar or Mexican cheese blend — You could totally use Monterrey Jack or straight-up colby. I sometimes do half and half just to live dangerously.
- 1 can (15 oz) black beans, rinsed and drained — Or pinto, or skip entirely if beans aren’t your thing.
- 1/2 small red onion, thinly sliced — White onion works too, or sometimes I’ll throw in green onions if they’ve seen better days.
- 1-2 jalapeños, sliced (optional) — Or skip for the kids, or use pickled ones if that’s what you’ve got.
- 1/2 cup fresh chopped cilantro (optional) — Totally optional, but I love the fresh taste, even if it gets stuck in my teeth.
- Garnish: Fresh salsa, sour cream, guac, and lime wedges — Or just whatever’s hanging around, honestly.
Real-Life How-To (Because Cooking Never Goes Exactly As Planned)
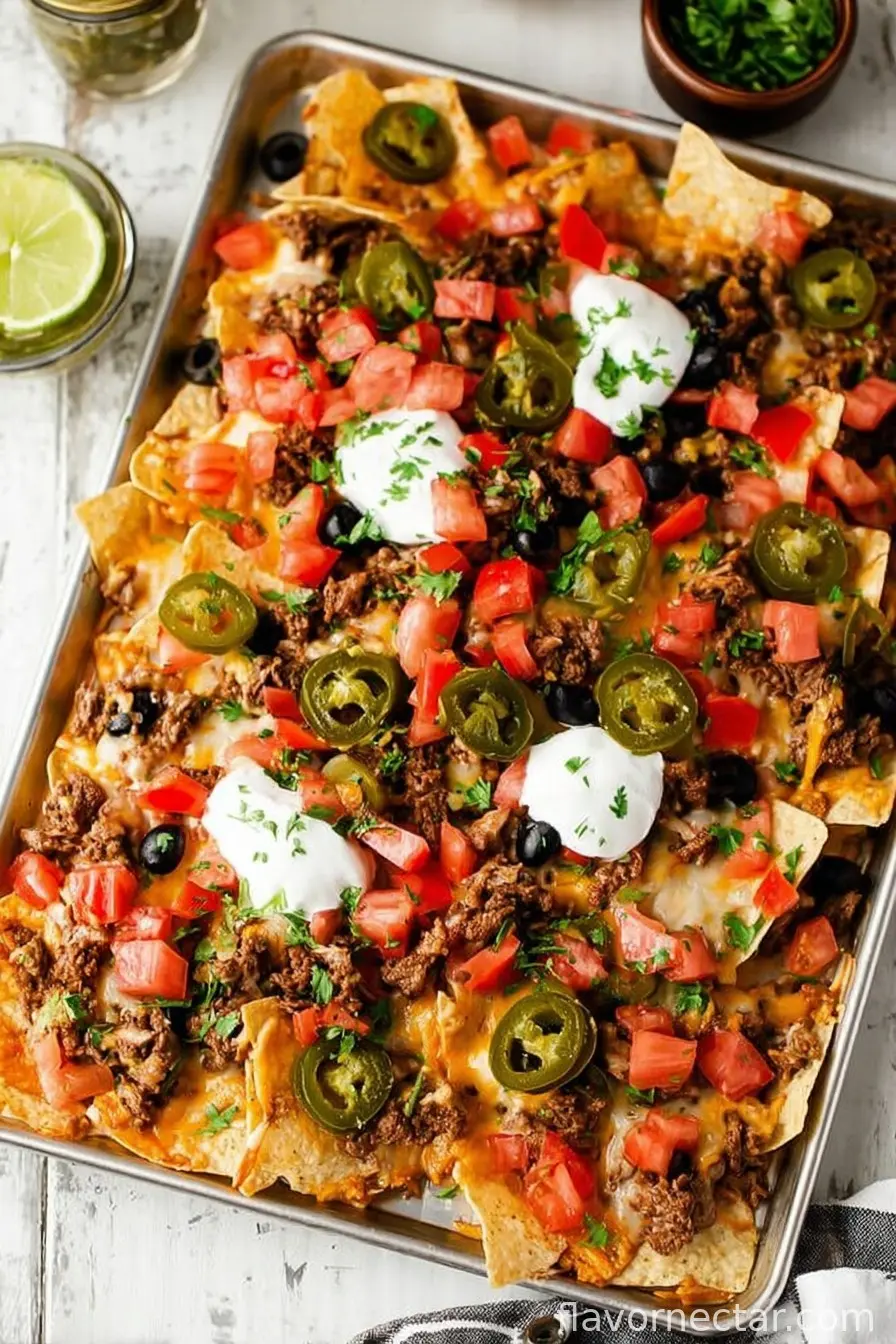
- Preheat your oven to 400°F (that’s 200°C-ish). Grab a rimmed baking sheet — I swear by my battered, seasoned old one, but any big tray will do.
- Brown the ground beef in a skillet over medium heat until no longer pink. I honestly just use whatever pan is closest to the stove.
- Stir in the taco seasoning and water. Let it simmer until it’s thick and saucy, about 2-3 minutes (this is the point where I usually sneak a taste—someone has to, right?).
- Spread a hearty layer of tortilla chips over your baking sheet. Try not to break too many. Or, just shovel the little broken bits into your mouth while you work.
- Spoon the beef mixture evenly across the chips. Top with black beans, onion slices, and jalapeños if you’re a spice person. Then, SMOTHER with cheese. Don’t be shy.
- Bake for 7-10 minutes, or until the cheese is melted and bubbling. Don’t worry if some cheese slides off the chips — those crispy edges are the BEST bites.
- Scatter on cilantro and squeeze some lime over if you remember. Serve with bowls of salsa, sour cream, guac, or whatever you fancy. Everyone just digs in and grabs what they want. “Family style,” but more chaotic.
Notes From a Nacho Addict
- If the chips get a bit too toasty around the edges, that’s normal! Actually, I think those bits taste kind of amazing (maybe that’s weird).
- On second thought, don’t use super thin chips—they will weep under the toppings. Trust me.
- I’ve definitely made this with frozen corn mixed in. It’s oddly good (especially when you forgot to buy beans).
Nacho Experiments (AKA, Things I’ve Tried)
- Swapping ground beef for shredded rotisserie chicken—works great, just toss chicken with some taco seasoning and call it a day.
- Vegetarian version with just beans, corn, and diced bell peppers—actually delicious! Didn’t even miss the beef.
- I once tried drizzling queso straight on top. Too soupy. Don’t recommend unless you LIKE eating nachos with a spoon.
The Kit (And Workarounds!)
A rimmed baking sheet is ideal (so the cheesy bits don’t escape), but if you’ve got a big oven-safe platter or even a pizza tray, you can fake it. I’ve lined my tray with foil when I’m feeling lazy, or parchment if I’m out of foil—works just fine.
Storing Leftover Nachos (If That Ever Happens)
Pop leftovers (lol, what leftovers?) in an airtight container in the fridge. They’ll get a bit soggy, but the microwave (or even a toaster oven) brings them mostly back to life. I actually think they taste kinda good the next day, though honestly, in my house they never last more than a day!
Serving Time: My Unofficial Traditions
Honestly, we just plop the whole tray down on the table and let everyone graze. Sometimes I chop up extra jalapeños on the side for those who want more heat (looking at you, Uncle Jim). Oh, and if you’ve got a cold beer or fizzy soda, that doesn’t hurt either.
Real Talk: Lessons Learned (Pro Tips!)
- I once tried piling everything on super high to make a ‘nacho mountain.’ Bad idea—the cheese in the middle never melted. Go for even layers.
- Don’t rush the cheese melting. If you crank up the heat “just to speed it along,” you’ll end up with burned chips and still cold cheese. Ask me how I know.
FAQ: You’ve Actually Asked Me These
- Do I have to use beef? Nope! Ground turkey, chicken, even lentils if you’re feeling virtuous. Or just extra beans if the meat drawer is empty.
- How do you stop the chips from getting soggy? Cheese acts like glue; make sure some is under the toppings too. Or, eat fast. Problem solved.
- Can I make this ahead? Ehh, it gets soggy if it sits too long. You can prep the meat in advance, though, and just assemble last minute!
- How do you get crispy nachos? Single layer is key. Multiple overlapping layers sounds tempting, but only the top chips get the love.
- What if I don’t have taco seasoning? Honestly just throw in some chili powder, cumin, garlic and onion powder, salt, pepper. It’ll turn out fine.
- Do kids eat this? In my house yes, but I leave off the jalapeños for their half. They mostly just want the cheesy chips anyway.
Well, maybe not the most traditional method, but hey — it works. And the kitchen smells great when you’re done. Give it a try, see what happens!
Ingredients
- 1 pound (about 450g) ground beef
- 1 packet taco seasoning, or 2-3 tablespoons homemade
- 1/3 cup water
- 1 big bag of sturdy tortilla chips
- 2 cups shredded cheddar or Mexican cheese blend
- 1 can (15 oz) black beans, rinsed and drained
- 1/2 small red onion, thinly sliced
- 1-2 jalapeños, sliced (optional)
- 1/2 cup fresh chopped cilantro (optional)
- Fresh salsa, sour cream, guac, and lime wedges for garnish
Instructions
-
1Preheat your oven to 400°F (that’s 200°C-ish). Grab a rimmed baking sheet — I swear by my battered, seasoned old one, but any big tray will do.
-
2Brown the ground beef in a skillet over medium heat until no longer pink. I honestly just use whatever pan is closest to the stove.
-
3Stir in the taco seasoning and water. Let it simmer until it’s thick and saucy, about 2-3 minutes (this is the point where I usually sneak a taste—someone has to, right?).
-
4Spread a hearty layer of tortilla chips over your baking sheet. Try not to break too many. Or, just shovel the little broken bits into your mouth while you work.
-
5Spoon the beef mixture evenly across the chips. Top with black beans, onion slices, and jalapeños if you’re a spice person. Then, SMOTHER with cheese. Don’t be shy.
-
6Bake for 7-10 minutes, or until the cheese is melted and bubbling. Don’t worry if some cheese slides off the chips — those crispy edges are the BEST bites.
-
7Scatter on cilantro and squeeze some lime over if you remember. Serve with bowls of salsa, sour cream, guac, or whatever you fancy. Everyone just digs in and grabs what they want. “Family style,” but more chaotic.
CLICK FOR NUTRITION INFO
↑
Approximate Information for One Serving
Serving Size:
1 serving
Calories:
700 caloriescal
Protein:
34gg
Fat:
38gg
Saturated Fat:
0g
Trans Fat:
0g
Cholesterol:
0mg
Sodium:
0mg
Potassium:
0mg
Total Carbs:
54gg
Fiber:
0g
Sugar:
0g
Net Carbs:
0g
Vitamin A:
0
Vitamin C:
0mg
Calcium:
0mg
Iron:
0mg
Nutrition Disclaimers
Number of total servings shown is approximate. Actual number of servings will depend on your preferred portion sizes.
Nutritional values shown are general guidelines and reflect information for 1 serving using the ingredients listed, not including any optional ingredients. Actual macros may vary slightly depending on specific brands and types of ingredients used.
To determine the weight of one serving, prepare the recipe as instructed. Weigh the finished recipe, then divide the weight of the finished recipe (not including the weight of the container the food is in) by the desired number of servings. Result will be the weight of one serving.
Did you make this recipe?
Please consider Pinning it!