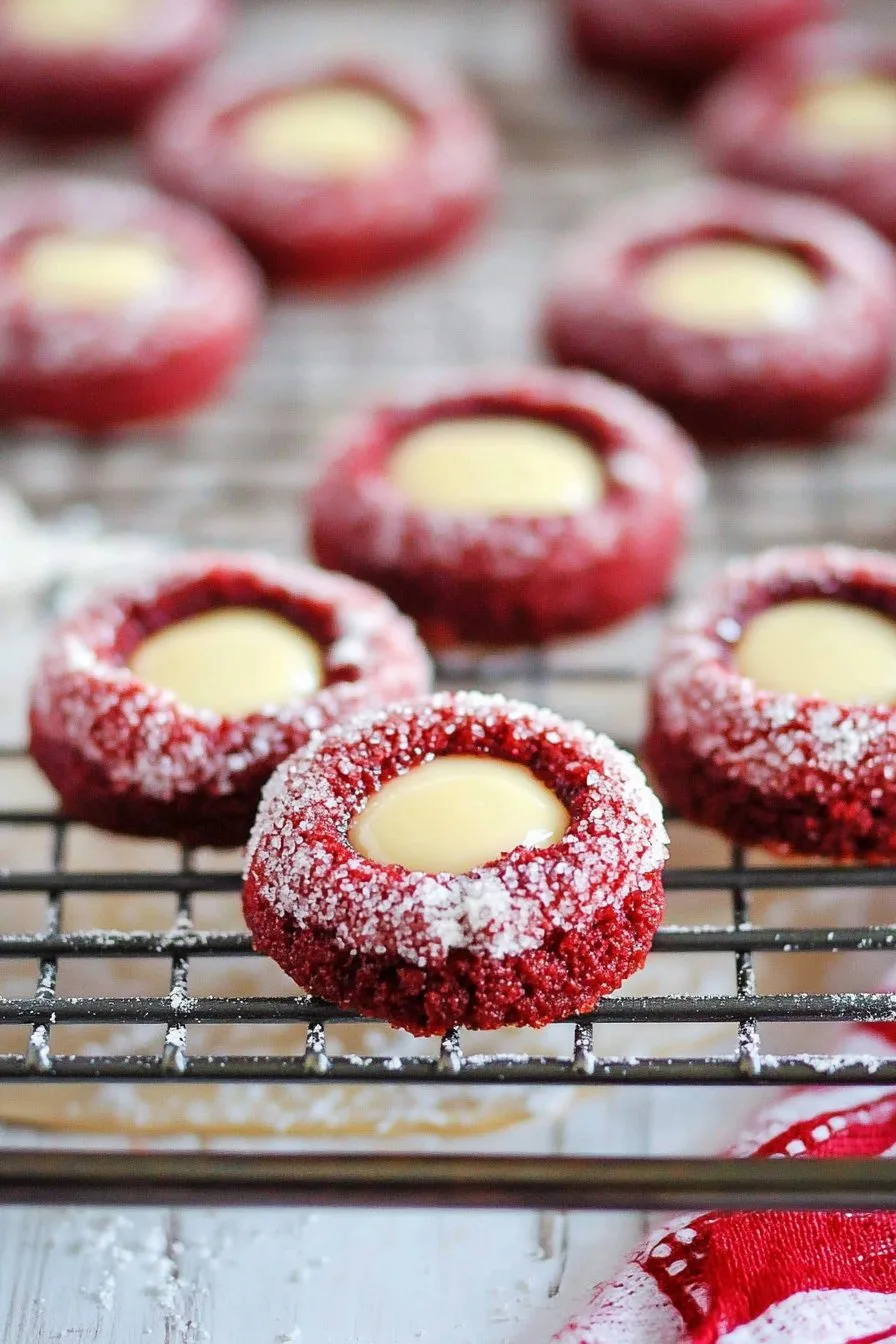
Hey there! So, red velvet thumbprint cookies with cream cheese—just saying it makes my mouth water. I actually stumbled upon this recipe one lazy Sunday afternoon while trying to find something new to bake with my niece. We both love cookies (who doesn’t?), and red velvet is like a family favorite. It got a bit chaotic because she kept trying to eat the cream cheese frosting before it even made it to the cookies! But hey, that’s what makes baking fun, right?
Why You’ll Love This
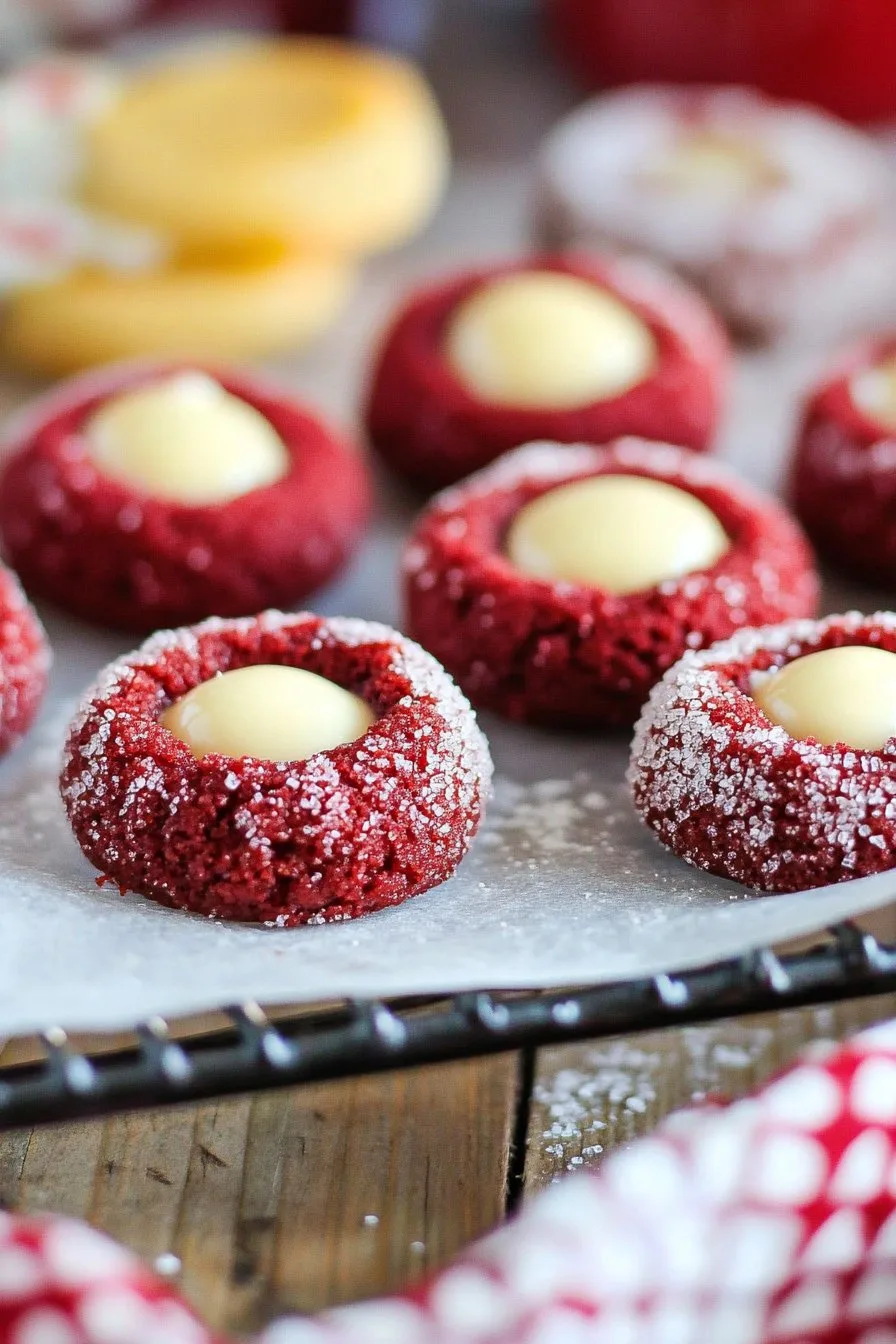
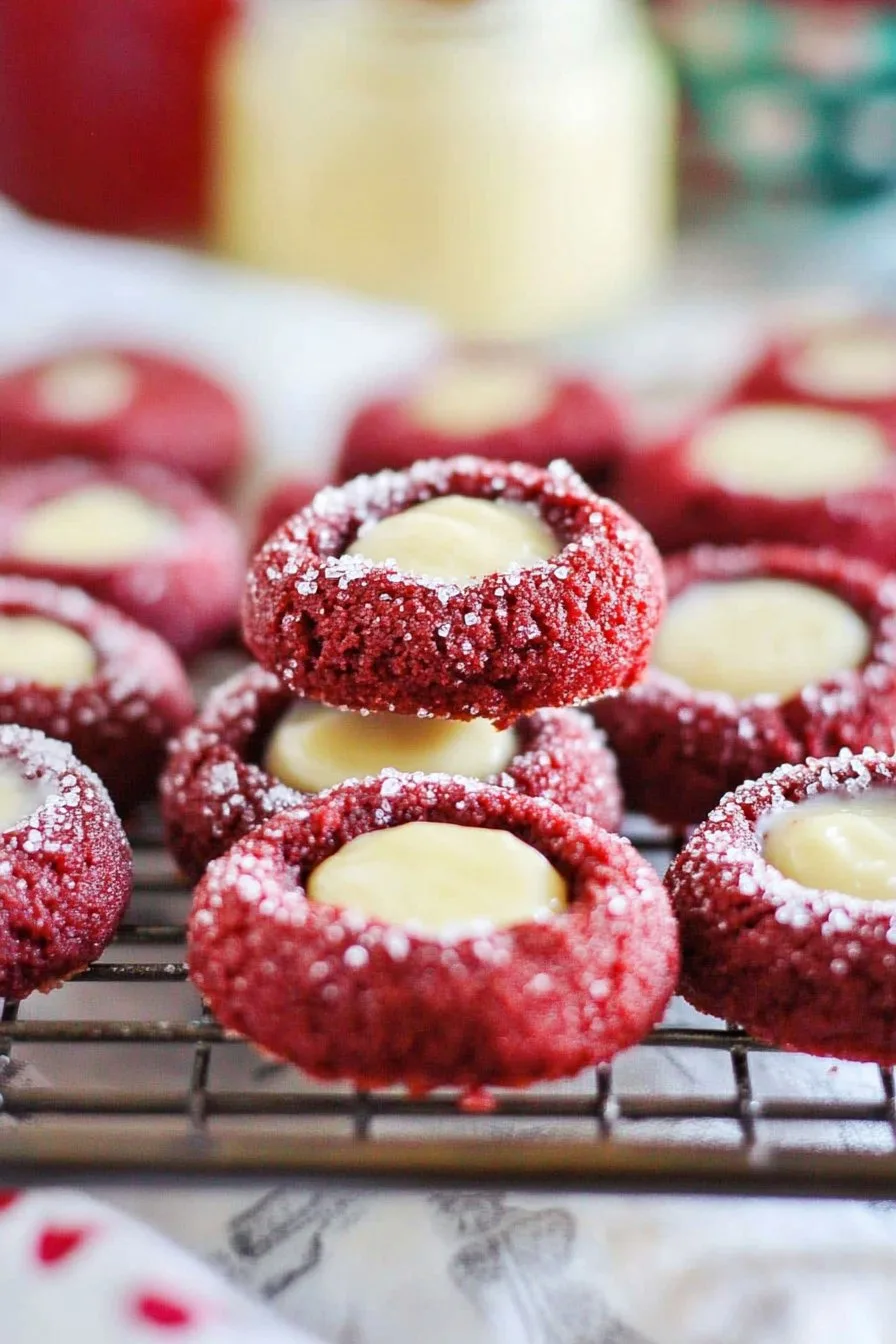
I make these cookies whenever I want to impress someone without trying too hard. Seriously, my family goes nuts for them—especially when they come out of the oven all warm and gooey. Plus, who doesn’t love the vibrant red color? It just pops! Oh, and they stay surprisingly moist (a miracle considering my oven seems to have a mind of its own).
Ingredients
- 1 1/4 cups all-purpose flour
- 1/4 cup cocoa powder (sometimes I skimp a bit here if I’m running low)
- 1/2 teaspoon baking soda
- 1/2 teaspoon salt
- 1/2 cup unsalted butter, softened (my grandmother swore by salted, but it’s your call)
- 3/4 cup granulated sugar
- 1 egg
- 1 teaspoon vanilla extract (or just a splash more if you love it)
- 1 tablespoon red food coloring
- 4 ounces cream cheese, softened
- 1 cup powdered sugar (I sometimes add a bit less, but that’s just me)
- 1/2 teaspoon vanilla extract
Directions
- Preheat your oven to 350°F (175°C). Line a baking sheet with parchment paper, or just grease it if you’re out (it happens).
- Mix flour, cocoa powder, baking soda, and salt in a bowl. Set aside. This is where I usually sneak a taste of the cocoa mixture, don’t judge!
- In a separate bowl, beat the butter and granulated sugar until creamy—like the consistency of my niece when she begs for one more cookie.
- Add the egg, vanilla, and red food coloring. Mix until combined. Don’t worry if it looks a bit weird at this stage—it always does!
- Gradually add the dry ingredients to the wet mixture. Mix until just combined.
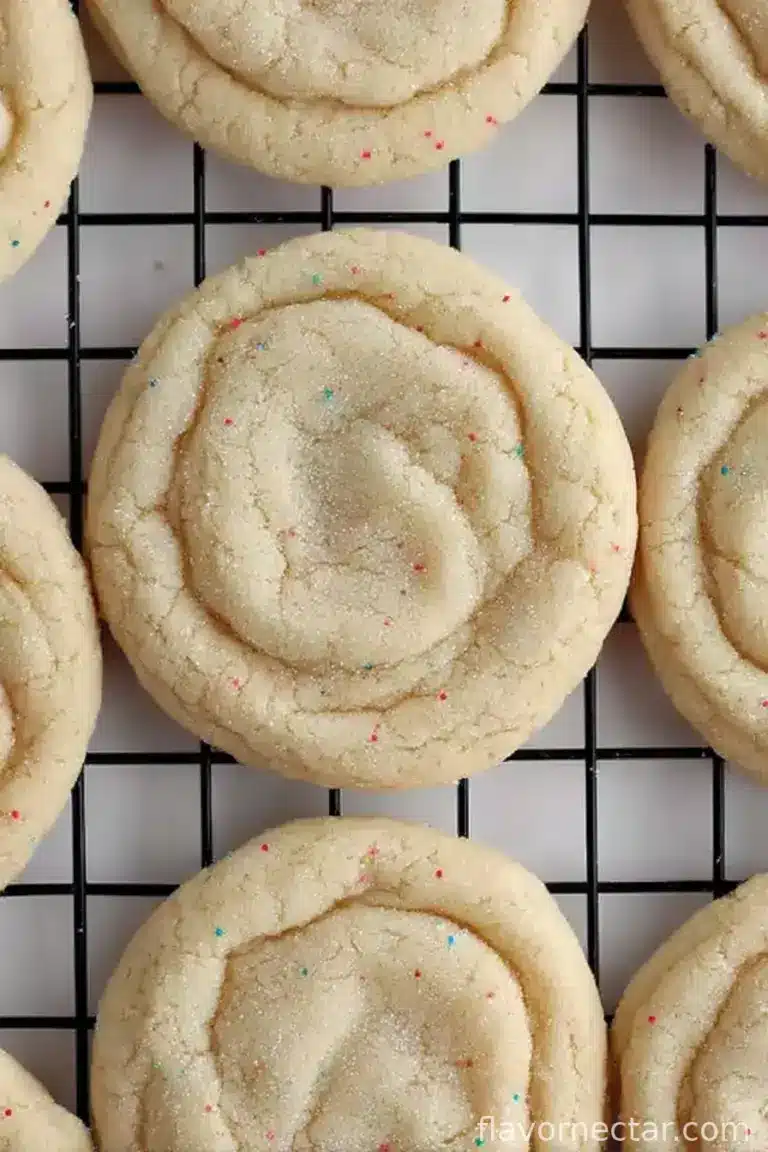
- Roll dough into 1-inch balls and place them on your prepared baking sheet. Use your thumb (or the back of a spoon) to make an indent in each cookie.
- Bake for 10-12 minutes. Don’t panic if they seem soft—they’ll firm up as they cool.
- While they cool, beat cream cheese, powdered sugar, and vanilla until smooth. Try not to eat too much of it—trust me, it’s a struggle.
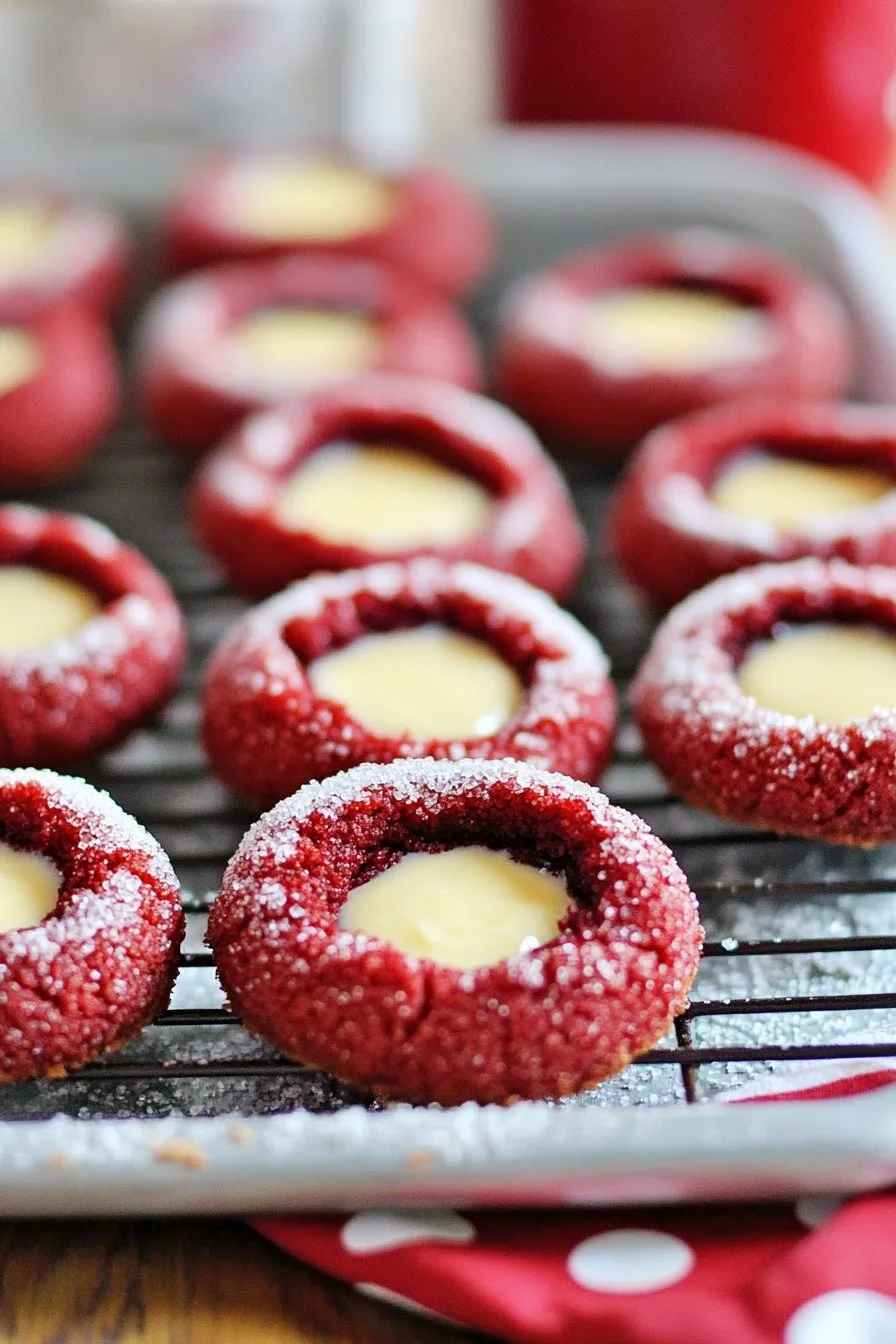
- Spoon or pipe the cream cheese mixture into the thumbprints of the cooled cookies.
Notes
Okay, here’s the deal: if your cookies spread too much, try chilling the dough before baking. I learned this the hard way when mine looked like mini pancakes!
Variations
I once tried adding chocolate chips—didn’t turn out the way I hoped; they melted and made a mess. But, a sprinkle of crushed walnuts on top? Surprisingly good.
Equipment
If you don’t have a mixer, no worries! I’ve done this by hand with a trusty wooden spoon, though it’s a workout.
Storage
These keep in an airtight container for up to a week. Though honestly, in my house, they never last more than a day!
Serving Suggestions
We love having these cookies with a cup of coffee (or milk if you’re my niece) on lazy Sunday afternoons. They’re also great for holiday gatherings!
Pro Tips
I once tried rushing the cooling step and regretted it because the frosting melted all over. Patience is key, my friend.
FAQ
Can I use a different type of food coloring? Sure thing! Gel food coloring works too, just adjust the amount since it’s more concentrated.
What if I don’t have cream cheese? You could try mascarpone, but I think the flavor of cream cheese really makes these cookies.
Do I have to use red food coloring? Nope! Make them any color you like, though red is classic for that “velvet” vibe.