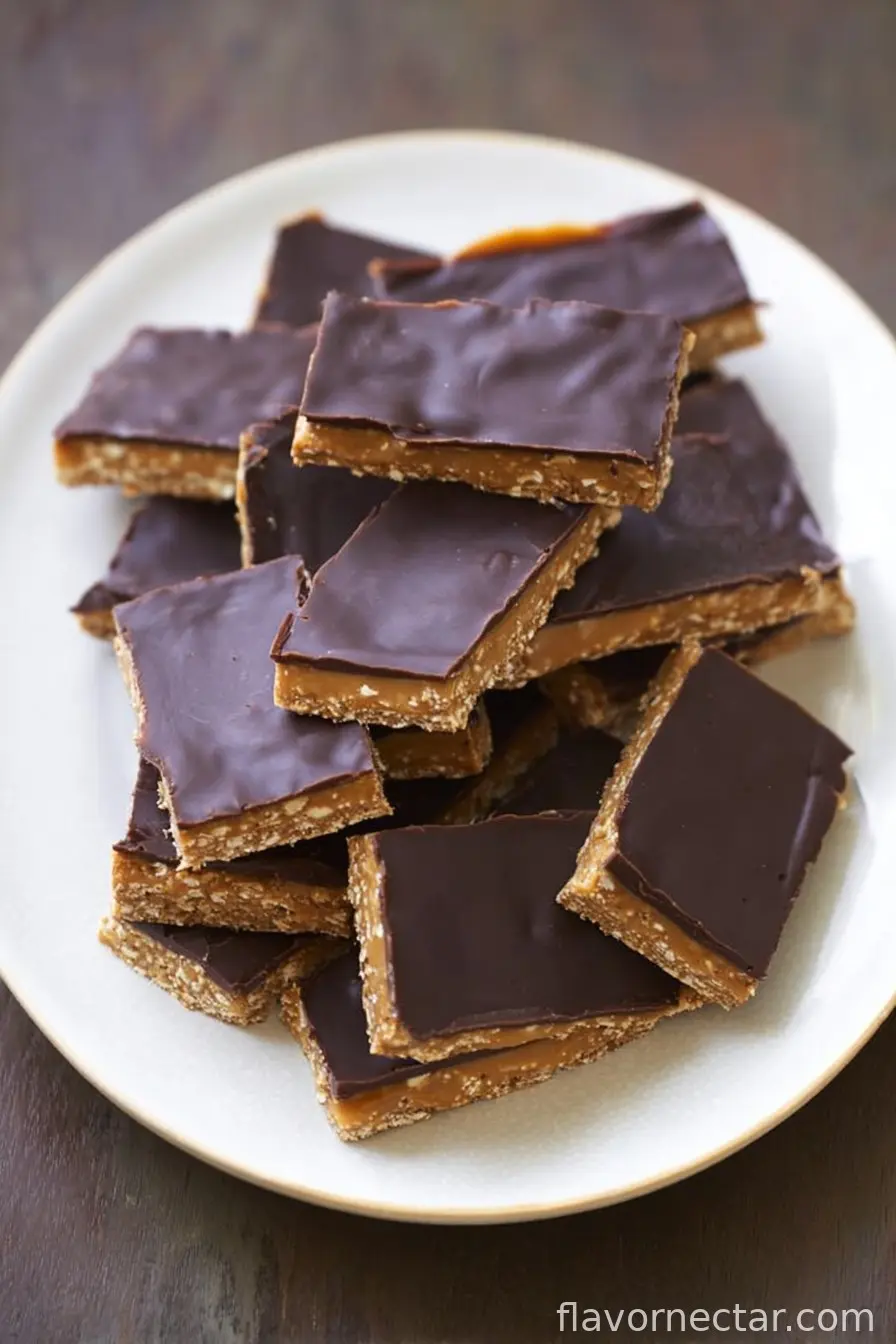
Alright, So Let’s Talk Protein Bars
You know those days when you get up, tumble downstairs, and the only thing between you and a mid-afternoon meltdown is something quick to grab? Yeah, I hear ya. That’s exactly why I started making these protein bars. I used to buy the fancy named ones until my wallet and my taste buds staged a protest (honestly, some of those bars taste like cardboard that’s been to the gym). One afternoon, I grabbed what I had in the cupboard, crossed my fingers, and—surprisingly—out popped these chewy, oaty, peanut-buttery bars. Now, my family expects ‘mum’s snack bricks’ in the fridge at all times.
Why You’ll Love This (Or Maybe You Won’t, If You’re Not Into Oats…)
I make these when my calendar is a mess and there’s definitely no time for proper breakfast. My family loves them because they’re sweet enough to trick you into thinking they’re dessert, but hearty enough that you don’t go hunting for crisps an hour later. (Honestly, they’ve rescued me on more than one rushed school morning.) The first time I tried to add chopped dates, I made a complete mess, but now I just throw in extra chocolate chips and no one complains.
What You Need (Sub Things Freely, It’s Fine!)
- 2 cups rolled oats (quick oats work too; or granola if you’re wild)
- 1 cup peanut butter (almond butter in a pinch; my gran always swore by Sun-Pat, but whatever’s in your cupboard)
- 1/2 cup honey (or maple syrup if your mood says “brunch”)
- 1/2 cup vanilla protein powder (chocolate’s nice too—speaking from various experiments)
- 1/4 cup mini chocolate chips (regular ones are fine, just chop them a bit)
- A generous pinch of sea salt
- 1 tsp vanilla extract (I once ran out and just skipped it, still tasted grand)
- Optional: A handful of crushed nuts, seeds, or dried fruit (my lot love a cheeky handful of raisins now and then)
How You Actually Make Them
- Line an 8×8-inch tin with baking paper. If you can’t find the tape, just grease it well. Won’t be perfect, but who cares?
- In a mixing bowl, toss together the oats, protein powder, and salt. No need to be too fussy about lumps, honestly, just bash them about a bit.
- In another (preferably microwave-safe) bowl, combine peanut butter and honey. I zap them for 30 seconds to make it easier to stir. If you can’t be bothered, just muscle through—works either way.
- Pour the warm peanut butter-honey into the oat mix. Add vanilla. Stir until mixed—this is where I usually sneak a taste and sometimes forget what I’m doing.
- Fold in the chocolate chips (add nuts or raisins now if you’re feeling zesty). Don’t worry if some chips melt. Actually, I think it tastes better if they do.
- Press everything into the tin. Use the back of a spoon, or your hands if you don’t mind getting a bit messy. It’ll look a smidge uneven; it always does.
- Stick it in the fridge for at least 60 minutes. Or just until it firms up—actually, sometimes I can’t wait that long and cut them early. They’re a bit gooey, but who’s judging?
- Slice into bars (or squares if you’re feeling contrary) and eat one before anyone else notices—they go missing quick!
Things I Learned the Hard Way (Notes)
- The bars are sticky to cut if you try when they’re still warm. Trust me, you’ll end up with a delicious mess, but not exactly bars.
- Sometimes the mix feels too dry; just add a splash more honey or peanut butter. There’s rarely harm in more nut butter, right?
- If you use steel-cut oats by accident, you might be chewing for a while (learned that one from impatience…)
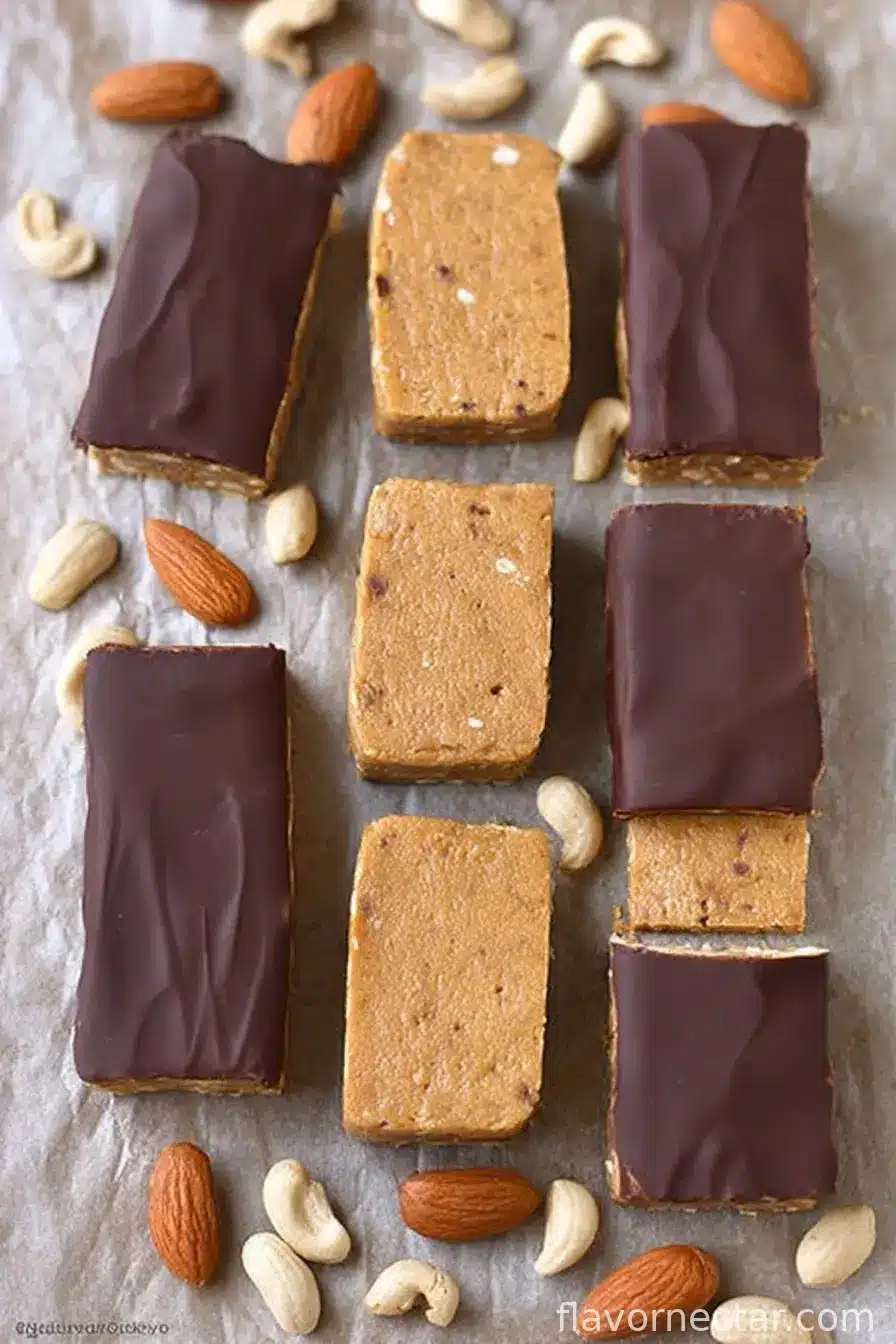
Variations I’ve Messed With
- Swap out peanut butter for cashew or sunflower seed butter—works a treat.
- Chocolate protein powder makes the bars feel more decadent. Just beware; one time I tossed in too much and it weirded out the texture.
- I once tried adding grated carrot for a ‘healthy’ twist—it tasted, um, interesting? Not totally convinced I’d recommend it (unless you love carrot, maybe?).
- Coconut flakes? Oh, absolutely. Those get a thumbs up.

Do You Actually Need Special Gear? (Equipment)
- Baking tin (8×8 inch, but any small tray works in a pinch)
- Baking paper (or honestly, just butter the dish; cleanup’s only slightly worse!)
- Mixing bowls—one big, one small
- Spoon (or spatula; old wooden one missing a handle in my case…)
How to Store ’em (Though Not for Long!)
Pop the sliced bars in an airtight container in the fridge. They’ll last a week, in theory. In my house, the batch always disappears in less than 48 hours. Freezer works great too—just defrost for a bit or eat them icy cold; up to you!
Serving Them Up (Or Hiding the Best Bits for Yourself)
I love having these with my mid-morning coffee, but my other half likes dunking his in yogurt. Kids? Straight into lunchboxes—no questions asked. I’m known to crumble one over porridge as a kind of oaty granola thing. Who’s judging?
Pro Tips: Don’t Rush It (Believe Me!)
- Letting them set properly in the fridge is worth it. I tried slicing too early once—just ended up eating the lot with a fork (still tasty though…)
- If you mix protein powder in too aggressively, it goes everywhere. Slowly does it. Your countertop will thank you.
FAQ (Questions From the Crew)
Can I skip the protein powder? Oh, totally. Just maybe add a touch more oats to bulk it out, and the bars are just as munchable (though my teenager reckons they need the ‘gains’).
How do I make this vegan? Use agave or maple syrup instead of honey, and pick a plant-based protein. Easy as pie, except it’s bars, not pie.
Help! My bars are too crumbly. Add a little extra honey or peanut butter. I’ve had crumbly days. (We all do.)
Do I need to bake these? Nah, that’s the beauty—absolutely no oven heat, just patience and a fridge that’s not packed to the gills.
Can I double the batch? Only if your tray’s big enough! I have, and sometimes I end up with a mutant double-height bar. Still tastes fab, but it’s a real workout for the knife!
So that’s my protein bar chat. Hope you find a way to make them your own, or come back and share any wild combos that actually work (still holding out hope for peppermint…).
Ingredients
- 2 cups rolled oats (quick oats work too; or granola if you’re wild)
- 1 cup peanut butter (almond butter in a pinch; my gran always swore by Sun-Pat, but whatever’s in your cupboard)
- 1/2 cup honey (or maple syrup if your mood says “brunch”)
- 1/2 cup vanilla protein powder (chocolate’s nice too—speaking from various experiments)
- 1/4 cup mini chocolate chips (regular ones are fine, just chop them a bit)
- A generous pinch of sea salt
- 1 tsp vanilla extract (I once ran out and just skipped it, still tasted grand)
- Optional: A handful of crushed nuts, seeds, or dried fruit (my lot love a cheeky handful of raisins now and then)
Instructions
-
1Line an 8×8-inch tin with baking paper. If you can’t find the tape, just grease it well. Won’t be perfect, but who cares?
-
2In a mixing bowl, toss together the oats, protein powder, and salt. No need to be too fussy about lumps, honestly, just bash them about a bit.
-
3In another (preferably microwave-safe) bowl, combine peanut butter and honey. I zap them for 30 seconds to make it easier to stir. If you can’t be bothered, just muscle through—works either way.
-
4Pour the warm peanut butter-honey into the oat mix. Add vanilla. Stir until mixed—this is where I usually sneak a taste and sometimes forget what I’m doing.
-
5Fold in the chocolate chips (add nuts or raisins now if you’re feeling zesty). Don’t worry if some chips melt. Actually, I think it tastes better if they do.
-
6Press everything into the tin. Use the back of a spoon, or your hands if you don’t mind getting a bit messy. It’ll look a smidge uneven; it always does.
-
7Stick it in the fridge for at least 60 minutes. Or just until it firms up—actually, sometimes I can’t wait that long and cut them early. They’re a bit gooey, but who’s judging?
-
8Slice into bars (or squares if you’re feeling contrary) and eat one before anyone else notices—they go missing quick!
CLICK FOR NUTRITION INFO
↑
Approximate Information for One Serving
Serving Size:
1 serving
Calories:
230 caloriescal
Protein:
9g proteing
Fat:
11g fatg
Saturated Fat:
0g
Trans Fat:
0g
Cholesterol:
0mg
Sodium:
0mg
Potassium:
0mg
Total Carbs:
24g carbohydratesg
Fiber:
0g
Sugar:
0g
Net Carbs:
0g
Vitamin A:
0
Vitamin C:
0mg
Calcium:
0mg
Iron:
0mg
Nutrition Disclaimers
Number of total servings shown is approximate. Actual number of servings will depend on your preferred portion sizes.
Nutritional values shown are general guidelines and reflect information for 1 serving using the ingredients listed, not including any optional ingredients. Actual macros may vary slightly depending on specific brands and types of ingredients used.
To determine the weight of one serving, prepare the recipe as instructed. Weigh the finished recipe, then divide the weight of the finished recipe (not including the weight of the container the food is in) by the desired number of servings. Result will be the weight of one serving.
Did you make this recipe?
Please consider Pinning it!