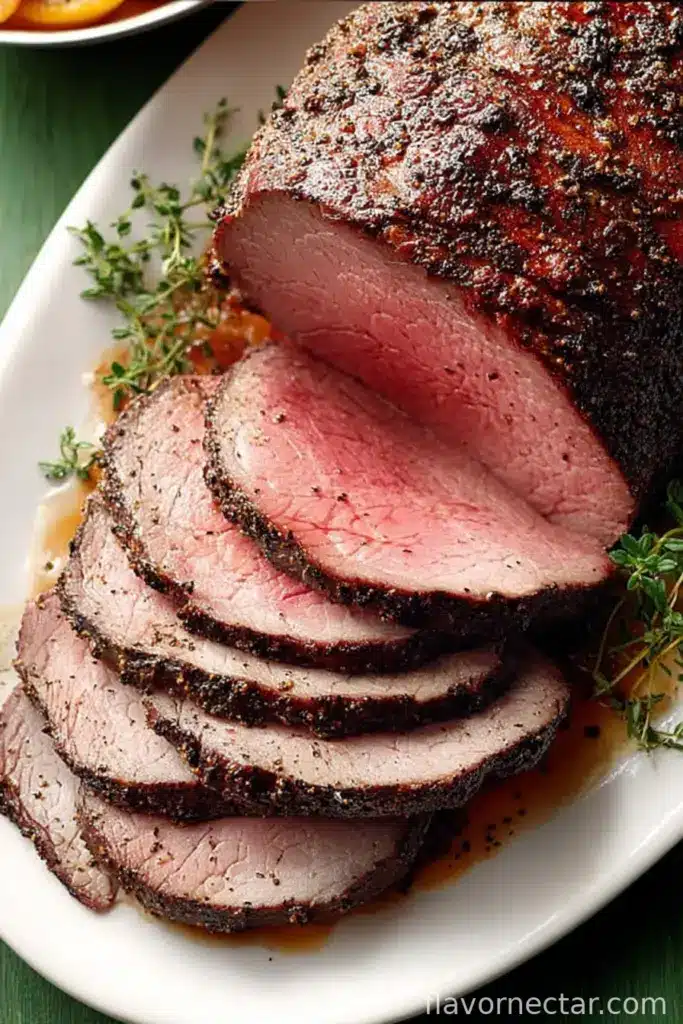
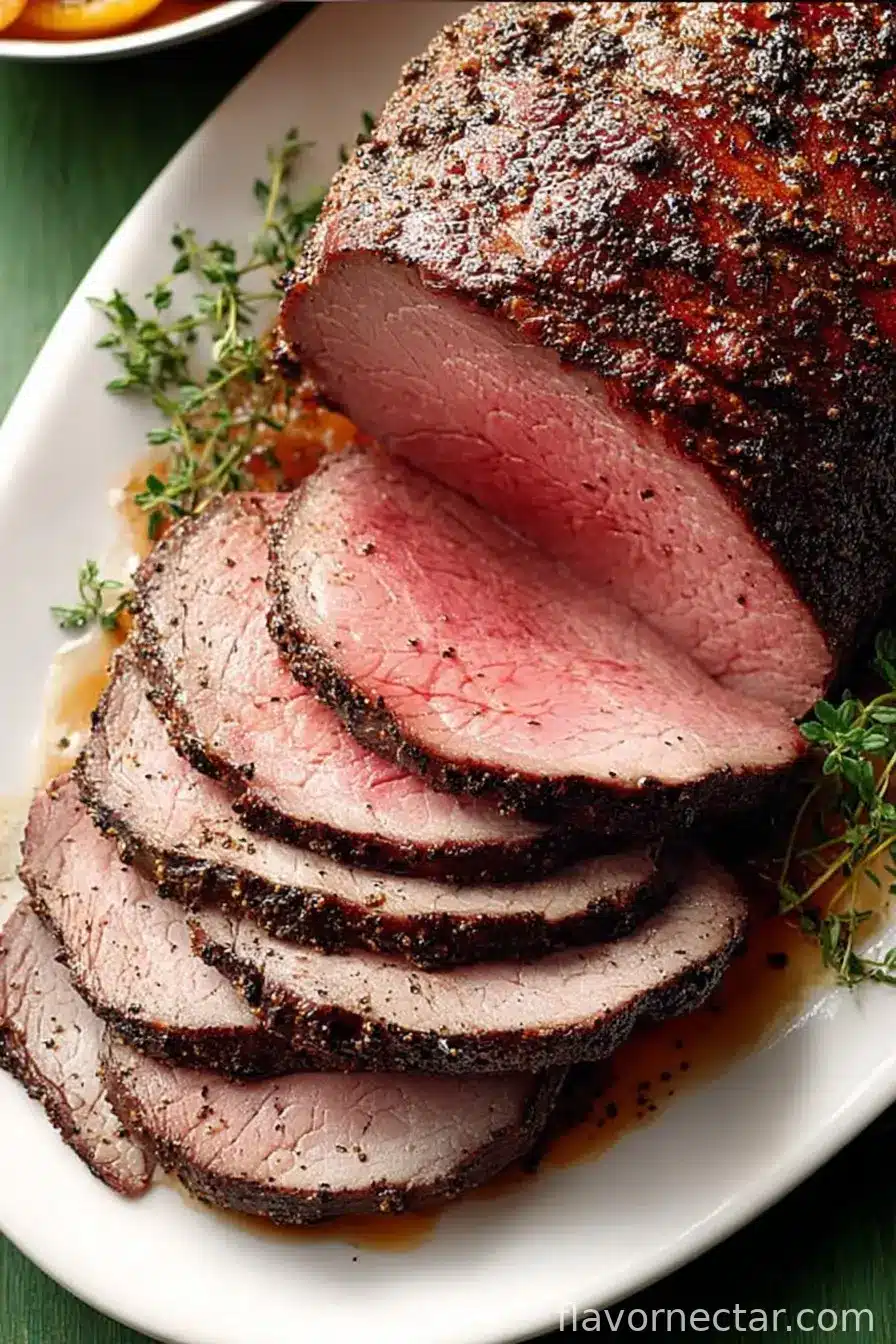
Okay, Let’s Talk Peppercorn Beef Top Loin Roast (My Way)
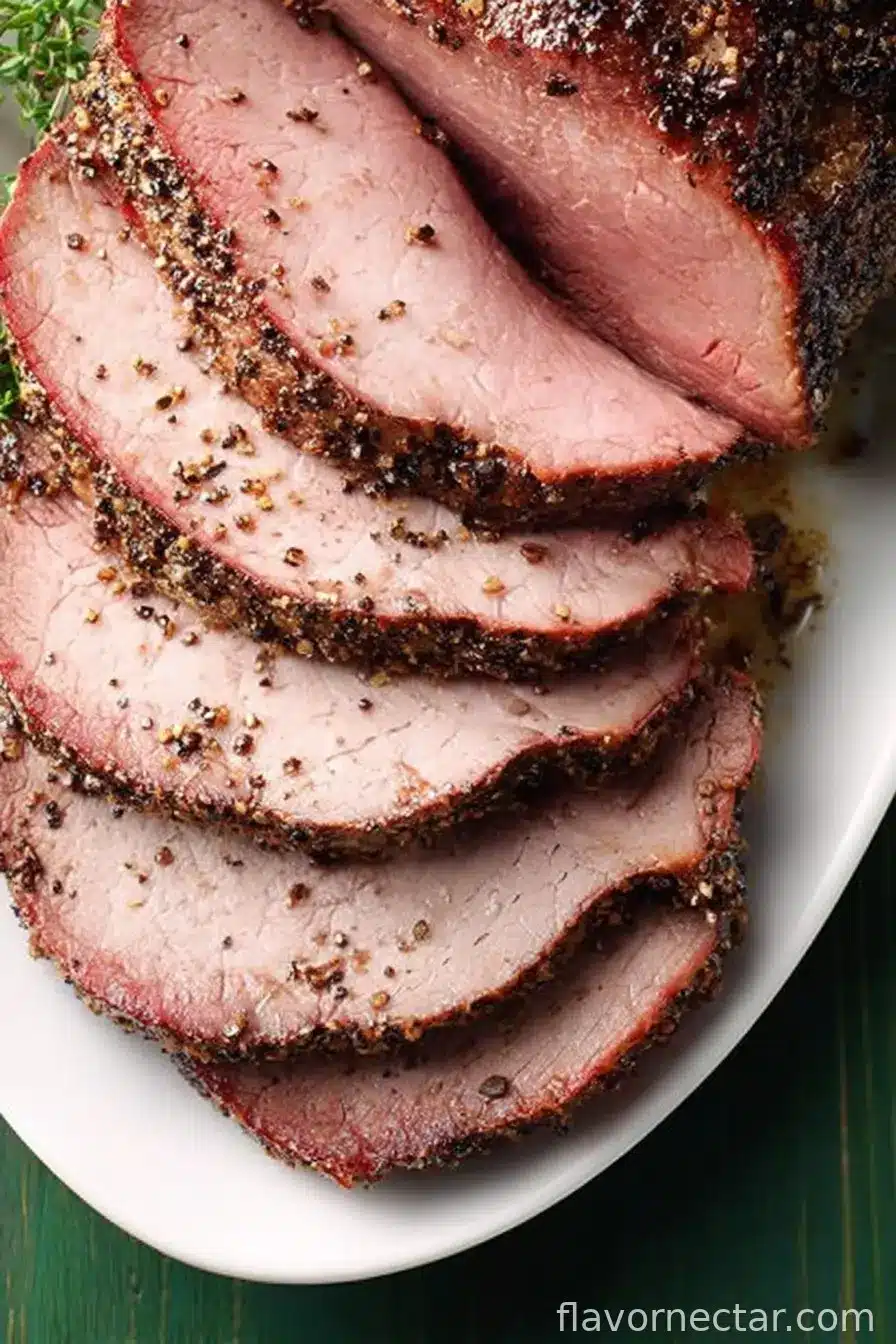
Alright, so picture it: it’s Sunday, you’re expecting family (or let’s be honest, sometimes just leftovers for the week), and you want something more impressive than a basic Roast chicken. Enter Peppercorn Beef Top Loin Roast. I first made this as a desperate attempt to avoid yet another dry turkey at a holiday dinner. To my total surprise—and, frankly, relief—the end result? Loads of flavor, no fancy chef skills needed, and people actually asked for seconds. And yes, I’ve definitely served it for a casual Tuesday night too, when I just wanted something hearty (plus, it’s awesome for sandwiches the next day, if by some miracle there’s any left).
Why You’ll Love This (No Seriously, You Will)
I bust this recipe out when I need a dish that looks fancier than it really is. My family goes wild for it because the peppercorn crust packs a punch, but not one of those “wow, my mouth is on fire” punches. (My mom—who can barely handle black pepper on eggs—adores it). Plus, you get that magic combo of crispy outside and juicy middle, which, yeah, sometimes felt impossible before I found this method. Fun fact: I used to dread using meat thermometers, but actually, I find it works better if you just trust yours. Meat doesn’t lie, gadgets sometimes do. Or maybe I was just using bad batteries?
What You’ll Need (AKA, Ingredient Detective Time)
- 1 Beef Top Loin Roast (about 3-4 lbs, I’ve also used sirloin in a pinch—works fine, but not quite as tender)
- 2 tbsp black peppercorns, crushed (If you only have pre-ground, toss in a bit extra; it’s not the end of the world)
- 1 tbsp kosher salt (or sea salt, though my grandmother would be scandalized if I skipped kosher)
- 2 tsp dried thyme (fresh is brilliant if you have it—otherwise, dried totally fine)
- 4 cloves garlic, minced (confession: sometimes I use the jarred kind)
- 2 tbsp olive oil (I’ve swapped in melted butter before — it was a little richer if you like that thing)
- Optional: Splash of Worcestershire or soy sauce (brings a nice depth, but not a dealbreaker if you forget)
Let’s Cook! (Yes, You Can)
- Take the roast out of the fridge and just let it hang out on the counter for, I don’t know, 30-45 minutes. It helps the beef cook evenly. Or so they say, but I swear it actually works. Plus, gives you time to preheat the oven—400°F (200°C), by the way.
- Mix up the crushed peppercorns, salt, thyme, garlic, and olive oil (add the Worcestershire here if you’re feeling wild). Slather this all over the meat — top, sides, even the bottom. Sticky hands, unavoidable.
- Set the roast on a rack in a roasting pan. In the past, I’ve used a baking tray with a cooling rack, though a friend of mine just piles up some carrots underneath and calls it innovative roasting. Both work.
- Roast for 15 minutes to give it a nice start, then drop the heat to 325°F (165°C), and carry on roasting. Figure maybe 15-20 minutes per pound; but honestly, just start checking the internal temp around the 45-minute mark. You’re aiming for around 130°F (54°C) for medium-rare. (This is where I usually sneak a taste of those pan juices with a spoon—don’t tell anyone.)
- Out of the oven! Let the roast rest under foil for at least 20 minutes—seriously, don’t skip this or you’ll lose all those good juices and probably curse my name a little. Slice it up against the grain, as thick or thin as you like.
Notes from My “Trial and Error” File
- If your kitchen turns into a peppercorn sauna (you’ll know if it happens), open a window ASAP; trust me.
- I once tried marinating the beef overnight; oddly, it didn’t help much. The fresh rub does more than an overnight soak, at least for this cut.
- Don’t stress if the crust cracks or falls off in places. Mine always does (makes for great snacking before the meal, not gonna lie).
Variations? Oh, I’ve Got a Few
- Tried adding rosemary once. Not bad, but honestly, the thyme is just simpler and better here.
- If you like things spicy, toss in a pinch of cayenne. (Regret story: accidentally doubled it once, and there were tears at the table… from me, mostly.)
- One friend swears by Dijon mustard in the rub. I tried it; meh, didn’t love it, but worth a go if you’re feeling experimental.
Tools You Need (or Workarounds That Might Make Me Blush)
- Roasting pan with a rack (but honestly: a sheet tray with a foil “log” under the meat to lift it works if you’re stuck)
- Meat thermometer (absolutely essential—or so I say, but I’ve winged it before. Don’t recommend it… but hey, you do you)
- Serrated knife—helps keeps slices neat. Or just use your sharpest one, it’ll be just fine.
How To Store Leftovers (If That Ever Happens)
Wrap leftovers in foil, pop in the fridge—should last 3-4 days. BUT, honestly, in my house, this roast disappears long before that. Actually, I think it tastes even better cold the next day, with a bit of mustard and pickles. Or just straight from the fridge, standing at the counter (not that I’d ever do that…).
Serving It Up—Personal Touches
My favorite way is with garlicky mashed potatoes and green beans. Sometimes we turn leftovers into French dip sandwiches with my cheat “au jus” (basically, good beef stock and a splash of soy sauce—here’s a version from Serious Eats I reference for ideas). For holidays, serve it alongside a zesty horseradish cream. My uncle insists it’s inedible without Yorkshire pudding. Different views make family meals lively, right?
What I Wish I Knew the First Time (a.k.a. Pro Tips)
- I once tried speeding up the resting time—bad move. All the juice ran out (so did my pride).
- Cut against the grain! It’s a small thing but makes a massive difference for tenderness; I forgot once… chewy city.
- Actually, if you don’t crush the peppercorns enough, the flavor won’t come through. Oddly took me a few tries to figure this out.
FAQ (Answering Questions I Actually Get…Sometimes)
- Can I use a different cut of beef? Yeah, I’ve tried sirloin and even eye of round. Works, but top loin’s juiciest, in my book.
- Do I really need a meat thermometer? Yes—well, probably. Unless you’ve got that magical touch. Here’s a guide I trust: Food Network’s meat thermometer tips. Or if you want to gamble, poke it and pray, but don’t say I didn’t warn you!
- Is it crazy spicy for kids? Not usually. Crush the pepper finer and it’s pretty mellow. Though, if your kids are spice-sensitive, maybe cut back a little first time.
- Can I prep ahead? For sure. Rub it and let it hang in the fridge for a few hours (or overnight if you feel organized), but honestly, even 30 minutes while the oven heats is enough.
- What sides go best? Up to you, friend! I love mashed potatoes, but roasted veggies or a garlic bread loaf are also winners. (One cousin makes it with mac ‘n’ cheese on the side—wild, but somehow amazing.)
Right, there you have it. If you give this a go, let me know how it turns out—or what goes hilariously wrong. I once dropped the roast because the dog tripped me. Long story. Good luck, and happy cooking!
Ingredients
- 3 lb beef top loin roast
- 2 tablespoons mixed peppercorns, coarsely crushed
- 2 teaspoons kosher salt
- 2 tablespoons olive oil
- 4 cloves garlic, minced
- 1 tablespoon fresh rosemary, chopped
- 1 tablespoon Dijon mustard
- 1 teaspoon freshly ground black pepper
Instructions
-
1Preheat the oven to 450°F (232°C). Pat the beef top loin roast dry with paper towels.
-
2Rub the roast all over with olive oil, then coat with Dijon mustard.
-
3Combine crushed peppercorns, kosher salt, minced garlic, rosemary, and black pepper in a bowl. Press the mixture evenly over the roast.
-
4Place the roast on a rack in a roasting pan. Roast in the preheated oven for 15 minutes, then reduce temperature to 325°F (163°C) and continue roasting for 55 minutes, or until desired doneness.
-
5Transfer roast to a cutting board, tent with foil, and let rest for 15 minutes before slicing and serving.
Approximate Information for One Serving
Nutrition Disclaimers
Number of total servings shown is approximate. Actual number of servings will depend on your preferred portion sizes.
Nutritional values shown are general guidelines and reflect information for 1 serving using the ingredients listed, not including any optional ingredients. Actual macros may vary slightly depending on specific brands and types of ingredients used.
To determine the weight of one serving, prepare the recipe as instructed. Weigh the finished recipe, then divide the weight of the finished recipe (not including the weight of the container the food is in) by the desired number of servings. Result will be the weight of one serving.
Did you make this recipe?
Please consider Pinning it!!

