Let Me Tell You About This Eggnog (Spoiler: No Booze, Still Awesome)
Alright, picture this. It’s just before Christmas, there’s that mad dash to get everything ready, and my kitchen looks like a festive tornado blew through—but somehow, the one thing I always manage to make (and not ruin!) is this non-alcoholic homemade Eggnog. The first time I made it, I forgot about the eggs on the stove and ended up with sweet scrambled eggs. Mistakes were made. But then, I got the hang of it, and now this Eggnog is my little holiday flex. Pro tip: it doubles as a breakfast treat if you have leftovers, which, let’s be honest, rarely happens around here.
On a totally unrelated note, my cat once tried to swipe a mug of this and knocked the cinnamon everywhere. So now it’s tradition for me to mop the counter right after making eggnog (if you can call that a tradition…)
Why You’ll Love This Eggnog (At Least My Crew Does)
I make this whenever the weather starts getting chillier—think rainy days, full of socks and TV marathons. My sister goes bananas for it (she’d probably drink the whole batch if I didn’t keep an eye on her, bless her sweet tooth). And for those who don’t want the boozy stuff or maybe have kids running around—here’s your ticket to creamy, festive happiness without the whiskey punch. There were years when I tried store-bought and, honestly, it just tasted like melted ice cream gone weird. This one feels like a cozy hug…plus, you know exactly what’s inside.
Also, it’s quick to whip up once you get over the nervousness of cooking eggs & milk together—yes, the first time will stress you out, but second time? Not so much. (Well unless you get distracted. Which, honestly, happens.)
What You Need (And How I Sometimes Wing It)
- 4 large eggs – Fresh is best, but I used weeks-old ones once (little scary, tasted fine)
- 2/3 cup sugar – Brown sugar works if you like a slightly caramel vibe
- 2 cups whole milk – Or 2% when I’m trying to be a bit healthier (ha—like that helps with all the cream!)
- 1 cup heavy cream – I swap for evaporated milk if I run out, nobody noticed
- 2 teaspoons real vanilla extract – My Nana always said only pure vanilla, but the cheap stuff works in a pinch
- 1/2 teaspoon ground nutmeg (freshly grated’s amazing but I never bother)
- 1/4 teaspoon ground cinnamon (or just eyeball it—I do)
- Pinch of salt (no, really, it makes a difference!)
- Optional: Whipped cream, extra cinnamon for topping
Here’s How It Happens (Trust the Process)
- Whisk it up: Grab a medium saucepan. Whisk the eggs and sugar together (vigorously—I consider this my holiday arm workout) until it’s a little pale and the sugar mostly dissolves.
- Add milk plus cream: Pour in the milk and cream; do it slowly while whisking, so everything mixes up smooth. (I usually spill some, not gonna lie.)
- Heat gently: Put the whole mix over medium-low heat. Stir and stir more—don’t walk away, or you’ll have weird egg lumps. Keep it moving until it thickens just a bit and coats a spoon, about 10 minutes. It’s subtle, so don’t overdo it. If you have a cooking thermometer, you’re aiming for about 160°F, but if not just trust your gut.
- Chill out: Pull it off the heat, stir in the vanilla, nutmeg, cinnamon, and salt. Actually, sometimes I forget the salt and add it after, it’s fine. Now you want it cold so stick it in the fridge for 2 hours or until totally chilled. It gets tastier the longer it sits (but…see storage note below).
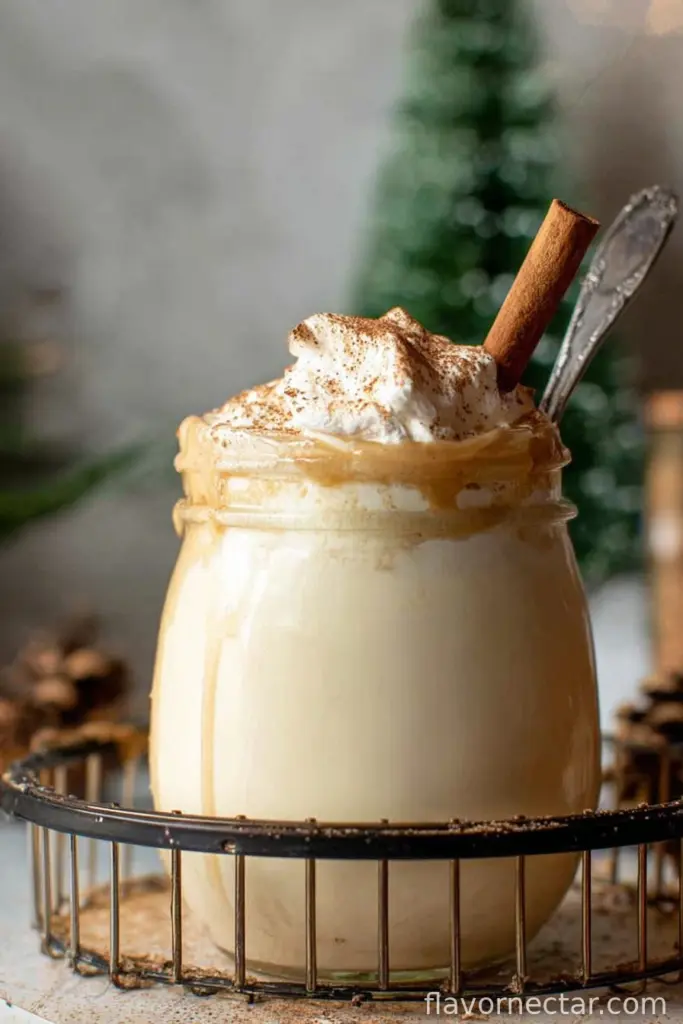
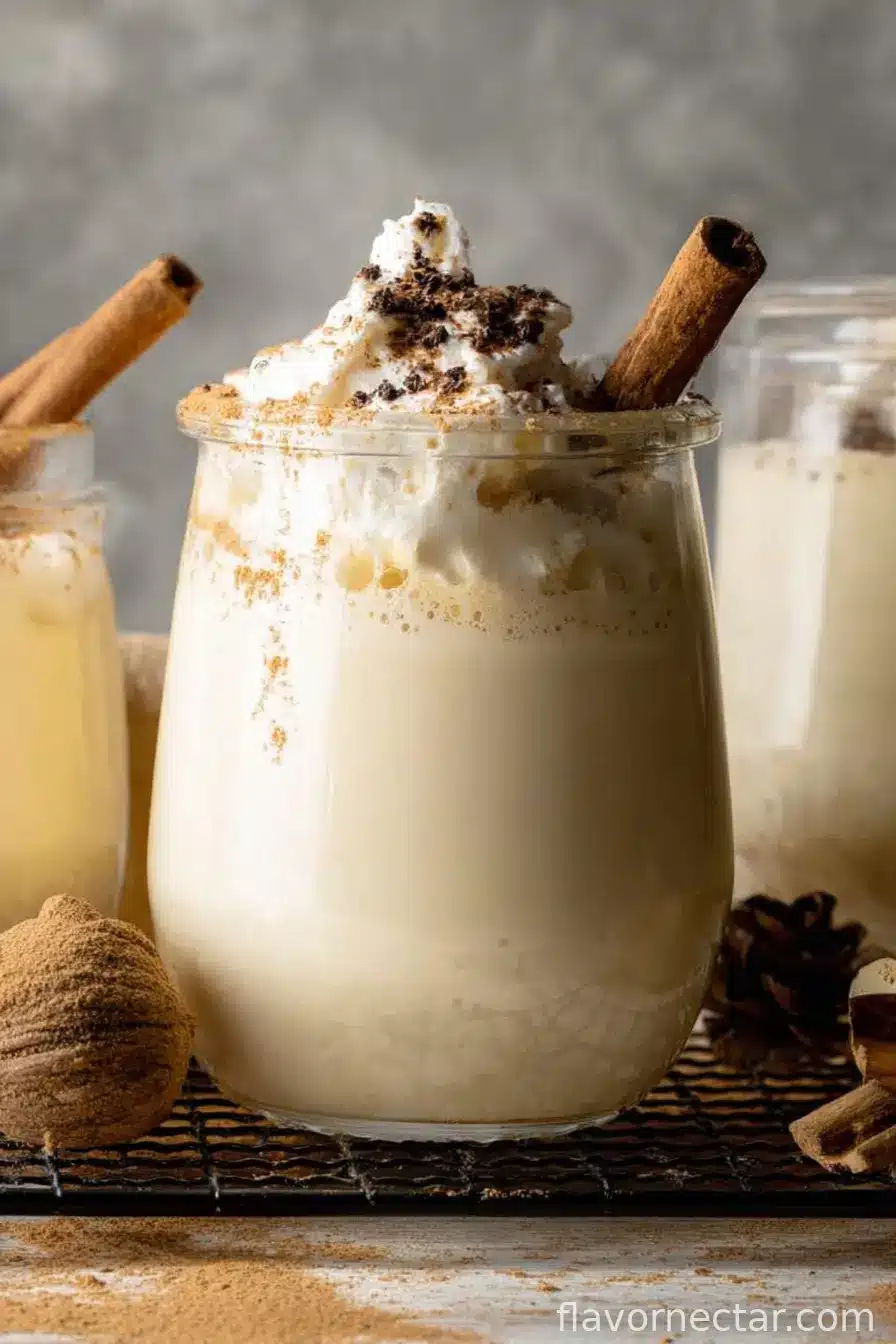
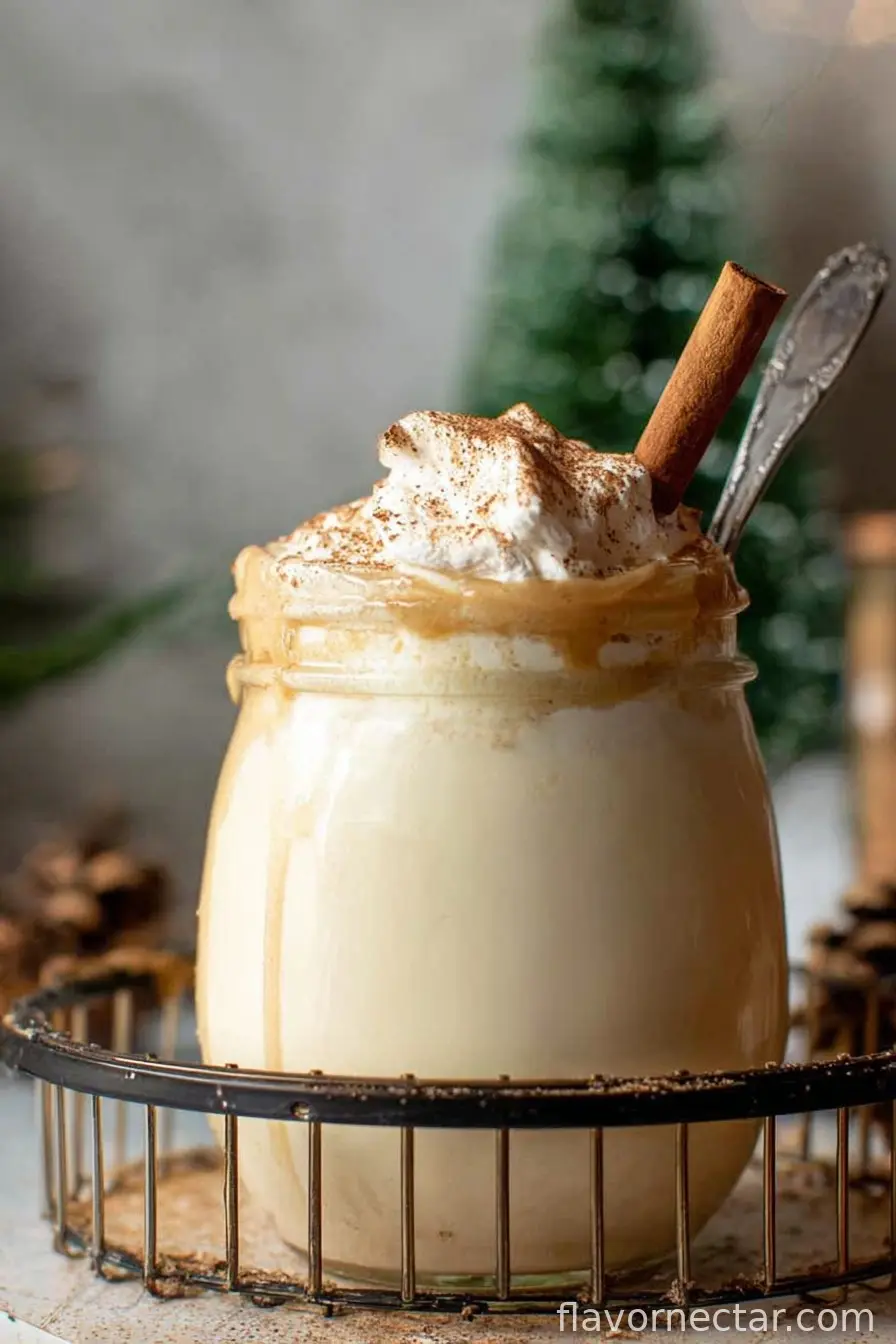
- Serve and smile: Pour into mugs, add a swirl of whipped cream, and dust with cinnamon if you’re feeling fancy. This is when I usually sneak a spoonful and burn my tongue—learn from my mistakes, folks.
Trials, Errors, and Notes
- I always, always get a little nervous about overcooking at step 3—honestly, if you see tiny bits form, a quick strain through a mesh sieve fixes it; no biggie.
- If you want to make it ahead, wait to add toppings until serving. Once I did it in advance and the cream totally disappeared—looked sad but still tasted fab.
- For a richer flavor, steep a cinnamon stick in the milk mixture (but take it out before chilling).
Stuff I’ve Experimented With (Melon, Not So Much)
- Oat milk: I gave this a shot for dairy-free pals. Worked, but not as thick. Still tasty, though a bit “meh.”
- Extra spices: Ginger and cloves add some kick! One year I tried orange zest—not my best idea (my nephew called it ‘breakfast juice nog’).
- Coconut cream: If you’ve got some, it works for a tropical twist. Not traditional, but I liked it.
If You Don’t Have a Whisk (Or You Just Can’t Find It)
You really should use a whisk, but, honestly, a fork will do in a pinch (just be ready for forearm soreness—ask me how I know). For heating, I once used a microwave in bursts, stirring in between. Was a little nerve-wracking, but it kinda worked! If you don’t have a saucepan, a small-ish pot is fine. No need to buy anything fancy for this.
How to Store It (Not That It’ll Last Long)
Stick any leftovers in a sealed jar or pitcher in the fridge. It’ll keep for about two days, although in my house, it never gets a chance to make it past day one. If it gets a bit thick, add a splash of milk before serving. Actually, I think this tastes even better after chilling overnight, but good luck waiting that long.
How We Serve It (And Sometimes Jazz It Up)
I serve this in big mugs with a heap of whipped cream for Sunday movies, or in fancy glasses near the tree for Christmas Eve. My niece likes hers with extra cinnamon and a candy cane dipped in—which, okay, looks cute but turns it a bit pink. Try serving it with gingerbread cookies or panettone if you want to be fancy (or just with a handful of whatever biscuits you have kicking around).
Some Lessons Learned the Hard Way (Don’t Make My Goofs)
- I once cranked up the heat to ‘hurry it up’ and ended up with rubbery eggnog. Slow and steady says the tortoise—and the cook.
- Add vanilla after cooking—poured it in too early once and it just vanished. Now I know better.
- For goodness’ sake, don’t use skim milk. Tried it. Regretted it. It was basically sweet egg water.
Eggnog Curiosities—Questions I Always Get Asked
- Is this really safe for kids? Yep! Because we cook the eggs to the right temp, no worries. I use a food thermometer from Serious Eats sometimes just for peace of mind.
- Can I double the recipe? Oh absolutely—I usually do for parties. Just use a bigger pot, or do it in two batches if your saucepan’s dinky.
- How do I make it ultra-frothy? Blitz it with an immersion blender or even a hand mixer. (See the one I like over at Wirecutter.) Or whisk like you’re trying to win a carnival prize.
- What’s the deal if it separates? Just give it a really good stir (or shake—lid on!) and it’s right as rain.
- Any secret upgrades? Someone once swore by adding maple syrup. I tried—too sweet for me, but you do you!
Anyway, that’s my non-alcoholic homemade eggnog—built on a pile of spilled milk, holiday chaos, and a whole lot of taste-testing. Happy sipping, mate!
Ingredients
- 4 large eggs
- 3/4 cup granulated sugar
- 2 cups whole milk
- 1 cup heavy cream
- 1 teaspoon pure vanilla extract
- 1/2 teaspoon ground nutmeg, plus more for garnish
- Pinch of salt
Instructions
-
1In a medium bowl, whisk together the eggs and granulated sugar until light and creamy.
-
2In a medium saucepan, combine milk, heavy cream, nutmeg, and salt. Heat over medium heat until just steaming, but do not boil.
-
3Gradually add the hot milk mixture to the eggs and sugar, whisking constantly to temper the eggs.
-
4Return the mixture to the saucepan and cook over low heat, stirring constantly, until the mixture thickens slightly and reaches 160°F (about 71°C). Do not let it boil.
-
5Remove from heat, stir in vanilla extract, and transfer to a jug or pitcher. Chill in the refrigerator for at least 2 hours before serving.
-
6Serve cold, garnished with a sprinkle of ground nutmeg.
CLICK FOR NUTRITION INFO
↑
Approximate Information for One Serving
Serving Size:
1 serving
Calories:
240 caloriescal
Protein:
7gg
Fat:
13gg
Saturated Fat:
0g
Trans Fat:
0g
Cholesterol:
0mg
Sodium:
0mg
Potassium:
0mg
Total Carbs:
23gg
Fiber:
0g
Sugar:
0g
Net Carbs:
0g
Vitamin A:
0
Vitamin C:
0mg
Calcium:
0mg
Iron:
0mg
Nutrition Disclaimers
Number of total servings shown is approximate. Actual number of servings will depend on your preferred portion sizes.
Nutritional values shown are general guidelines and reflect information for 1 serving using the ingredients listed, not including any optional ingredients. Actual macros may vary slightly depending on specific brands and types of ingredients used.
To determine the weight of one serving, prepare the recipe as instructed. Weigh the finished recipe, then divide the weight of the finished recipe (not including the weight of the container the food is in) by the desired number of servings. Result will be the weight of one serving.
Did you make this recipe?
Please consider Pinning it!!