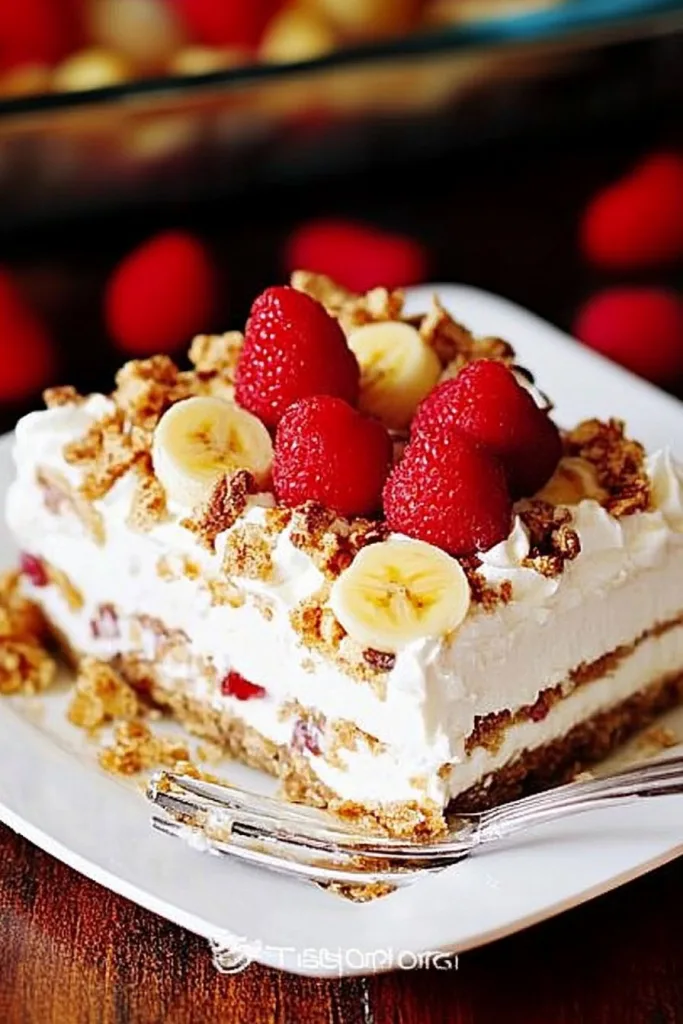
Hey there! So, let me tell you about this no-bake banana split cake that has become a staple at our backyard BBQs (which usually end in a spirited debate about the best dessert!). I first stumbled upon this recipe while trying to satisfy a craving without heating the house in the middle of summer. It’s saved me from many a dessert dilemma since—like when you just don’t feel like turning on the oven. Honestly, it’s a real crowd-pleaser!
Why You’ll Love This
I make this when I need something sweet and impressive, but I really don’t feel like baking—or cleaning up a massive mess. My family goes crazy for it because it’s got all the goodies of a classic banana split but in cake form (and with way less effort!). One time, I tried to get a little too fancy with it, and it was a bit of a disaster, but the original version? Always a hit.
What You’ll Need
- Graham cracker crumbs: About 2 cups. I occasionally use crushed digestive biscuits if that’s what’s in the pantry.
- Butter: 1/2 cup, melted. Unsalted works best, but use whatever you’ve got.
- Cream cheese: An 8 oz block, softened. My grandmother swore by the brand with the little cow on it, but honestly, any will do.
- Crushed pineapple: 1 can (20 oz), drained. Don’t skip the draining part!
- Sliced bananas: 3 or 4, depending on size and personal taste.
- Instant vanilla pudding: 1 package. Sometimes I switch it up with banana flavor.
- Whipped topping: About 12 oz; I use the tub kind here.
- Chopped nuts (optional): A handful of your choice—pecans or walnuts are nice.
- Chocolate sauce: To drizzle on top.
- Maraschino cherries: For that classic touch.
Steps to Sweet Success
- Start by mixing those graham cracker crumbs with melted butter, then press it into the bottom of a 9×13 inch dish. I usually sneak a taste here because why not?
- Beat the cream cheese until it’s nice and fluffy. Add the drained pineapple and mix again. Spread this over the crust.
- Layer your banana slices over this layer. Make sure they cover the whole thing because nothing’s worse than a banana-less bite!
- Prepare the pudding according to the package instructions and spread it over the bananas. This step can get a tad messy, but hey, it’s all part of the fun.
- Spread the whipped topping over the pudding layer. Artfully sprinkle with nuts if you’re using them.
- Chill for at least 4 hours but preferably overnight. Patience is key here; I learned that the hard way.
- Before serving, drizzle with chocolate sauce and top with cherries. I think more cherries make it look even more festive.
Notes to Nibble On
Don’t skimp on chilling time. I once served it too soon, and it was a bit too mushy. Waiting longer really does help it set better.

Variations I’ve Tried
Once, I added strawberries between the banana and pudding layers. It was good, but it made the cake a bit wetter (probably would have worked better with a bit more chilling). On another note, using chocolate pudding instead of vanilla gives it a slightly richer taste.
Equipment Tips
If you don’t have a stand mixer, a hand mixer works just fine. A good spatula is your friend here, too.
How to Store It
Store covered in the fridge, but honestly, in my house, it never lasts more than a day! If by some miracle you have leftovers, the flavors meld together overnight, which I actually think tastes better.
How We Serve It
We usually have this with a scoop of vanilla ice cream on the side. It’s a bit extra, but then again, can you ever have too much dessert?
Pro Tips from My Kitchen
I once tried rushing the cream cheese layer when it wasn’t fully softened. Big mistake. Take the time to let it soften fully for the best texture.
FAQs I’ve Gotten
- Can I make this ahead of time? Absolutely! It’s actually better the next day; just keep it chilled.
- What if I don’t like nuts? No problem, just skip them. Maybe add a little sprinkle of coconut for a different crunch?
- Can I use fresh pineapple? You can, but make sure it’s very well drained or the cake might get too soggy.