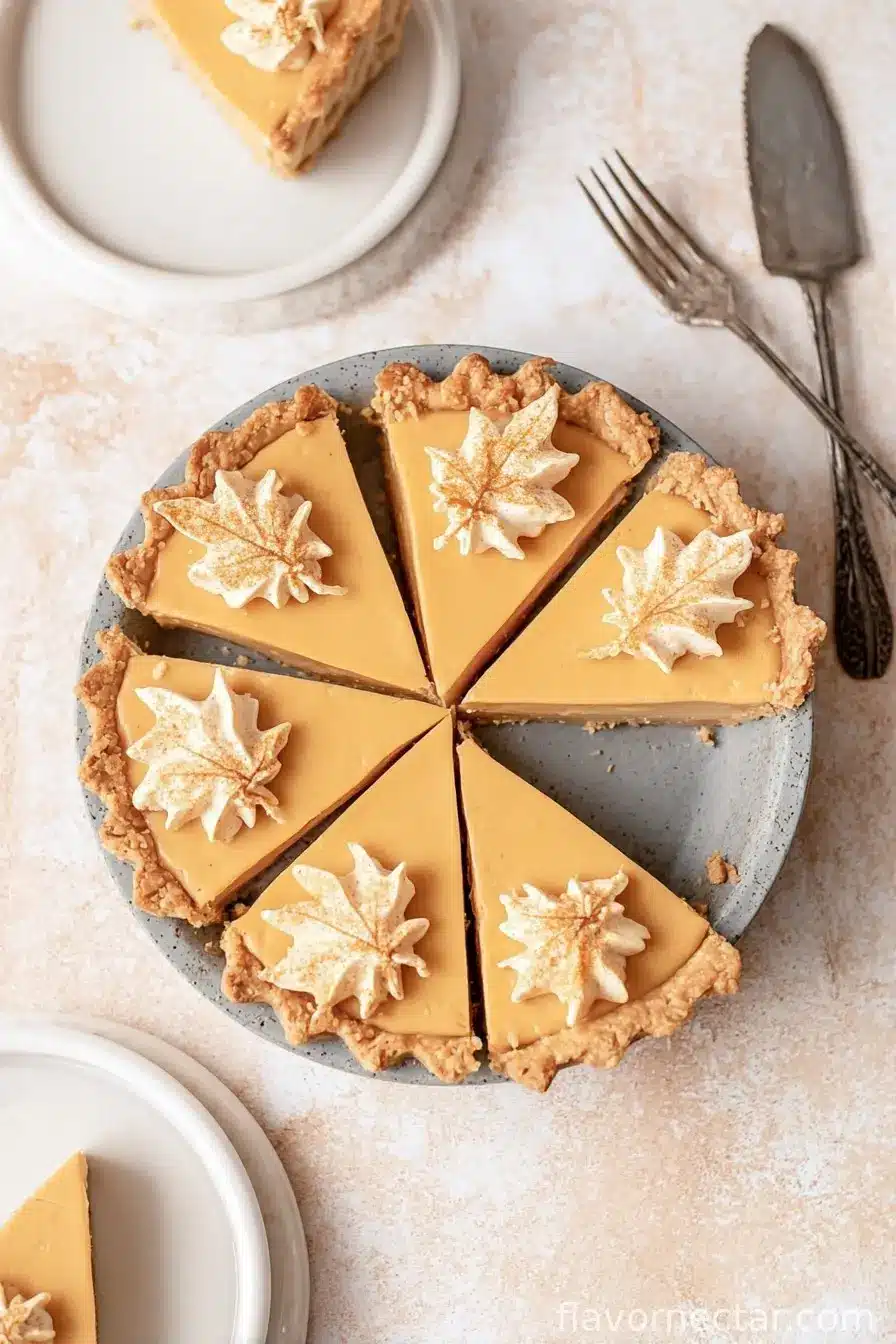
So, Why Maple Cream Pie?
Okay, confession time: I first made this maple cream pie because I had about a half-bottle of maple syrup (the good stuff, not the pancake syrup—let’s not fight about that again, Jen) sitting in my fridge just begging for a purpose. And I remembered how, when I was little, my grandmother used to make something she called “sugar pie”—which, in hindsight, was basically anything sweet she happened to have on hand. Anyway, this pie? It’s become my go-to when I need a bit of cozy in my life or when I want to show off just a little without actually doing tons of work. Plus, let’s be honest, it’s a looker on the dessert table.
Why You’ll Find Yourself Making This (A Lot)
I make this when friends come over expecting something special but I – oops – forgot to get fancy groceries. My family demolishes it quicker than I can say “save me a slice,” mainly because it’s creamy and not too sweet, unless I get a heavy hand with the maple (which, guilty). One year, my uncle called it “breakfast in a pie crust,” which… is not wrong? Also, if you’re the person who gets nervous about custard pies curdling, you’re safe here. I had some ugly tries with pumpkin pie, but this one’s simple (cross my heart!)
What You’ll Need (And What You Can Swap)
- Pie crust – I use store-bought when I’m running behind. Otherwise I do a homemade all-butter crust. My grandma would say Crisco is law, but you do you.
- 1 cup pure maple syrup – Grade B is my secret for more flavor, though Grade A works fine. Once, in a pinch, I mixed half maple, half honey (wasn’t bad actually, but not as classic).
- 1/2 cup brown sugar – Dark or light, whatever you’ve got on hand.
- 1/4 cup cornstarch – Some folks use flour. I did, once, but it made it too heavy. Stick with cornstarch if you can.
- 2 1/2 cups half-and-half – Or do half milk, half cream if it’s all that’s in the fridge, works either way.
- 4 egg yolks – Save the whites (meringue, maybe?) or just forget them like I usually do.
- 2 tbsp unsalted butter – Salted is fine; just dial the extra salt.
- 1 tsp vanilla extract
- 1/4 tsp salt
- Whipped cream, toasted pecans, or flaky salt for topping (optional)
How To Throw Maple Cream Pie Together
- Bake the crust. Preheat your oven to about 375°F (190°C). Blind bake your pie crust—line it with parchment and fill it with baking beans/rice. Bake till it looks dry and golden around the edges, maybe 20 minutes. If it’s stubborn and stays pale, give it a few extra minutes. Take out the weights and bake for another 5 minutes if you want to be fancy.
- Cook up the filling. In a saucepan, whisk together maple syrup, brown sugar, cornstarch, and salt. Pour in the half-and-half slowly (add a splash so it’s not lumpy) then toss in your egg yolks. Whisk ‘em like you mean it.
- Thicken it up. Cook over medium heat, don’t rush this! Whisk, whisk, whisk, probably about 7 to 10 minutes. It’ll suddenly get thick — don’t worry if it looks a bit gloopy at first. This is where I usually sneak a taste and feel slightly guilty.
- Add richness. Pull off the heat. Stir in the butter and vanilla. Let it chill out for 5 minutes (I never actually wait the whole 5, but I should), then pour into your baked pie shell.
- Chill time. You gotta refrigerate it for at least 4 hours; overnight is best. Don’t cover it till it’s cooled a bit or the dreaded condensation strikes.
- Finish it off. Slap on some whipped cream, a sprinkle of flaky salt or toasted pecans if you’re feeling wild. Or eat plain. Or with coffee, which honestly, is my favorite.
Notes from My Pie Experiments (Some Messier Than Others)
- If you try to eat this right away, it’ll be soupy. Trust me, I couldn’t wait once…regret.
- Actually, sometimes the maple flavor is way deeper after a day; maybe that’s just me?
- Once, I tried making it in a graham cracker crust. It was okay, but kinda got soggy quick. Stick with pastry if you can.
- The filling sets more as it cools, so don’t panic if it seems runny from the pan.

Variations I’ve Dabbled In (Not All Winners)
- I swapped in coconut milk once for a dairy-free friend. It tasted good, but the set was a bit off – more like pudding than pie. Still yummy!
- Toasted walnuts on top? Yes please. Pecans are great too.
- Tried spiking it with a smidge of bourbon. Tasted awesome, but the kids complained (so maybe save that for grownups-only night?)
- A chocolate graham crust…thought I was a genius, but honestly, it got too sweet and lost the maple magic.
Do You Really Need Special Equipment?
If you’ve got a decent whisk and a saucepan, you’re fine. Sure, a pie dish helps, but I once used a deep cake pan. (A bit rustic, but whatever.) Don’t have pie weights? I just use dried beans or even raw rice—still works!
Keeping Leftovers (If There Are Any… Rare in My House)
This keeps about 3 days, covered, in the fridge. If you’re making ahead, do the whipped cream right before serving. But, honestly, in my house, it never lasts past the first night. Maybe you have more willpower.
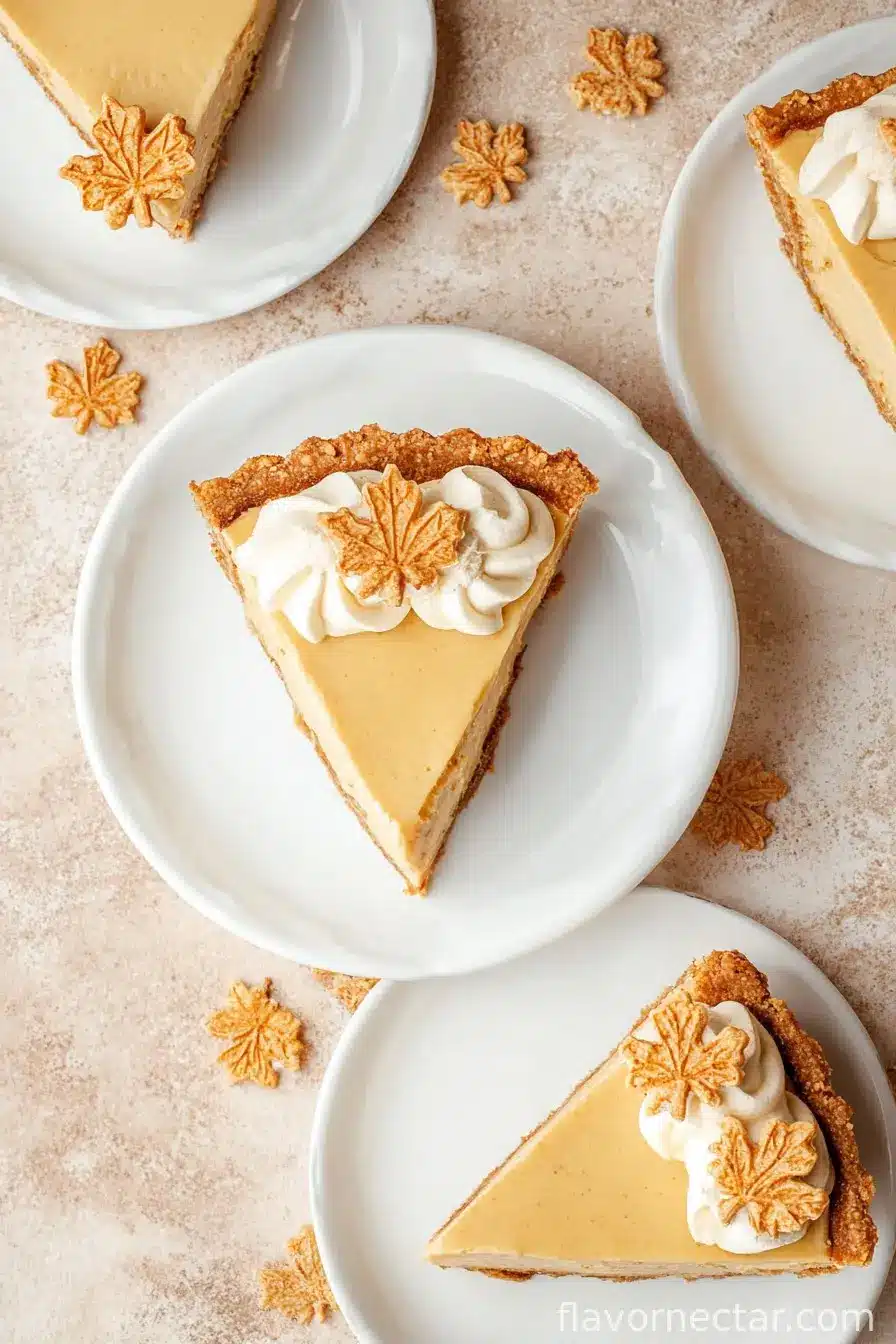
How We Serve It (Probably Not Fancy Enough)
I love to top each cold slice with whipped cream and a sprinkle of sea salt (totally optional). Once we stuck birthday candles in it for my dad who hates cake. It’s especially good with dark coffee—or straight from the fridge at midnight. Not that I do that…often.
Hard-Earned Pro Tips (Or: Learn From My Oopsies)
- If you try to hurry the stovetop step, you’ll get lumps. I once tried to cook it hot & fast—bad move. Take your time, keep it moving.
- Don’t skimp on the chill time. Warm pie = sad, soupy slice.
- Crust looking pale? Brush the edge with egg yolk; it gives the best color. (Someone from Sally’s Baking Addiction suggested this and it works!)
Questions I Actually Get Asked (More Than I’d Thought)
-
Can I use pancake syrup instead of pure maple?
You can, but it won’t taste nearly as deep or real. Maybe that’s just my Ontario snobbery showing, eh? -
What if my filling won’t set?
Check if you measured the cornstarch right! Also, did you really chill it long enough? Sometimes I get impatient and forget. -
I’m out of half-and-half. What else works?
Milk and cream in any combo, really. The fattier the better, but you can fudge it (pun intended?) -
Does it freeze?
Well, you can – but the texture goes off on thawing. I honestly wouldn’t bother unless you love weirdly icy custard. -
What’s up with a little skin forming on top?
That’s normal. If it bothers you, press plastic wrap right onto the surface while it chills. I personally don’t mind it – extra texture, maybe?
Financial digression: You’ll notice real maple syrup isn’t cheap. But you can sometimes find decent deals at a bulk foods shop or farmer’s market. Support local if you can – it really does taste different (or at least, that’s what my tastebuds tell me). If you’re as obsessed with maple as I am, check out Vermont Maple’s recipe page for more sweet ideas!
Anyway, give this pie a whirl. If it comes out a bit wobbly or rustic, that’s all part of the charm, right? Happy baking, and let me know if you end up eating it for breakfast, too.
Ingredients
- 1 9-inch pie crust, baked and cooled
- 3/4 cup pure maple syrup
- 1/3 cup light brown sugar, packed
- 1/4 cup cornstarch
- 1/4 teaspoon salt
- 2 cups whole milk
- 3 large egg yolks
- 2 tablespoons unsalted butter
- 1 teaspoon vanilla extract
- 1 cup heavy whipping cream
- 2 tablespoons powdered sugar
Instructions
-
1In a medium saucepan, whisk together the maple syrup, brown sugar, cornstarch, and salt.
-
2Gradually whisk in the milk and egg yolks until fully combined and smooth.
-
3Cook over medium heat, stirring constantly, until the mixture thickens and comes to a gentle boil, about 7-10 minutes.
-
4Remove from heat. Stir in the butter and vanilla extract until the butter is melted and the filling is smooth.
-
5Pour the maple cream filling into the prepared pie crust. Smooth the top and let cool to room temperature, then refrigerate for at least 1 hour until set.
-
6Whip the heavy cream with powdered sugar until soft peaks form. Spread or pipe whipped cream over the chilled pie before serving.
CLICK FOR NUTRITION INFO
↑
Approximate Information for One Serving
Serving Size:
1 serving
Calories:
370cal
Protein:
5 gg
Fat:
17 gg
Saturated Fat:
0g
Trans Fat:
0g
Cholesterol:
0mg
Sodium:
0mg
Potassium:
0mg
Total Carbs:
51 gg
Fiber:
0g
Sugar:
0g
Net Carbs:
0g
Vitamin A:
0
Vitamin C:
0mg
Calcium:
0mg
Iron:
0mg
Nutrition Disclaimers
Number of total servings shown is approximate. Actual number of servings will depend on your preferred portion sizes.
Nutritional values shown are general guidelines and reflect information for 1 serving using the ingredients listed, not including any optional ingredients. Actual macros may vary slightly depending on specific brands and types of ingredients used.
To determine the weight of one serving, prepare the recipe as instructed. Weigh the finished recipe, then divide the weight of the finished recipe (not including the weight of the container the food is in) by the desired number of servings. Result will be the weight of one serving.
Did you make this recipe?
Please consider Pinning it!!