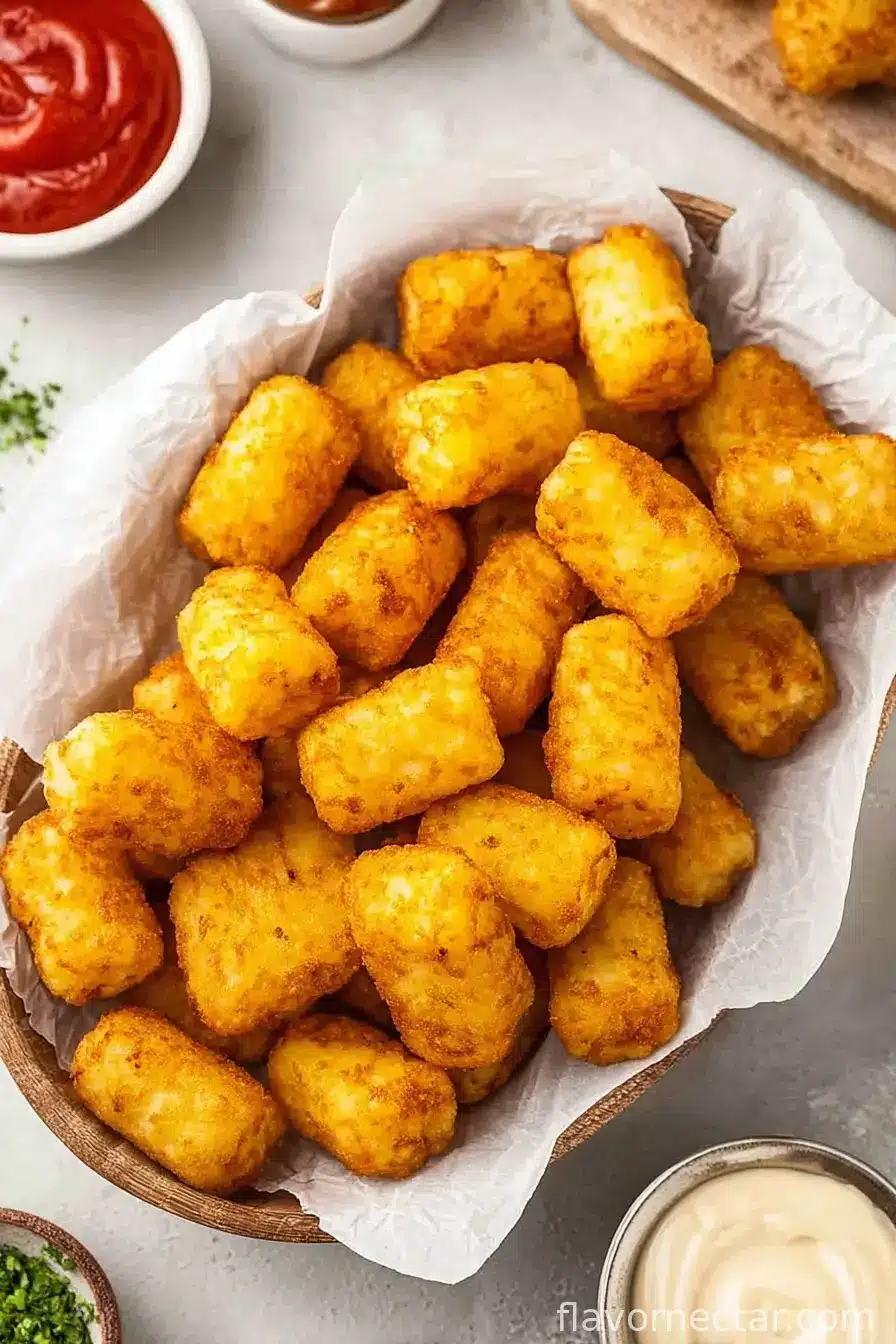
How I Ended Up Making Tater Tots at Home
If you’d told me five years ago I’d be hand-shaping tater tots in my own kitchen, I’d’ve probably raised an eyebrow. Yet here I am, a big tray of crispy homemade tots sizzling in front of me, and not a single complaint from anyone at the table. There was a time we just grabbed a bag from the store and called it a day, but honestly, making them yourself is so much more fun (and let’s be real, they taste better when you put in a pinch of extra love—and maybe a bit too much garlic once or twice). The first time I made these, I got flour absolutely everywhere, including on the dog, but nobody complained when the tots came out of the oven. I do think a few family members are just here for the crispy edges, though. Classic.
Why You’ll Love Making Your Own Tater Tots
I make these when the crisper drawer is overflowing with potatoes approaching their “what even is this” stage, or when my nephew comes over and wants to help cook. My family goes absolutely bananas for these, probably because they can never decide if they want soft centers or crunchy outsides—here, you get both, and honestly, you control just how crispy they get. The part that used to send me up the wall was sticking potatoes, but, it turns out, if you use just enough flour and a touch of patience (and maybe have a glass of something cold while you wait), things turn out fine. And—this is important—sometimes I make them as an excuse to dip something into spicy mayo, for science.
What You’ll Need (Plus a Few Substitutions)
- 4 medium russet potatoes (about 800g)—I sometimes swap in yellow potatoes for a more buttery flavor; works fine.
- 3 tablespoons all-purpose flour (my grandma swore by Wondra but, truly, anything goes here—cornstarch if you’re feeling gluten-free)
- 1/2 teaspoon garlic powder (you can skip or double, no judgment here)
- 1/2 teaspoon onion powder (or a little chopped chive if I’m out)
- 3/4 teaspoon salt, plus a pinch for sprinkling over at the end
- 1/4 teaspoon ground black pepper (or white pepper if I find it first)
- 1 handful fresh parsley, chopped (totally optional—I forget it half the time)
- 2 to 3 cups neutral oil for frying, like sunflower or canola (I’ve used olive oil in a pinch, but it’s not quite the same; don’t do as I did!)
How I Make These Tater Tots
- Peel the potatoes and pop them into a big saucepan, cover with water and bring it to a boil. Once boiling, drop the heat so it’s a gentle simmer and let ’em go for 7–8 minutes—just enough to soften the edges, not cook them all the way. If you forget about them (speaking from experience), expect more mashed potato than tot. Drain and let them cool so you don’t burn your hands (guess who’s done that, too).
- Grate the cooled potatoes on the coarse side of your box grater. If your grater is mysteriously missing (kids!), a food processor works—just don’t overdo it or you’ll get mush.
- In a big bowl, toss the grated potatoes with flour, garlic powder, onion powder, salt, pepper, and parsley, if you remembered it. Mix it all up but don’t squish it—the idea is to keep those little shredded bits happy, not turn it into glue.
- Scoop out a small tablespoon at a time and squeeze it gently into a rough little log, about as long as your thumb. Sometimes I shape these sitting at the kitchen table watching TV—don’t worry if they look a bit weird, seriously, they always do at first.
- In a deep pot or skillet, heat the oil to 350°F (that’s 180°C). If you don’t have a thermometer, toss in a little shred; if it bubbles impressively, you’re probably good. (Or maybe invest in a thermometer—I resisted for ages but it made things easier.)
- Carefully drop your tots in batches into the hot oil—don’t crowd them. Fry 2–3 minutes per side until golden and crisp; sometimes I poke at them compulsively, but really, leaving them alone works better. Drain the cooked tots on a paper towel or a rack—then immediately hit them with a little more salt.

Some Notes I Wish I’d Known Earlier
- I tried making these with raw potato (skipping the simmer step), but, yikes, they never really cooked all the way inside. Don’t skip the simmer, trust me.
- If the mix seems way too dry or won’t form, add a teeny splash of water. Not too much or you get sticky hands for days.
- It’s fine if you forget the parsley. I do. Nobody notices except my neighbor, who is, frankly, too invested in herbs.
Variations That (Sort Of) Worked for Me
- Cheesy tots—stir in a handful of shredded cheddar before shaping. (These disappear first.)
- Spicy tots—add a teaspoon of smoked paprika or cayenne. Once I dumped in chipotle powder. That was… a bit much, honestly.
- Sweet potato—tried this once, but they never got quite as crisp. Maybe someone else will crack the code.
What You Need to Cook These (And, What If You Don’t Have It?)
- Box grater (or a food processor with a grating attachment—sometimes I just chop really fine with a big knife but it takes forever)
- Big pot or skillet for frying—deep-ish is better so they don’t stick; I once used my old wok and it worked shockingly well
- Colander for draining potatoes—can use a slotted spoon something fierce in a pinch
- Mixing bowl, large enough for a rogue tot to leap out
Sneaky Storage Tips (Not That Mine Ever Last Long)
You can keep leftovers in an airtight container in the fridge for 2–3 days, and they reheat decently in a hot oven (425°F or thereabouts). Truth be told, most disappear before they even get all the way to the plate. Freezing? Sure, just set them on a tray to freeze then store in a bag. But, like, who has that level of self-control?
How I Serve These (Tot Traditions at My Place)
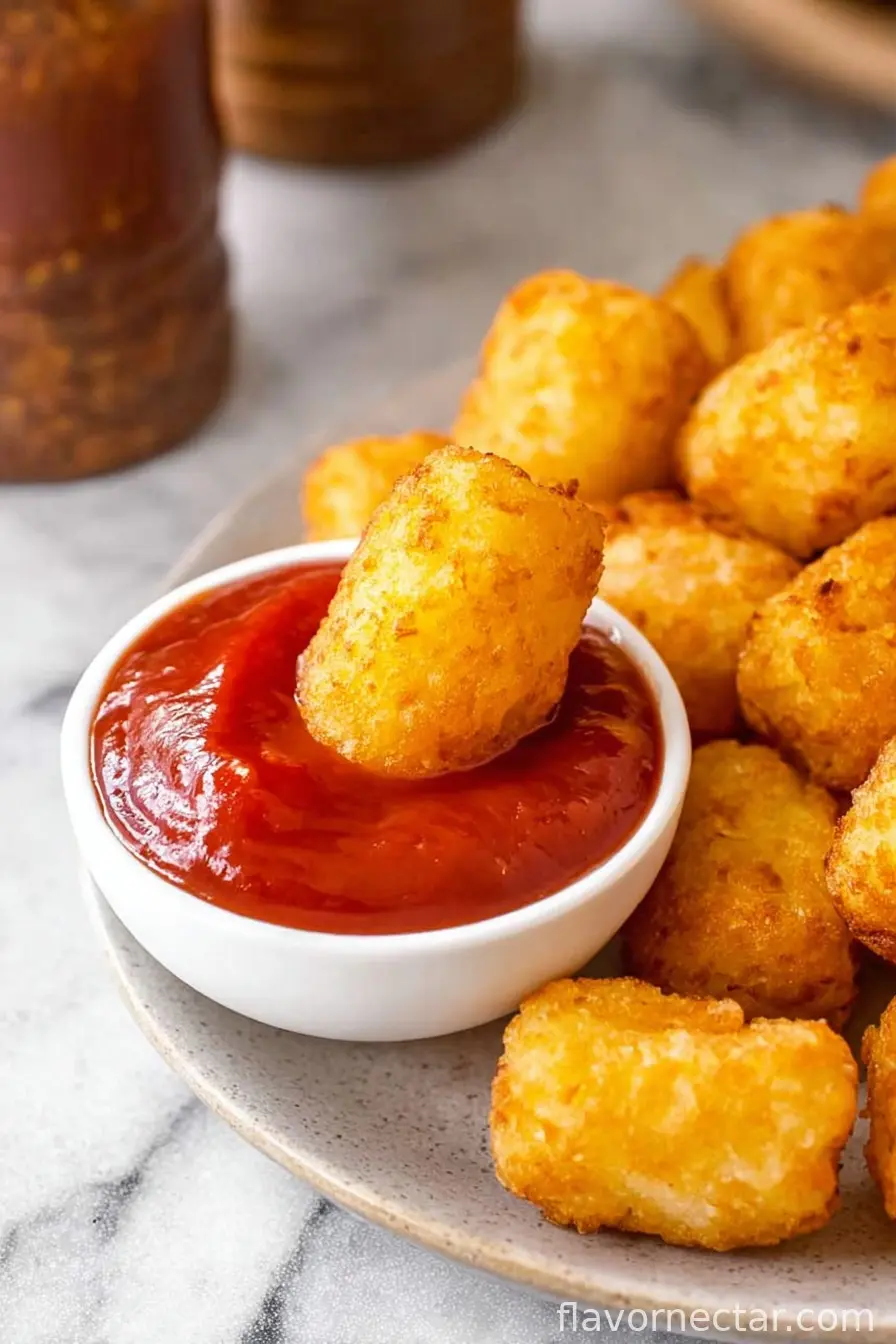
Always with a bunch of ketchup, sometimes a spicy aioli or, if I’m feeling thrown-back, ranch. My family likes them alongside burgers or even tucked into Sunday breakfast. The winner, though, is making “tot nachos”—pile ’em up, scatter cheese and jalapeños, melt it all under the broiler. My kids call it “tot-mageddon.” (Don’t ask, I don’t know where they come up with this stuff.)
Pro Tips Learned the Annoying Way
- I tried rushing the simmer and the outside was perfect, but the middle tasted like raw starch—let them actually cool.
- Shaping the tots—wet hands make the job easier. Dry hands equal crumbly messes on the counter (and sometimes the floor).
- Never overload the pan—no, really, the oil temp drops and they get soggy. Learned that one a few too many times.
Questions People Have Actually Asked Me
- Can I bake these instead of frying? Yep! Arrange the shaped tots on a greased baking sheet, spray them lightly with oil, and bake at 425°F until golden and crisp, flipping halfway. They’re a bit less crunchy but less mess, so, trade-offs.
- Do I have to peel the potatoes? Not at all. Sometimes I leave some skin on for extra flavor (and laziness reasons). They brown up a little darker, that’s it.
- How do I get mine crispier? Make sure your oil is hot enough (that’s key), and don’t overcrowd. Also, really squeeze out the excess moisture when grating—it makes a difference, trust me.
- Can I freeze the tots before cooking? Oh, absolutely. Freeze formed, uncooked tots on a tray, then toss them in a bag. You can fry right from frozen, just add another minute or two.
Totally up to you whether you make a double batch—though, on second thought, I probably should have started doing that ages ago.
Ingredients
- 4 medium russet potatoes (about 800g)—I sometimes swap in yellow potatoes for a more buttery flavor; works fine.
- 3 tablespoons all-purpose flour (my grandma swore by Wondra but, truly, anything goes here—cornstarch if you’re feeling gluten-free)
- 1/2 teaspoon garlic powder (you can skip or double, no judgment here)
- 1/2 teaspoon onion powder (or a little chopped chive if I’m out)
- 3/4 teaspoon salt, plus a pinch for sprinkling over at the end
- 1/4 teaspoon ground black pepper (or white pepper if I find it first)
- 1 handful fresh parsley, chopped (totally optional—I forget it half the time)
- 2 to 3 cups neutral oil for frying, like sunflower or canola (I’ve used olive oil in a pinch, but it’s not quite the same; don’t do as I did!)
Instructions
-
1Peel the potatoes and pop them into a big saucepan, cover with water and bring it to a boil. Once boiling, drop the heat so it’s a gentle simmer and let ’em go for 7–8 minutes—just enough to soften the edges, not cook them all the way. If you forget about them (speaking from experience), expect more mashed potato than tot. Drain and let them cool so you don’t burn your hands (guess who’s done that, too).
-
2Grate the cooled potatoes on the coarse side of your box grater. If your grater is mysteriously missing (kids!), a food processor works—just don’t overdo it or you’ll get mush.
-
3In a big bowl, toss the grated potatoes with flour, garlic powder, onion powder, salt, pepper, and parsley, if you remembered it. Mix it all up but don’t squish it—the idea is to keep those little shredded bits happy, not turn it into glue.
-
4Scoop out a small tablespoon at a time and squeeze it gently into a rough little log, about as long as your thumb. Sometimes I shape these sitting at the kitchen table watching TV—don’t worry if they look a bit weird, seriously, they always do at first.
-
5In a deep pot or skillet, heat the oil to 350°F (that’s 180°C). If you don’t have a thermometer, toss in a little shred; if it bubbles impressively, you’re probably good. (Or maybe invest in a thermometer—I resisted for ages but it made things easier.)
-
6Carefully drop your tots in batches into the hot oil—don’t crowd them. Fry 2–3 minutes per side until golden and crisp; sometimes I poke at them compulsively, but really, leaving them alone works better. Drain the cooked tots on a paper towel or a rack—then immediately hit them with a little more salt.
CLICK FOR NUTRITION INFO
↑
Approximate Information for One Serving
Serving Size:
1 serving
Calories:
310 caloriescal
Protein:
5gg
Fat:
14gg
Saturated Fat:
0g
Trans Fat:
0g
Cholesterol:
0mg
Sodium:
0mg
Potassium:
0mg
Total Carbs:
43gg
Fiber:
0g
Sugar:
0g
Net Carbs:
0g
Vitamin A:
0
Vitamin C:
0mg
Calcium:
0mg
Iron:
0mg
Nutrition Disclaimers
Number of total servings shown is approximate. Actual number of servings will depend on your preferred portion sizes.
Nutritional values shown are general guidelines and reflect information for 1 serving using the ingredients listed, not including any optional ingredients. Actual macros may vary slightly depending on specific brands and types of ingredients used.
To determine the weight of one serving, prepare the recipe as instructed. Weigh the finished recipe, then divide the weight of the finished recipe (not including the weight of the container the food is in) by the desired number of servings. Result will be the weight of one serving.
Did you make this recipe?
Please consider Pinning it!