If you’d told me five years ago that I’d be making Homemade Cheez-Its instead of grabbing a box at Tesco, I’d have laughed (picture orange dusted fingers and all). But here we are! My kids ask for these every Friday, and if I don’t make ’em, they give me that sad puppy face I just can’t handle. Plus, once during a rainy afternoon, I discovered you can whip these up faster than you’d think—unless you do what I did the first time and forget to chill the dough (oops—let’s call that my learning curve!).
Really, Why Bother? (But I’m Glad I Did!)
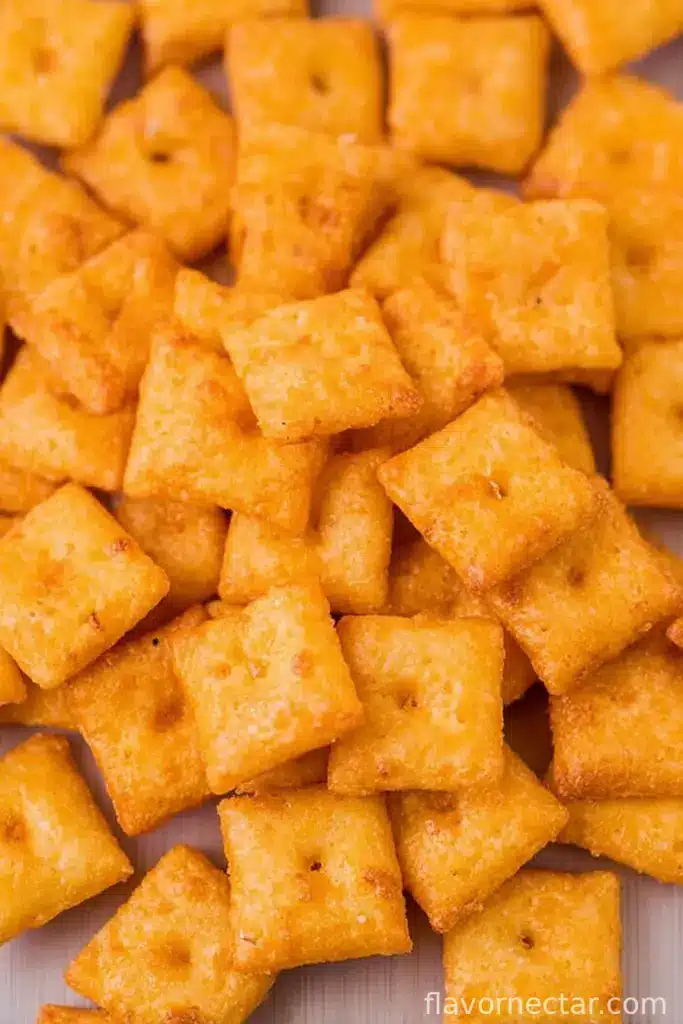
I make these when I’m craving something salty and nostalgic but just can’t be fussed to run out—plus, they’re the undisputed champion snack in my house (well, at least when I’m not hiding the last handful so I actually get some). My family goes wild for that sharp cheesy punch, and honestly, it feels a bit magical pulling crispy crackers from the oven instead of a packet. If you’re tired of store-bought tasting a little… tired? This is your call to action!
Ingredient List (With Room for a Little Wiggle)
- 225g (about 2 cups) extra sharp cheddar cheese, freshly grated (Sometimes I use red Leicester if that’s rolling around in the fridge, but any sturdy cheddar will do. My nan always raved about Cathedral City—truth be told though, I can’t always find it.)
- 4 tbsp (56g) unsalted butter, cold and diced (Salted works for a salty-tart punch.)
- 120g (1 cup) plain flour (aka all-purpose flour; for gluten-free pals, try a GF blend though it’s a bit more crumbly.)
- 1/2 tsp fine sea salt (I do a little extra sprinkle at the end when I’m feeling bold.)
- 2 tbsp cold water (You might need a smidge more or less—depends on the moisture in your cheese basically.)
- 1/4 tsp smoked paprika (Optional, but I’m mildly obsessed—try cayenne for heat or leave it out if kids protest)
How To Make Homemade Cheez-Its (Expect a Mess. Embrace It)
- Add the grated cheese, butter, flour, salt, and paprika (if you’re using it) to a food processor. Pulse a few times until it looks like slightly damp breadcrumbs. If you don’t have a food processor, just get in there with your hands—the way my aunt Maureen always did. It’ll take longer and be a bit more rustic, but I love that.
- Drizzle in 2 tbsp cold water, pulse or mix until a dough starts clumping together. If it’s still looking dry, slowly add another teaspoon or two of water. It should look like Play-Doh and just come together—not sticky or crumbly. (Actually, I find it’s better to be cautious and stop before it’s truly wet—it dries out in the fridge!)
- Flatten the dough into a rough rectangle (maybe 1-inch thick), wrap it in cling film, and chill for 45 minutes (or 15 minutes in the freezer if you’re as impatient as me). Don’t skip this part—the one time I did, I ended up with gooey cheese pancakes.
- Preheat oven to 180°C (350°F), and line two trays with baking paper. On a lightly floured surface, roll out your chilled dough until it’s about 3mm (1/8 inch) thick. I always get flour everywhere—fair warning.
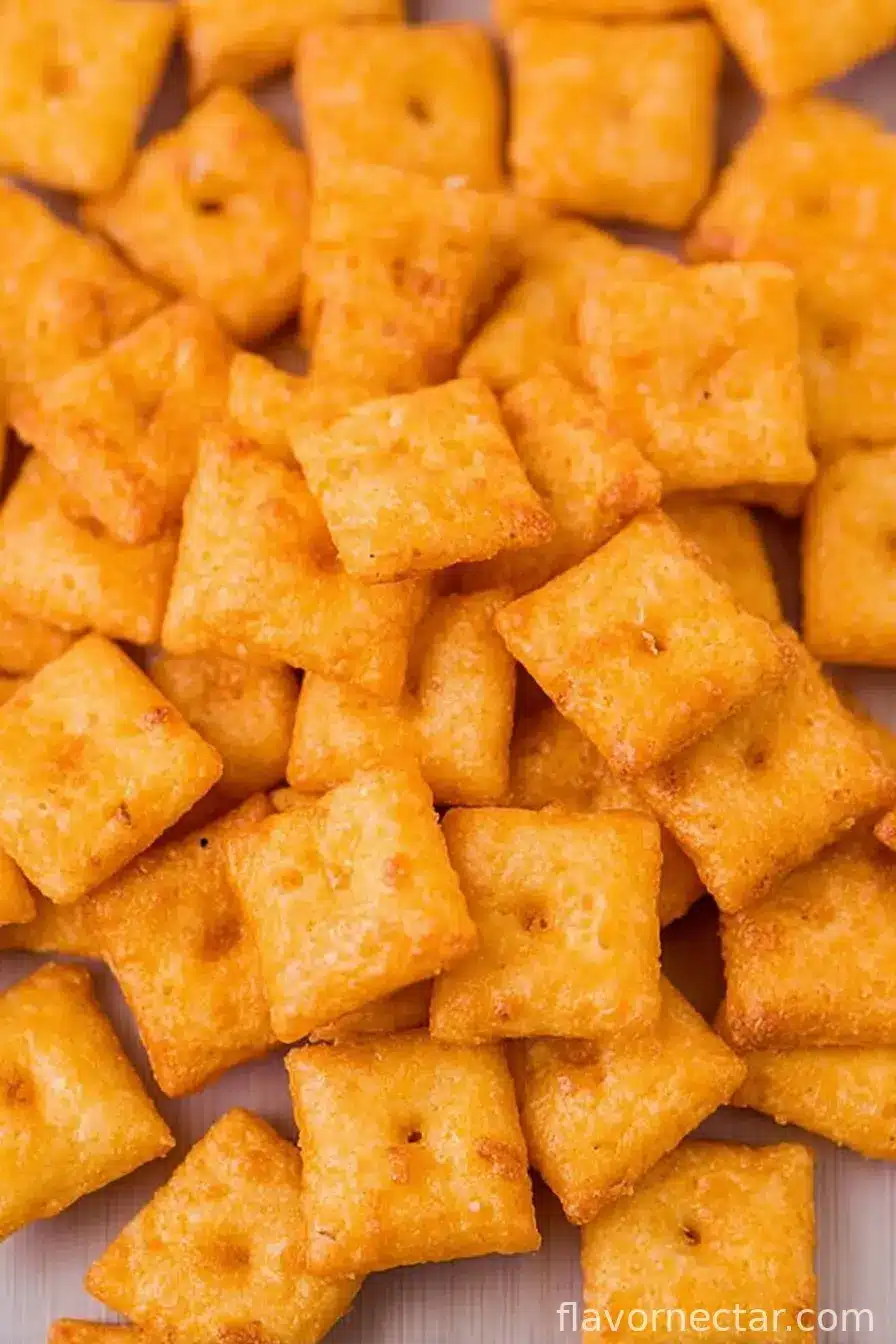
- With a sharp knife, pizza cutter, or even a wonky old butter knife, cut the dough into 2cm (just under 1 inch) squares. If being precise stresses you out, relax—mine always look like a patchwork quilt. Poke a tiny hole in each with a toothpick or skewer (apparently it stops puffing, but honestly, it’s a bit fun to do).
- Transfer your squares onto the trays, leaving a tiny gap between each one—they don’t spread much. This is where I sometimes sneak a little taste of raw dough… chef’s privilege.
- Bake for about 14–17 minutes, rotating halfway. You want golden edges and the tops should look set. If you like ‘em extra crispy like me, leave them a touch longer—but keep an eagle eye, they go from tan to charred in a heartbeat.
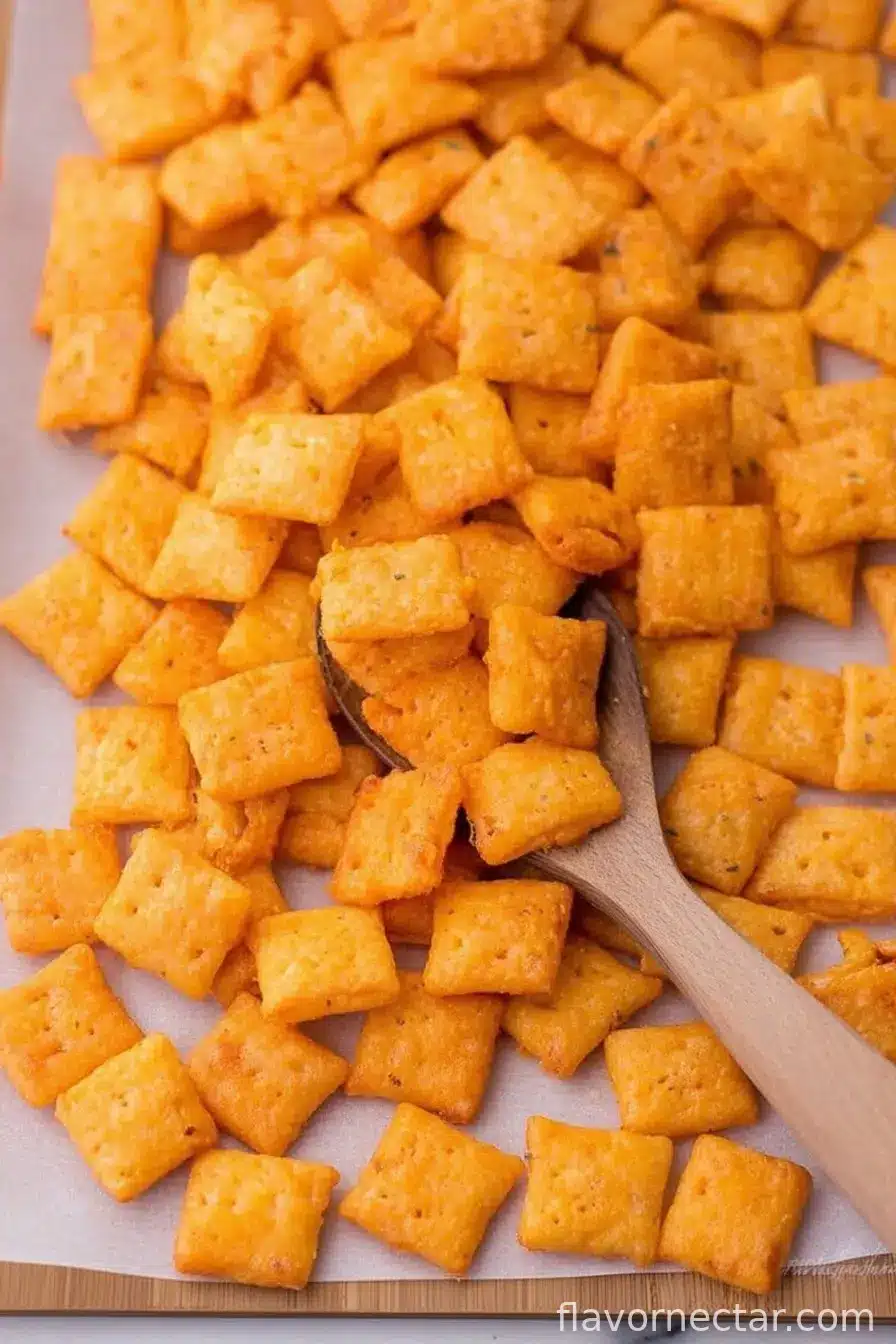
- Let them cool right on the tray. They crisp up more as they cool (so try not to eat them all before they set—I generally fail at that bit).
Little Notes I Jotted Down (For Future Me…and You)
- You can make the dough ahead, park it in the fridge overnight. The flavor gets even cheesier that way, and I think they taste better the next day (assuming there are leftovers—unlikely!)
- If your kitchen’s a bit warm, the dough can get sticky while rolling. Chuck it back in the fridge for 10 minutes and carry on. No biggie.
- I once tried dusting the crackers with chili powder at the end… which was maybe a step too far for my spice-hating son. Lesson learned. (But more for me!)
Variations I’ve Actually Tried (And Occasionally Regret)
- Parmesan swap: Use half Parmesan with the cheddar for a slightly nuttier, super savory version. Tasted fantastic but a bit tricky to roll thinly.
- Whole wheat flour: Tried this once. They were VERY hearty. Not bad but definitely taste more like adult snacks.
- I tried a vegan cheese version, but honestly, it never quite crisped like the original (if you’ve cracked this, tell me your secret!)
What You’ll Need (Improvise As Required)
- Food processor OR just your hands and a strong will (I do love my food processor but lived ages without one.)
- Mixing bowl, rolling pin (I’ve used a wine bottle in a pinch—works a treat!)
- Sharp knife or pizza cutter, skewers or toothpicks, baking paper, and trays
Stashing and Nibbling Tips
These keep in an airtight container at room temp for a week; but in my house, they rarely see day two. If they lose crunch, a quick toss back in the oven perks them up—it’s like magic, promise.
How To Serve ‘Em (Peak Snack Vibes)
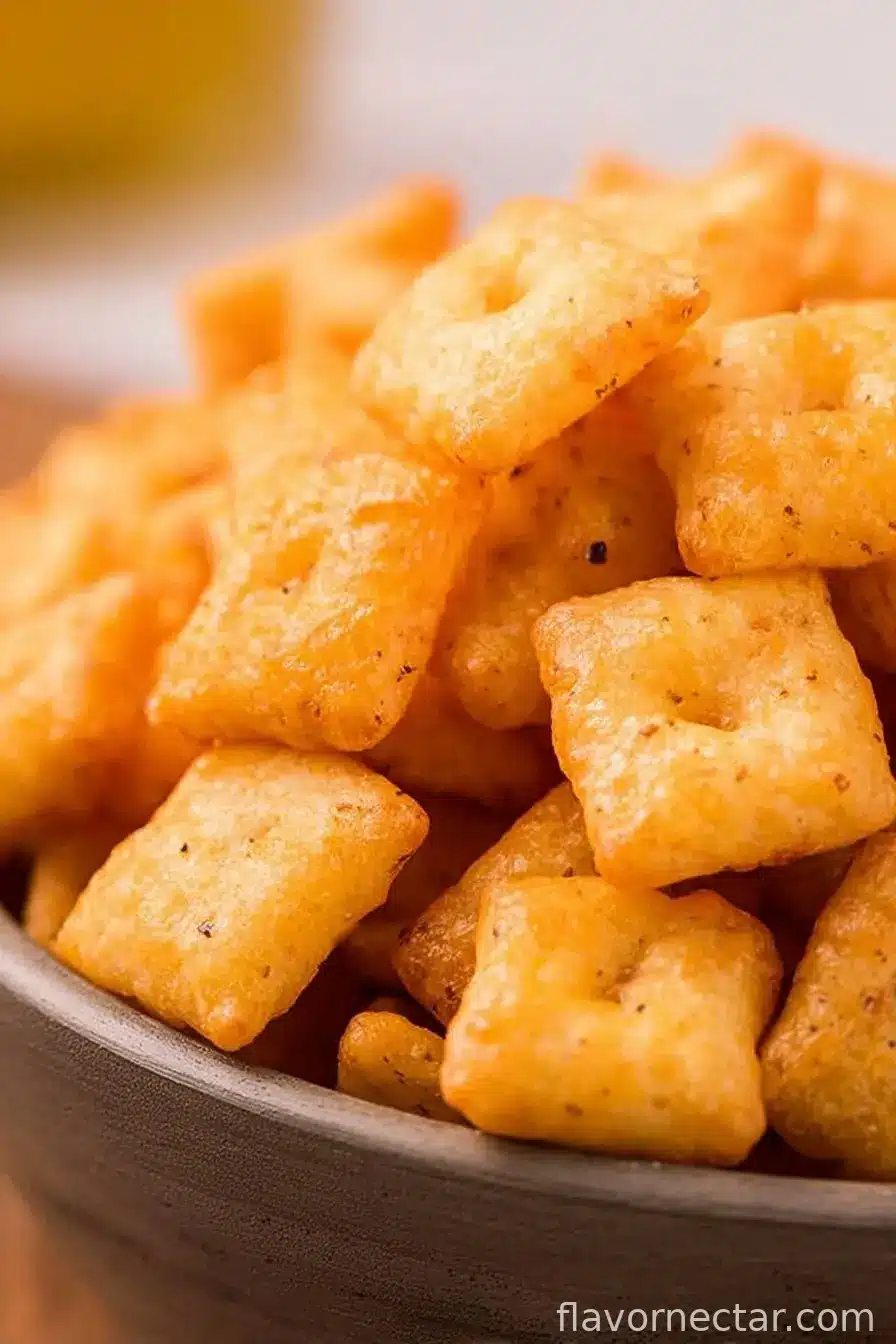
I pile them in a bowl for movie night, or serve alongside tomato soup—classic! Sometimes I sandwich two with a bit of cream cheese and a slice of cucumber for a very posh (for me anyway) snack platter. My sister dunks ‘em in hummus, which isn’t traditional but is surprisingly lush.
Pro Tips I’ve Learned (The Hard Way, Mostly)
- Don’t rush the chilling—once tried skipping and ended up with a cheesy blob. Patience actually is a virtue here.
- Keep an eye near the end of baking. The line between golden and oh-no-the-smoke-alarm is…thin. Very thin.
- If they’re not crispy after 17 minutes, leave them another minute or two (but stand there, staring, like I do).
FAQs (Because Friends and Fam Ask…A Lot)
- Can I freeze the dough? Absolutely—wrap it tight and thaw in the fridge before rolling. I forgot once and tried to microwave it, which was a real disaster.
- Does pre-shredded cheese work? It works, but if I’m honest, the anti-caking stuff makes ‘em a bit less melty. Still tasty though if you’re short on time.
- Mine aren’t crispy. What gives? Try baking them a bit longer, or make sure they cool completely out in the open. Sometimes I stick them back in for two min.
- Can I double the batch? Sure, but make two batches of dough if your food processor is tiny—learned that the messy way.
- Could I use other cheeses? Yeah, go wild! Though super soft cheeses don’t work great—they go melty and sticky instead of snappy.
Honestly, making these is half the fun, eating them is the other half, and cleaning up the kitchen…well, that’s optional, right?
Ingredients
- 225g (about 2 cups) extra sharp cheddar cheese, freshly grated (Sometimes I use red Leicester if that’s rolling around in the fridge, but any sturdy cheddar will do. My nan always raved about Cathedral City—truth be told though, I can’t always find it.)
- 4 tbsp (56g) unsalted butter, cold and diced (Salted works for a salty-tart punch.)
- 120g (1 cup) plain flour (aka all-purpose flour; for gluten-free pals, try a GF blend though it’s a bit more crumbly.)
- 1/2 tsp fine sea salt (I do a little extra sprinkle at the end when I’m feeling bold.)
- 2 tbsp cold water (You might need a smidge more or less—depends on the moisture in your cheese basically.)
- 1/4 tsp smoked paprika (Optional, but I’m mildly obsessed—try cayenne for heat or leave it out if kids protest)
Instructions
-
1Add the grated cheese, butter, flour, salt, and paprika (if you’re using it) to a food processor. Pulse a few times until it looks like slightly damp breadcrumbs. If you don’t have a food processor, just get in there with your hands—the way my aunt Maureen always did. It’ll take longer and be a bit more rustic, but I love that.
-
2Drizzle in 2 tbsp cold water, pulse or mix until a dough starts clumping together. If it’s still looking dry, slowly add another teaspoon or two of water. It should look like Play-Doh and just come together—not sticky or crumbly. (Actually, I find it’s better to be cautious and stop before it’s truly wet—it dries out in the fridge!)
-
3Flatten the dough into a rough rectangle (maybe 1-inch thick), wrap it in cling film, and chill for 45 minutes (or 15 minutes in the freezer if you’re as impatient as me). Don’t skip this part—the one time I did, I ended up with gooey cheese pancakes.
-
4Preheat oven to 180°C (350°F), and line two trays with baking paper. On a lightly floured surface, roll out your chilled dough until it’s about 3mm (1/8 inch) thick. I always get flour everywhere—fair warning.
-
5With a sharp knife, pizza cutter, or even a wonky old butter knife, cut the dough into 2cm (just under 1 inch) squares. If being precise stresses you out, relax—mine always look like a patchwork quilt. Poke a tiny hole in each with a toothpick or skewer (apparently it stops puffing, but honestly, it’s a bit fun to do).
-
6Transfer your squares onto the trays, leaving a tiny gap between each one—they don’t spread much. This is where I sometimes sneak a little taste of raw dough… chef’s privilege.
-
7Bake for about 14–17 minutes, rotating halfway. You want golden edges and the tops should look set. If you like ‘em extra crispy like me, leave them a touch longer—but keep an eagle eye, they go from tan to charred in a heartbeat.
-
8Let them cool right on the tray. They crisp up more as they cool (so try not to eat them all before they set—I generally fail at that bit).
CLICK FOR NUTRITION INFO
↑
Approximate Information for One Serving
Serving Size:
1 serving
Calories:
295cal
Protein:
11 gg
Fat:
20 gg
Saturated Fat:
0g
Trans Fat:
0g
Cholesterol:
0mg
Sodium:
0mg
Potassium:
0mg
Total Carbs:
17 gg
Fiber:
0g
Sugar:
0g
Net Carbs:
0g
Vitamin A:
0
Vitamin C:
0mg
Calcium:
0mg
Iron:
0mg
Nutrition Disclaimers
Number of total servings shown is approximate. Actual number of servings will depend on your preferred portion sizes.
Nutritional values shown are general guidelines and reflect information for 1 serving using the ingredients listed, not including any optional ingredients. Actual macros may vary slightly depending on specific brands and types of ingredients used.
To determine the weight of one serving, prepare the recipe as instructed. Weigh the finished recipe, then divide the weight of the finished recipe (not including the weight of the container the food is in) by the desired number of servings. Result will be the weight of one serving.
Did you make this recipe?
Please consider Pinning it!