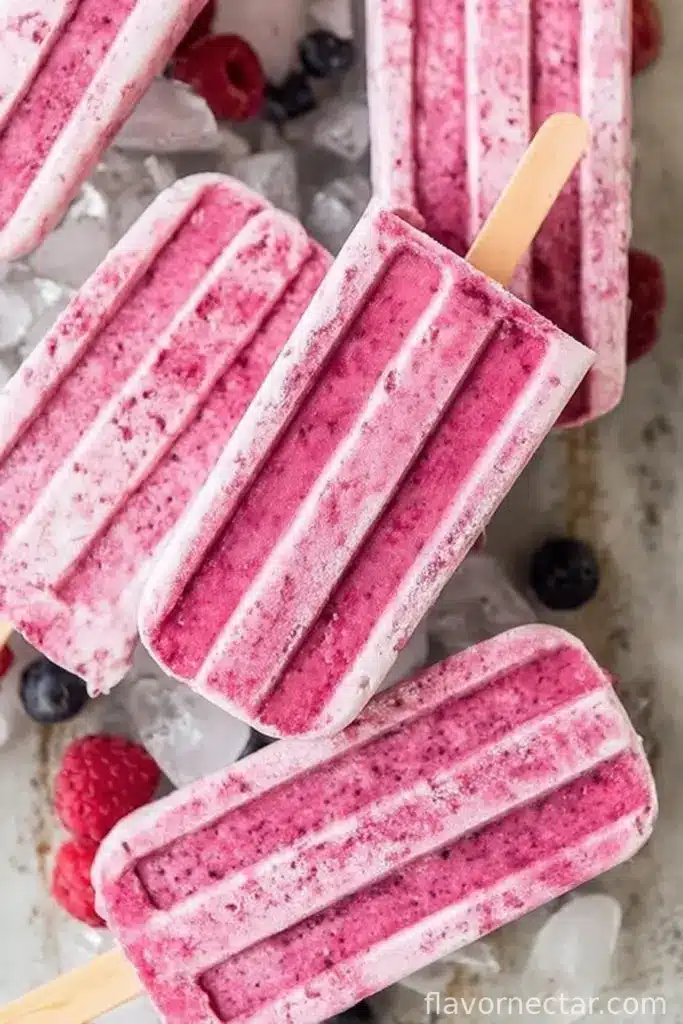
Okay, so let me tell you—it wasn’t my original plan to get into popsicle making, but one hot spell last July had me raiding the fridge for something (anything!) that wouldn’t melt in my hand faster than I could eat it. Enter: these Greek Yogurt Popsicles. The first time I tried making these, I went a little nuts with the honey and my daughter still calls it ‘that sweet monster popsicle.’ Lessons learned. Now they’re just sweet enough and crazy easy—plus, I don’t have to feel guilty for eating one before noon (which, yes, I’ve done).
Why You’ll Love This (Or Why My Family Does)
I make these whenever the weather can’t decide if it’s spring or full-blown summer, or honestly just when the usual dessert options start feeling drab. My crew goes bananas for them because they’re tangy and cold and not too sweet—plus, you can sneak in bits of fruit so it sort of counts as healthy? (My youngest figured out you can eat them with one hand and play video games with the other; he thinks that’s the real genius part.) Oh, and if you’ve ever tried making popsicles only to end up with something closer to a milky ice cube, well—these are actually creamy, not icy. I had to toss a whole batch once because I tried to skip the mixing step…do not recommend.
What You’ll Need (And What I’ve Swapped When I’m Out)
- 2 cups Greek yogurt (full-fat for sure, but my neighbor swears by low-fat; honestly, either works)
- 1/3 cup honey (you can use maple syrup if that’s your jam—I’ve done it when the honey was hiding, and it was fine)
- 1 teaspoon vanilla extract (sometimes I get wild and add a splash more, but let’s not get judged here)
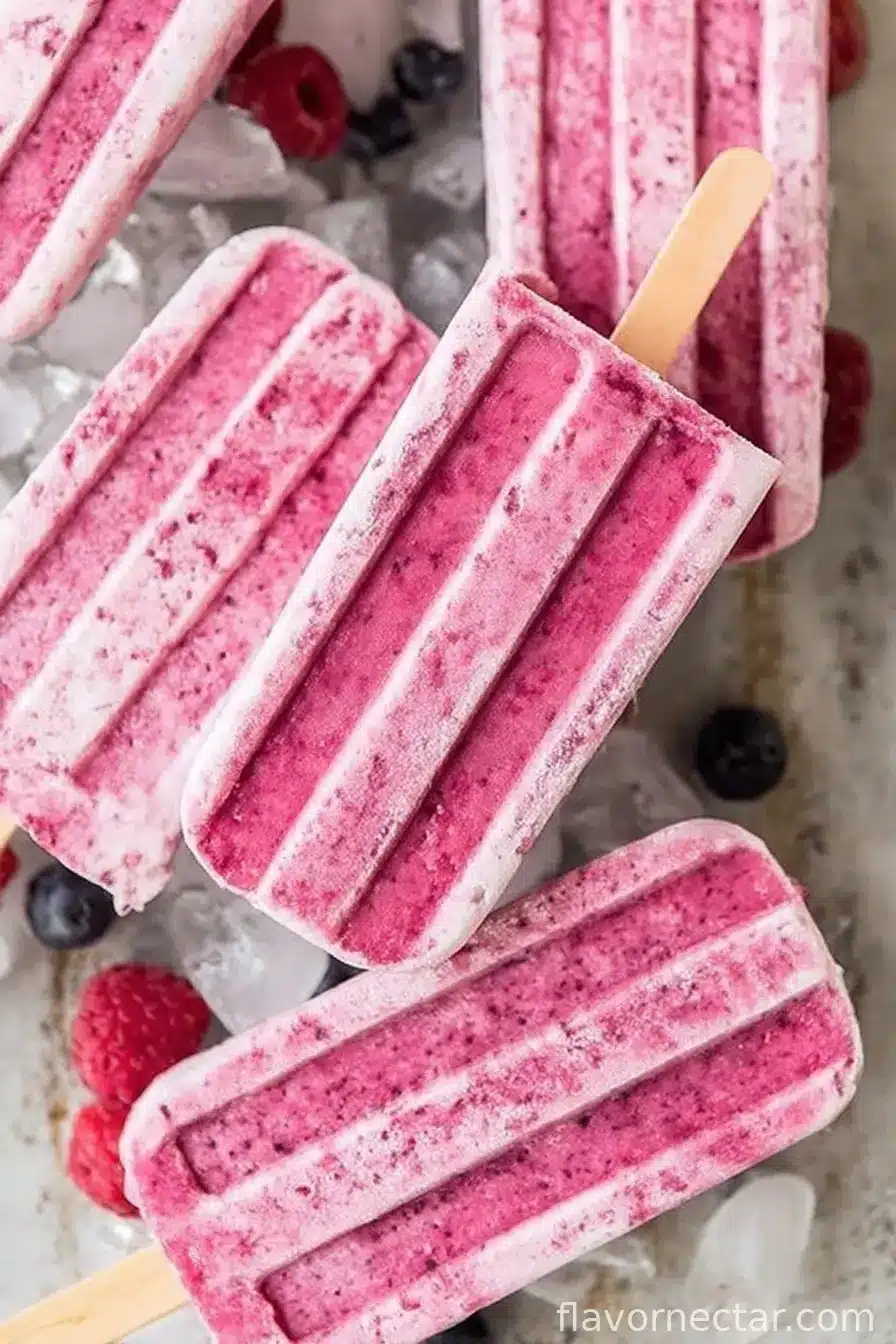
- 1 cup mixed berries, fresh or frozen (blueberries or raspberries on their own work too; I once used diced mango and, whoa, not bad!)
- Pinch of salt (I didn’t believe it mattered, but it totally does—don’t skip it)
How To Throw These Together (Precise-ish)
- In a big mixing bowl, stir the Greek yogurt, honey, vanilla, and salt all together. Go ahead and taste it now—this is when I usually sneak a spoonful. Adjust the sweetness if you have a major sweet tooth (sometimes I do, sometimes I don’t).
- Add your berries. You can leave them whole, mash some with a fork, or gently swirl them for that marbled look; honestly, do what makes you happy. If you want popsicles with fruit in every bite, stir them all the way in.
- Spoon the mixture into your popsicle molds. I use a small spatula for this, although once I just used my (clean!) fingers and no one complained. Tap the mold on the counter a couple times to get rid of air pockets. Don’t worry if it looks a bit messy—it always does.
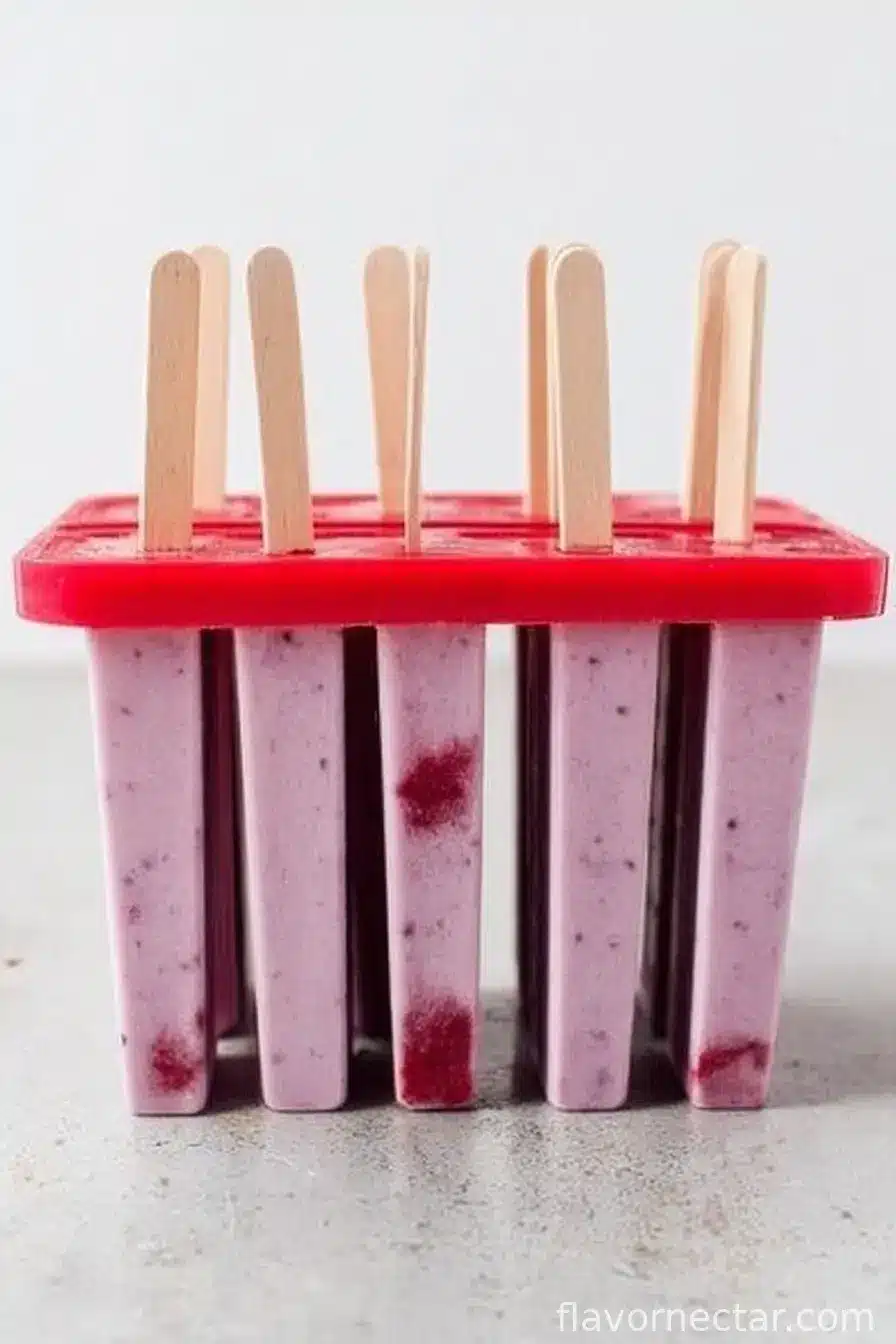
- Insert popsicle sticks. If your molds aren’t fancy, you might have to freeze them for an hour first, then poke the sticks in. Totally normal.
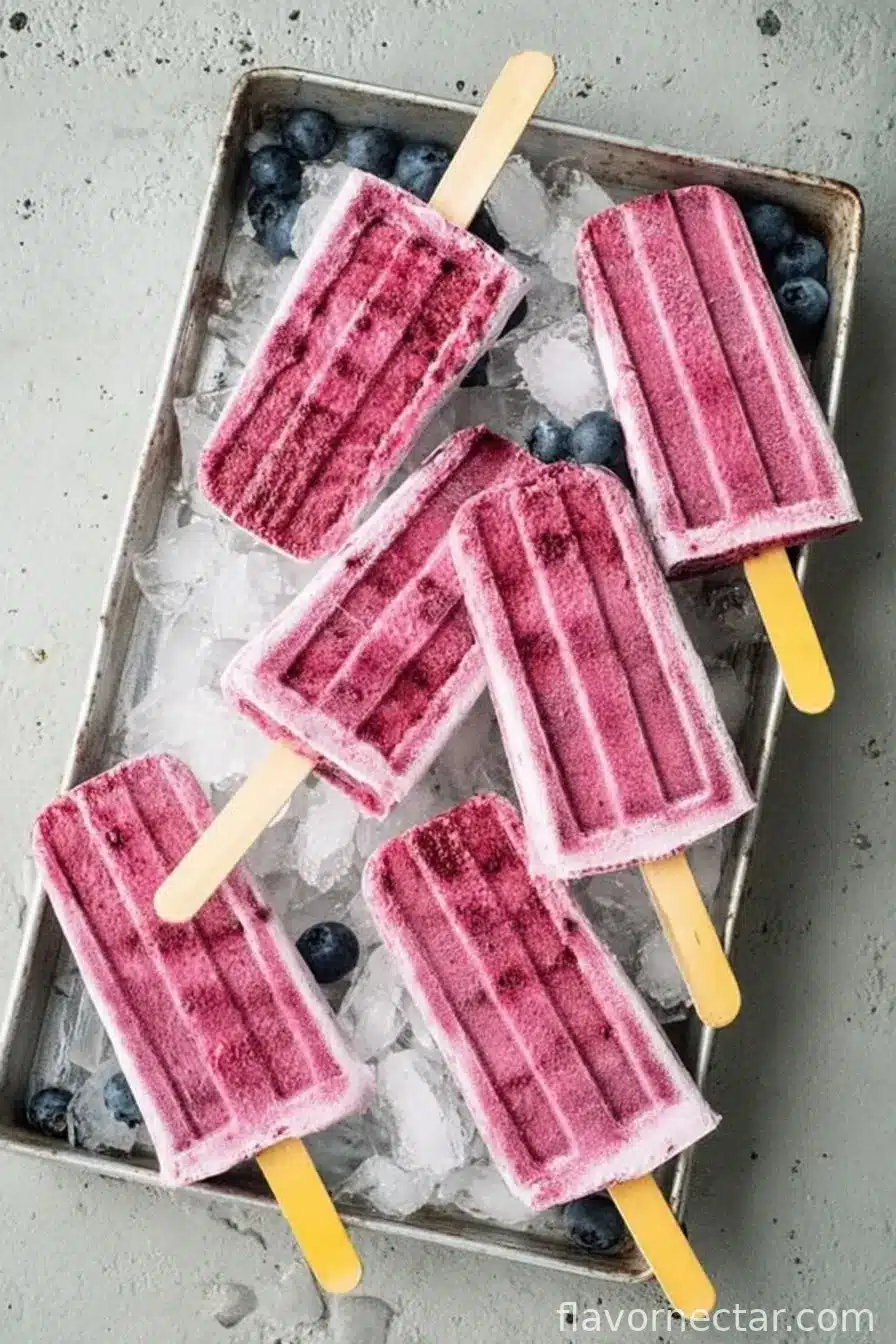
- Freeze at least 4 hours, but overnight is better. (I once tried pulling them after two hours—regret city. They were half-mush, half rock. Just wait.)
- To unmold, run warm water over the outside of the mold for a few seconds, not minutes, or you’ll melt your masterpiece. Wiggle them gently—they usually come out with a little encouragement.
Stuff I’ve Learned the (Not-So-)Hard Way
- If you forget the pinch of salt, everything tastes kind of flat. Like, still edible—but why miss out?
- More honey = more ice crystals. Weirdly, less is sometimes more here.
- If the berries are really tart, toss them with just a sprinkle of sugar before adding. (Or don’t, if you like that zing.)
Some Variations I’ve Played With (Some Hits, Some Misses)
- Swapping out half the yogurt for coconut cream was amazing, but, real talk, the time I tried almond butter instead of berries—bit too dense for me.
- Chopped peaches plus a little cinnamon? Summer in a stick.
- Banana slices folded in got a little mushy, but maybe that’s just me being fussy.
Do You Need Fancy Gadgets?
I love my silicone popsicle molds, but before I got them I just poured everything into paper cups with wooden sticks. Works just as well—maybe even more fun, unless you’re feeling fancy.
Storing These Beauties
Store the popsicles in the freezer, wrapped individually in wax paper or stuffed in a zip-top bag (mostly to stop them from sticking). But honestly—they never last more than a day or two around here. Someone always sneaks the last one and hopes I won’t notice.
How We Eat Them (Besides Straight From the Freezer)
I sometimes dip the ends in melted chocolate (just let them set up on some parchment), and my cousin swears by rolling them in granola. Or just eat them walking barefoot across the lawn—that’s a memory factory right there.
Stuff I Wish I’d Known Earlier
- Once, I tried to speed up the freezing by cranking the freezer super low—totally backfired. Popsicles turned rock solid and tasted freezer-burnt two days later. Whoops.
- Swirl the berries in, don’t fully mix, if you want that lovely marbled look (otherwise it gets a bit muddy).
People Actually Ask Me… (FAQ)
- Can I use regular yogurt instead of Greek? Sure! It’ll just be a bit less creamy and a tad icier. Still good, just different.
- What if I don’t have popsicle molds? Use paper cups! Or, I’ve even used ice cube trays for mini popsicles; just stick some toothpicks in. Seriously, use what you’ve got.
- Do I have to use berries? Nah—you can toss in whatever fruit strikes your fancy. Mango, chopped kiwi (though it does go a bit greenish), or even a dash of lemon zest.
- How long will they keep? Technically, a couple weeks, but someone will eat them way before that, trust me.
- Can I make these vegan? Yup! Use non-dairy yogurt and swap honey for agave or maple syrup. Actually, worked nicely the one time I tried it.
So—there you go. Delicious, simple, possibly too easy to eat, Greek Yogurt Popsicles. Let me know if you end up inventing a flavor I just have to try. Or even if you just have a popsicle disaster story; those are welcome too!
Ingredients
- 2 cups Greek yogurt (full-fat for sure, but my neighbor swears by low-fat; honestly, either works)
- 1/3 cup honey (you can use maple syrup if that’s your jam—I’ve done it when the honey was hiding, and it was fine)
- 1 teaspoon vanilla extract (sometimes I get wild and add a splash more, but let’s not get judged here)
- 1 cup mixed berries, fresh or frozen (blueberries or raspberries on their own work too; I once used diced mango and, whoa, not bad!)
- Pinch of salt (I didn’t believe it mattered, but it totally does—don’t skip it)
Instructions
-
1In a big mixing bowl, stir the Greek yogurt, honey, vanilla, and salt all together. Go ahead and taste it now—this is when I usually sneak a spoonful. Adjust the sweetness if you have a major sweet tooth (sometimes I do, sometimes I don’t).
-
2Add your berries. You can leave them whole, mash some with a fork, or gently swirl them for that marbled look; honestly, do what makes you happy. If you want popsicles with fruit in every bite, stir them all the way in.
-
3Spoon the mixture into your popsicle molds. I use a small spatula for this, although once I just used my (clean!) fingers and no one complained. Tap the mold on the counter a couple times to get rid of air pockets. Don’t worry if it looks a bit messy—it always does.
-
4Insert popsicle sticks. If your molds aren’t fancy, you might have to freeze them for an hour first, then poke the sticks in. Totally normal.
-
5Freeze at least 4 hours, but overnight is better. (I once tried pulling them after two hours—regret city. They were half-mush, half rock. Just wait.)
-
6To unmold, run warm water over the outside of the mold for a few seconds, not minutes, or you’ll melt your masterpiece. Wiggle them gently—they usually come out with a little encouragement.
CLICK FOR NUTRITION INFO
↑
Approximate Information for One Serving
Serving Size:
1 serving
Calories:
110 caloriescal
Protein:
6 gg
Fat:
2.5 gg
Saturated Fat:
0g
Trans Fat:
0g
Cholesterol:
0mg
Sodium:
0mg
Potassium:
0mg
Total Carbs:
17 gg
Fiber:
0g
Sugar:
0g
Net Carbs:
0g
Vitamin A:
0
Vitamin C:
0mg
Calcium:
0mg
Iron:
0mg
Nutrition Disclaimers
Number of total servings shown is approximate. Actual number of servings will depend on your preferred portion sizes.
Nutritional values shown are general guidelines and reflect information for 1 serving using the ingredients listed, not including any optional ingredients. Actual macros may vary slightly depending on specific brands and types of ingredients used.
To determine the weight of one serving, prepare the recipe as instructed. Weigh the finished recipe, then divide the weight of the finished recipe (not including the weight of the container the food is in) by the desired number of servings. Result will be the weight of one serving.
Did you make this recipe?
Please consider Pinning it!