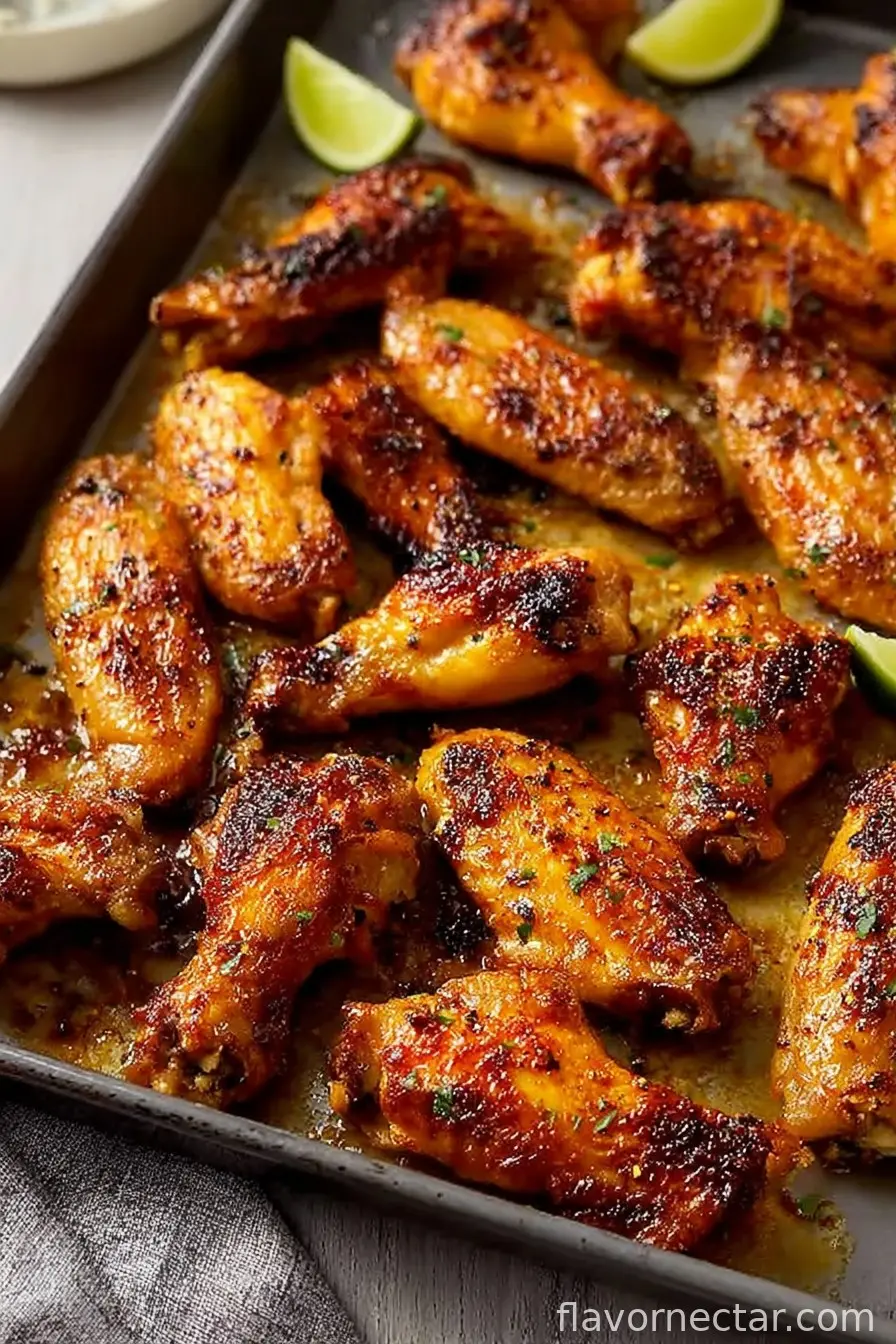
Let Me Tell You About Golden Oven Baked Chicken Wings…
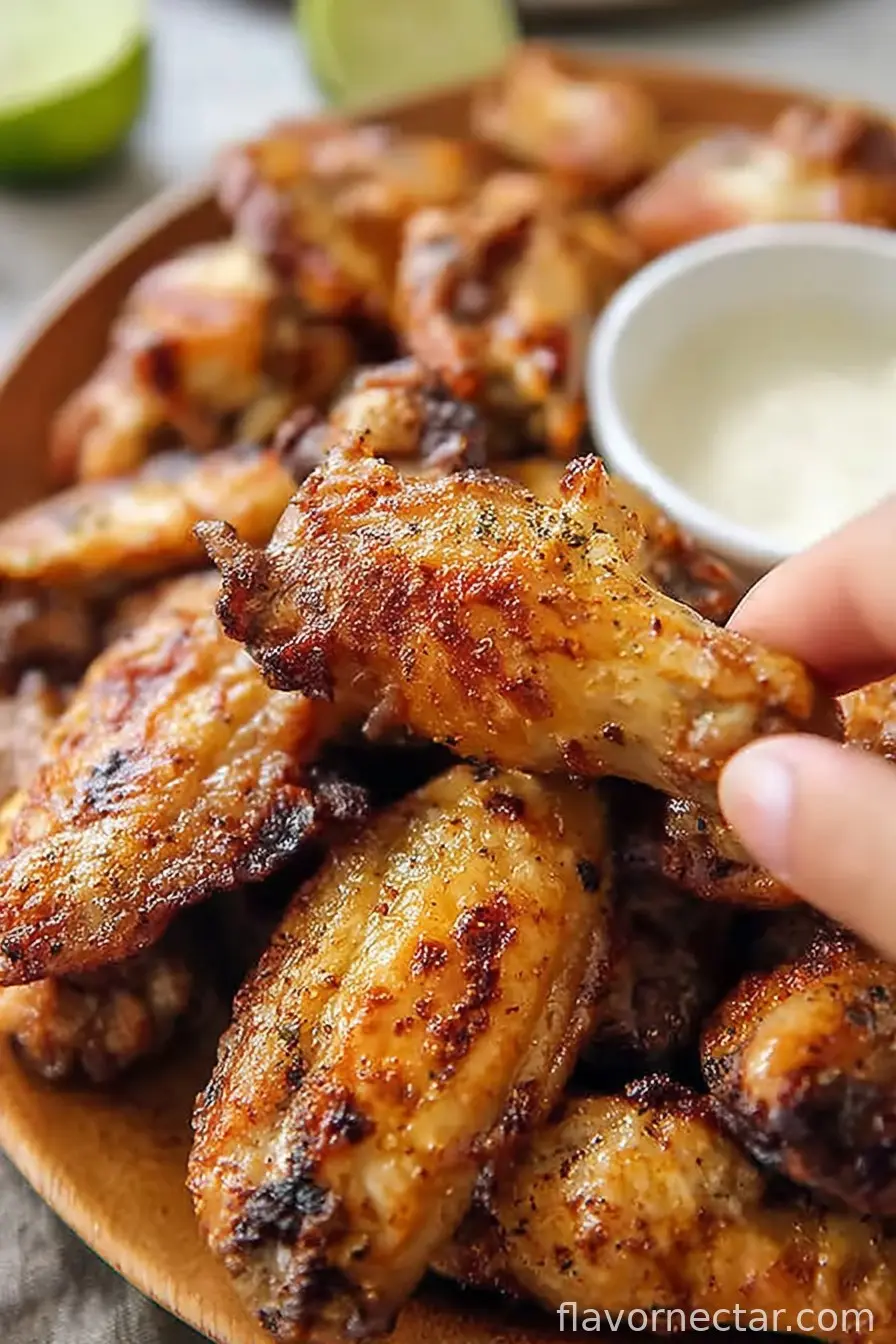
Okay, not to get all sentimental or anything, but these crispy oven baked chicken wings have gotten me through last-minute gatherings, rainy-day cravings, and one disastrous night when I realized (halfway into the game) that I’d forgotten to defrost the pizza. The first time I tried making wings in the oven, I was convinced they’d turn out pale and sad. Turns out, with the right little tweaks, you get these golden, crunchy beauties that honestly rival what you get at some pubs I’ve been to. Or maybe that’s just my own wishful thinking?
Anyway, forget a deep fryer, forget standing around in a hot kitchen dodging oil splatter—just trust me on this one. The clean-up is practically non-existent if you use parchment, which is always my favorite side effect of any dish. That, and you can actually hear your TV while these cook. Also, if you’re like me and occasionally (okay, more than occasionally) forget a timer, these wings are oddly forgiving. My cousin called them “Goldies”: a fitting name for a dish that looks much fancier than the effort would suggest!
Why You’ll Totally Love These Wings
I make this when I want to fool people into thinking I did something fancy on a random Tuesday, honestly. My family goes wild for these—especially when I toss them with extra spices at the end. Sometimes I just want finger food that makes almost no mess but tastes like I’ve been laboring away. And you know what bugs me about other wing recipes? The endless flipping and fussing. Here, it’s more of a set-it-and-forget-it kind of deal. (Well, you do have to flip them once. But you get my point!)
If you’re a fan of crispy wings but can’t be asked to deep fry, or you just hate that lingering fried smell, these will be your new go-to. Also, if you have picky eaters… just don’t tell them there’s a bit of baking powder in them. They’ll never know and will demolish the whole tray anyway.
What You’ll Need (And What You Can Swap)
- 1.5 kg (about 3 lbs) Chicken Wings (I buy mine from the corner shop, but frozen is fine—just thaw and pat dry super well)
- 1 tablespoon baking powder (not baking soda—tried that once, big mistake, tasted like soap)
- 1.5 teaspoons fine sea salt (I grab whatever salt I have—kosher works too)
- 1 teaspoon garlic powder (sometimes I swap in onion powder, on hectic days)
- 1 teaspoon smoked paprika (or sweet paprika, which doesn’t bite back; my gran swears by Hungarian, but honestly, I use whatever’s in the cupboard)
- 1/2 teaspoon black pepper (fresh cracked, but pre-ground works if that’s all you have)
- 2 tablespoons vegetable oil (I’ve even used olive oil in a pinch, but any neutral oil like sunflower does the trick)
- Optional: pinch of chili flakes or cayenne pepper (for when you want a bit of a kick—totally up to you)
How To Actually Make Them
- First, preheat your oven to 220°C (425°F). I always forget this and have to wait, so do it first if you can. Line a large baking sheet with parchment paper, or foil if you’re out—grease it just a touch.
- Pat the Chicken Wings super dry with paper towels. This is crucial for max crispiness. Don’t be shy, really press them. (I have been known to use half a roll. Oops.)
- In a biggish bowl, toss the wings with the baking powder, salt, garlic powder, paprika, and pepper. Make sure every piece gets a little love. Add the oil and toss again—it’ll look slightly pasty but trust the process.
- Arrange the wings in a single layer on your prepared tray. Crowding isn’t your friend here; I learned the hard way they just steam if you do. Pop them onto the middle rack.
- Bake for 25 minutes, then pull them out and flip each wing over. This is where I have a wee taste—chef’s perk. Bake for another 15–20 minutes until they’re gorgeously golden, crispy around the edges, and the juices run clear.
- Let them stand a few minutes before serving because, speaking from burnt-finger experience, they are piping hot!
- If you like, toss your cooked wings with a bit more salt, a splash of hot sauce, or just eat them as they are. Sometimes I get fancy and sprinkle a bit more paprika, mostly for the color.
Notes From My Many (Occasional) Mishaps
- If you skip drying them, they really won’t crisp (I learned this while multitasking… poorly)
- Baking powder—not soda. I think I’ve mentioned it twice, but it’s that important
- Keep an eye on them the final ten minutes. Oven temps vary! If some seem to be browning too fast, just pull those off early
How I’ve Played Around With This Recipe (Some Hits, One Miss)
- Sometimes I mix a bit of curry powder in for a different flavor—my uncle loved this experiment
- Tried honey and soy once for an Asian vibe—pretty tasty, but keep parchment down or you’ll be scrubbing for ages
- I once tried lemon zest and rosemary (thought I was being posh), but eh, wasn’t for me—maybe it’ll work for you?
Handy Tools…Or Not
- Large baking sheet (in a pinch, I’ve used two smaller ones and rotated them halfway—no big deal)
- Parchment paper (or foil, but parchment gives me less cleaning to do)
- Wire rack (makes the crust crispier, but honestly, straight on the pan works too. Not worth running to the shop if you don’t have one!)
- Mixing bowl (I once used a pasta pot when every bowl was dirty. Guess what—it worked fine)
Storing Any Leftovers (If You Have ‘Em)
Store cooled wings in an airtight container, then fridge ‘em for up to 3 days. But, let’s be honest, in my house they never make it past the first night—I caught my partner eating them cold, straight from the fridge, once. Apparently, they’re good that way too!
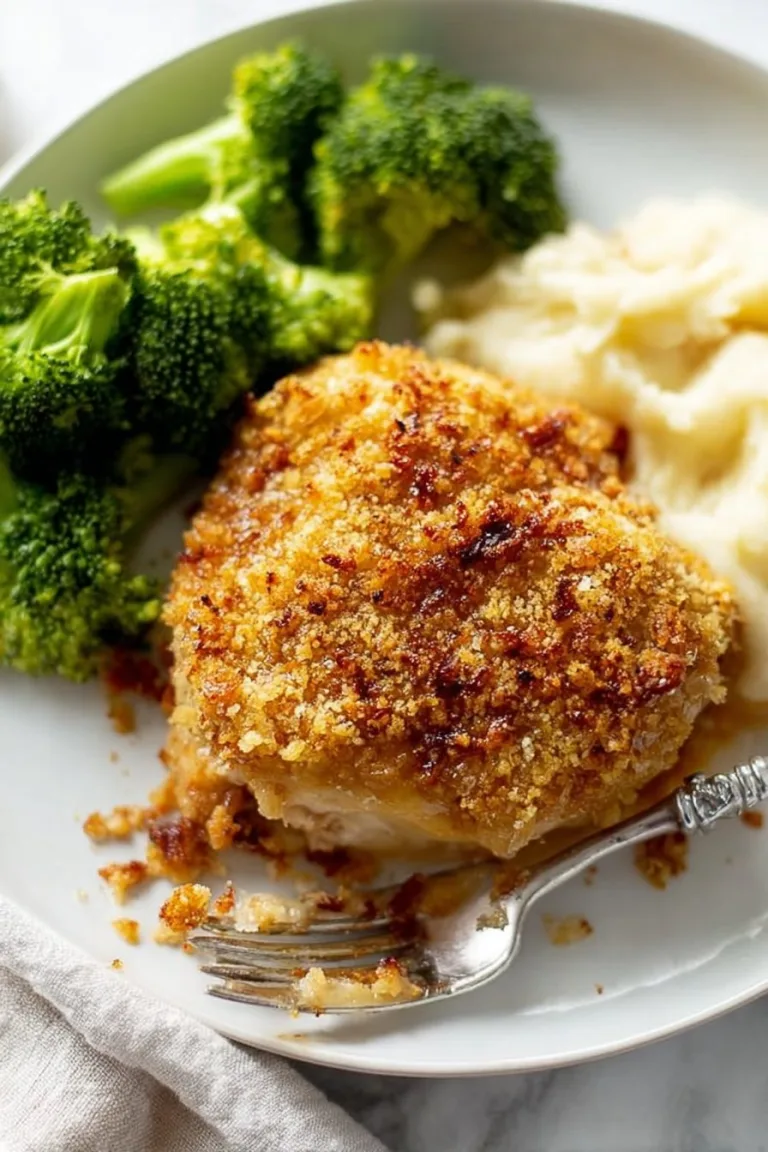
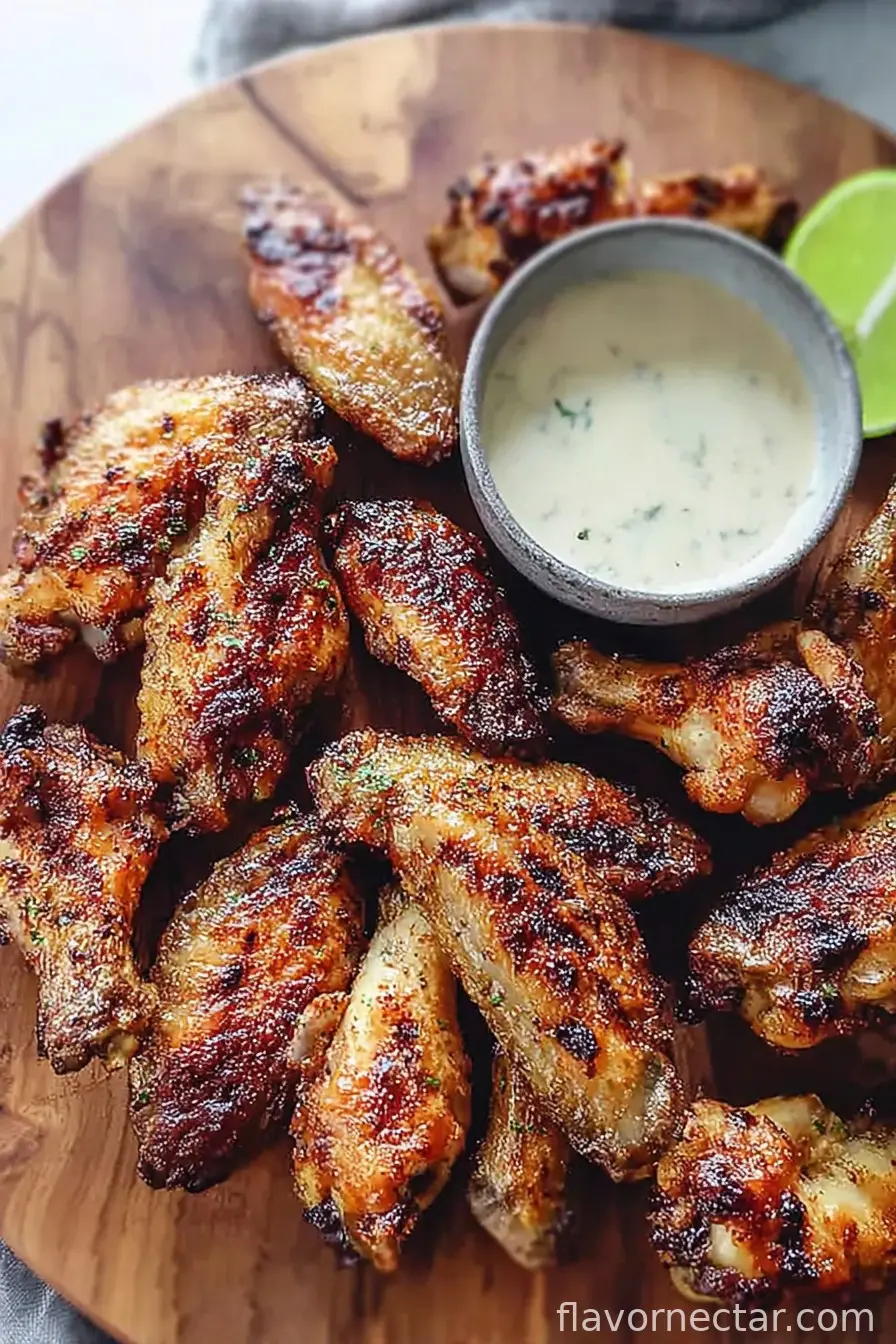
How I Serve These Up
If we’re in full snack attack mode, I pile these on a platter and serve with celery sticks and blue cheese dip. Or, true confession: ketchup. Don’t judge. Sometimes we do it up proper and toss with a bit of buffalo sauce last minute—it’s gotten a bit ritualistic, honestly.
Stuff I Learned The Hard Way (Pro Tips)
- Piling wings on top of each other? Regret. Always. They need their breathing room.
- Trying to rush the drying step just because you’re hungry? Nope. They steam instead of crisp. Wait it out!
- On second thought, don’t walk away after the flip. Nearly burnt a batch while fixing my tea.
FAQ (Questions I’ve Actually Been Asked)
- Can I use drumettes only or all flats? Absolutely! Pick your favorite bit, or do a mix like I do.
- Is this gluten-free? Yep—just check your baking powder if you’re extra sensitive.
- Do I need to marinate the wings first? Nah, not for this. The spices coat and crisp up nicely as is.
- How do I reheat leftovers? I just toss them back in the oven for 10 minutes at 200°C (400°F) to get them crispy again. Or eat cold—hey, I won’t judge.
- Can I make these spicy? Sure thing—add chili flakes, hot sauce, or a bit of cayenne to the spice mix before baking for a proper kick.
By the way, if you’re wondering whether you can—on a random Sunday—eat these for breakfast, I’m here to tell you that you absolutely can. (Ask me how I know.) Enjoy and let me know how yours turn out, or if you discover something wild with the seasoning. Cooking should be fun, not fussy!
Ingredients
- 1.5 kg (about 3 lbs) chicken wings
- 1 tablespoon baking powder (not baking soda)
- 1.5 teaspoons fine sea salt
- 1 teaspoon garlic powder
- 1 teaspoon smoked paprika
- 1/2 teaspoon black pepper
- 2 tablespoons vegetable oil
- Optional: pinch of chili flakes or cayenne pepper
Instructions
-
1First, preheat your oven to 220°C (425°F). I always forget this and have to wait, so do it first if you can. Line a large baking sheet with parchment paper, or foil if you’re out—grease it just a touch.
-
2Pat the chicken wings super dry with paper towels. This is crucial for max crispiness. Don’t be shy, really press them. (I have been known to use half a roll. Oops.)
-
3In a biggish bowl, toss the wings with the baking powder, salt, garlic powder, paprika, and pepper. Make sure every piece gets a little love. Add the oil and toss again—it’ll look slightly pasty but trust the process.
-
4Arrange the wings in a single layer on your prepared tray. Crowding isn’t your friend here; I learned the hard way they just steam if you do. Pop them onto the middle rack.
-
5Bake for 25 minutes, then pull them out and flip each wing over. This is where I have a wee taste—chef’s perk. Bake for another 15–20 minutes until they’re gorgeously golden, crispy around the edges, and the juices run clear.
-
6Let them stand a few minutes before serving because, speaking from burnt-finger experience, they are piping hot!
-
7If you like, toss your cooked wings with a bit more salt, a splash of hot sauce, or just eat them as they are. Sometimes I get fancy and sprinkle a bit more paprika, mostly for the color.
CLICK FOR NUTRITION INFO
↑
Approximate Information for One Serving
Serving Size:
1 serving
Calories:
430cal
Protein:
40gg
Fat:
28gg
Saturated Fat:
0g
Trans Fat:
0g
Cholesterol:
0mg
Sodium:
0mg
Potassium:
0mg
Total Carbs:
2gg
Fiber:
0g
Sugar:
0g
Net Carbs:
0g
Vitamin A:
0
Vitamin C:
0mg
Calcium:
0mg
Iron:
0mg
Nutrition Disclaimers
Number of total servings shown is approximate. Actual number of servings will depend on your preferred portion sizes.
Nutritional values shown are general guidelines and reflect information for 1 serving using the ingredients listed, not including any optional ingredients. Actual macros may vary slightly depending on specific brands and types of ingredients used.
To determine the weight of one serving, prepare the recipe as instructed. Weigh the finished recipe, then divide the weight of the finished recipe (not including the weight of the container the food is in) by the desired number of servings. Result will be the weight of one serving.
Did you make this recipe?
Please consider Pinning it!