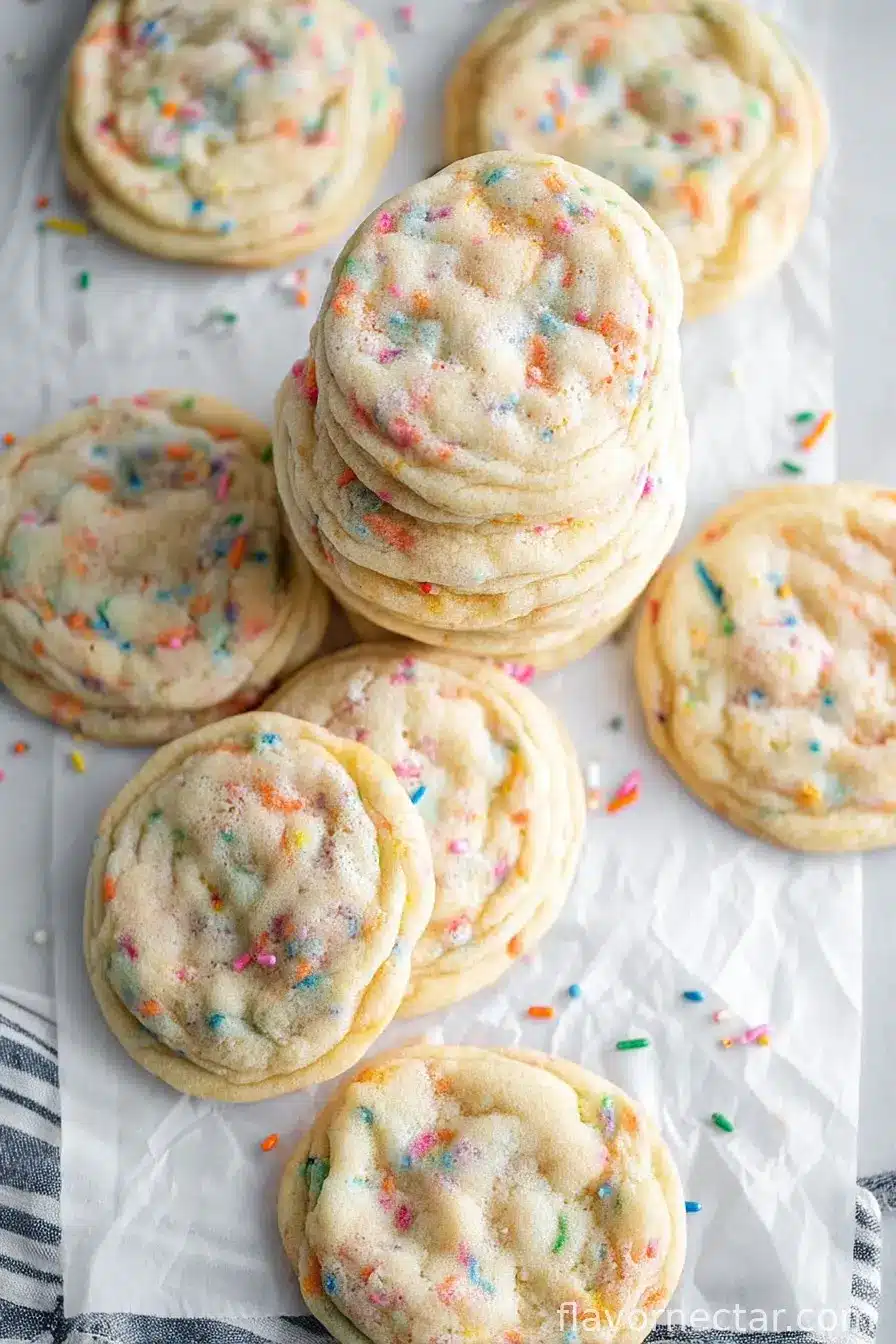
So the first time I tried making these Easy Funfetti Sugar Cookies, it was because we’d run out of birthday cake, and honestly, no one wanted to wrestle with cake pans that day (my kitchen gets chaotic on birthdays, let’s be honest). I tossed these together last-minute, thinking, Eh, what’s the worst that can happen? Next thing I knew, my neighbor popped by “for a cup of sugar” (sure, Carol) and left with half the batch! Now it’s basically a tradition—if sprinkles and sugar aren’t involved, my family will revolt. Oh, and one time, my dog’s tail swiped a whole cooling rack of them onto the floor. Sadly, the cookies didn’t survive, but hey, at least the dog was happy.
Why You’ll Love These (and Maybe Hide a Few for Yourself!)
- I whip these up whenever my kid’s school says “oh, we need cookies for tomorrow!” (which is like once a month, minimum)
- My family sort of loses their minds for them—cousins, grandma, even the mailman’s gotten a taste. The sprinkles make them look like you tried a lot harder than you did.
- And, let’s be real: sometimes I crave something sweet and have zero patience for chilling dough. These don’t need it. (I’ve tried, it’s not worth the extra wait!)
- Also, if you’re having one of those days where nothing goes right—well, these probably will. Except once or twice when I forgot the sprinkles. It was, as my uncle would say, a “sad affair”.
Ingredients (Honestly, Use What You’ve Got Where You Can)
- 1 cup (225g) unsalted butter, room temp (salted is fine, just skip the added salt if you do)
- 1 1/4 cups (250g) white sugar (I’ve swapped in half brown sugar during emergencies, and no one noticed)
- 1 large egg (sometimes I use two smaller ones if that’s all I find in the carton)
- 2 teaspoons vanilla extract (my grandma swore by Watkins, but honestly, the cheap stuff is decent…)
- 1/2 teaspoon almond extract (optional, but gives them a little bakery whiff)
- 2 1/2 cups (320g) all-purpose flour (I tried cake flour once, came out too soft—wouldn’t really recommend… but you do you!)
- 1/2 teaspoon baking soda
- 1/4 teaspoon salt
- 1/2 cup rainbow sprinkles (sometimes if I’m feeling fancy, I’ll mix in different colors—just not nonpareils, they make a weird streaky mess)
How To Make Funfetti Cookies (Or, How To Look Like a Baking Genius with No Effort)
- Preheat your oven to 350°F/175°C. Line a big baking sheet with parchment paper or those silicone mats if you’re fancy (if not, just grease it lightly—I’ve done both, no drama).
- In a big bowl, beat the softened butter and sugar together until it’s creamy and pale (about 2-3 minutes on medium with a hand mixer, but I’ve also done it with a wooden spoon in a pinch; just takes more arm muscle).
- Crack in the egg, vanilla, and almond extract. Beat again until it all looks smooth. Sometimes I forget the almond—no one ever knows, but I usually remember at the last second and toss it in.
- Add the flour, baking soda, and salt. Here’s where I slow down—mix it on low, or, if you’re stirring by hand, just don’t toss flour everywhere like I do. The dough will look a bit stiff, that’s okay.
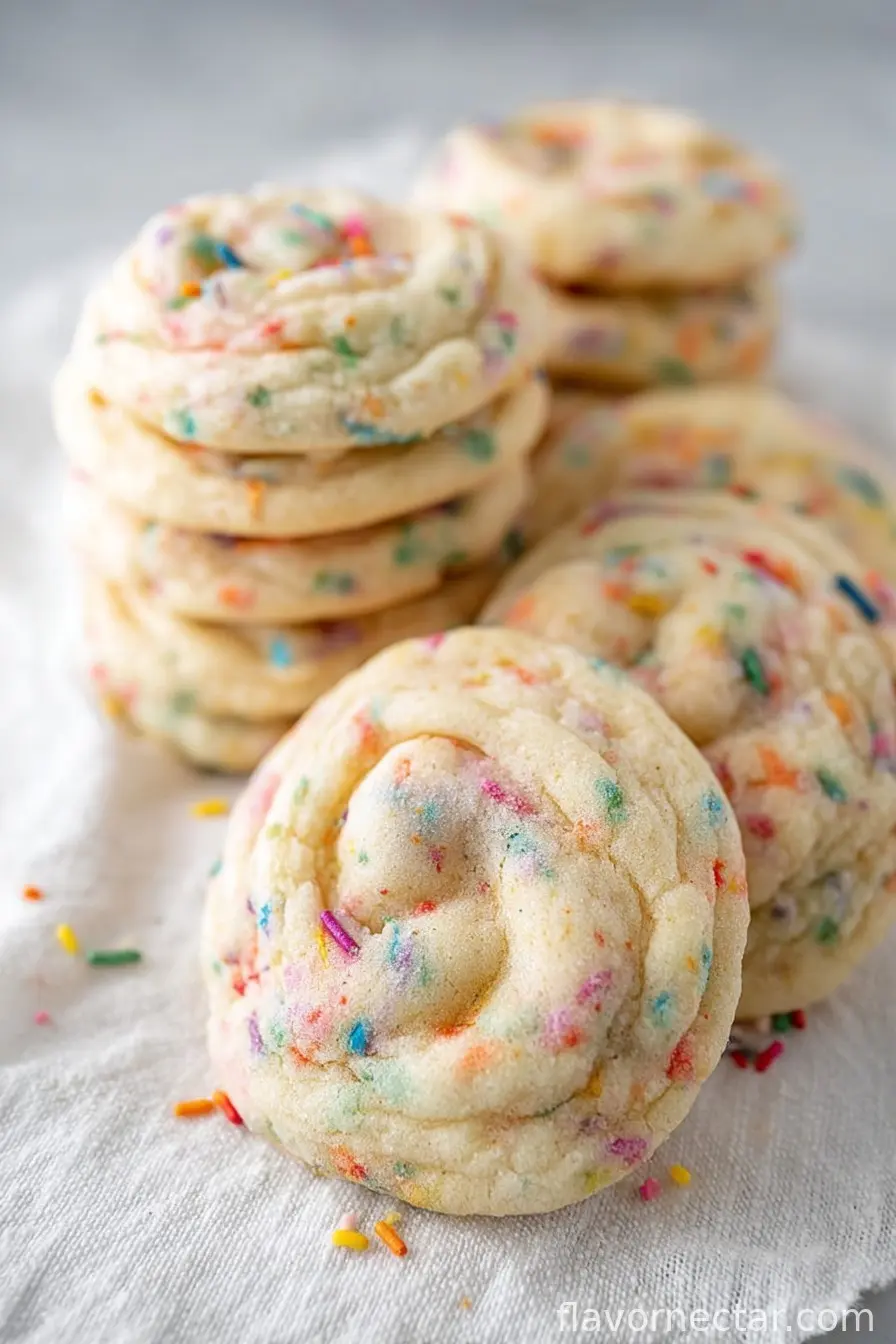
- Fold in the sprinkles. (This is the step my kid loves, and sometimes a few extra sprinkles end up on the dog. Not intentional! If it looks like a unicorn exploded, you did it right.)
- Scoop dough into balls—about 2 tablespoons each—spacing them a couple inches apart on your tray. No fancy cookie scoop? Just use a heaping tablespoon. I sometimes just use my hands (messy, but effective!)
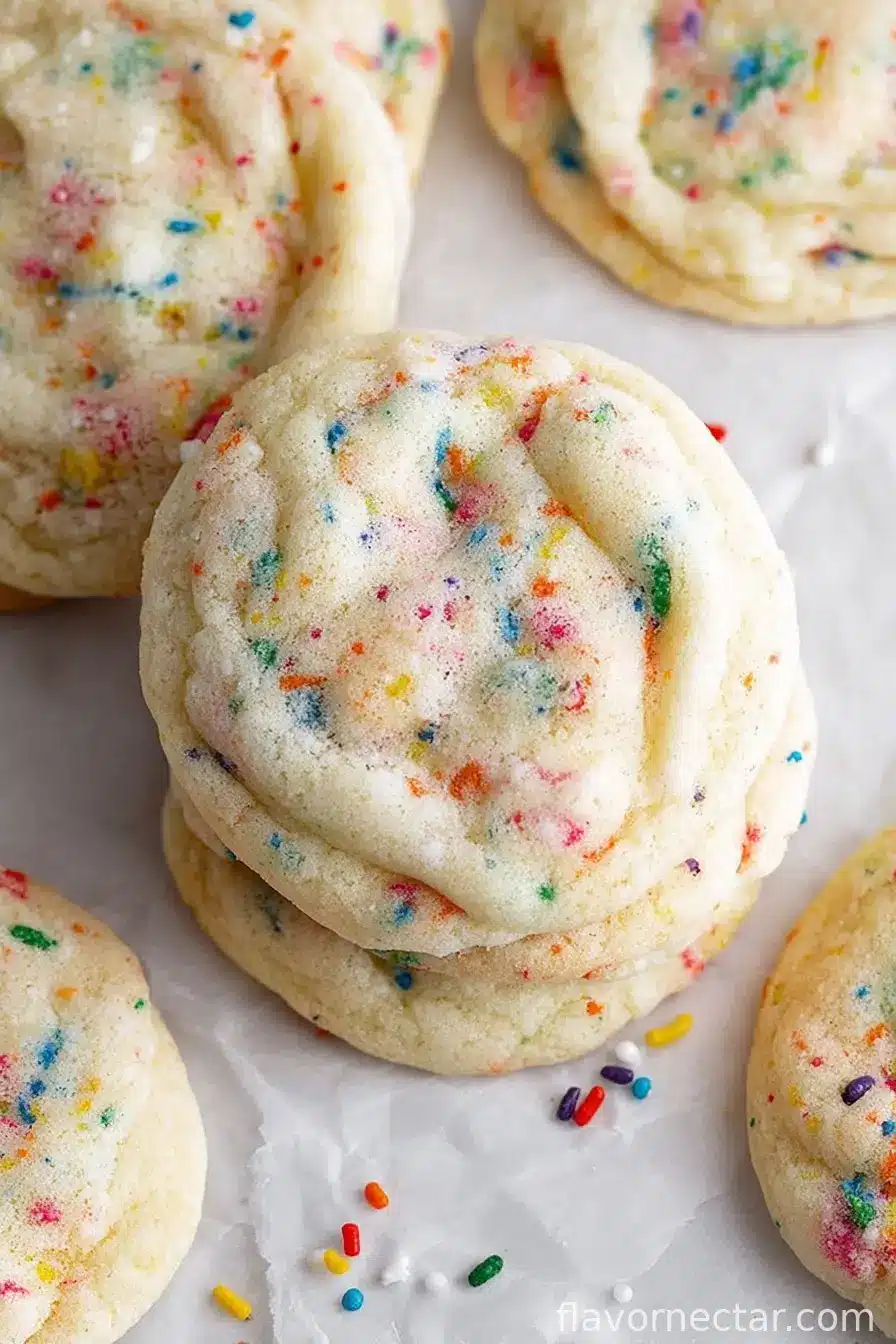
- Bake for 9-11 minutes, or until the edges are just barely golden. Don’t wait for full browning; they firm up as they cool. If you wait too long, they get crunchy, which isn’t the goal here unless you like them that way.
- Let them sit on the tray for 5ish minutes, because they’re soft and prone to breaking right out of the oven (learned this the hard way, more than once). Then move to a wire rack to finish cooling—or, eat hot if you can’t wait. (No judgment!)
A Couple Notes (Because I’ve Messed Up So You Don’t Have To)
- Try not to overbake—the cookies look too pale at first, but turn perfect as they set. Trust the process. I once got antsy and left them for 15 minutes—they turned into edible coasters.
- If using salted butter, skip the added salt (unless you like living on the edge; I tried once and it was a bit much!)
- Batter seems too thick? Add a splash of milk or a tiny bit of melted butter—seriously, it helps.
Variations I’ve Tried (Some Winners, Some… Less So)
- Mini chocolate chips instead of some of the sprinkles—basically turns them into party chocolate chip cookies. Highly recommend.
- Lemon or orange extract instead of almond— gives a nice summery vibe. But don’t overdo it, or it tastes like cleaning spray. (Yes, that was a grim day.)
- Using nonpareil sprinkles—wouldn’t really advise… they melt weird, get crunchy, and the dough turns polka-dotted in a not-cute way.
Equipment I Use (Or, Finding Workarounds When You’re Short a Tool)
- Large mixing bowl—sometimes the old salad bowl if the nice one is in the dishwasher.
- Hand mixer or a sturdy wooden spoon (elbow grease wins prizes!)
- A baking sheet—I once used the bottom of a broiler pan. You gotta do what you gotta do.
- Parchment paper or silicone baking mats—but if you have none, just grease your sheet and cross your fingers!
- Wire rack for cooling, or—here’s my dirty secret—I sometimes use the grill insert from my toaster oven if I’m out of space. Works fine.
How to Store Them (But Good Luck Making Them Last!)
Keep the cookies in an airtight container at room temperature—they stay soft for about 3 days. Actually, I think they taste better the next day, but don’t quote me on that. Refrigerate if you want them to last longer, but honestly, in this house, a single day is a miracle. You can also freeze the dough balls and bake straight from the freezer. I’ve done it; nobody noticed the difference (well, except me because I forgot to set a timer once and they got a bit extra crispy).
How We Serve ‘Em Around Here (Besides Straight Off the Pan)
- Classic: Just as is, usually with a glass of milk or cup of tea—if you want my British aunt’s honest opinion.
- Special occasions: Stack a few, tie with twine, and give as gifts. Sometimes I tuck a few into lunchboxes as a treat (with a reminder note: “Don’t let them see you eating cookies at 8 AM!”)
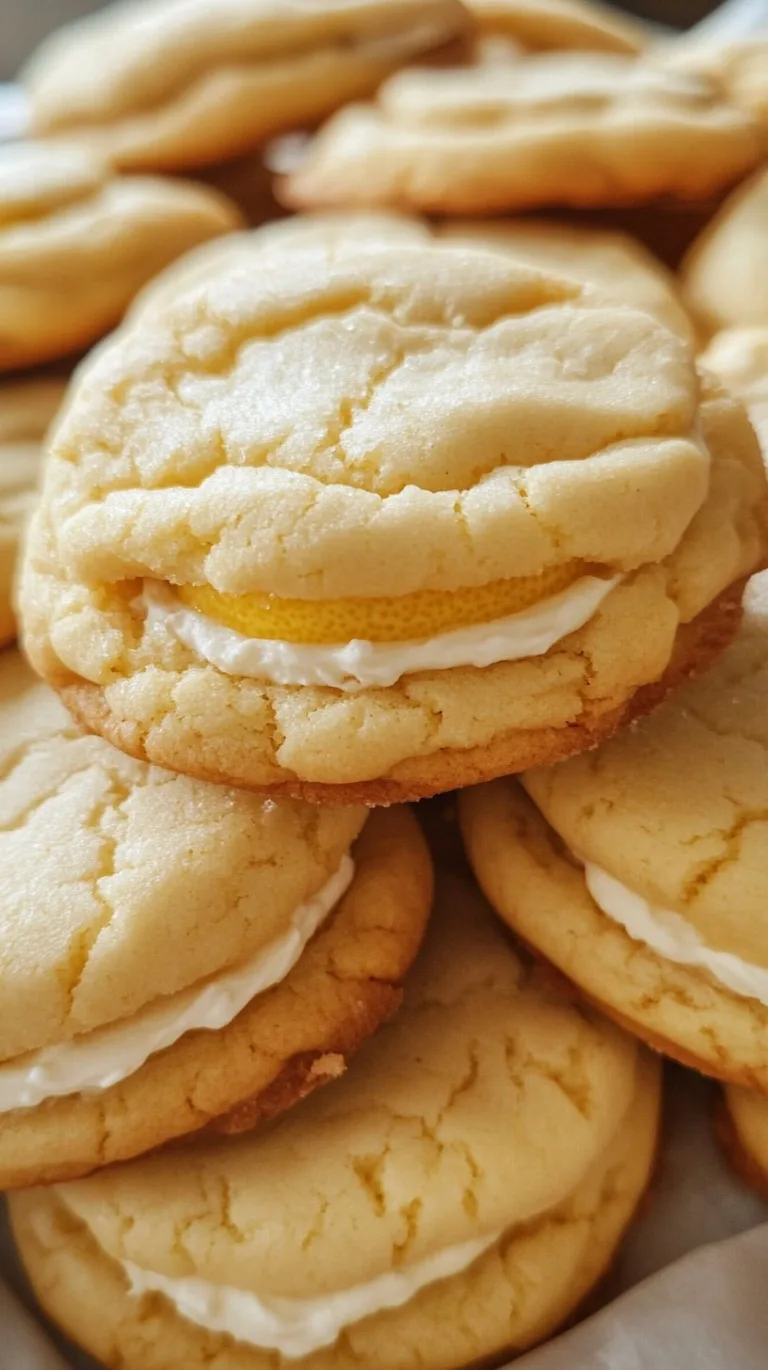
- Or, make ice cream sandwiches out of them—just don’t fill them till you’re actually going to eat, or you’ll have cold cookie soup.
Pro Tips I Learned the Hard Way
- Don’t skip fully softening your butter—straight-from-the-fridge butter makes the dough lumpy and your arm sore. I once tried microwaving it and wound up with, well, accidental brown butter. Tasted okay, but not ideal here.
- Let them cool before stacking. If you do it too soon, say goodbye to the pretty tops (I have learned this lesson repeatedly and still mess it up on busy days!)
- Bake one tray at a time if your oven tends to cook unevenly—the bottom rack’s burned cookies are not the “extra flavor” anyone wants.
FAQ (Actual Questions—No “Pretend I’m a Bot” Stuff)
Can I double this recipe?
Yep, I do it all the time. Just use a REALLY big bowl—unless you enjoy stray flour covering your pets, counters, and whatever happens to be in range.
My cookies are spreading too much—what gives?
Happens! Sometimes my butter’s way too soft or the kitchen’s toasty. Pop the shaped cookies in the fridge for 10-15 min before baking if you notice this. Or just roll with it and call them “rustic”.
Do I have to use almond extract?
Not at all. Just skip it if you’re not a fan or if you forgot to buy it (I do all the time). Straight vanilla is great.
Can I make these gluten-free?
I haven’t tried it myself, but a friend swapped cup-for-cup gluten-free flour and said it worked fine. May be a bit crumblier, but still delish according to her verdict.
Help! My sprinkles are bleeding colors into the dough?
Oh, I know the struggle. Use the jimmies (long, soft sprinkles) not those tiny nonpareils—they’re sneaky and like to leak! And if your dough looks rainbow-y, hey, at least it’s festive?
OK, I’m off to make another batch (or at least snag some dough; don’t judge). Let me know how yours turn out, and if your dog gets involved—solidarity, my friend.
Ingredients
- 1 cup (225g) unsalted butter, room temp (salted is fine, just skip the added salt if you do)
- 1 1/4 cups (250g) white sugar (I’ve swapped in half brown sugar during emergencies, and no one noticed)
- 1 large egg (sometimes I use two smaller ones if that’s all I find in the carton)
- 2 teaspoons vanilla extract (my grandma swore by Watkins, but honestly, the cheap stuff is decent…)
- 1/2 teaspoon almond extract (optional, but gives them a little bakery whiff)
- 2 1/2 cups (320g) all-purpose flour (I tried cake flour once, came out too soft—wouldn’t really recommend… but you do you!)
- 1/2 teaspoon baking soda
- 1/4 teaspoon salt
- 1/2 cup rainbow sprinkles (sometimes if I’m feeling fancy, I’ll mix in different colors—just not nonpareils, they make a weird streaky mess)
Instructions
-
1Preheat your oven to 350°F/175°C. Line a big baking sheet with parchment paper or those silicone mats if you’re fancy (if not, just grease it lightly—I’ve done both, no drama).
-
2In a big bowl, beat the softened butter and sugar together until it’s creamy and pale (about 2-3 minutes on medium with a hand mixer, but I’ve also done it with a wooden spoon in a pinch; just takes more arm muscle).
-
3Crack in the egg, vanilla, and almond extract. Beat again until it all looks smooth. Sometimes I forget the almond—no one ever knows, but I usually remember at the last second and toss it in.
-
4Add the flour, baking soda, and salt. Here’s where I slow down—mix it on low, or, if you’re stirring by hand, just don’t toss flour everywhere like I do. The dough will look a bit stiff, that’s okay.
-
5Fold in the sprinkles. (This is the step my kid loves, and sometimes a few extra sprinkles end up on the dog. Not intentional! If it looks like a unicorn exploded, you did it right.)
-
6Scoop dough into balls—about 2 tablespoons each—spacing them a couple inches apart on your tray. No fancy cookie scoop? Just use a heaping tablespoon. I sometimes just use my hands (messy, but effective!)
-
7Bake for 9-11 minutes, or until the edges are just barely golden. Don’t wait for full browning; they firm up as they cool. If you wait too long, they get crunchy, which isn’t the goal here unless you like them that way.
-
8Let them sit on the tray for 5ish minutes, because they’re soft and prone to breaking right out of the oven (learned this the hard way, more than once). Then move to a wire rack to finish cooling—or, eat hot if you can’t wait. (No judgment!)
CLICK FOR NUTRITION INFO
↑
Approximate Information for One Serving
Serving Size:
1 serving
Calories:
160 caloriescal
Protein:
2 gg
Fat:
7 gg
Saturated Fat:
0g
Trans Fat:
0g
Cholesterol:
0mg
Sodium:
0mg
Potassium:
0mg
Total Carbs:
23 gg
Fiber:
0g
Sugar:
0g
Net Carbs:
0g
Vitamin A:
0
Vitamin C:
0mg
Calcium:
0mg
Iron:
0mg
Nutrition Disclaimers
Number of total servings shown is approximate. Actual number of servings will depend on your preferred portion sizes.
Nutritional values shown are general guidelines and reflect information for 1 serving using the ingredients listed, not including any optional ingredients. Actual macros may vary slightly depending on specific brands and types of ingredients used.
To determine the weight of one serving, prepare the recipe as instructed. Weigh the finished recipe, then divide the weight of the finished recipe (not including the weight of the container the food is in) by the desired number of servings. Result will be the weight of one serving.
Did you make this recipe?
Please consider Pinning it!