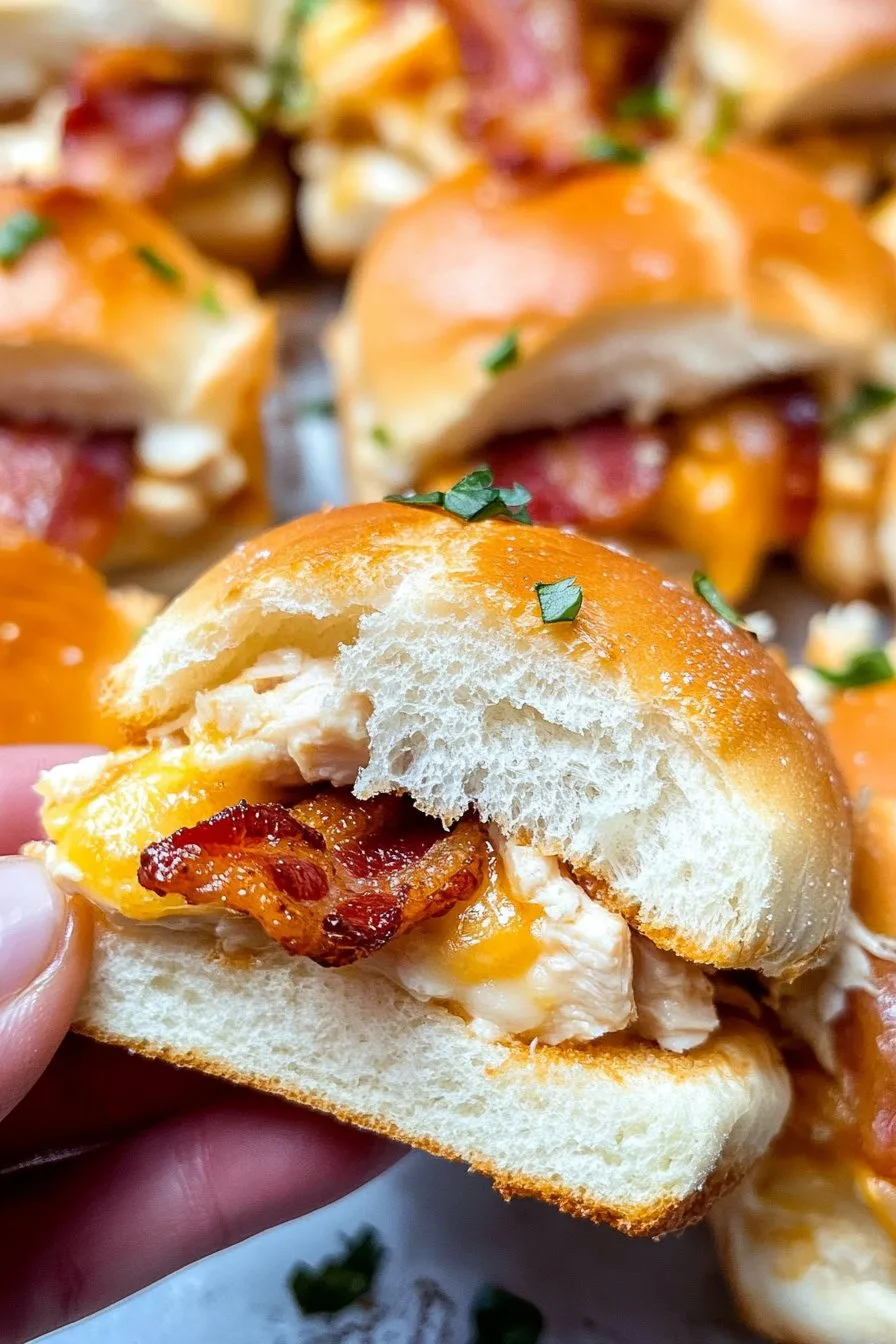
Hey there! So, I’ve got this little recipe for Chicken Bacon Ranch Sliders that always turns my family into a bunch of happy campers. It all started one lazy Sunday afternoon, when I was staring at the fridge, wondering what to whip up. You know those days when you want something yummy but don’t want to spend hours in the kitchen? That’s when these sliders stepped into my life. And let’s just say, they’ve been a delicious staple ever since!
Why You’ll Love This
I make these delightful little sandwiches when I want the crowd to cheer (and not just because they’re hungry). My family goes crazy for them because they’re packed with flavor, super easy to make, and the bacon… well, bacon makes everything better, doesn’t it? (Though, figuring out the perfect bacon crispiness was a bit of a saga.)
Ingredients
- 12 slider buns (sometimes I just use whatever bread I have handy, but pretzel buns are fun!)
- 1 pound cooked chicken, shredded (you can totally use leftover rotisserie chicken)
- 8 slices of bacon, cooked and crumbled (I’ve been known to sneak a slice or two… quality control, right?)
- 1 cup ranch dressing (my grandma swore by homemade, but the store-bought stuff works in a pinch)
- 8 slices of cheddar cheese (or whatever cheese makes your heart sing)
- A handful of chopped green onions (optional, but I think they add a nice kick)

Directions
- Preheat your oven to 350°F (that’s 175°C for my metric friends).
- Cut the slider buns in half and place the bottoms on a baking tray. Now, here’s where you slather on a good dollop of ranch dressing. I once tried skimping on this – not my best idea.
- Layer the shredded chicken evenly. It’s okay if it looks like a bit of a mess; deliciousness isn’t always pretty!
- Sprinkle those crispy bacon crumbles on top of the chicken. Try not to eat too many at this stage (I get tempted every time).
- Add the cheese slices, covering as much as possible. This is the cheesy goodness layer, so embrace it.
- Place the top half of the buns over the cheese and brush a little more ranch on them. Not too much though, unless you like things saucy!
- Bake in the preheated oven for about 15 minutes, or until the cheese is melty and irresistible. I often peek in to enjoy the cheesy transformation.
- Sprinkle with green onions if you’re feeling fancy, then slice and serve hot!
Notes
Actually, I find these sliders taste even better the next day. Just pop them in the oven to warm up – if you have any leftovers, that is!

Variations
I once tried adding jalapenos for a spicy kick, but the kids weren’t thrilled. On the other hand, swapping out cheddar for pepper jack was a hit!
Equipment
If you don’t have a baking tray, you can improvise with a foil-covered sheet pan. And, if you’re really in a pinch, a toaster oven works too!
Storage Information
Store any leftovers in an airtight container in the fridge for up to 3 days—though honestly, in my house, it never lasts more than a day!
Serving Suggestions
I like to serve these sliders with a simple side salad or maybe some crunchy fries. It’s kind of become a weekend tradition around here.
Pro Tips
I once tried rushing the cheese melting process by cranking up the heat—big mistake, it just ended up burnt. Stick to the plan!
FAQ
Can I use turkey bacon instead? Absolutely! It’s a bit leaner, but still tasty.
Is there a vegetarian version? Sure, you could use grilled mushrooms or even a chickpea filling!
Do I need to use ranch dressing? Well, it is in the name, but if you have a favorite dressing, go for it!

