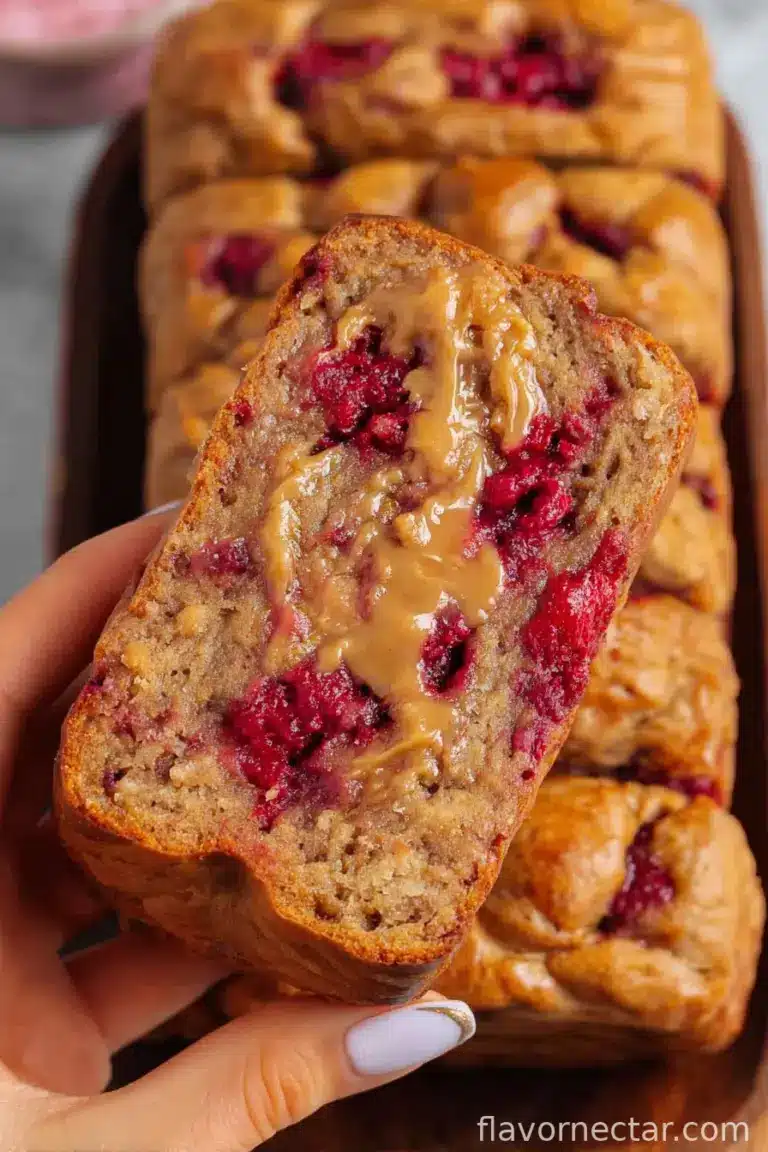
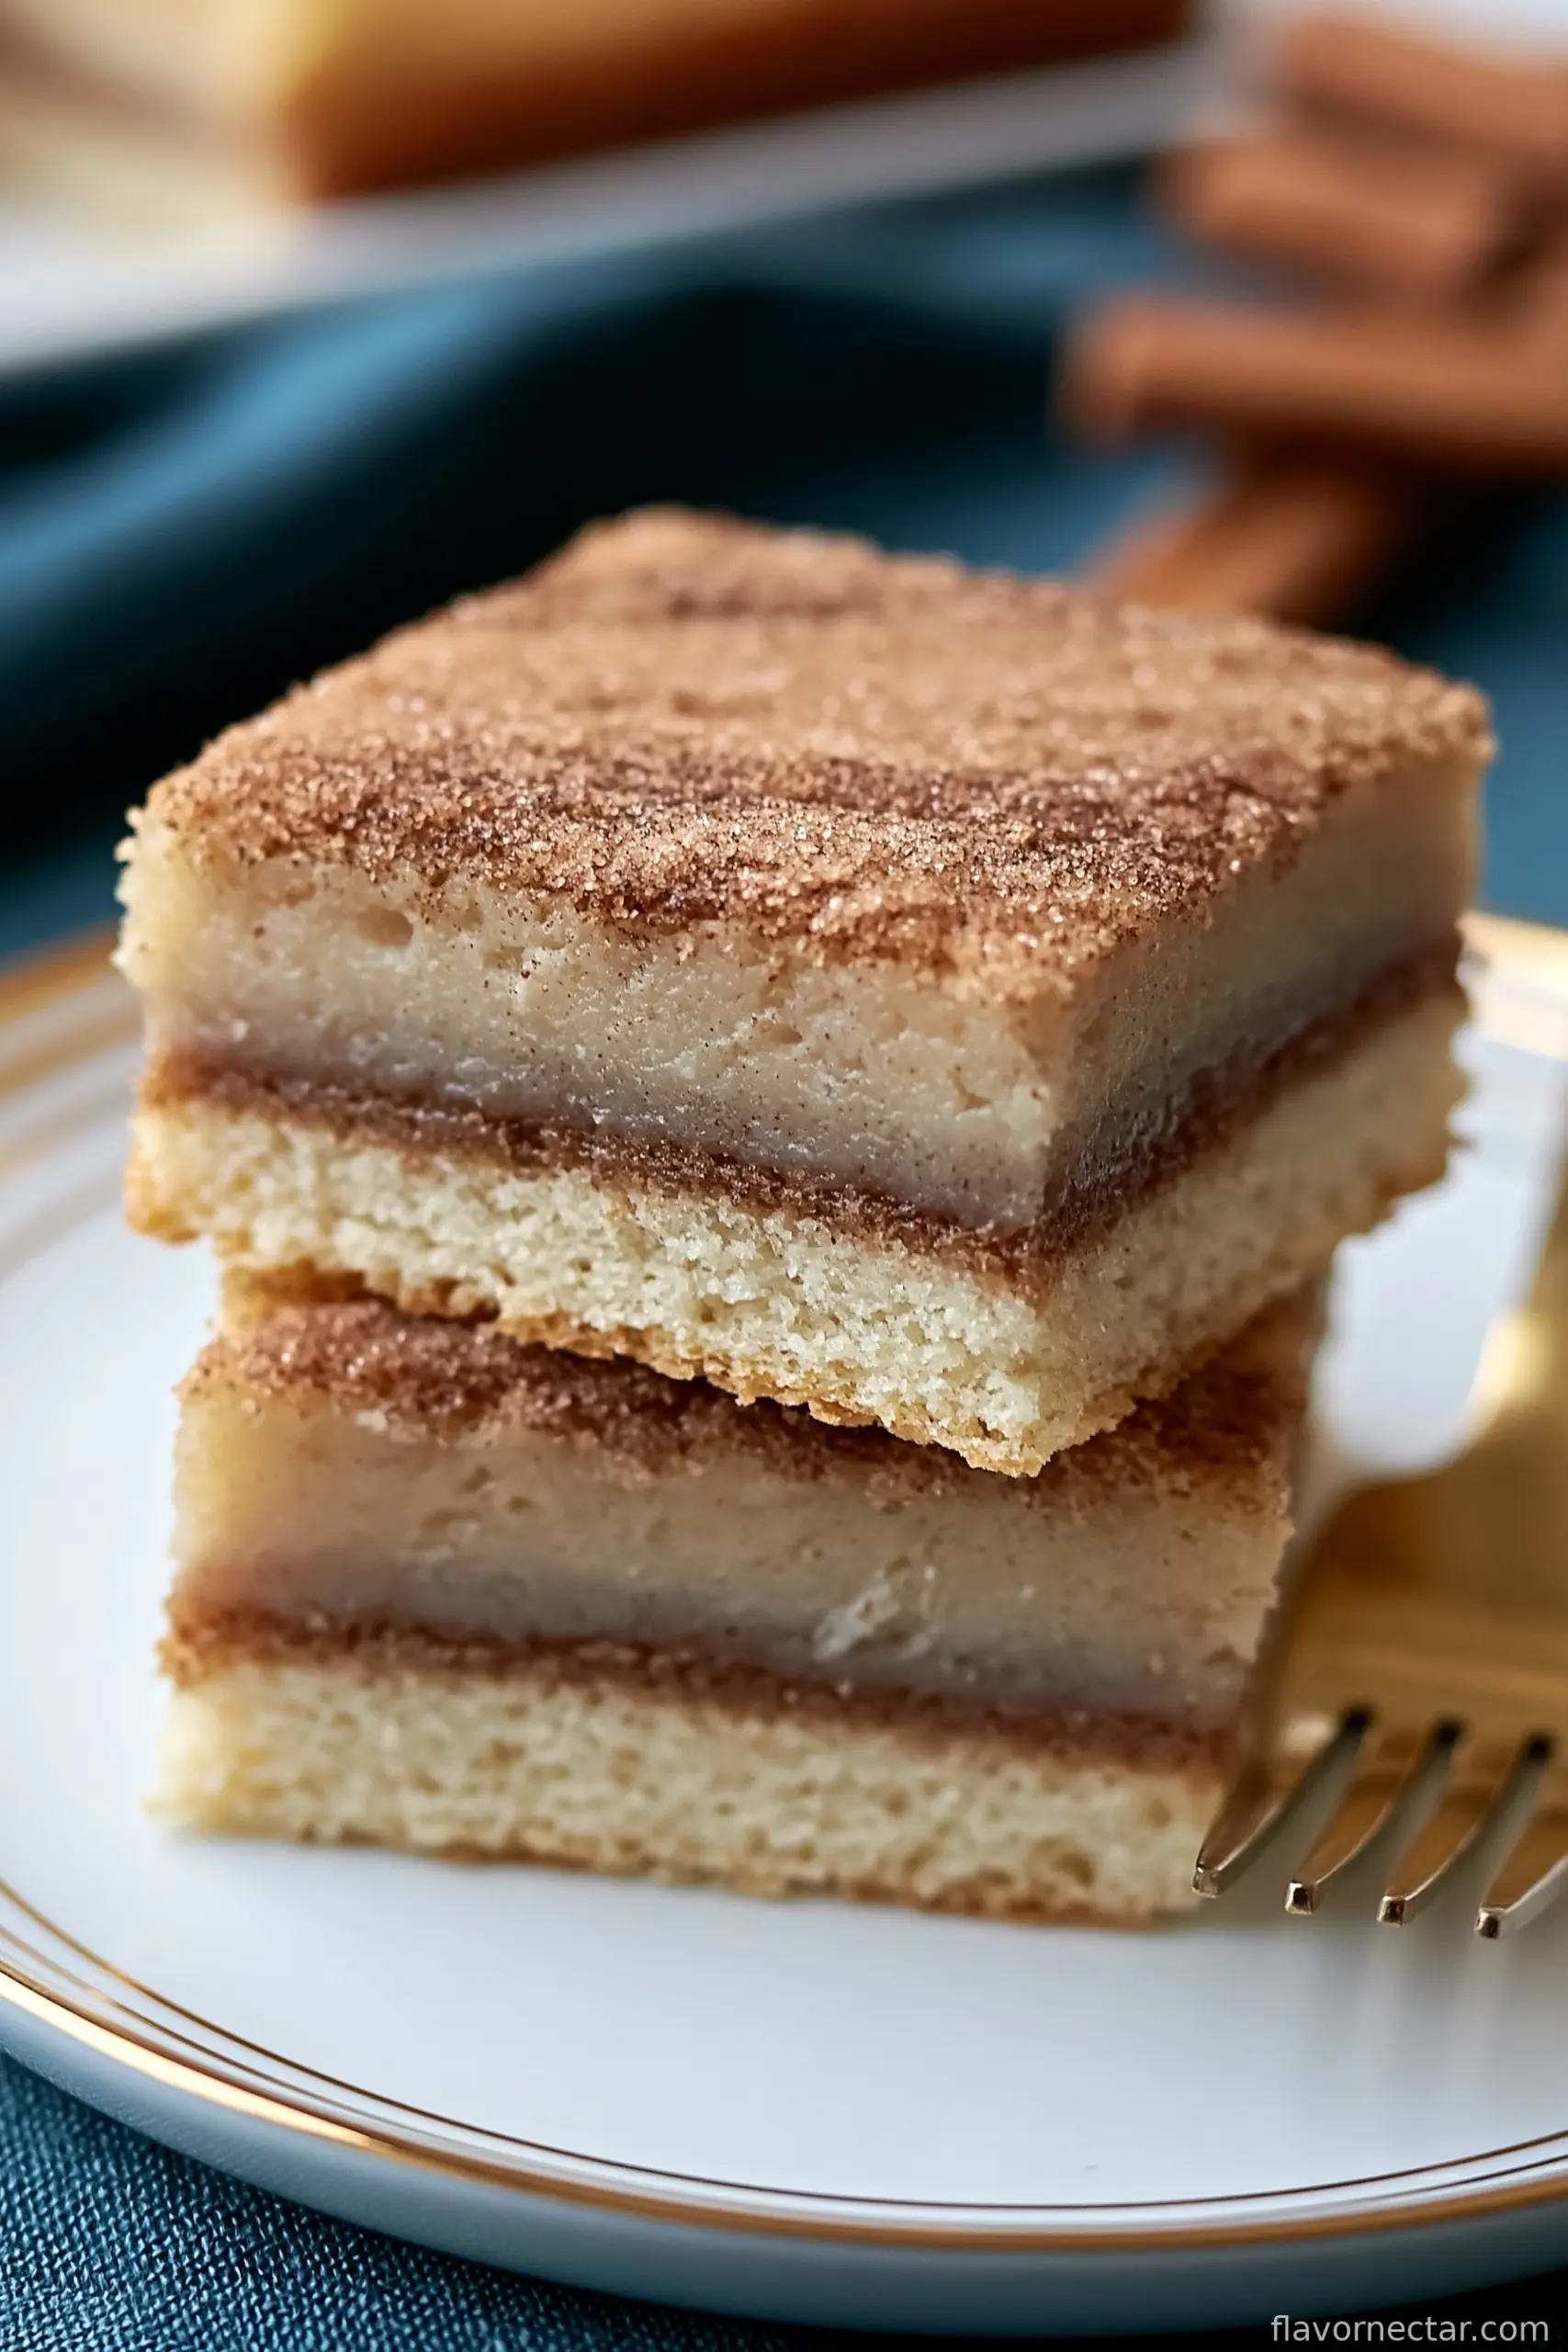
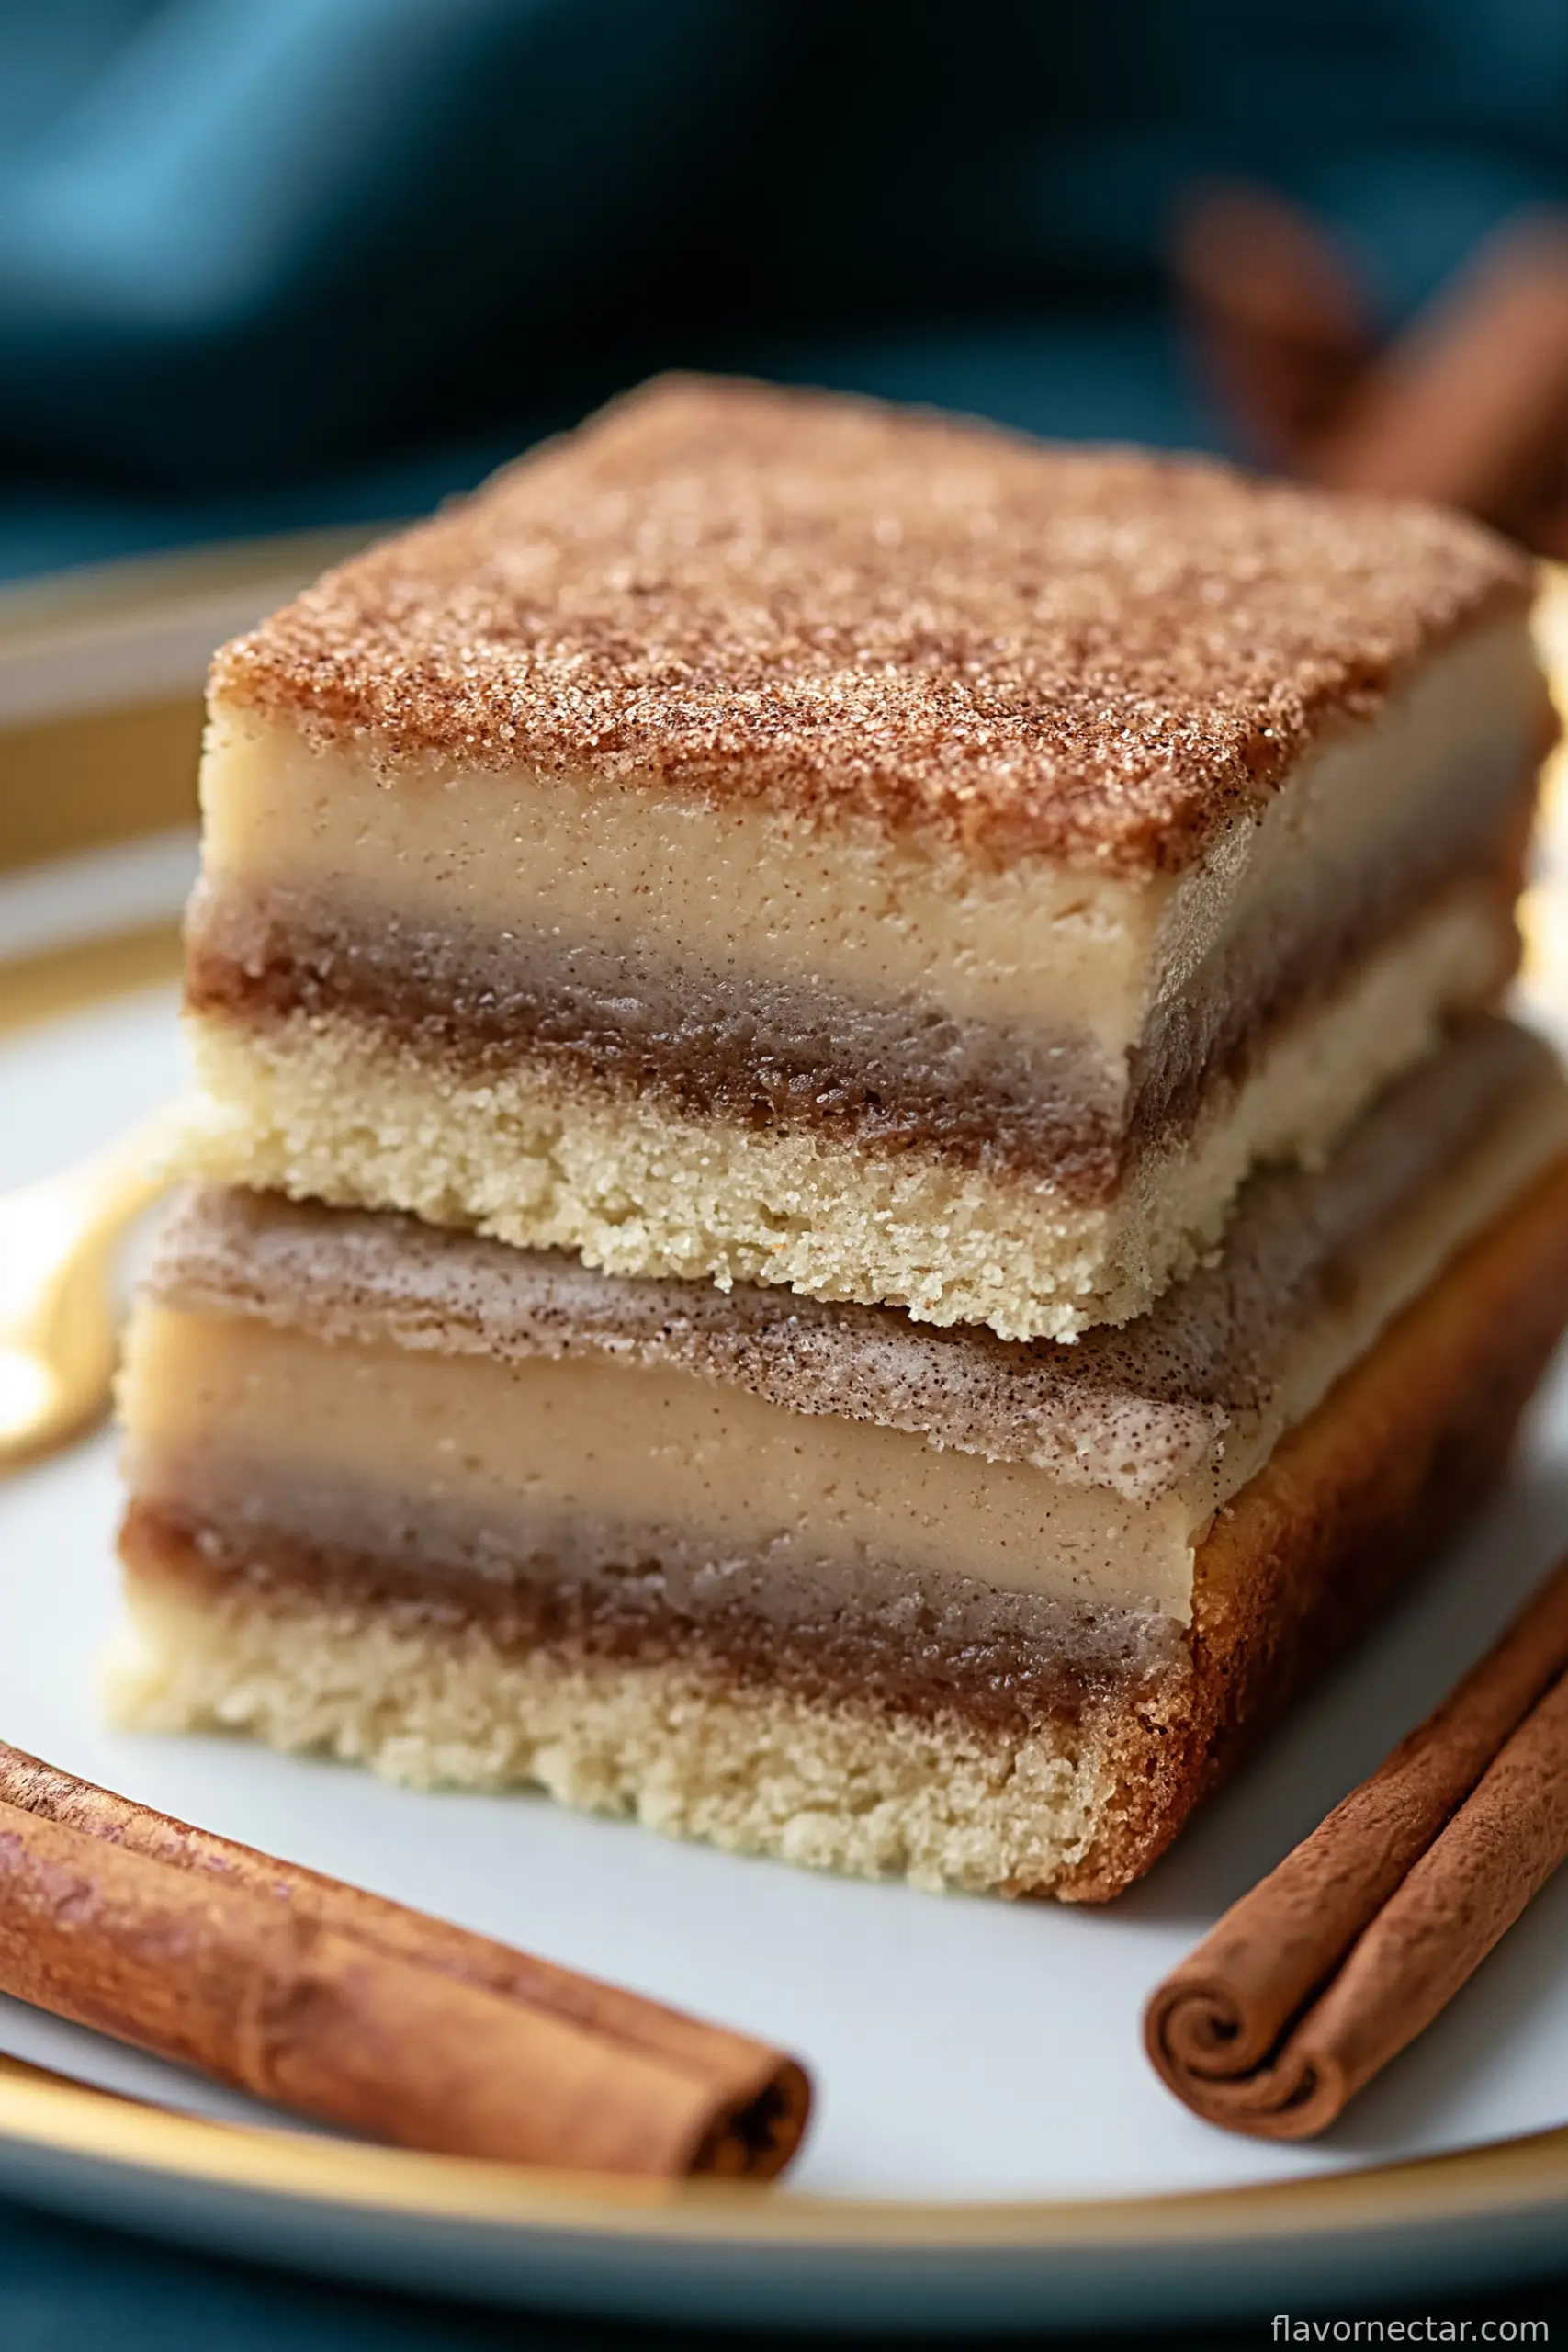
Alright, Let’s Talk About These Bars…
So, listen, Brown Sugar Cinnamon Pop Tart Bars are basically my shortcut to happiness—especially when life’s being ridiculous and all I want is a taste of being a kid again. I honestly started making these on a lazy Sunday, when I ran out of actual Pop Tarts (not proud, but necessity is the mother of invention). There’s this one memory: me, sitting on the back step, Pop Tart in hand, not a care in the world except maybe if the neighbor’s cat would pop over for a sniff. These bars? They teleport me straight there. And yeah, maybe they’re a bit of a sugar bomb, but honestly, sometimes you need that in your life. My first batch looked weird—kinda lumpy and not Instagram material, but trust me, didn’t stop anyone from demolishing the pan. I usually joke you’ll scrape the baking dish clean, but honestly, I’m not really joking.
Why I Keep Coming Back to This Recipe
I make this when the weather’s not cooperating (which, in my city, is about 340 days a year—don’t get me started). Or when I need a treat that tastes like nostalgia but requires barely any effort. My family goes bonkers over these, and one of my friends actually asked if I’d started buying Pop Tarts again. Nope, just these bars. The cinnamon swirl smells amazing, and that brown sugar melts into everything. Also, little secret? The sweet glaze is the perfect excuse to lick the bowl; not judging if you do! Sometimes I get frustrated when the dough feels too sticky, but after a couple floured hands, no more drama—see, told ya, kitchen therapy.
Gathering the Stuff: What You’ll Need
- 2 cups all-purpose flour (honestly, I grab whatever’s in the pantry—whole wheat if I’m feeling virtuous, but we’re not fooling anybody)
- 1/2 cup packed light brown sugar (if dark brown sugar’s all you have, it’s fine—just a bit richer)
- 1/2 teaspoon salt
- 1 cup (2 sticks) cold, unsalted butter, cubed (my grandmother swore by salted butter; do what feels right)
- 1 large egg, beaten (I’ve used 2 small eggs in a pinch)
- 1 tablespoon milk (or cream—sometimes I just splash in whatever’s closest)
- 1 teaspoon vanilla extract (I’ve subbed in maple extract, actually pretty tasty)
- 3/4 cup packed brown sugar—extra for the filling
- 1 tablespoon ground cinnamon
- 1 tablespoon all-purpose flour—in the cinnamon sugar filling
- 1 cup powdered sugar (for icing—sometimes I just eyeball it, if we’re being honest)
- 1-2 tablespoons milk, for the icing (whatever gets it pourable)
- 1/2 teaspoon vanilla extract, for the icing (again, if you’ve got maple, it works too)
How To Actually Make Brown Sugar Cinnamon Pop Tart Bars
- Preheat your oven to 350°F (180°C). Grab an 8×8-inch pan and line it with parchment (if you forget, you can just butter it, but parchment makes life easier when you’re prying out the sticky bits).
- Mix the dough: In a big bowl, stir together the flour, 1/2 cup brown sugar, and salt. Toss in the cubed cold butter and use your fingers—yep, hands get messy—or a pastry blender to smash it all together until it looks like chubby breadcrumbs. (This is where I usually sneak a taste. Don’t tell anyone.)
- Add wet stuff: Pour in the beaten egg, milk, and vanilla. Stir everything up—it’ll look a bit rough or too sticky at first, but just work it till it comes together. If it’s still a mess, add a sprinkle more flour.
- Make the cinnamon filling: In a small bowl, mix 3/4 cup brown sugar, cinnamon, and 1 tablespoon flour. That’s all. Don’t overthink it.
- Layer it up: Squish about two-thirds of your dough into the bottom of the pan. It’s sticky, so flour your hands. Even it out, corner to corner—though mine never looks perfect and nobody cares. Sprinkle that cinnamon sugar layer all over evenly (sometimes I leave a bit for myself, but that’s between us).
- Add the topping: Blob the rest of the dough on top—I just drop spoonfuls over the filling, then gently pat them down. Doesn’t have to cover every inch. Trust me, the cinnamon sugar peeking through is half the charm.
- Bake: Pop it in the oven for 30–35 minutes, until the edges are golden and you can’t resist the smell anymore. Try to wait ‘til it cools—though I rarely do. If the center looks a bit soft, that’s actually good. It’ll set as it cools.
- Get your glaze going: Whisk powdered sugar, vanilla, and milk (start with 1 tablespoon, add more as needed) until you’ve got a thick but pourable icing. Glop or drizzle it over the bars once they’ve cooled a little. If you want neat lines, use a fork, but I’m honestly just all about the drizzle party.
- Slice and serve: Lift them out using the parchment and cut into bars. Eat immediately—or, if you have more self-control than anyone I know, wait until they’re fully cool for the best texture.
Lil’ Notes – Stuff I’ve Learned (Sometimes the Hard Way)
- If your dough feels impossible to work with, pop it in the fridge for 10 minutes. Makes everything easier. I once got impatient and tried to press it in warm, just a sticky mess.
- Don’t skimp on lining the pan, or you’ll be scraping stuck-on bits for ages. Ask me how I know.
- Actually, I find the bars taste even better (and cut cleaner) if you wait until the next day. But good luck with that.
Some Variations I’ve Tried (One was a Flop!)
- I swapped cinnamon for pumpkin pie spice when it was autumn—big hit with my cousin, though my dad wasn’t convinced.
- I once (don’t judge) added mini chocolate chips over the cinnamon layer. Surprisingly not bad, but honestly, the classic version’s better.
- Tried using almond flour instead of regular flour once—let’s just say, structural integrity was not achieved. Would not recommend unless you love crumbs everywhere!
Do You Need Fancy Gear? Nah (Probably)
I always use a metal 8×8-inch baking pan, but if you’ve only got glass or a slightly larger dish, just shorten the bake time and keep an eye out. No pastry blender? Two forks, or (this is grandpa’s trick) cold fingertips work fine. If you don’t have parchment, a good slather of butter will do, though getting bars out in one piece might test your patience (and vocabulary).
Stashing Them Away (If You Actually Have Leftovers)
These bars keep well in an airtight container at room temp for about 3 days, though honestly, in my house, they never last more than a day! Just stack them with a bit of parchment between layers if you don’t want glaze sticking everywhere. You can even freeze ‘em, but I rarely get the chance—my lot’s eaten them before they’re cool enough to freeze. On second thought, stash a couple secretly if you want any for yourself!
Ways I Like to Serve These
I love them with coffee, but my niece insists they’re best with a glass of cold milk (she’s got a point). On birthdays, we’ll sometimes warm them for a few seconds in the microwave and add a scoop of vanilla ice cream—kinda over-the-top, but highly recommended if you’re feeling fancy. Once, someone dunked one in hot chocolate. I didn’t get it…until I tried it myself. Now I’m all for it.
My Hard-Earned Pro Tips
- Let that butter stay cold; I once used it too soft and got dough soup. No bueno.
- The icing sets faster than you think, so if you want sprinkles or fun toppings, toss ‘em on quick. I missed my window more than once and had basically dry confetti instead.
- I thought rushing the cooling step would save time, but nope—just oatmeal-y mush. Wait it out, trust me.
FAQ (You Ask, I Answer)
Can I double the recipe for a bigger crowd? Oh for sure, just use a 9×13 pan and bump the bake time by a few minutes. Or make two pans if you like leftovers—I mean, if anyone in your house has that kind of restraint!
Do I have to use brown sugar? You can use coconut sugar if you like, but it’s not quite the same flavor—still pretty good though. I wouldn’t use plain white sugar since it misses that caramelly flavor.
My dough’s super sticky—help! That happens! Just dust your hands with a bit of flour or chill the dough for a few minutes. And if it’s still a pain, just squish it in anyway. Tastes the same once baked. (Trust me, I’ve been there!)
How do you keep the bars from falling apart? Waiting for them to cool down (mostly) solves the problem, but honestly, if a couple crumble, that’s just chef’s treat in my book.
Can you make these gluten free? I haven’t found a version using all gluten-free flour that really holds together—yet. But if you try it and it works, please let me know. I’ll owe you one.
Why is my icing runny? Probably just too much milk—add a spoon of powdered sugar until it looks gloopy but spreadable. Or just call it a glaze and carry on; no shame in that.
Oh and here’s a weird thing—one time I made these during a storm and the power went out mid-bake. Bars were half-baked, but we ate them with spoons. You couldn’t call it a Pop Tart, but honestly, it was still good. So, if you ever wonder if these can be rescued—chances are they probably can!
Ingredients
- 2 cups all-purpose flour (honestly, I grab whatever’s in the pantry—whole wheat if I’m feeling virtuous, but we’re not fooling anybody)
- 1/2 cup packed light brown sugar (if dark brown sugar’s all you have, it’s fine—just a bit richer)
- 1/2 teaspoon salt
- 1 cup (2 sticks) cold, unsalted butter, cubed (my grandmother swore by salted butter; do what feels right)
- 1 large egg, beaten (I’ve used 2 small eggs in a pinch)
- 1 tablespoon milk (or cream—sometimes I just splash in whatever’s closest)
- 1 teaspoon vanilla extract (I’ve subbed in maple extract, actually pretty tasty)
- 3/4 cup packed brown sugar—extra for the filling
- 1 tablespoon ground cinnamon
- 1 tablespoon all-purpose flour—in the cinnamon sugar filling
- 1 cup powdered sugar (for icing—sometimes I just eyeball it, if we’re being honest)
- 1-2 tablespoons milk, for the icing (whatever gets it pourable)
- 1/2 teaspoon vanilla extract, for the icing (again, if you’ve got maple, it works too)
Instructions
-
1Preheat your oven to 350°F (180°C). Grab an 8×8-inch pan and line it with parchment (if you forget, you can just butter it, but parchment makes life easier when you’re prying out the sticky bits).
-
2Mix the dough: In a big bowl, stir together the flour, 1/2 cup brown sugar, and salt. Toss in the cubed cold butter and use your fingers—yep, hands get messy—or a pastry blender to smash it all together until it looks like chubby breadcrumbs. (This is where I usually sneak a taste. Don’t tell anyone.)
-
3Add wet stuff: Pour in the beaten egg, milk, and vanilla. Stir everything up—it’ll look a bit rough or too sticky at first, but just work it till it comes together. If it’s still a mess, add a sprinkle more flour.
-
4Make the cinnamon filling: In a small bowl, mix 3/4 cup brown sugar, cinnamon, and 1 tablespoon flour. That’s all. Don’t overthink it.
-
5Layer it up: Squish about two-thirds of your dough into the bottom of the pan. It’s sticky, so flour your hands. Even it out, corner to corner—though mine never looks perfect and nobody cares. Sprinkle that cinnamon sugar layer all over evenly (sometimes I leave a bit for myself, but that’s between us).
-
6Add the topping: Blob the rest of the dough on top—I just drop spoonfuls over the filling, then gently pat them down. Doesn’t have to cover every inch. Trust me, the cinnamon sugar peeking through is half the charm.
-
7Bake: Pop it in the oven for 30–35 minutes, until the edges are golden and you can’t resist the smell anymore. Try to wait ‘til it cools—though I rarely do. If the center looks a bit soft, that’s actually good. It’ll set as it cools.
-
8Get your glaze going: Whisk powdered sugar, vanilla, and milk (start with 1 tablespoon, add more as needed) until you’ve got a thick but pourable icing. Glop or drizzle it over the bars once they’ve cooled a little. If you want neat lines, use a fork, but I’m honestly just all about the drizzle party.
-
9Slice and serve: Lift them out using the parchment and cut into bars. Eat immediately—or, if you have more self-control than anyone I know, wait until they’re fully cool for the best texture.
CLICK FOR NUTRITION INFO
↑
Approximate Information for One Serving
Serving Size:
1 serving
Calories:
320 caloriescal
Protein:
3gg
Fat:
15gg
Saturated Fat:
0g
Trans Fat:
0g
Cholesterol:
0mg
Sodium:
0mg
Potassium:
0mg
Total Carbs:
45gg
Fiber:
0g
Sugar:
0g
Net Carbs:
0g
Vitamin A:
0
Vitamin C:
0mg
Calcium:
0mg
Iron:
0mg
Nutrition Disclaimers
Number of total servings shown is approximate. Actual number of servings will depend on your preferred portion sizes.
Nutritional values shown are general guidelines and reflect information for 1 serving using the ingredients listed, not including any optional ingredients. Actual macros may vary slightly depending on specific brands and types of ingredients used.
To determine the weight of one serving, prepare the recipe as instructed. Weigh the finished recipe, then divide the weight of the finished recipe (not including the weight of the container the food is in) by the desired number of servings. Result will be the weight of one serving.
Did you make this recipe?
Please consider Pinning it!