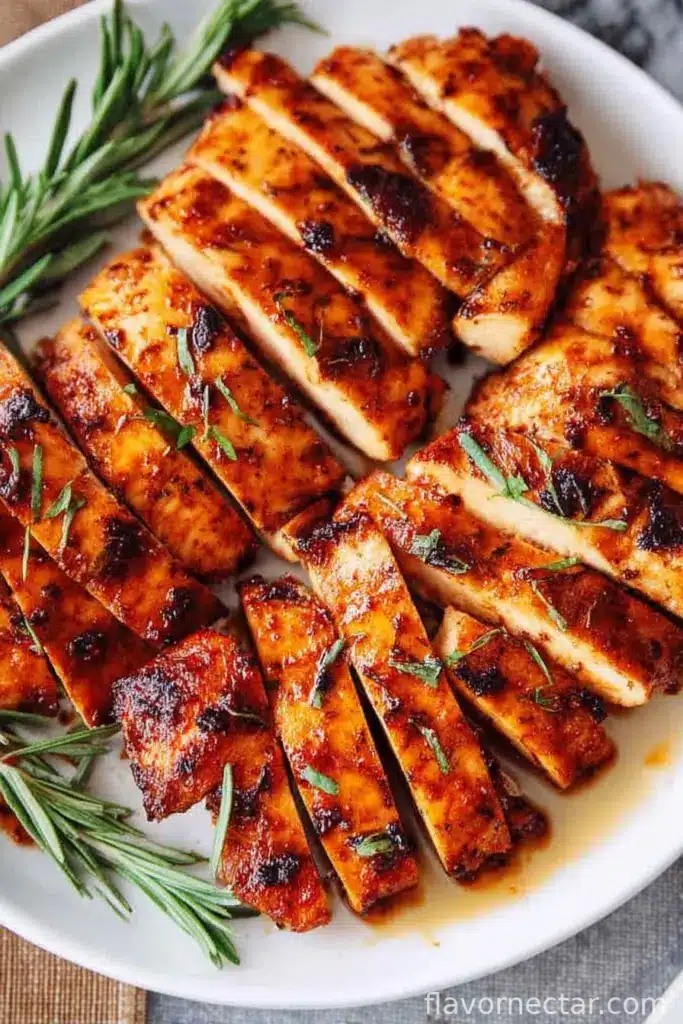
The Real Story Behind This Brown Sugar Chicken Breast
So, let me just tell you about the ridiculous number of weeknights I’ve had to pull dinner out of a hat—okay, not literally a hat, but you know what I mean. There was this one night last winter (my toes still remember), when I got home way too late and realized I had chicken breasts, a smidge of brown sugar, and not much else. No big grocery run, just a pantry and a prayer. I cobbled together this Brown Sugar chicken Breast, accidentally spilled some extra spice, and my family basically licked the plate. We’ve been making it ever since—sometimes with more chaos than sense, honestly! Oh! And don’t even get me started on how the kitchen smells; it’s like sweet dinner perfume.

Why You’ll Love This One (Trust Me!)
I pull this recipe out when: I forgot to plan, someone has had a rough day, or we’re all just craving something cozy but not boring. My family goes bananas for this (which is funny; there are zero bananas in here!)—mostly because it’s both sweet and savory. Probably also because I let them eat with their fingers sometimes, but that’s beside the point. Also, it’s not fussy—if you mess up and add a bit too much brown sugar (like, ahem, I do every fourth time), everything comes out just fine, maybe even better. The only complaint? If you make too little, you’ll hear about it.
Ingredients (Don’t Sweat the Small Stuff)
- 4 boneless, skinless chicken breasts (I use whatever size is on sale; even thighs in a pinch)
- 1/2 cup brown sugar—light or dark is fine; my gran swore by dark for “deeper flavor”, but I’m not sure I’d taste the difference
- 2 tablespoons olive oil (sometimes I grab canola if it’s closer)
- 2 tablespoons soy sauce (use tamari or coconut aminos if you’re feeling gluten-free-ish)
- 4 garlic cloves, minced (pre-minced, squeezed, or, honestly, even powdered garlic works in a hurry)
- 1 teaspoon paprika (smoked is my not-so-secret weapon but any will do)
- 1/2 teaspoon black pepper
- 1/2 teaspoon salt (or a good pinch—you know your taste buds)
- Optional: pinch of chili flakes for a faint bit of heat
How To Actually Make It (Chaos Optional)
- Preheat your oven to 400°F (about 200°C, give or take, for my metric mates).
- Pat the chicken breasts dry with paper towels (don’t skip this part—it helps the sauce stick better, although sometimes I forget and it’s still tasty).
- In a not-too-gigantic bowl, mix together brown sugar, olive oil, soy sauce, garlic, paprika, black pepper, salt, and chili flakes if you’re feeling bold. It’ll look kind of gloopy—don’t worry, that’s actually what you want.
- Plonk those chicken breasts right into the bowl, get your hands messy (unless you’re all posh and use tongs), and coat them as evenly as you can. This is where I usually sneak a taste of the marinade. Not recommending it officially but, you know, research.
- Transfer the whole lot to a baking dish (if you’re short on time, even a rimmed sheet pan works). Pour the rest of the glaze over, scraping out all that goodness.
- Bake uncovered for about 25 minutes, or until the chicken is cooked through (juices run clear and all that jazz). If your chicken pieces are huge, maybe give them a couple of extra minutes. If they’re tiny… check sooner.
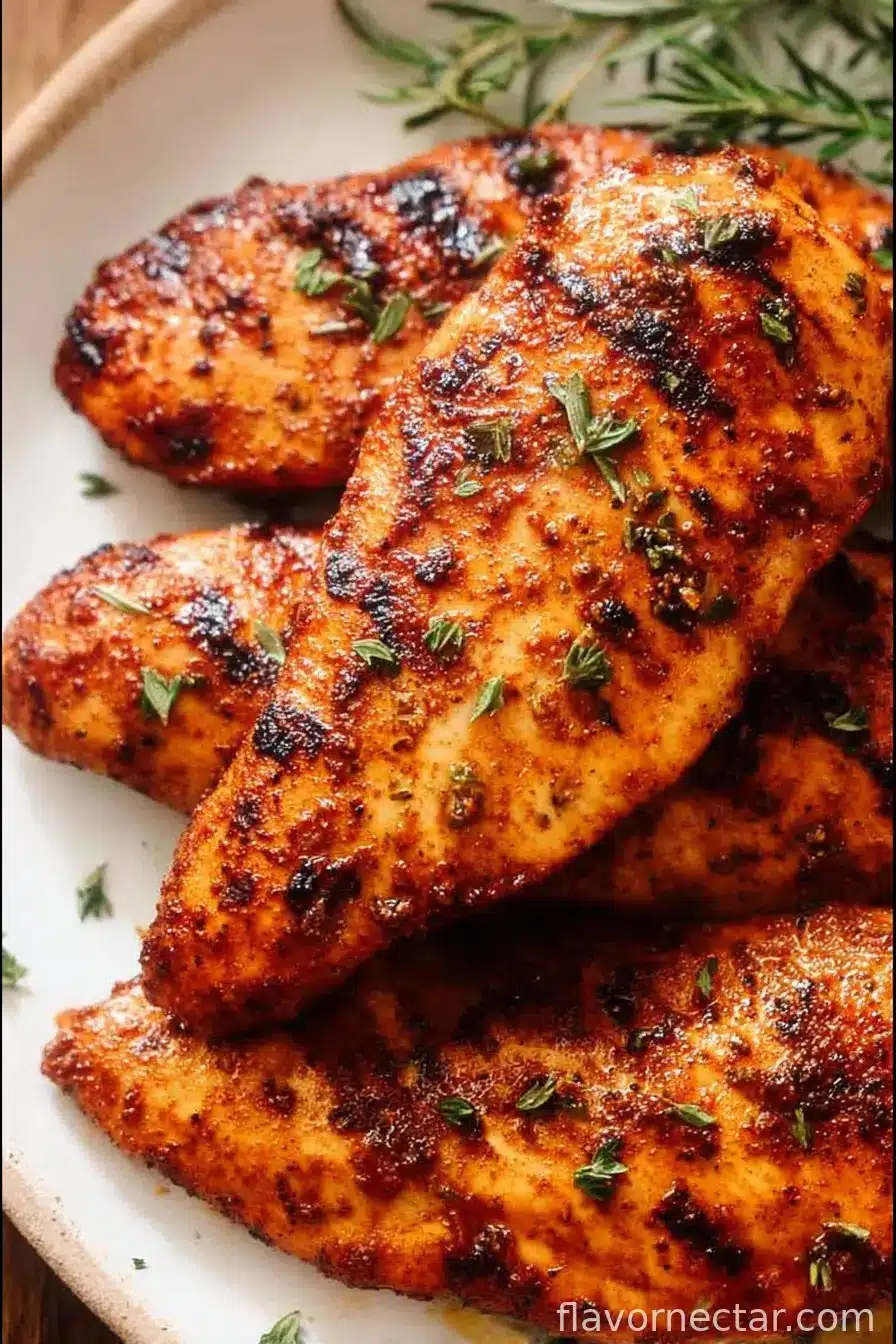
- If you like the tops extra caramelized, I sometimes flick on the broiler for 2 minutes at the end—but watch it like a hawk or it’ll get a bit charred (voice of experience).
- Let the chicken rest for 5 mins before diving in, even though everyone will want to dig in immediately.
>
My Notes (Learned the Hard Way!)
- If the sauce looks thin when you pull it out of the oven, just give it a stir and spoon it over at serving—works every time.
- Actually, I find this tastes even better the next day (if there is a next day—ha!).
- If you forget to preheat the oven, just toss the dish in anyway and let it warm up with the chicken. The world won’t end.
If You’re Feeling Adventurous (Or Reckless)—Variations
- I once tried adding sliced oranges to the pan—pretty, but I wasn’t wowed.
- A little Dijon mustard stirred into the marinade: big win, especially if you’re out of soy sauce.
- Swap smoked paprika for chipotle powder if you’ve got it; a game changer.
- On second thought, skipping the garlic entirely? Didn’t love it; it missed that oomph.
Do You Really Need Fancy Equipment?
I use a regular old glass baking dish, but my cousin Susan swears by her cast iron skillet. If you’ve only got a roasting pan—no worries, it’ll still taste stellar. And honestly, I’ve mixed the marinade in a Ziploc bag more times than I’d admit to my mother.
How To Store (If It Survives)
Leftover Brown Sugar Chicken Breast keeps in the fridge, covered, for up to 3 days. Reheat gently (the sauce thickens up in the cold and is delicious). Though honestly, in my house, it never lasts more than a day!
Serving Suggestions: What Goes With This?
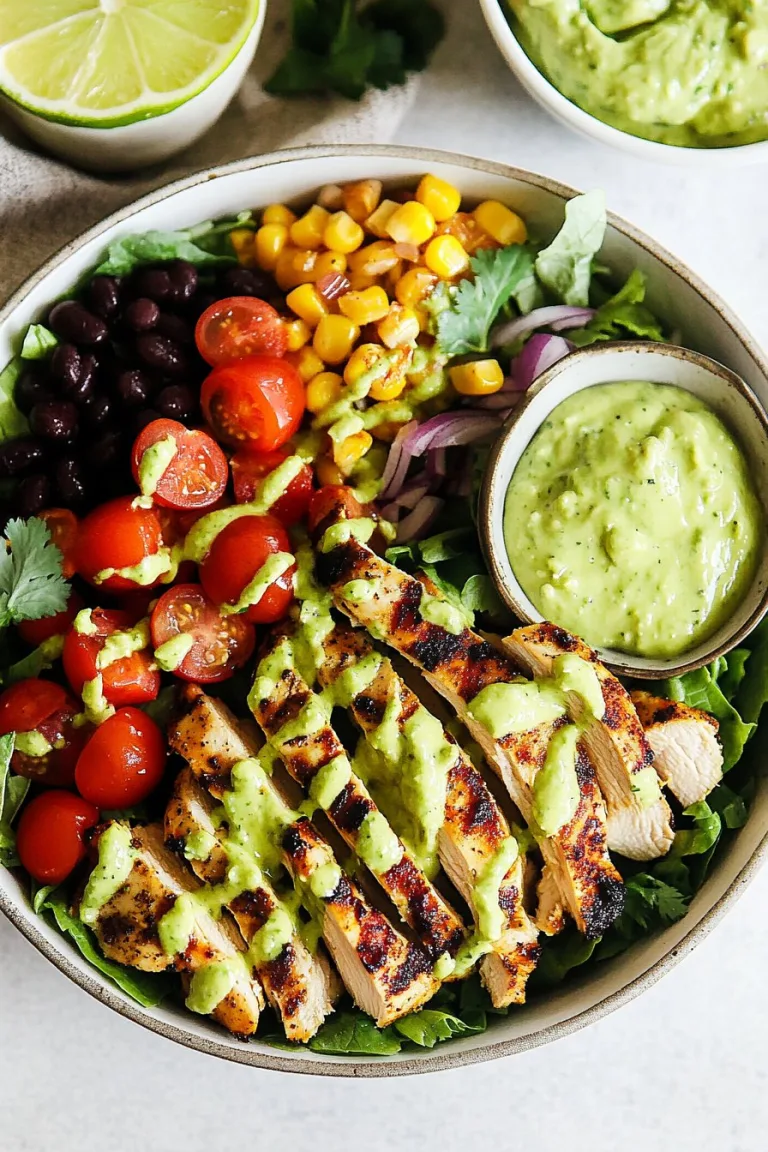
I usually do fluffy rice or even buttery noodles on a lazy night (kids are oddly obsessed with bowties). A pile of steamed green beans next to it always looks fancy. For Sunday dinner, we like it with mashed potatoes and roasted carrots—mostly because that’s how Nana did it and who am I to argue?
Pro Tips I Learned The Messy Way
- Don’t rush the oven—one time I tried cranking it up to 450°F to “speed things up” and wound up with dry chicken and a burnt brown sugar crust. Worth the wait, trust me.
- Actually, letting it rest is not negotiable. I used to skip this and all the juices would end up on the board. Oops.
- If your sauce seems to disappear, try covering with foil for half the baking and uncover for the last bit.
Your Questions, Answered—Because People Always Ask
- Can I use chicken thighs instead? Oh, for sure! Juicier, and probably a bit more forgiving.
- Does it freeze well? Yeah, it’s decent after freezing, though the sauce thickens up a bit weird—still totally edible.
- Can I make this on the stovetop? I have, and it’s fine, but you won’t get that sticky caramelized top. Better for a summer day when you don’t want the oven on.
- How spicy is it? Only as spicy as you make it; add more chili flakes if you want. Most days, I keep it pretty mild.
- Can I double the sauce? Go for it—I always do when feeding teenagers or, you know, when I want extra over rice.
- Why is my sauce runny? Well, sometimes chicken breasts are wetter—actually, if you pat them really dry, it’s usually thicker. Or maybe you measured with your heart like me? It’s fine.
- Is this dish healthy? Eh—I mean, it’s not deep fried! But it has sugar…so… balanced, I’d say, for a treat.
My final advice: don’t overthink it. At the end of the day, it’s chicken, sugar, and love (cheesy, but true). If you mess it up a bit, call it rustic and serve with extra sauce; no one ever complains.
Ingredients
- 4 boneless, skinless chicken breasts (I use whatever size is on sale; even thighs in a pinch)
- 1/2 cup brown sugar—light or dark is fine; my gran swore by dark for “deeper flavor”, but I’m not sure I’d taste the difference
- 2 tablespoons olive oil (sometimes I grab canola if it’s closer)
- 2 tablespoons soy sauce (use tamari or coconut aminos if you’re feeling gluten-free-ish)
- 4 garlic cloves, minced (pre-minced, squeezed, or, honestly, even powdered garlic works in a hurry)
- 1 teaspoon paprika (smoked is my not-so-secret weapon but any will do)
- 1/2 teaspoon black pepper
- 1/2 teaspoon salt (or a good pinch—you know your taste buds)
- Optional: pinch of chili flakes for a faint bit of heat
Instructions
-
1Preheat your oven to 400°F (about 200°C, give or take, for my metric mates).
-
2Pat the chicken breasts dry with paper towels (don’t skip this part—it helps the sauce stick better, although sometimes I forget and it’s still tasty).
-
3In a not-too-gigantic bowl, mix together brown sugar, olive oil, soy sauce, garlic, paprika, black pepper, salt, and chili flakes if you’re feeling bold. It’ll look kind of gloopy—don’t worry, that’s actually what you want.
-
4Plonk those chicken breasts right into the bowl, get your hands messy (unless you’re all posh and use tongs), and coat them as evenly as you can. This is where I usually sneak a taste of the marinade. Not recommending it officially but, you know, research.
-
5Transfer the whole lot to a baking dish (if you’re short on time, even a rimmed sheet pan works). Pour the rest of the glaze over, scraping out all that goodness.
-
6Bake uncovered for about 25 minutes, or until the chicken is cooked through (juices run clear and all that jazz). If your chicken pieces are huge, maybe give them a couple of extra minutes. If they’re tiny… check sooner.
-
7If you like the tops extra caramelized, I sometimes flick on the broiler for 2 minutes at the end—but watch it like a hawk or it’ll get a bit charred (voice of experience).
-
8Let the chicken rest for 5 mins before diving in, even though everyone will want to dig in immediately.
CLICK FOR NUTRITION INFO
↑
Approximate Information for One Serving
Serving Size:
1 serving
Calories:
340 caloriescal
Protein:
42gg
Fat:
11gg
Saturated Fat:
0g
Trans Fat:
0g
Cholesterol:
0mg
Sodium:
0mg
Potassium:
0mg
Total Carbs:
19gg
Fiber:
0g
Sugar:
0g
Net Carbs:
0g
Vitamin A:
0
Vitamin C:
0mg
Calcium:
0mg
Iron:
0mg
Nutrition Disclaimers
Number of total servings shown is approximate. Actual number of servings will depend on your preferred portion sizes.
Nutritional values shown are general guidelines and reflect information for 1 serving using the ingredients listed, not including any optional ingredients. Actual macros may vary slightly depending on specific brands and types of ingredients used.
To determine the weight of one serving, prepare the recipe as instructed. Weigh the finished recipe, then divide the weight of the finished recipe (not including the weight of the container the food is in) by the desired number of servings. Result will be the weight of one serving.
Did you make this recipe?
Please consider Pinning it!