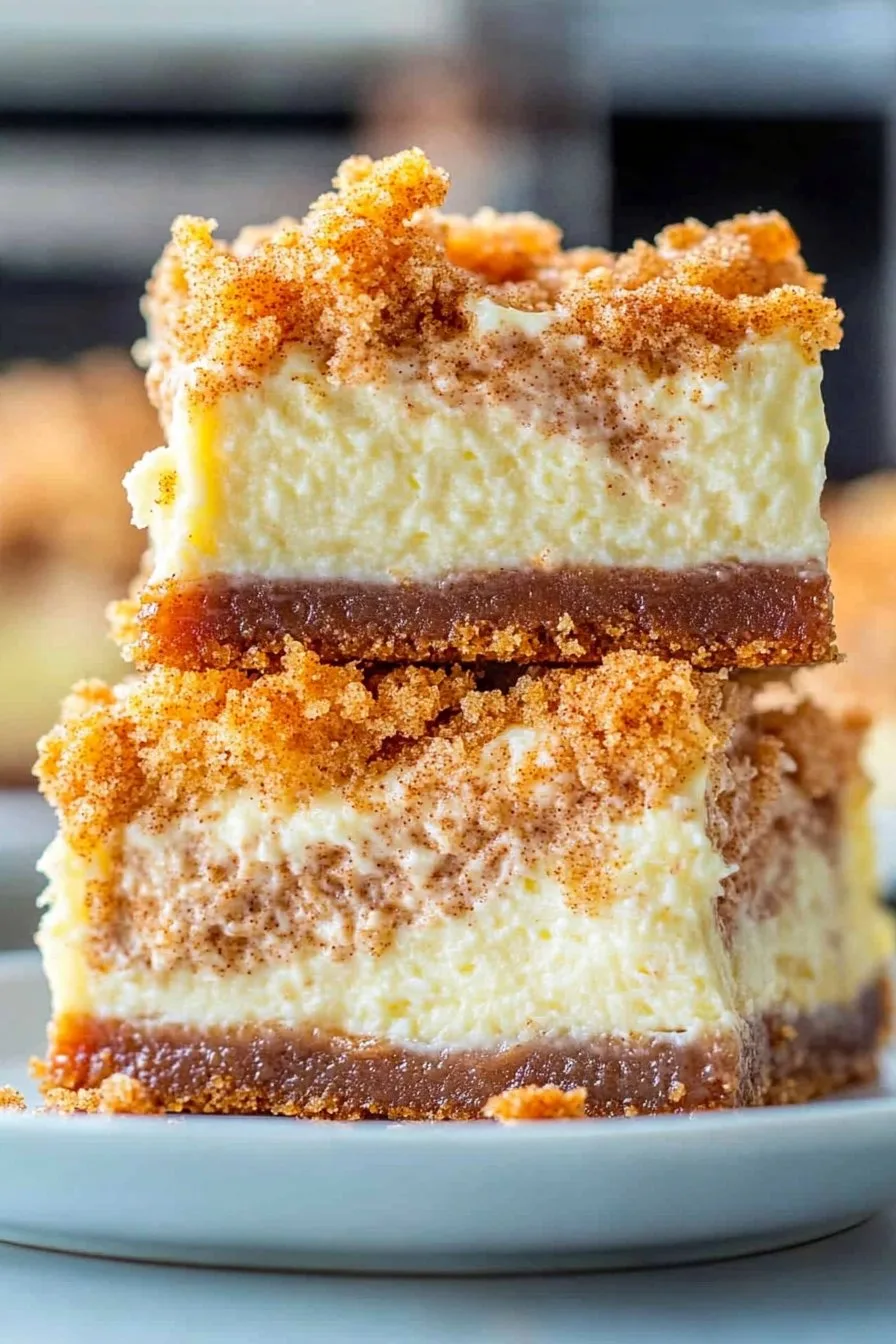
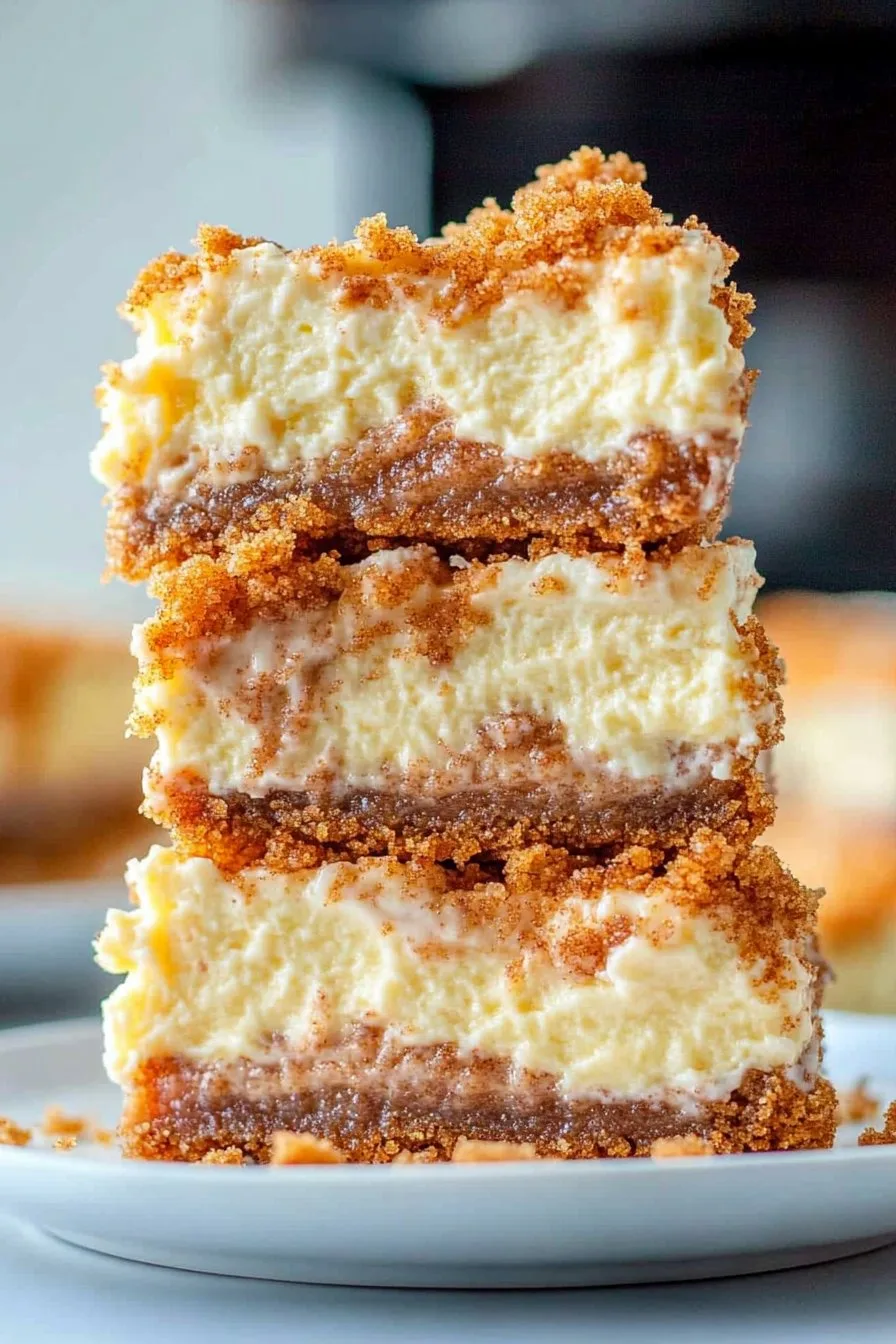
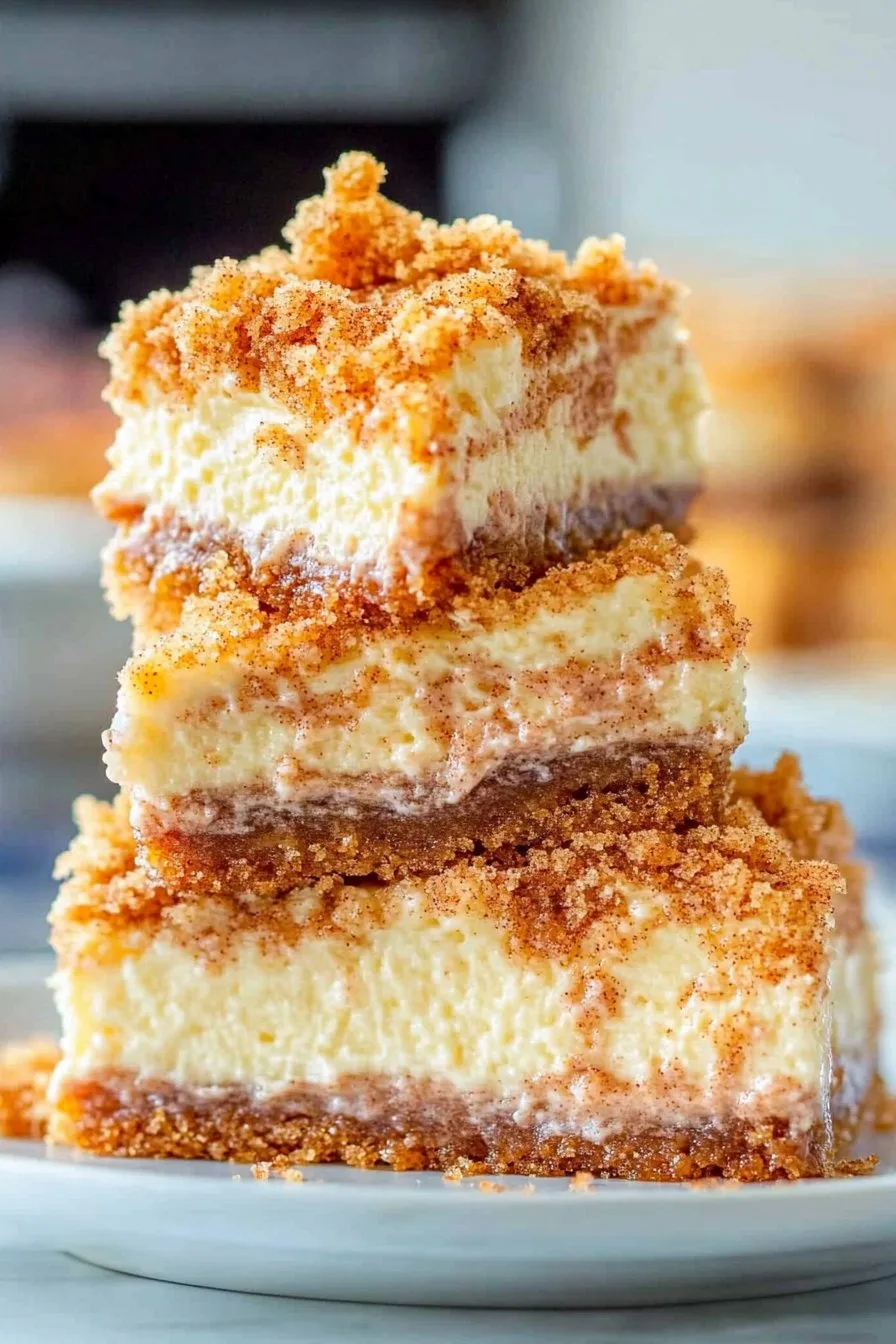
Hey there! So, let me tell you about this amazing concoction I whipped up last weekend—Blender Cinnamon Roll Cheesecake. I know, it sounds like a mouthful, but trust me, it’s worth every bite. The first time I made this, I was just trying to impress my in-laws (you know how that goes). But, to my surprise, this became the star of the show. It’s rich, creamy, and has just the right amount of cinnamon swirl goodness.
Why You’ll Love This!
I make this when I need a little pick-me-up, or when my family is craving something sweet and indulgent (which, let’s face it, is pretty often). My kids go nuts over it because who doesn’t love cheesecake and cinnamon rolls teamed up? Plus, it’s surprisingly simple to make—most of the magic happens in the blender. If I can do it with a toddler hanging off my leg, so can you!
Ingredients List
- 2 cups of crushed graham crackers (I sometimes use digestive biscuits instead)
- 1/2 cup unsalted butter, melted (my grandmother swears by salted, but whatever floats your boat)
- 16 oz cream cheese, softened
- 1 cup sugar
- 3 eggs
- 1 tsp vanilla extract
- 1/2 cup sour cream (or plain yogurt when I’m out)
- 1/4 cup milk
- 2 tsp ground cinnamon
- 1/4 cup brown sugar

Directions—Let’s Get Baking!
- Preheat your oven to 325°F (I always forget this step until halfway through!).
- Mix the crushed graham crackers with the melted butter. Press this mix into the bottom of a springform pan—don’t worry if it’s a bit crumbly. It happens.
- In your trusty blender, combine cream cheese, sugar, eggs, vanilla, sour cream, and milk. Blend until smooth. This is where I sneak a taste (for quality control, obviously).
- Pour half of the cheesecake mix over the crust. Then, sprinkle a mixture of cinnamon and brown sugar on top.
- Pour the remaining cheesecake batter over and use a knife to swirl gently through the batter, creating a marbled effect. Don’t stress too much about this part—the oven will do its magic.
- Bake for 45–50 mins until set but still a bit wobbly in the center. It will firm up as it cools (much like we all hope to).
Notes and Nibbles
I’ve learned through trial and error that this tastes even better the next day. The flavors just meld together beautifully. Also, don’t panic if there’s a little crack on top—it adds character!
Experimenting with Variations
I’ve tried adding some chopped pecans for an extra crunch, but the time I tried adding raisins, let’s just say that experiment wasn’t a fan favorite. Live and learn, right?
Equipment Essentials (Sort Of)
A blender is your best buddy here, but in a pinch, I’ve used a food processor. A springform pan is great, but if you don’t have one, get creative with a regular cake pan lined with parchment paper—just make sure to let it cool completely before removing it.
Storing Your Masterpiece
Keep it in the fridge for up to five days, though honestly, in my house, it never lasts more than a day! If you’re planning to share, you might want to make two.
Serving Suggestions
I love serving this cheesecake with a dollop of whipped cream and a sprinkle of extra cinnamon on top. My family likes to enjoy it with a side of vanilla ice cream, but you do you!
Pro Tips from My Kitchen
Don’t rush the cooling step. I once tried rushing this and regretted it because the cheesecake fell apart. Also, use room temperature ingredients—they blend so much more smoothly.
Questions I Often Get
Can I make this without a blender? Sure! A food processor works well, or even a good old-fashioned hand mixer.
Why is my cheesecake cracking? Don’t worry, it’s just a part of life, like learning to love your imperfections. Try letting it cool slowly in the oven with the door ajar.
Is it okay to freeze? Absolutely. Wrap it tightly and it should be good for up to two months.
For more inspiration, check out Food Network or AllRecipes for other cheesecake variations!