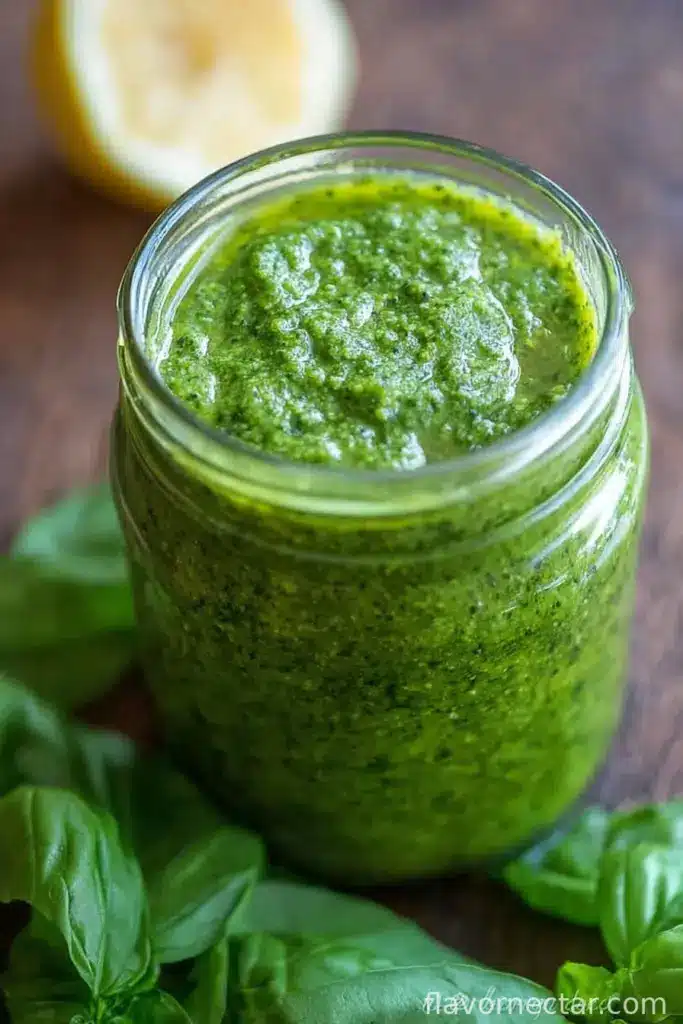
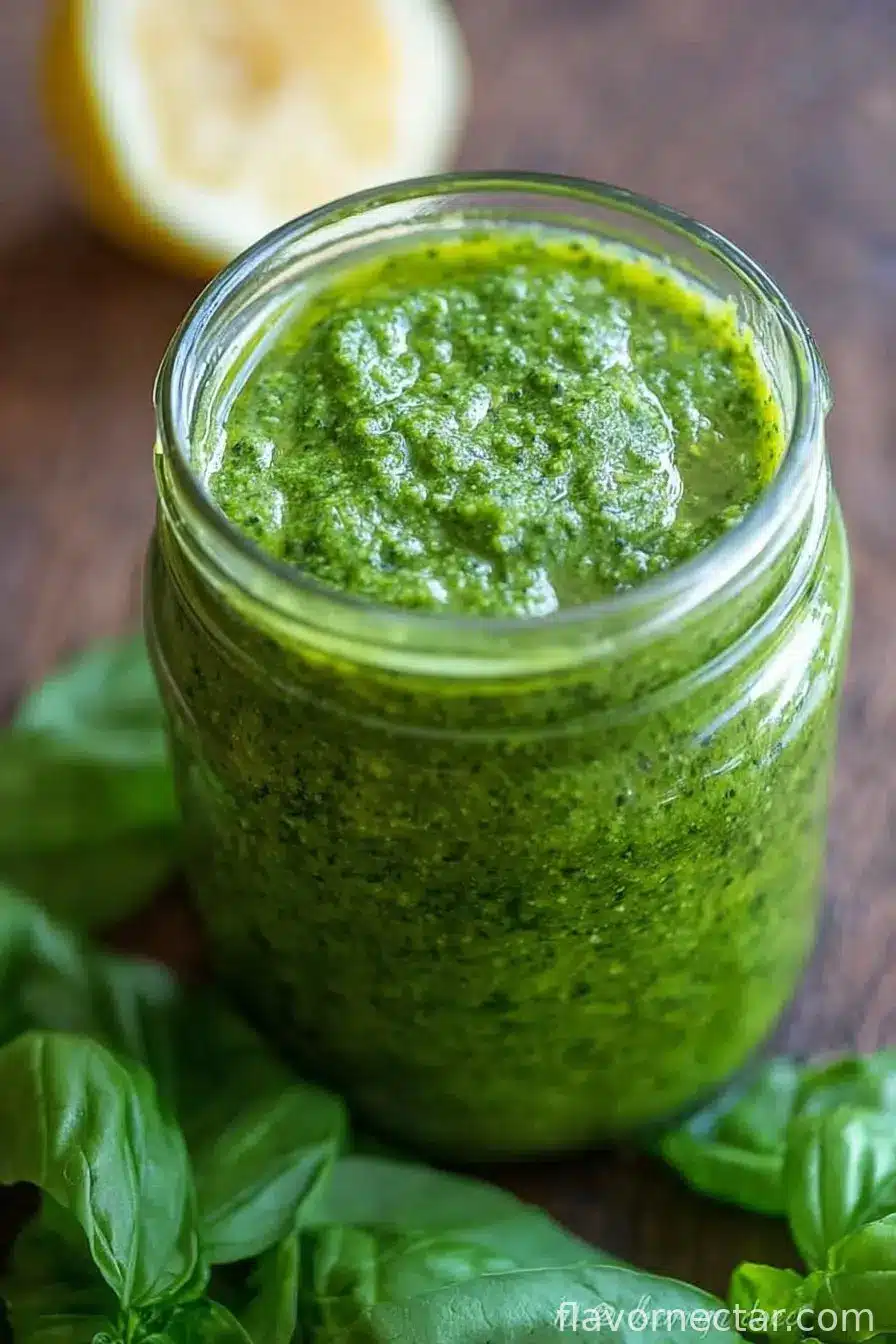
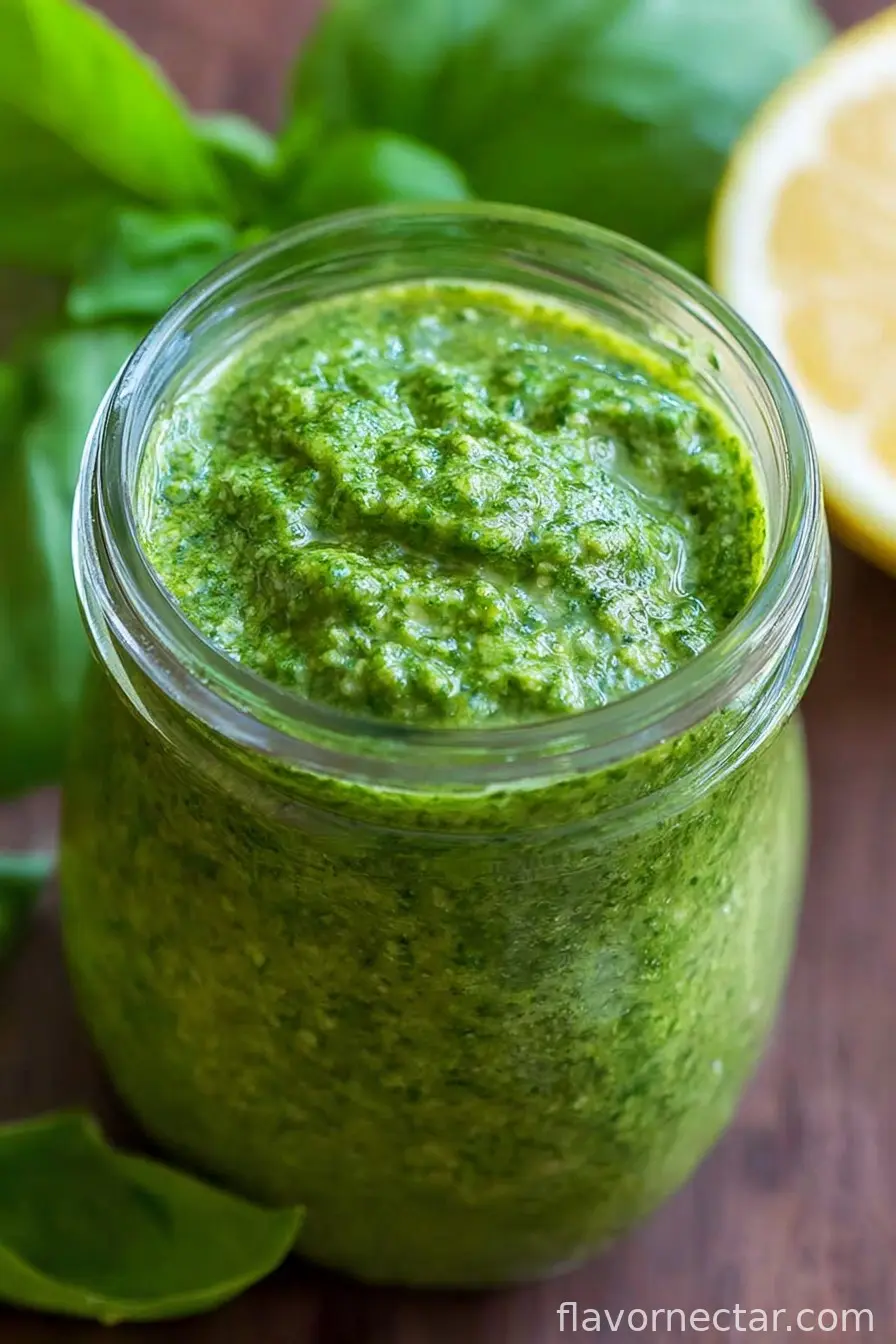
You know those recipes that practically beg for a lazy Sunday and some good music? That’s basil pesto for me. I still remember the first time I made it—I was a uni student, broke, and fed up with jarred sauce that always tasted vaguely of plastic (no offense, supermarket brands, but come on). I didn’t have a proper blender, so I used my grandma’s old mortar and pestle, which made me feel like one of those ancient Italian nonnas—minus the wisdom or the marble countertops.
Why I Keep Going Back to This
I whip up this basil pesto recipe whenever I want my kitchen to smell like summer. My family goes nuts (ha!) for this stuff because it tastes miles fresher than anything you’ll grab in a shop. Honestly, I make it when last night’s pasta needs rescuing (and, let’s be real, sometimes to avoid real dinner prep), or when I just want something green in my life. The bit I secretly love most? Licking the spatula after blending—please tell me that’s not just me.
Here’s What You’ll Need (With Some Wiggle Room)
- 2 big handfuls of fresh basil leaves (I rarely measure—just grab what looks good… Oh, and if you run out, baby spinach pads it nicely!)
- 2 small cloves garlic (or one fat one; depends if you’re feeling punchy or cautious around vampires)
- 1/4 cup pine nuts (but if they cost the moon, I’ve definitely subbed in walnuts, even sunflower seeds once—don’t @ me)
- 1/2 cup freshly grated Parmesan cheese (Grandma always insisted on Parmigiano Reggiano, but any block-style Parmesan does the trick in reality.)
- 1/2 cup extra-virgin olive oil (I aim for the greenest, fruitiest bottle, but cheap stuff has bailed me out more than once)
- 1/2 teaspoon salt (or just a fat pinch if you’re feeling reckless)
- 1/4 teaspoon pepper (technically optional—sometimes I forget altogether)
How I Throw It Together
- First up: Toast those pine nuts in a dry pan over medium heat. Keep an eye out—they go from golden to burnt faster than I can say ‘whoops’. Set aside. This is where I usually sneak a couple, for quality control you know.
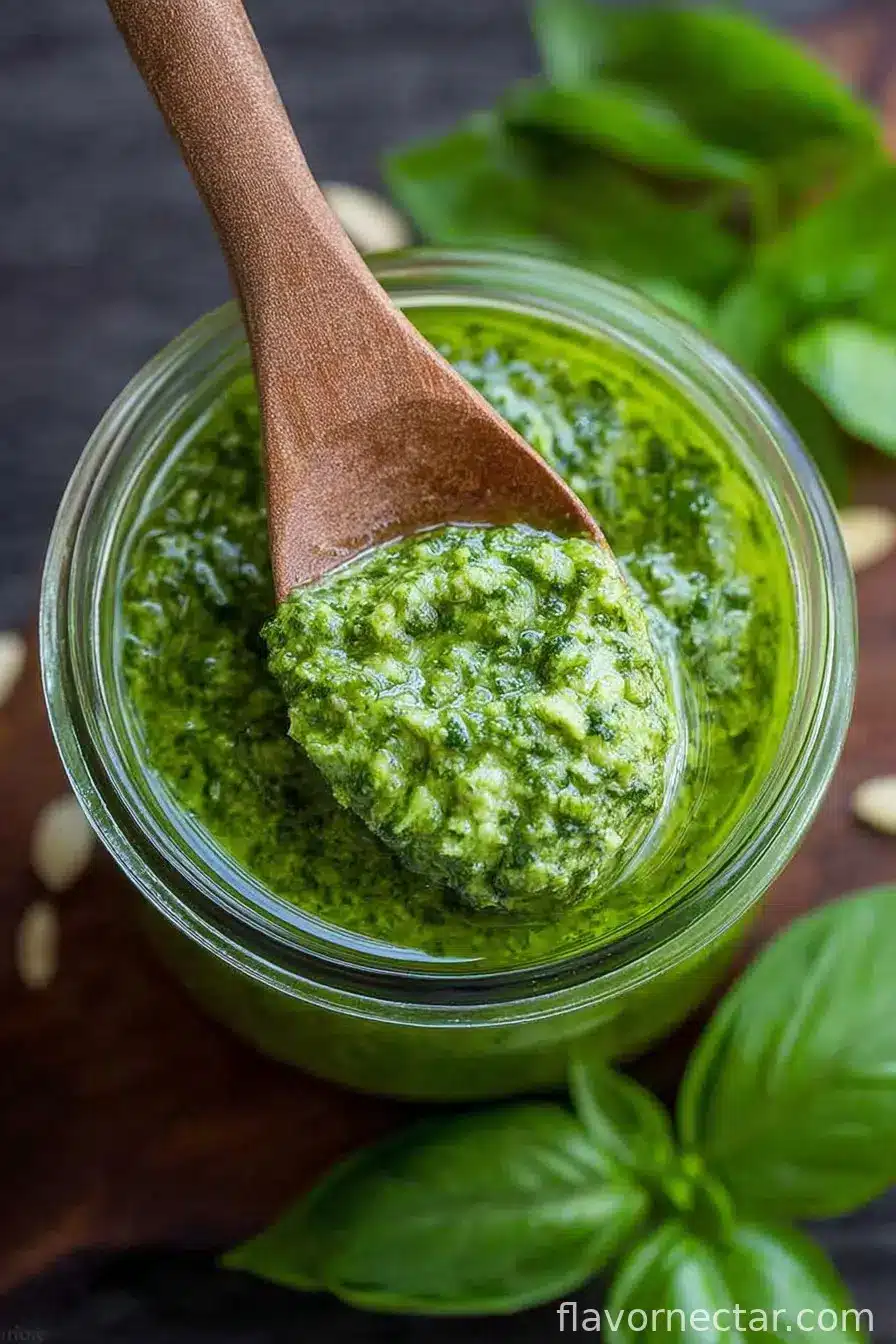
- In a food processor (or with some elbow grease in a mortar and pestle), toss in basil, garlic, and toasted nuts. Pulse a few times till roughly chopped—not too fine at first. Actually, I find it works better if the nuts are still a bit chunky at this stage.
- Sprinkle in the Parmesan, plus your salt and pepper. Pulse again. It’ll look a bit thick and scruffy right now—don’t worry if it looks a bit weird at this stage; it always does!
- While the processor’s on, drizzle in the olive oil slowly. Keep blending till it’s creamy and just a little textured. Not watery, not stiff as concrete. (I sometimes pause to scrape the sides.)
- Taste! Want more cheese? Chuck it in. Too thick? Splash of oil or, honestly, a teaspoon of water works. Adjust salt and pepper, too. There you go, you’ve just made pesto from scratch.
Little Notes from My Trials and Tribulations
- If your basil’s wilting, stick it in cold water for ten minutes before using. Learned this the hard way when mine looked properly sorry for itself.
- I once went overboard with garlic—bad plan if you’re seeing anyone later.
- If using pre-grated cheese, try to avoid the dusty supermarket kind. It clumps and doesn’t melt in well (but if that’s what you have, it’s honestly no disaster).
A Few of My Twists (Some Better Than Others)
- Tried swapping in arugula once—makes a much spicier pesto, but not to everyone’s taste (my sister still won’t let me forget it).
- Lemon zest stirred in at the end brightens things up, especially if basil is a bit tired.
- I attempted it with nutritional yeast when my vegan mate came over. It works! But not quite as creamy as cheese.
The Tools—Or What I Use When My Blender is in the Sink
Honestly, a food processor is the dream, but a mortar and pestle is what gives that rustic, chunky vibe. If you’ve only got a stick blender? Use a jar—less washing up, more arm work. The other day, I mashed it all together in a big bowl with a potato masher… not elegant, but it sorta worked!
How To Store It (Not That You’ll Have Any Left)
Pop it in a clean jar, cover with a thin slick of oil to keep it green, and refrigerate. It’ll last a week, though honestly, in my house it never survives more than a day! You can freeze it in an ice cube tray if you’re the organized type (I try every year, never quite manage).
How We Eat It (Sometimes On a Spoon, Don’t Judge Me)
- Tossed through hot pasta (classic, right?)
- Smeared on toast, especially if you’ve got a rogue tomato rolling around the counter
- Drizzled over chicken, fish, or even a bowl of roasted veggies
- My cousin dips pizza crust in it. Slightly odd, but not bad!
Stuff I Wish I’d Known (So You Don’t Have to Learn the Hard Way)
- Don’t rush to blend everything all at once. I did this once, ended up with green baby food.
- Adding too much oil too quickly can make it separate; pour slow, be patient (which is rich coming form me!)
- Wash the basil really well—the grit can ruin the batch and your dental work.
Burning Questions—Answered Over Many Dinners
- What’s the best substitute for pine nuts? Easily walnuts. I’d say pecans in a pinch, but they make things sweeter—a bit odd, but not tragic.
- Can I make this vegan? Yes! Just ditch the cheese or use nutritional yeast. Texture isn’t quite the same, but still tasty.
- I have no food processor—am I doomed? Not at all. Mortar and pestle, as I said, is totally traditional. Or bash it out with the bottom of a mug in a bowl (kitchen hack level: student).
- My pesto turned brown! Why? That’s just the basil oxidizing—harmless, but next time press plastic wrap onto the surface, or top with more oil.
- Can I double the recipe? Sure, but leave yourself room to blend. My blender once overflowed… not repeating that saga.
Anyway! There you have it. Basil pesto that’s as forgiving as your favorite old hoodie and, on most days, twice as comforting. The only danger is once you start making it yourself, the stuff in the jar may never cut it again. Don’t say I didn’t warn you.
Ingredients
- 2 big handfuls of fresh basil leaves (I rarely measure—just grab what looks good… Oh, and if you run out, baby spinach pads it nicely!)
- 2 small cloves garlic (or one fat one; depends if you’re feeling punchy or cautious around vampires)
- 1/4 cup pine nuts (but if they cost the moon, I’ve definitely subbed in walnuts, even sunflower seeds once—don’t @ me)
- 1/2 cup freshly grated Parmesan cheese (Grandma always insisted on Parmigiano Reggiano, but any block-style Parmesan does the trick in reality.)
- 1/2 cup extra-virgin olive oil (I aim for the greenest, fruitiest bottle, but cheap stuff has bailed me out more than once)
- 1/2 teaspoon salt (or just a fat pinch if you’re feeling reckless)
- 1/4 teaspoon pepper (technically optional—sometimes I forget altogether)
Instructions
-
1First up: Toast those pine nuts in a dry pan over medium heat. Keep an eye out—they go from golden to burnt faster than I can say ‘whoops’. Set aside. This is where I usually sneak a couple, for quality control you know.
-
2In a food processor (or with some elbow grease in a mortar and pestle), toss in basil, garlic, and toasted nuts. Pulse a few times till roughly chopped—not too fine at first. Actually, I find it works better if the nuts are still a bit chunky at this stage.
-
3Sprinkle in the Parmesan, plus your salt and pepper. Pulse again. It’ll look a bit thick and scruffy right now—don’t worry if it looks a bit weird at this stage; it always does!
-
4While the processor’s on, drizzle in the olive oil slowly. Keep blending till it’s creamy and just a little textured. Not watery, not stiff as concrete. (I sometimes pause to scrape the sides.)
-
5Taste! Want more cheese? Chuck it in. Too thick? Splash of oil or, honestly, a teaspoon of water works. Adjust salt and pepper, too. There you go, you’ve just made pesto from scratch.
CLICK FOR NUTRITION INFO
↑
Approximate Information for One Serving
Serving Size:
1 serving
Calories:
310 caloriescal
Protein:
6 gg
Fat:
32 gg
Saturated Fat:
0g
Trans Fat:
0g
Cholesterol:
0mg
Sodium:
0mg
Potassium:
0mg
Total Carbs:
3 gg
Fiber:
0g
Sugar:
0g
Net Carbs:
0g
Vitamin A:
0
Vitamin C:
0mg
Calcium:
0mg
Iron:
0mg
Nutrition Disclaimers
Number of total servings shown is approximate. Actual number of servings will depend on your preferred portion sizes.
Nutritional values shown are general guidelines and reflect information for 1 serving using the ingredients listed, not including any optional ingredients. Actual macros may vary slightly depending on specific brands and types of ingredients used.
To determine the weight of one serving, prepare the recipe as instructed. Weigh the finished recipe, then divide the weight of the finished recipe (not including the weight of the container the food is in) by the desired number of servings. Result will be the weight of one serving.
Did you make this recipe?
Please consider Pinning it!