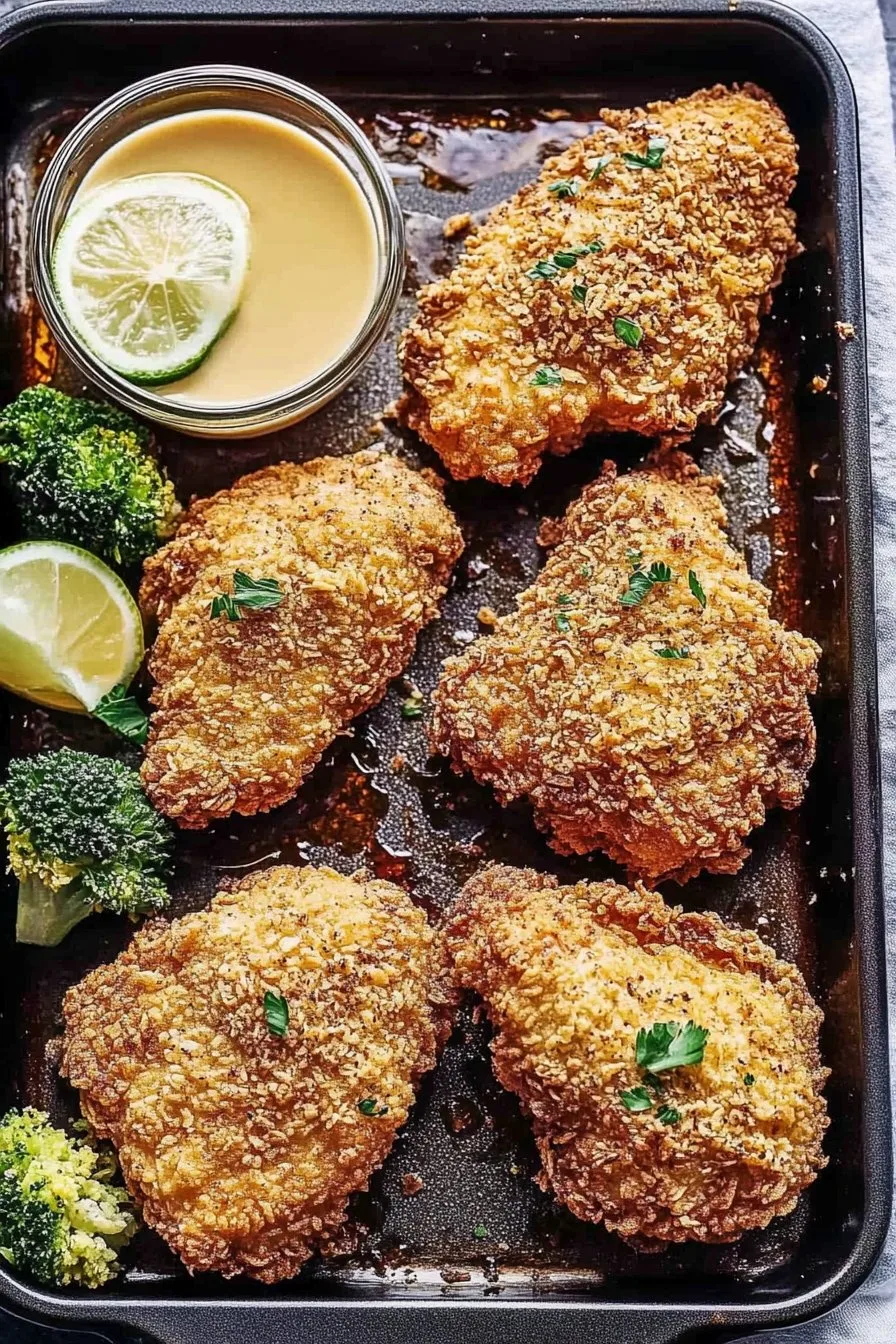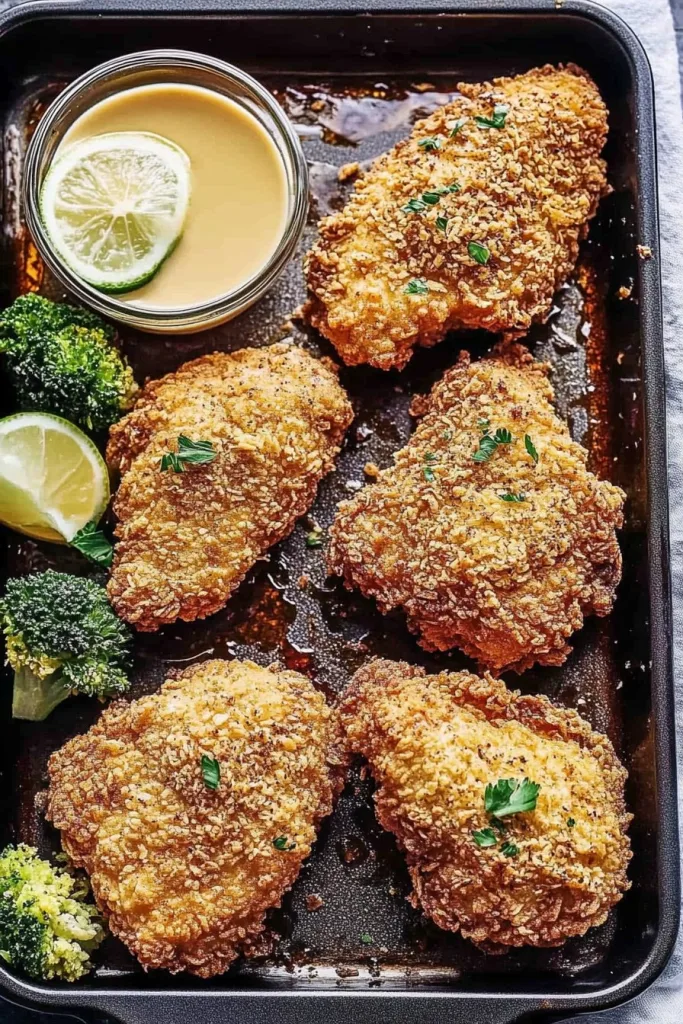
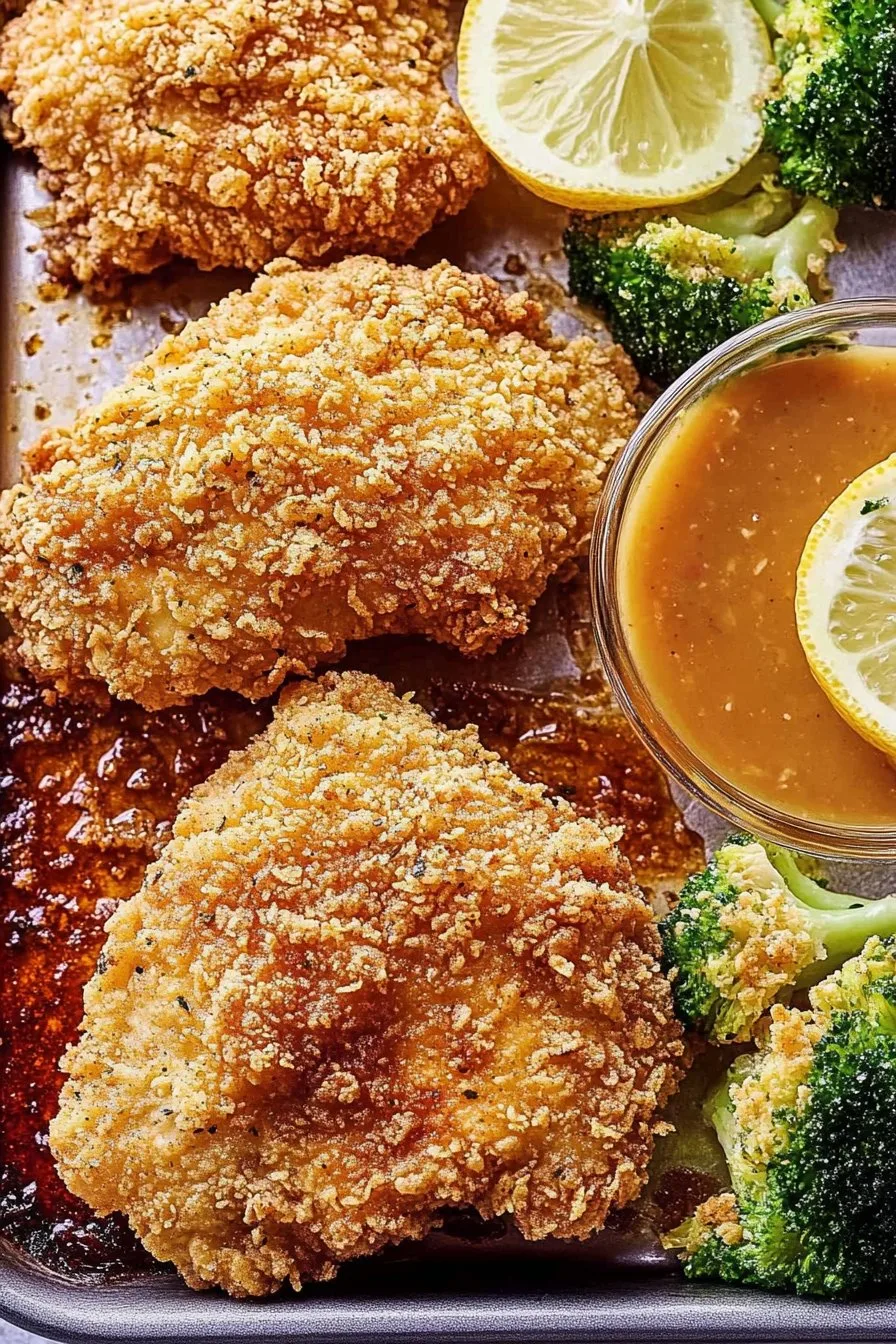
Hey there, friend! So, you know how everyone’s been trying to eat a bit healthier these days without giving up their favorite comfort foods? Well, I’ve been on a quest to satisfy my fried chicken cravings without the guilt. Enter: baked fried chicken. Sounds a bit contradictory, right? Trust me, it’s the best of both worlds. I first stumbled upon this method because I was tired of my kitchen smelling like a fast-food joint for days after frying. Plus, let’s be real, who wants to clean up all that oil splatter?
Why You’ll Love This Dish
I whip this up whenever my family gets that fried chicken itch but I’m not in the mood for a greasy mess. My kids go bonkers for it (they’re pretty picky, so that’s saying something!). Plus, it’s much easier on the waistline. I mean, we could all use a little less grease, right? Oh, and a little secret: it’s actually more foolproof than frying. Less chance of burning the house down, which is always a win.
What You’ll Need
- Chicken thighs or drumsticks (around 2 lbs) — I’ve tried it with breasts, but thighs stay juicier.
- 1 cup of buttermilk — or just add a tablespoon of vinegar to a cup of milk if you’re out.
- 1 cup flour
- 1 teaspoon paprika
- 1 teaspoon garlic powder
- 1/2 teaspoon salt
- 1/2 teaspoon pepper
- Olive oil spray — a lifesaver for that crispy finish.
My grandmother swore by brand-name flour, but honestly, any kind works fine. And if you’re running low, substitute with half cornstarch.
How to Make It
- First up, marinate your chicken in the buttermilk. This helps tenderize it. Ideally, let it sit overnight, but if you’re like me and forget these things, a couple of hours will do.
- Preheat your oven to 400°F (or about as hot as it gets if your oven’s a stubborn old beast like mine).
- Mix flour, paprika, garlic powder, salt, and pepper in a large bowl. Here’s where I usually sneak a taste — shh, don’t tell.
- Take each piece of chicken from the buttermilk, letting excess drip off, then coat it in the flour mixture. Give it a good shake to get rid of extra flour.
- Place the chicken on a baking rack set over a baking sheet. This setup helps air circulate around the chicken for even cooking.
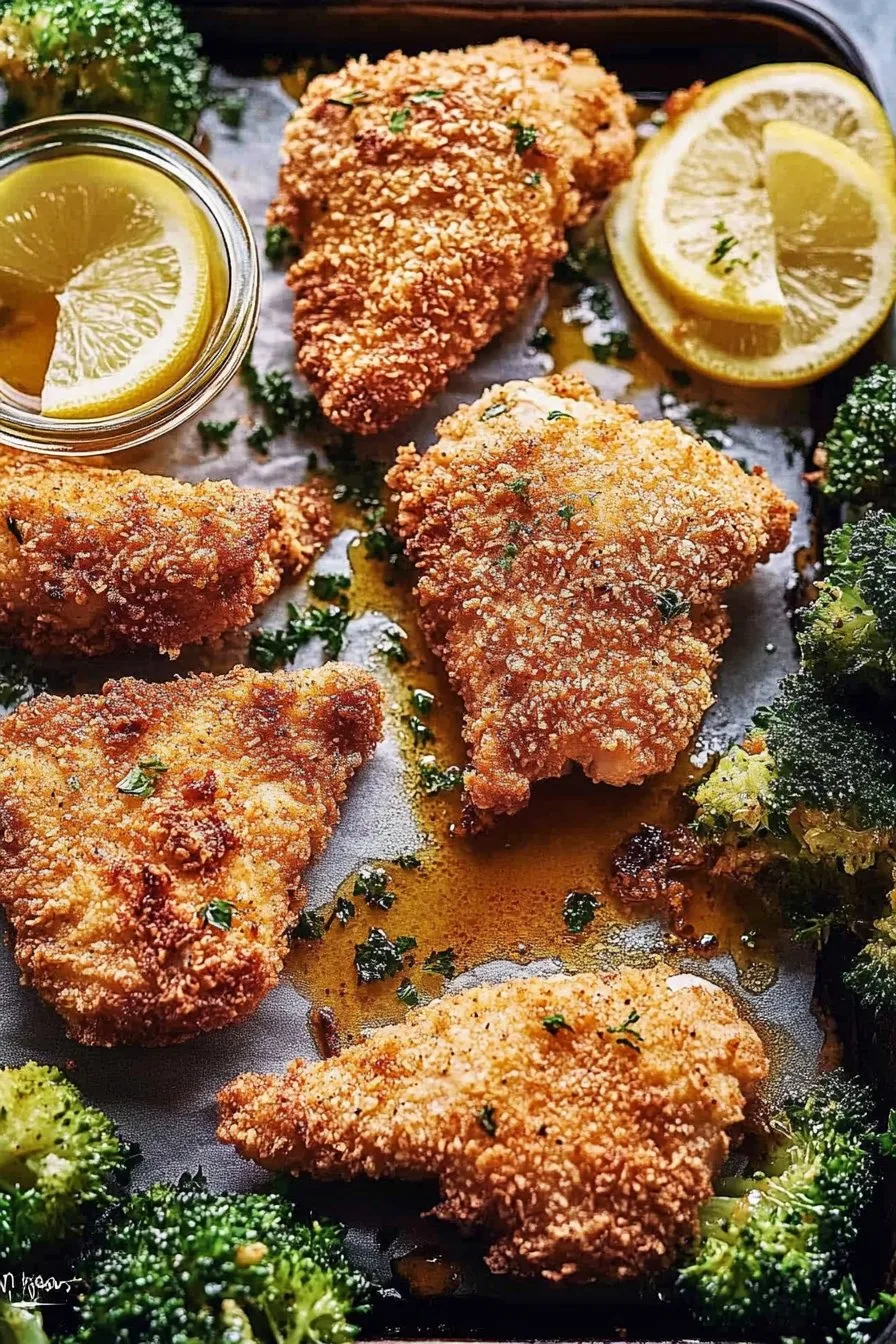
- Spray the chicken generously with olive oil spray. I mean, don’t be shy — it’s what makes the magic happen!
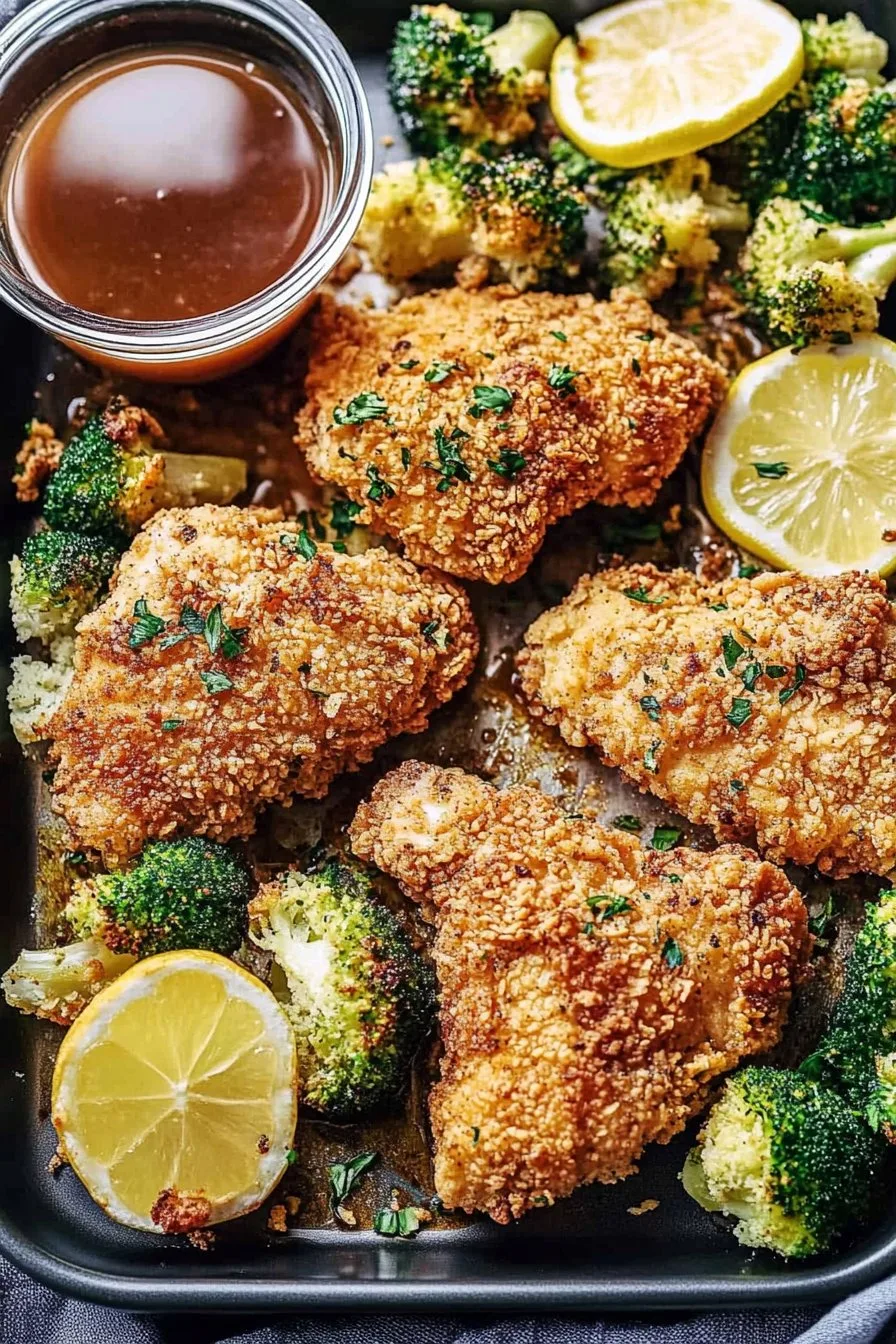
- Bake for about 35-40 minutes until golden brown and crispy. You want the internal temp to hit 165°F, but if you’re eyeballing it, just make sure the juices run clear when pierced.
Don’t worry if it looks kind of anemic halfway through baking; patience is key here!
Some Handy Notes
Once, I tried skipping the oil spray, thinking it’d be healthier. Big mistake. The chicken was dry as a bone. Also, if your chicken isn’t as crispy as you’d like, try moving it to the oven’s top rack for the last few minutes.
Variations I’ve Played With
Sometimes I swap out paprika for cayenne for a bit of a kick. One time, I even tried a lemon zest and rosemary version — didn’t quite hit the spot, but hey, it’s worth experimenting!
Tools You Might Need
No baking rack? No problem. Just flip another baking sheet upside down and rest your chicken on that. It works in a pinch!
Got Leftovers?
If you somehow have leftovers (which rarely happens in my house), store them in an airtight container in the fridge for up to three days. They reheat pretty well in the oven. Honestly, though, they never last more than a day around here!
What to Serve It With
My personal favorite? Mashed potatoes and coleslaw. But sometimes, I just throw together a quick garden salad when I’m feeling virtuous. You do you!
Lessons Learned
Once, I tried to rush the marinating process and regretted it. The chicken just wasn’t as flavorful. Trust me, let it soak for as long as you can.
Questions I Keep Hearing
Can I use a different kind of oil? Sure, but olive oil spray gives the best crisp. I tried coconut oil once, but the flavor was a bit too strong for my liking.
What if my chicken isn’t browning? Give it a couple more minutes on the top rack or a quick broil if you’re desperate.
Is the buttermilk essential? Well, yes and no. It really helps with the tenderness, but you can skip it in a pinch and just use milk.
Want more baking tips? Check out Serious Eats for handy tricks or Food Network if you’re feeling adventurous.