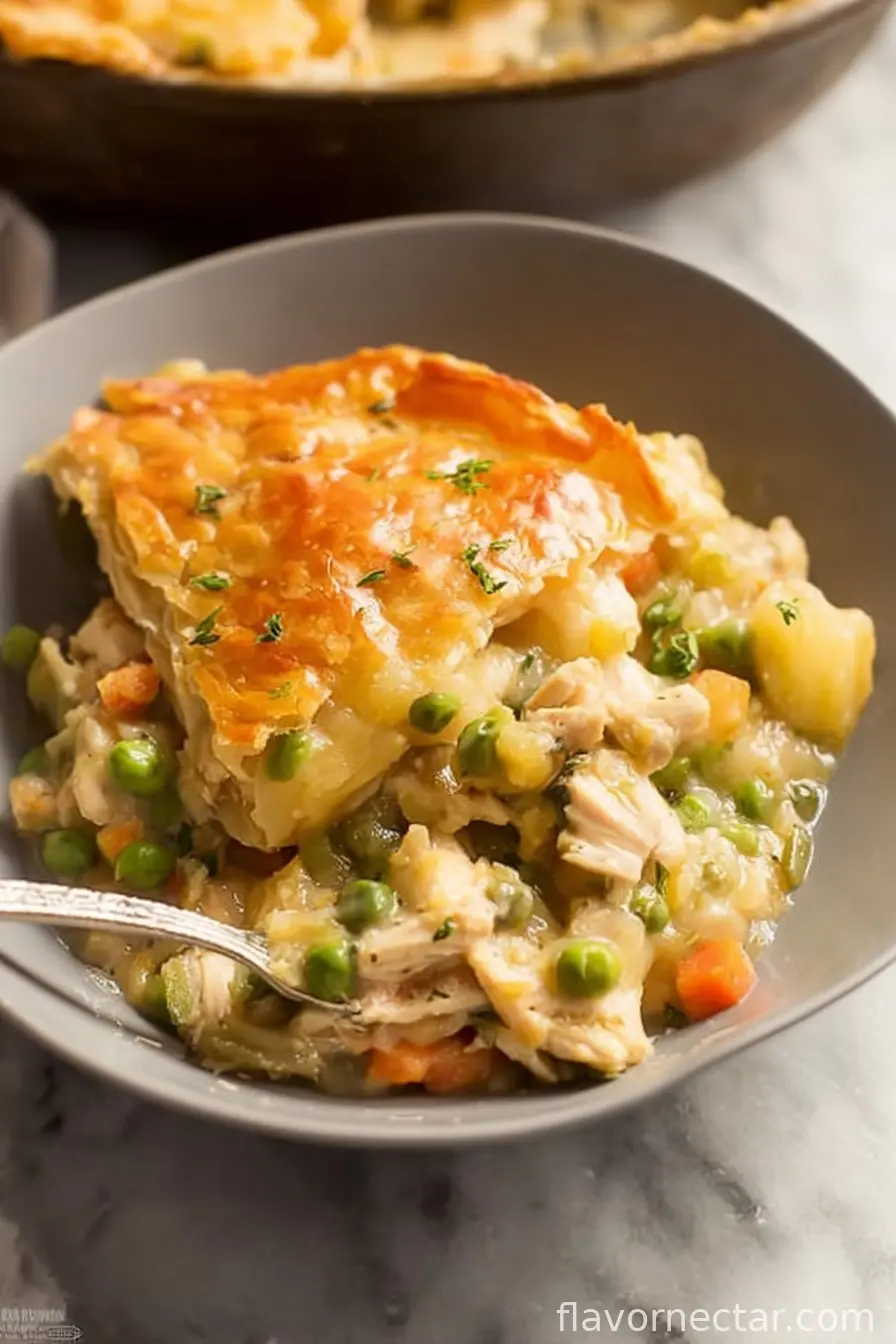
Let’s Talk Turkey (Pot Pie)
I’ll be honest—turkey pot pie isn’t just my comfort food. It’s the reason I look forward to turkey leftovers, especially after holidays. I remember once (back when I tried to impress my in-laws) making a turkey pot pie from scratch, crust and all. It… didn’t exactly win awards, unless there was a category for “Most Unexpectedly Crunchy Crust.” Now I know better, but I still get that warm fuzzy feeling when this golden beauty comes out of the oven. Oh, and if you ever see a dog eyeing the counter while this cools—yeah, I know that look too.
Why You’ll Love This Pie (Even If You’re Not a Pie Person)
I make this when I want the house to smell like I’m about to win a bake-off (which, to be clear, never happens, but a person can dream). My family goes crazy for this because it’s basically turkey dinner in dessert’s clothing. Creamy, rich, absolutely jam-packed with veggies and tender turkey. Plus—call me lazy if you want—but it’s the most fun way to use up leftovers. I used to dread the whole homemade crust thing but honestly, no one’s ever noticed when I use store-bought. In fact, my uncle once asked if it was from a bakery. That’s the dream, huh?
What You’ll Need (A Few Thoughts on Substitutions)
- 2 cups cooked turkey, chopped (leftover roast is great, but I’ve even used a rotisserie chicken in a pinch – don’t tell!)
- 1 onion, diced (yellow or white, or skip it if raw onions frighten you – I won’t judge)
- 2 carrots, peeled & chopped (or a handful of baby carrots if that’s all you’ve got)
- 2 stalks celery, chopped (sometimes I swap in frozen peas if I’m celery-less)
- 1 cup frozen peas (optional, but they add that pop of green—sometimes I use green beans, whatever’s rolling around in the freezer)
- 3 tablespoons butter (honestly, margarine works but don’t tell my grandmother)
- 3 tablespoons all-purpose flour (or plain flour for my UK pals; gluten-free blend does all right here too)
- 2 cups chicken stock (turkey stock if you’ve got the energy, or even bouillon dissolved in hot water – I won’t tell if you don’t)
- 1/2 cup milk (whole or 2%; I haven’t tried oat milk but, maybe?)
- Salt & black pepper (to taste, and don’t be shy)
- 1/2 teaspoon dried thyme or mixed herbs (or just some fresh parsley if that’s more your style)
- 1 prepared pie crust (top only, puff pastry works too; sometimes I cobble bits together… rustic, right?)
- 1 egg, beaten, for brushing (forget this if you’re not feeling fancy)
The Actual Doing Part (Directions)
- Preheat your oven to 400°F (200°C). No, you don’t have to be exact—my oven’s wonky too.
- In a big skillet or saucepan, melt the butter over medium heat. Toss in your chopped onion, carrot, and celery. Cook until softish (about 5 minutes)—this is when I get impatient and throw in an extra knob of butter sometimes.
- Stir in the flour (it’ll look a mess at first, don’t stress). Cook, stirring, for about a minute so it doesn’t taste, well, floury.
- Slowly (seriously, don’t dump it all at once) add the chicken stock, stirring as you go—then pour in the milk. Keep stirring until it thickens up & looks creamy, maybe 4–5 minutes. Don’t worry if it’s lumpy; it sorts itself out. Usually.
- Dump in the turkey, peas, and those herbs. Season with salt and pepper (I always taste it here and sometimes need to add more salt—taste buds don’t lie!). Let it simmer for a couple minutes.
- Pour the filling into a deep pie dish or regular baking dish (whatever fits, honestly, I’ve even used a lasagna pan when desperate).
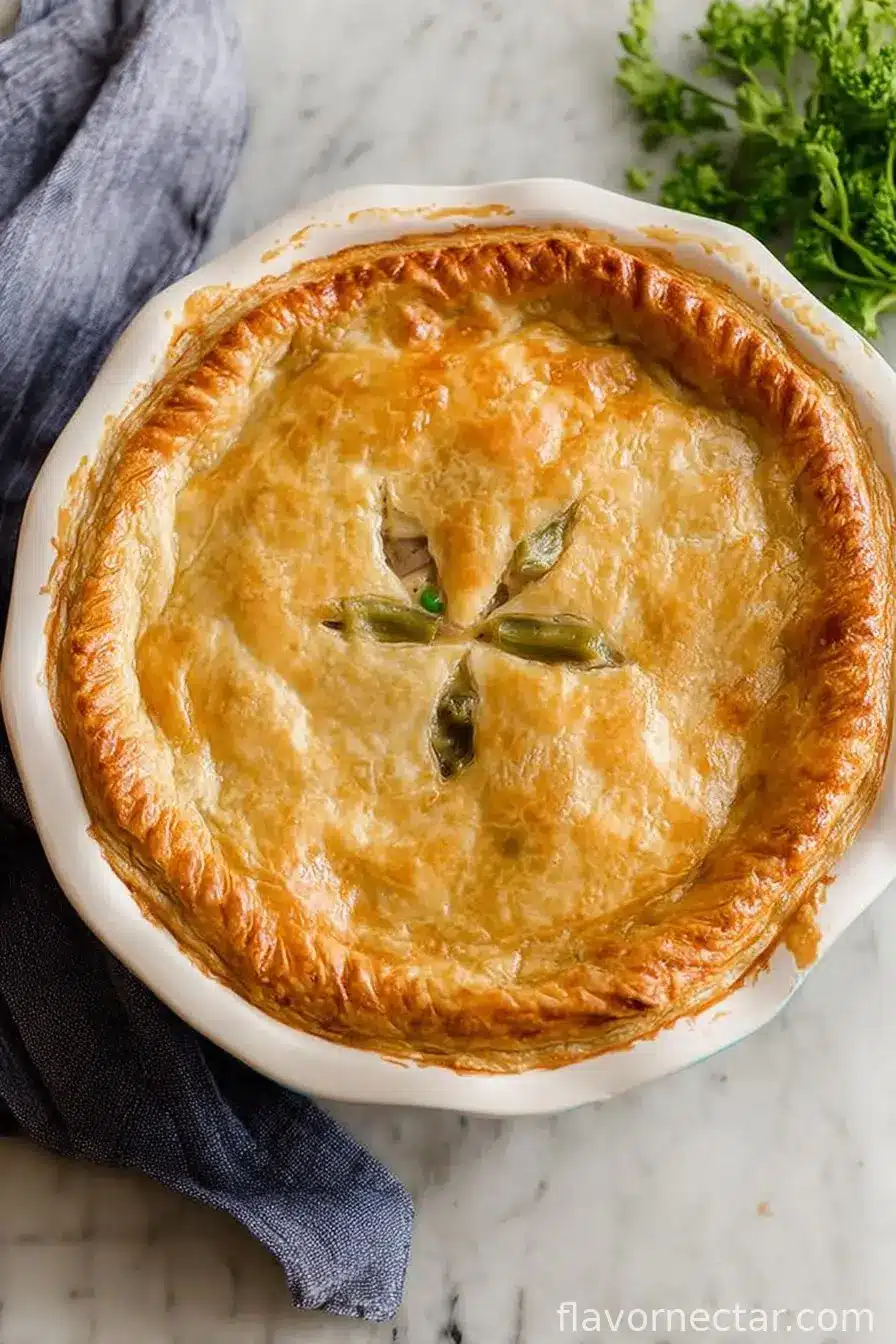
- Top with your pie crust or puff pastry. If it’s a bit wonky on one edge, just call it artisanal. Trim or crimp the edges—use a fork or your fingers, either works. Cut a slit or two for steam to escape (pro tip: make a little turkey shape if you want to show off).
- Brush the top with beaten egg (skip if you’re in a rush—it’s mainly for shine).
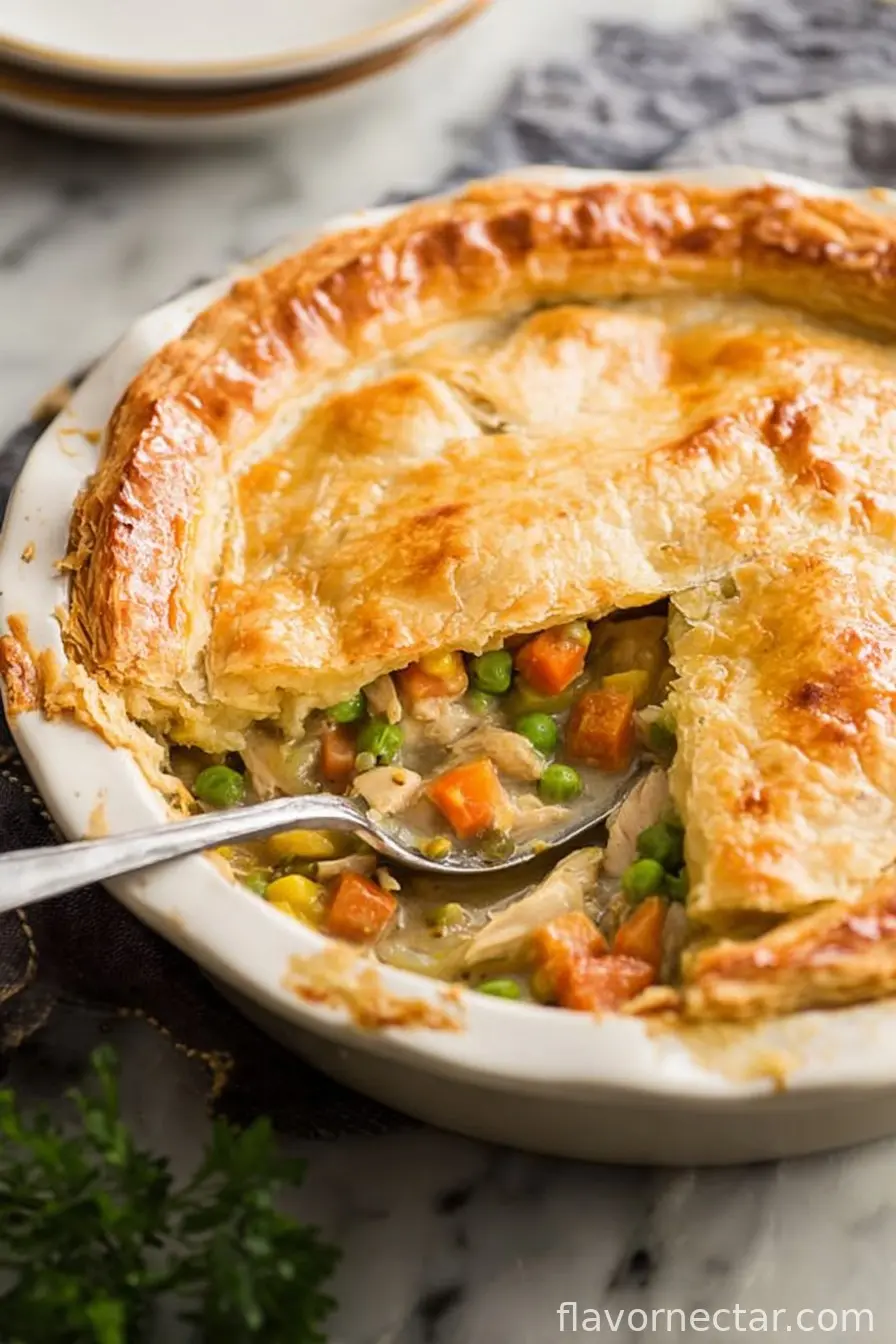
- Bake 25-30 minutes, until the crust’s golden and some bubbly filling leaks at the side—that’s the good stuff. If it starts browning too soon, just tent it with foil (or, hopfully, remember before it turns dark brown. Ask me how I know!).
- Let cool 10-15 mins before diving in. Trust me, mouth burns are not the way to go—though the aroma makes it seriously hard to wait.
Some Notes (Lessons Learned from the Trenches)
- Actually, I find it works better if you let the filling cool a bit before topping with pastry—less soggy, kinda worth it.
- If your pie overflows, don’t stress; just pop a baking sheet underneath. Or just scrub the oven later like I usually do.
- I used to think only homemade crust was worthy, but honestly, no regrets on the store-bought—less stress, and more time for, you know, life stuff.
Variations I’ve Tried (and a Fail or Two)
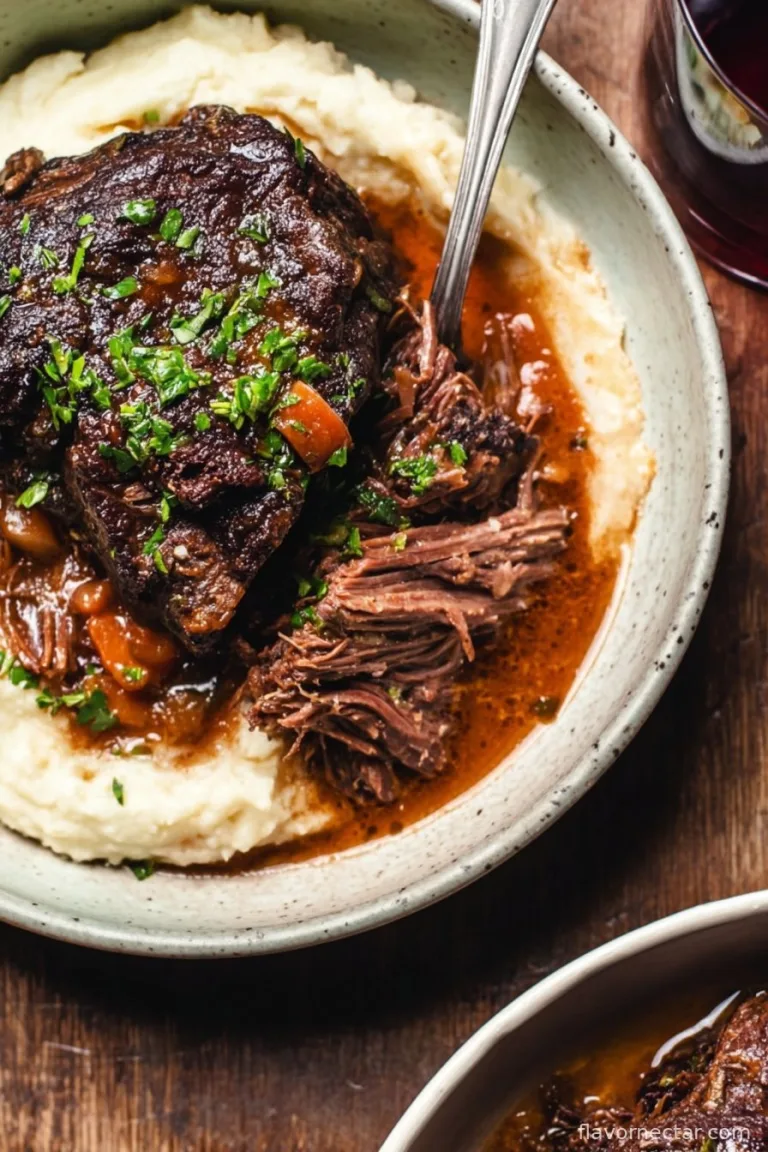
- Swapped turkey for cooked ham—actually, surprisingly tasty, though a bit saltier.
- Added mushrooms once; nobody complained (except my cousin, but he’s Team NO Fungi, what can ya do).
- Tried using sweet potatoes in place of regular carrots once—came out a bit too sweet for my taste, but hey, experimentation keeps things spicy?
Equipment (Don’t Stress)
You’ll want a pie dish, but I’ve done this in a regular 8×8 baking pan when all the “real” dishes were in use. And if you don’t have a pastry brush, just use the back of a spoon to spread the egg—nobody notices!
Storage (If You Have Any Left…)
You can keep leftovers (ha!) covered in the fridge up to three days. Or reheat slices in the oven or microwave. Though honestly, in my house it never lasts more than a day! I think it tastes even better the next day—unless someone eats it straight from the fridge with a fork (guilty).
What to Serve With It (Or Just Eat the Pie, Honestly)
We usually just do a quick green salad and maybe cranberry sauce (leftover from Thanksgiving), but occasionally I serve it with applesauce. No idea why. Maybe it’s just a family thing?
Real Life Pro Tips (Learned the Hard Way)
- I once tried rushing the cooling time before slicing and—yeah, soup pie. Give it the extra 10 minutes, trust me.
- Don’t forget the little steam slits—otherwise, you’ll have a crust balloon, which is kind of fun to poke but a little odd-looking.
- Actually, buying pre-chopped frozen veggies makes this almost too easy—but then where’s the adventure?
Turkey Pot Pie FAQ (Real Questions from Real People)
- Can I make this ahead? Actually, yes—assemble it all up to the crust, pop it in the fridge (wrapped up), then bake when ready. I wouldn’t freeze with the crust on, though; it gets weirdly soggy.
- What if I don’t have turkey? No stress. chicken works perfectly, and I’ve even tried leftover roast veggies as a totally veggie version—though honestly, I did miss the meat flavor a bit.
- Can I use puff pastry on the bottom? You could, but it might stay a touch gummy unless you blind-bake it first. I usually don’t bother—top crust is plenty.
- My crust is cracking, what’d I do wrong? Sometimes it’s too cold, sometimes it’s just moody dough. I just patch it up—think patchwork quilt, but tastier.
- Is it supposed to bubble over? Apparently yes; it always does. That’s why God made baking trays. Or, you know, elbow grease.
Oh, and by the way, if you take a photo of your pot pie and it’s not Instagram-pretty—welcome to my world. The taste makes up for the looks, every single time.
Ingredients
- 2 cups cooked turkey, chopped
- 1 onion, diced
- 2 carrots, peeled & chopped
- 2 stalks celery, chopped
- 1 cup frozen peas (optional)
- 3 tablespoons butter
- 3 tablespoons all-purpose flour
- 2 cups chicken stock
- 1/2 cup milk
- Salt & black pepper, to taste
- 1/2 teaspoon dried thyme or mixed herbs
- 1 prepared pie crust (top only, or puff pastry)
- 1 egg, beaten (for brushing, optional)
Instructions
-
1Preheat your oven to 400°F (200°C). No, you don’t have to be exact—my oven’s wonky too.
-
2In a big skillet or saucepan, melt the butter over medium heat. Toss in your chopped onion, carrot, and celery. Cook until softish (about 5 minutes)—this is when I get impatient and throw in an extra knob of butter sometimes.
-
3Stir in the flour (it’ll look a mess at first, don’t stress). Cook, stirring, for about a minute so it doesn’t taste, well, floury.
-
4Slowly (seriously, don’t dump it all at once) add the chicken stock, stirring as you go—then pour in the milk. Keep stirring until it thickens up & looks creamy, maybe 4–5 minutes. Don’t worry if it’s lumpy; it sorts itself out. Usually.
-
5Dump in the turkey, peas, and those herbs. Season with salt and pepper (I always taste it here and sometimes need to add more salt—taste buds don’t lie!). Let it simmer for a couple minutes.
-
6Pour the filling into a deep pie dish or regular baking dish (whatever fits, honestly, I’ve even used a lasagna pan when desperate).
-
7Top with your pie crust or puff pastry. If it’s a bit wonky on one edge, just call it artisanal. Trim or crimp the edges—use a fork or your fingers, either works. Cut a slit or two for steam to escape (pro tip: make a little turkey shape if you want to show off).
-
8Brush the top with beaten egg (skip if you’re in a rush—it’s mainly for shine).
-
9Bake 25-30 minutes, until the crust’s golden and some bubbly filling leaks at the side—that’s the good stuff. If it starts browning too soon, just tent it with foil (or, hopfully, remember before it turns dark brown. Ask me how I know!).
-
10Let cool 10-15 mins before diving in. Trust me, mouth burns are not the way to go—though the aroma makes it seriously hard to wait.
CLICK FOR NUTRITION INFO
↑
Approximate Information for One Serving
Serving Size:
1 serving
Calories:
410 caloriescal
Protein:
21gg
Fat:
23gg
Saturated Fat:
0g
Trans Fat:
0g
Cholesterol:
0mg
Sodium:
0mg
Potassium:
0mg
Total Carbs:
32gg
Fiber:
0g
Sugar:
0g
Net Carbs:
0g
Vitamin A:
0
Vitamin C:
0mg
Calcium:
0mg
Iron:
0mg
Nutrition Disclaimers
Number of total servings shown is approximate. Actual number of servings will depend on your preferred portion sizes.
Nutritional values shown are general guidelines and reflect information for 1 serving using the ingredients listed, not including any optional ingredients. Actual macros may vary slightly depending on specific brands and types of ingredients used.
To determine the weight of one serving, prepare the recipe as instructed. Weigh the finished recipe, then divide the weight of the finished recipe (not including the weight of the container the food is in) by the desired number of servings. Result will be the weight of one serving.
Did you make this recipe?
Please consider Pinning it!