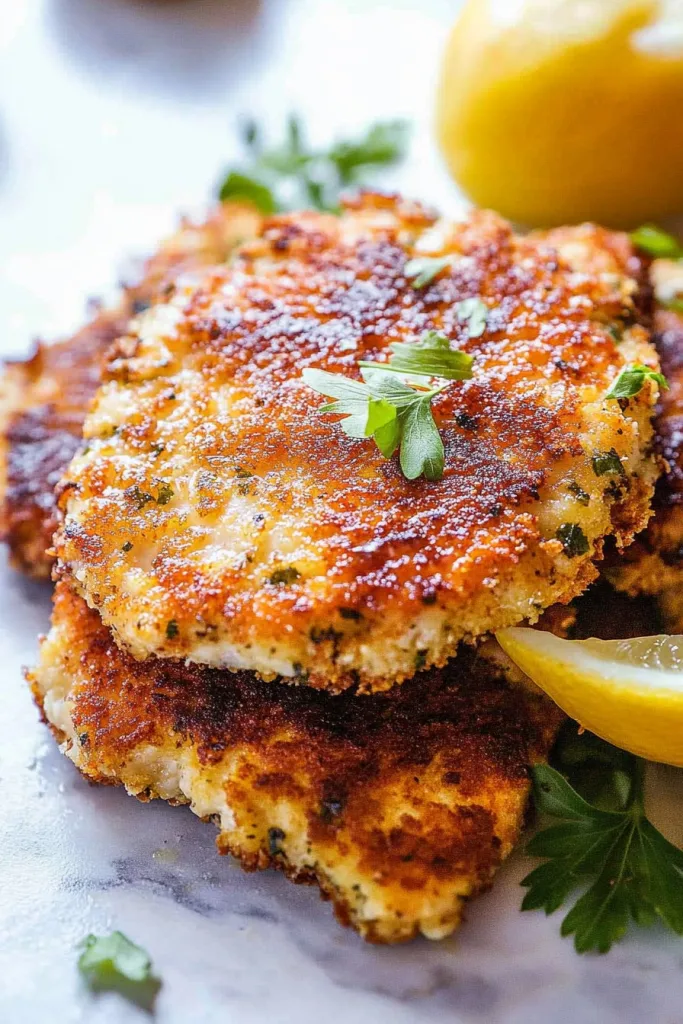
Crispy Italian Chicken Cutlets, Just Like Nonna’s (Sort Of)
If you’ve ever found yourself craving something crispy, juicy, and a little bit nostalgic, I totally get it—because that’s exactly why I end up making these Italian chicken cutlets, probably more than I should admit. The first time I tried making them on my own, I was about two seconds away from burning down my tiny kitchen. (Pro tip: Don’t get distracted by the dog while the oil’s heating.) But seriously, this recipe has become my trusty fallback for everything from lazy Tuesday dinners to those “surprise, we’re coming over!” texts from family. There’s something about the combination of crunchy breadcrumbs and tender chicken that just feels… well, like a warm hug from your Italian grandma, even if you don’t have one. And if you do, she probably has opinions about my method—but hey, it works for me.
Why I Keep Coming Back to This Recipe
I make this when I want dinner on the table before everyone starts hovering around the kitchen with “Is it ready yet?” faces. My family goes nuts for these because they’re crunchy on the outside, still juicy inside (and if you’re anything like me, you’ll appreciate that the coating actually stays on the chicken—not on the pan). Sometimes I even whip these up for lunch the next day, though honestly, leftovers are rare. Oh, and quick confession: I used to hate breading things because it was so messy, but after a few disasters (flour clouds everywhere, I mean everywhere), I think I’ve cracked the code. Mostly.
What You’ll Need (and What I Swap In Sometimes)
- 4 boneless, skinless chicken breasts (or thighs if you want it juicier—I do this when I’m feeling rebellious)
- A couple handfuls of all-purpose flour (about 1/2 cup, but I never measure exactly)
- 2 large eggs, beaten (sometimes 3 if they’re small, or I just add a splash of milk if I’m running low)
- 1 to 1 1/2 cups Italian-style breadcrumbs (or panko, which makes ‘em extra crispy—my cousin swears by it)
- 1/2 cup grated Parmesan (honestly, any hard cheese works, but the green can kind is fine if it’s all you’ve got—don’t tell Nonna)
- Salt and pepper to taste
- 1 teaspoon garlic powder (optional, but I never skip it—it’s my not-so-secret trick)
- 1 teaspoon dried oregano or Italian seasoning (sometimes I use fresh herbs if I remember to buy them)
- Vegetable oil or light olive oil for frying (okay, real talk: I’ve used canola in a pinch, and it was just fine)
- Lemon wedges, for serving (my husband always forgets this, but I think it’s essential)

How I Actually Make These (With a Few Detours)
- Pound the chicken! Place the breasts between two sheets of parchment or plastic wrap and give them a good whack with a rolling pin or skillet until they’re about 1/2 inch thick. Don’t stress if they’re not perfectly even. And if you don’t have a mallet, honestly, the heel of your hand works too. (Just don’t do it directly on your countertop. Trust me.)
- Season both sides with salt, pepper, garlic powder, and Italian herbs. Sometimes I forget this step and have to do it mid-breading, which is messy but not the end of the world.
- Set up your breading station: one shallow dish for flour, one for beaten eggs, and one for the breadcrumb-parm mixture. Try to use one hand for wet, one for dry… although my hands always end up looking like chicken mittens anyway.
- Dredge each chicken piece first in flour (shake off the extra), then dunk in egg, and finally press into the breadcrumbs. This is where I sneak a taste of the cheese. Don’t judge.
- Heat about 1/2 inch of oil in a large skillet over medium-high. You want it shimmering but not smoking. (If it smells a little nutty, it’s ready. Or just toss in a breadcrumb to test—if it sizzles, you’re good.)
- Fry the chicken in batches so you don’t crowd the pan. Each side needs about 3-4 minutes, or until golden and cooked through. Don’t worry if the first batch looks a little pale—that always happens to me, but the next ones catch up fine.
- Drain on a paper towel-lined plate. Sprinkle with a tiny bit more salt while it’s hot, if you feel like it. (I do.)
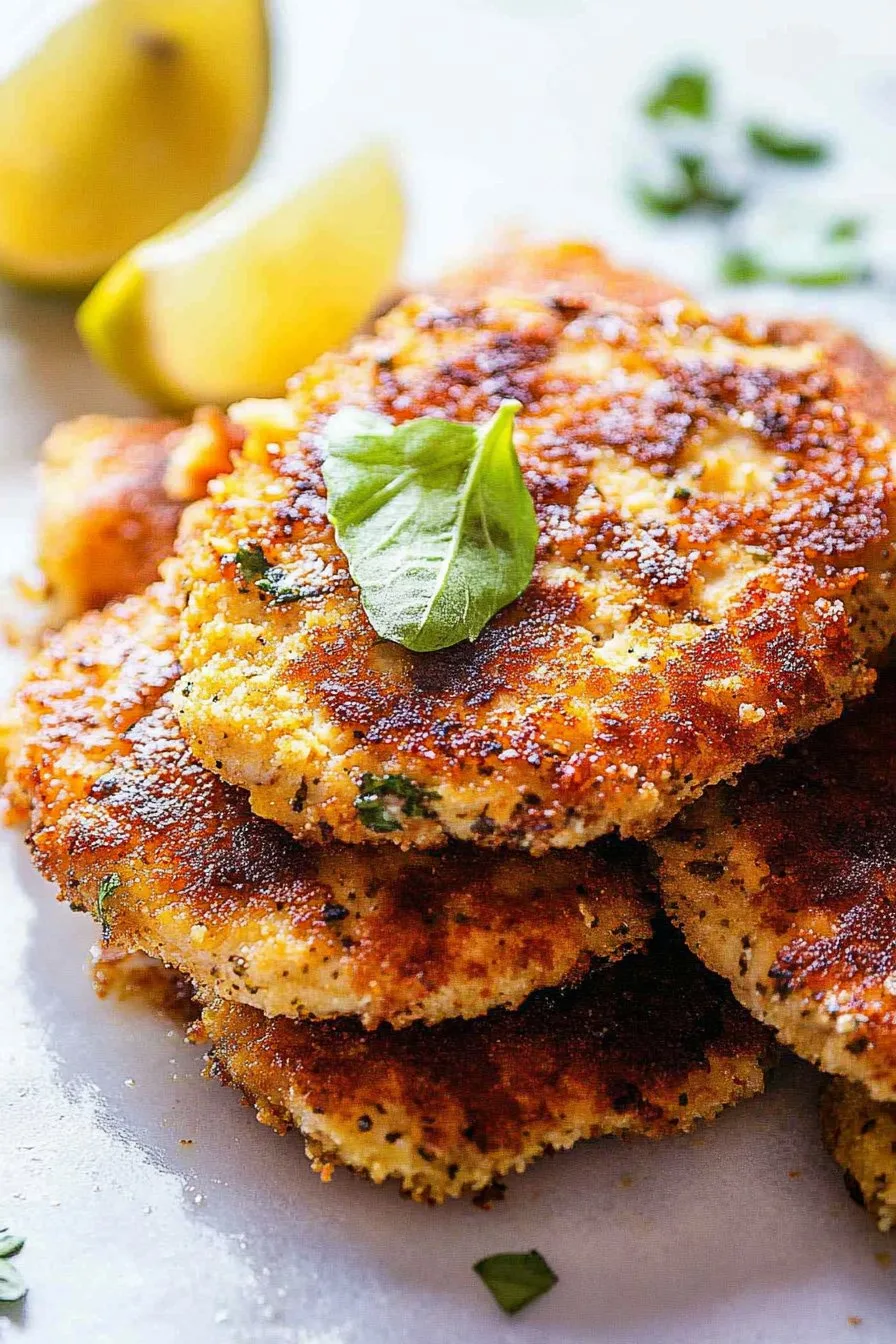
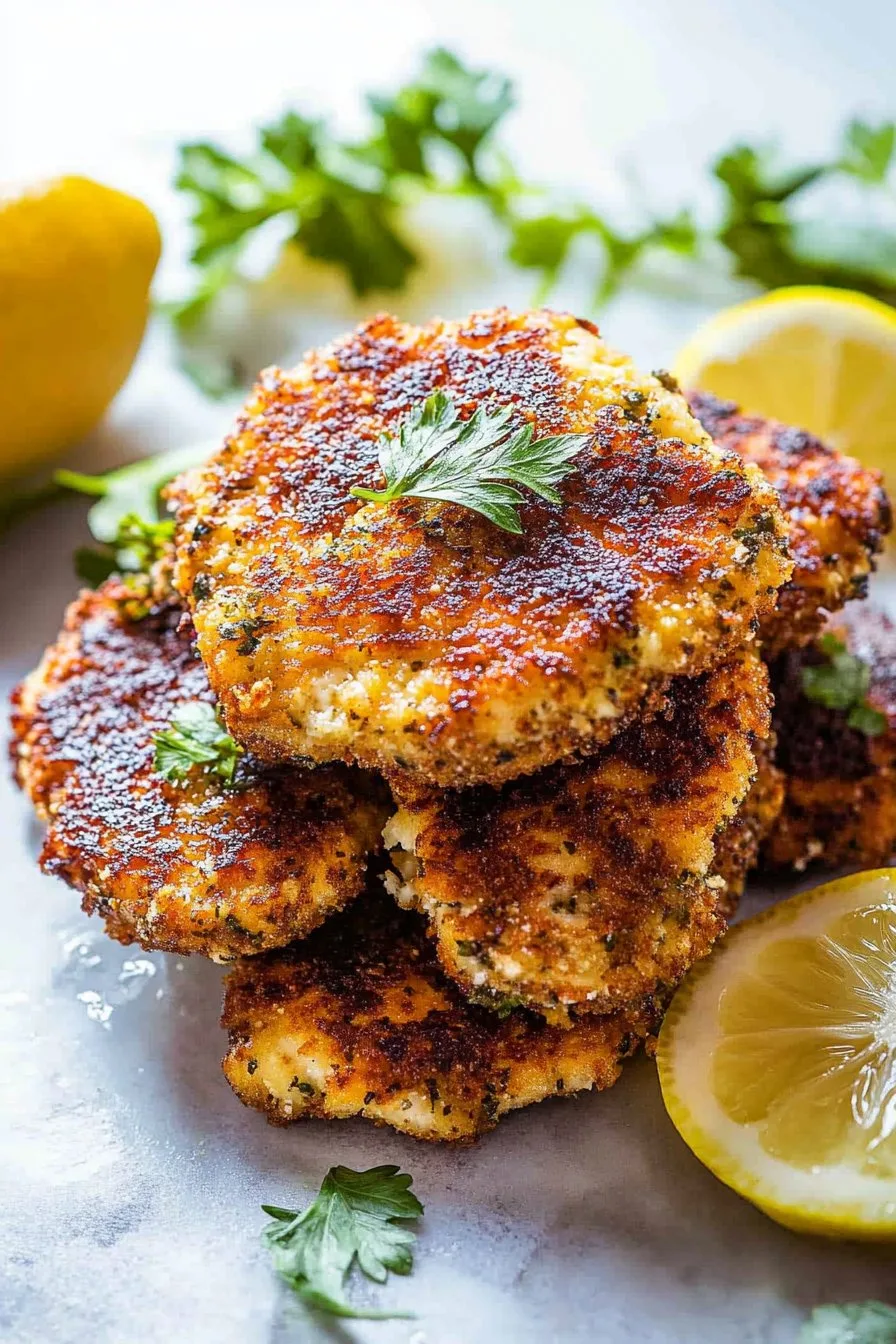
- Serve up with lemon wedges. Or just eat one while standing in the kitchen. No judgment.
What I’ve Learned (Sometimes the Hard Way)
- Don’t skip pounding the chicken! If you do, it cooks unevenly and you end up with dry edges. Been there, done that.
- Put the breaded cutlets on a wire rack for a few minutes before frying if you’ve got time. Makes ‘em crispier. I only figured this out last year.
- If you use really thick chicken, you might want to finish them off in a low oven (like 350°F for 5 minutes). I only learned this after serving raw chicken to my very patient brother. Oops.
How I’ve Switched It Up (and One Flop)
- Sometimes I add a bit of Dijon mustard to the egg mixture. Tastes great!
- Panko breadcrumbs make them lighter and crispier—try it!
- I once tried coconut flour instead of regular flour. Don’t. Only do this if you want coconut chicken (which is fine, but not Italian at that point!)
- If you’re gluten-free, almond flour + GF breadcrumbs totally work—my neighbor tried it and I was surprised it was tasty.
If You Don’t Have Every Gadget… (No Panic)
Look, I love my meat mallet, but if it’s missing (or you just don’t own one), a wine bottle wrapped in a tea towel gets the job done. Frying pan’s too small? Use two at once if you can. And honestly, if you only have a cast iron, that’s even better. I once made half a batch in the toaster oven, not recommended unless you like to live dangerously. If you want more gadget ideas, I actually get a lot of my cookware from Sur La Table.
How I Store (When There’s Anything Left)
Supposedly these keep in the fridge for 2-3 days, covered. In real life, they’re gone by lunch the next day—my son just eats them cold, straight from the container. If you need to reheat, toss them in a hot oven for 10 minutes to revive the crunch. I’ve tried microwaving, but it gets weirdly soggy.
What to Serve These With (Our Family Traditions… and Oddities)
I love these with a big green salad and a pile of roasted potatoes. Sometimes we do them up as sandwiches on ciabatta with a smear of mayo and some arugula—delish. My sister insists on spaghetti with red sauce on the side (I think it’s overkill, but who am I to argue?). For more Italian meal ideas, I sometimes browse Serious Eats’ Italian section.
Lessons Learned (AKA Don’t Be Like Me)
- I once tried rushing the breading step and everything slid off in the pan. Take the extra minute to really press the crumbs on, it matters.
- Don’t fry at too high a heat or the outside burns and the inside is still raw (it’s basically the law of chicken cutlets, I guess).
- Actually, I find it works better if you season both the flour and the crumbs. More flavor, less bland.
Real Questions I’ve Gotten (And My Honest Answers)
- Can I bake these instead of frying? Yes, but be generous with the oil spray and bake on a wire rack at 425°F. They won’t be quite as crispy, but it’s less mess. I do this when I’m feeling healthy… or lazy.
- Can I freeze them? Totally! Bread ‘em, freeze on a tray, then toss in a bag. Cook from frozen—just add a few minutes.
- What if I only have chicken tenders? Go for it. They cook even faster. Watch ‘em so they don’t dry out.
- Why does my breading fall off? Usually it’s either too much moisture on the chicken or not pressing the crumbs on enough. Or maybe you’re just having One Of Those Days!
- Do I really need Parmesan? Nah, but it adds a ton of flavor. I once used pecorino and it was delish, so any hard cheese should work. Don’t stress.
- Is there a vegetarian version? Kinda! I’ve tried this with eggplant slices—just salt them first so they’re not bitter. Actually, now that I think about it, portobello mushrooms are pretty good too.
And if you made it this far… thanks for sticking around for my rambling. Honestly, I could talk about Italian food all day, but now you know my favorite way to turn chicken into something that (almost) everyone is excited to see on the dinner table. If you want more kitchen inspiration, sometimes I check out The Kitchn when I’m stuck in a rut (or procrastinating cleaning up).