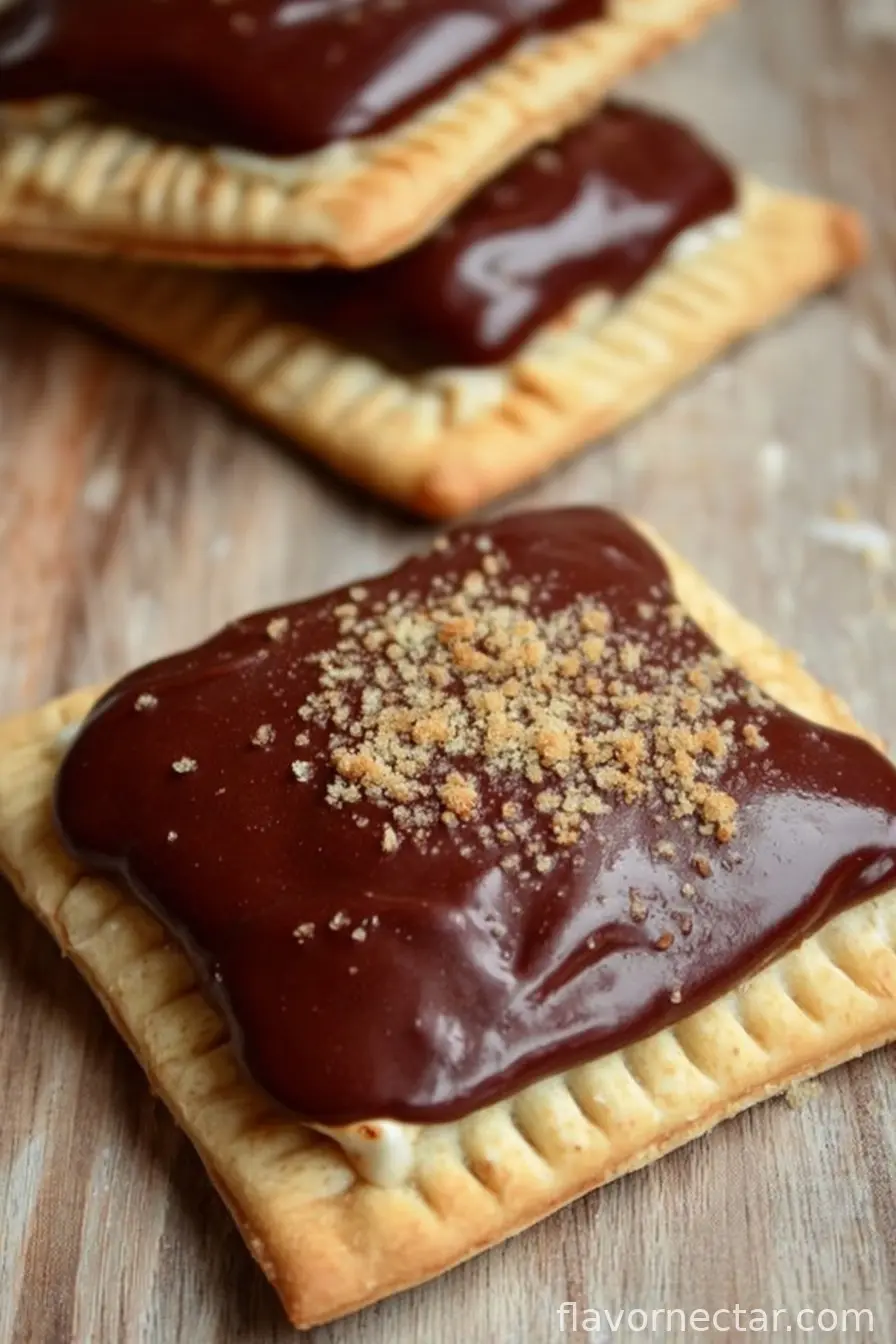
The Story Behind My Homemade S’mores Poptarts
So, let me paint the picture: it’s a slightly dreary Saturday, I’ve got pajamas on (well, that’s nothing new), and an urge hits me out of nowhere to make something nostalgic and, frankly, a bit over the top. I used to beg my dad for those classic s’mores Poptarts at the grocery store—they were a treat, especially when you’d forget them in the toaster and get those edges just, well, charred enough to annoy Mom. Anyway, now I make them at home because 1) no one can judge me for eating three at a time, and 2) they’re weirdly easy to throw together once you get over the mess factor. Last time, I ended up covered in chocolate and marshmallow, but no regrets.
Why You’ll Love This (No, Seriously)
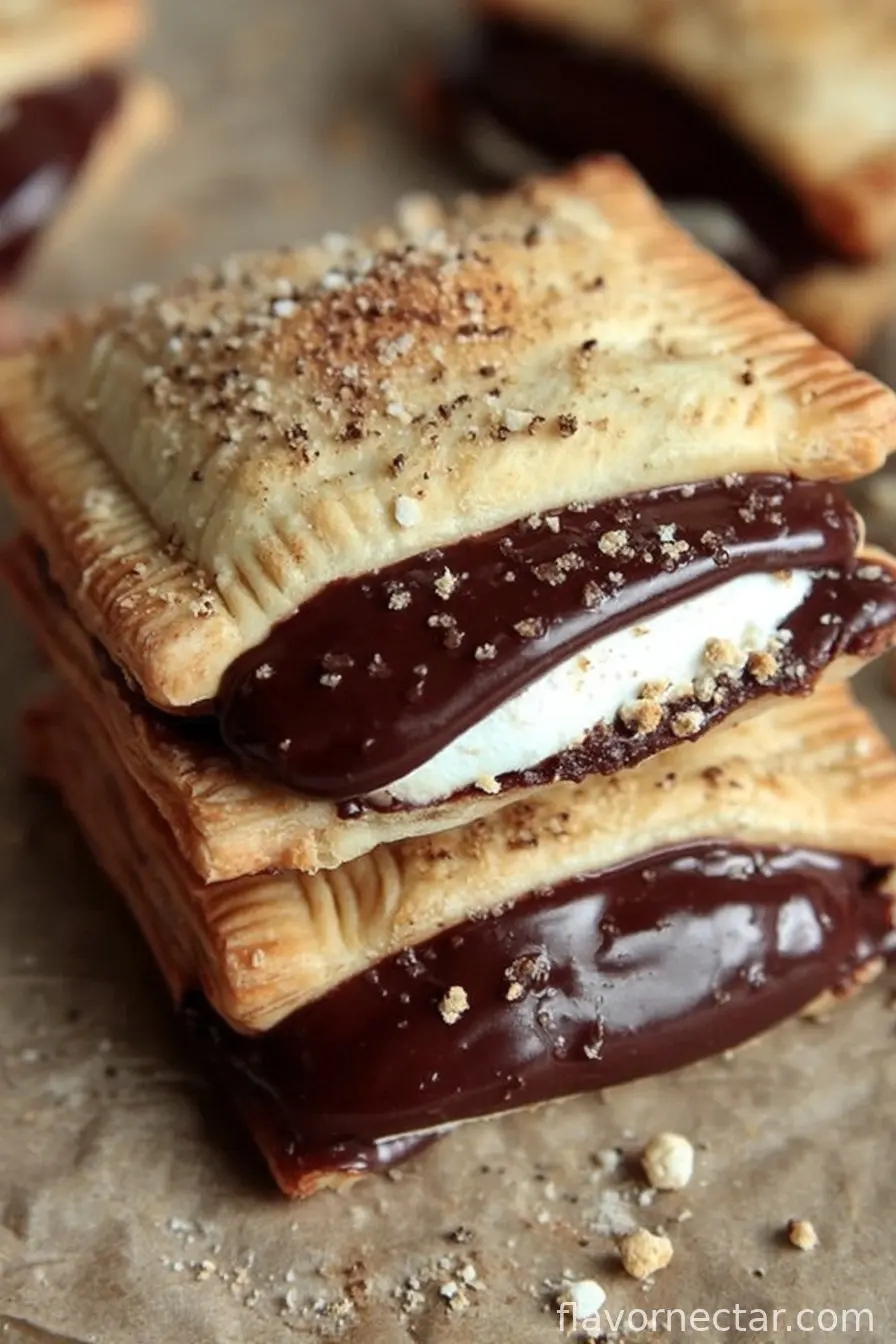
I keep falling back on this recipe after long weeks when all I want is a little comfort chaos—ya know? My family goes wild for these because there’s nothing quite like biting into flaky pastry only to hit that perfect marshmallow goo. Sometimes (slight caveat), if I try to multitask while making them, the marshmallow will absolutely try to escape and burn on the tray, but honestly, that’s half the fun. Oh, and if you’re on the fence about making your own pastry—sometimes I cheat with store bought, and nobody ever notices. Swear.
What You’ll Need: Ingredients & Substitutes
- 2 sheets refrigerated pie dough (or roll out your own if you’re feeling very ambitious—sometimes I just use store brand and I think it works fine)
- 1/2 cup semi-sweet chocolate chips (dark chocolate chips are great if you’re a grown-up, which I suppose I am)
- 1/2 cup marshmallow creme/fluff (mini marshmallows work if you’re out, just be ready for extra ooze)
- 1/3 cup graham cracker crumbs (Nabisco is the OG, but pretty much any honey graham cracker works—sometimes I even use digestive biscuits if I run out)
- 1 egg, beaten (for an egg wash, or skip if you forget—happens, trust me)
- 1 tablespoon milk (I use whole milk, but any milk or dairy-free subs should do the trick in a pinch)
- 1/2 cup powdered sugar (it’s just for the icing, but if you like things less sweet, you can cut it by a bit)
- 2 teaspoons cocoa powder (optional—sometimes I can’t be bothered to dig it out; you won’t break the recipe)
- 1-2 teaspoons sprinkles or extra graham crumbs (totally extra, but fun)
How to Make Homemade S’mores Poptarts: Directions, Warts & All
- Preheat your oven to 375℉ (190℃). Line a tray with parchment—unless you like scraping marshmallow off metal (I do not).
- Roll out your pie dough a bit on a floured surface. Try to make it roughly 1/8 inch thick, but don’t bust out the ruler—no one’s grading.
- Cut the dough into 8 rectangles—well, 16 if you count both sheets. The size? Kinda like the store ones, maybe 3×4 inches. I use a pizza cutter because knives and I don’t always see eye to eye.
- Lay half the rectangles on your pan. On each, pile a small handful of chocolate chips, a heaping spoon of marshmallow creme, and a sprinkle of graham crumbs. Try not to overload (the urge is strong), because it’ll ooze right out.
- Top with the matching dough rectangles. Use a fork to crimp the edges (makes you look fancy, hides leaks), then poke a few holes on top for steam. Trust me: learned this the hard way.
- Brush the tops with egg wash. Or don’t, if you forgot. They’ll still bake up nice, just less golden.
- Bake about 15–18 minutes or until golden brown. Don’t panic if filling tries to escape—happens every time, still delicious.
- Let them cool 10-15 minutes, or as long as you can stand. (This is where I always burn at least one finger. Every. Single. Time.)
- For the icing: Stir together powdered sugar, milk, and (if you want) cocoa powder until you get a pourable glaze. I add a little less milk for a thicker icing—it’s personal.
- Spread that icing over the cooled poptarts. Toss on sprinkles or extra graham crumbs. Try not to eat them all instantly—good luck.
Notes That’ll Probably Help
- If your marshmallow looks like it’s staging an escape mid-bake, just ignore it—the crispy bits around the edge are actually awesome, promise.
- I find they’re a bit crispier if you eat them fresh, but dare I say, are even better the next morning as breakfast (unless someone ate them all overnight—no judgment).
- Don’t sweat the dough thickness. Honestly, 1/8 inch is just a number. Thicker = more chewy, thinner = more crispy. Up to you, mate.
Experiments & Odd Variations
- Once, I swapped in white chocolate instead of semi-sweet. Honestly, too sweet for me but if you like it, go wild.
- Peanut butter in place of some marshmallow? Surprisingly rad.
- I tried adding banana slices. That went…badly; they went mushy and made the Poptarts weep. So maybe don’t do that.
What If You Don’t Have the Right Tools?
I always say a pizza cutter is perfect for slicing dough, but a butter knife works in a pinch—even a drinking glass rim if you want to make circles. No pastry brush for the egg wash? Just dab it on with your finger, it’s actually kinda fun.
How to Store Your S’mores Poptarts
Store in an airtight container at room temp for 2 days—or up to four in the fridge if you actually have the willpower (I rarely do, to be honest). If they get a bit soft, I pop ‘em in the toaster oven to perk up. Though, really, leftovers are more theory than reality around here.
How We Like to Serve ‘Em
We usually inhale these warm, straight off the tray—no plates even (shh). I’m partial to dunking mine in cold milk, but my partner slices theirs in half and shares with the dog (no chocolate for pups, obviously, just the edge bits). Sometimes we dust a little cocoa over everything for those “fancy bakery” vibes. You do you!
Hard-Learned Pro Tips
- Don’t overfill. The urge is real, but you’ll regret it when your poptart explodes in the oven—and trust me, scraping marshmallow off your tray is right up there with doing taxes.
- I once tried speeding up the cool-down with a freezer blast. They got soggy, so yeah…patience pays off here.
- Actually, I find cutting the icing with a tiny bit of lemon juice gives it a little zing—not traditional, but it’s great if you like surprises.
FAQ: You Asked, I Answered
- Can I freeze these? Yeah, but they’re best within a month. Thaw in the toaster, but don’t expect the icing to look as cute, just sayin’.
- My filling leaked, is that bad? Nope! It’ll get crispy, and some say those bits are better than the inside, honestly.
- Can I make these gluten-free? Sure thing, just use your favorite gluten-free pie crust (I’m yet to find one I love, so let me know if you do).
- What if I don’t have marshmallow fluff? Mini marshmallows will do. Or even the big ones cut up if that’s all you’ve got. They’re a pain to spread, but hey, that’s life.
- Why not just toast a regular s’more? Good question! Sometimes, you want dessert for breakfast without the smokey campfire hair, ya know?
Anyway, enjoy the poptarts—don’t worry if they aren’t picture-perfect. They never are in my house, and honestly, that’s half the point!
Ingredients
- 2 sheets refrigerated pie dough
- 1/2 cup semi-sweet chocolate chips
- 1/2 cup marshmallow creme/fluff
- 1/3 cup graham cracker crumbs
- 1 egg, beaten
- 1 tablespoon milk
- 1/2 cup powdered sugar
- 2 teaspoons cocoa powder (optional)
- 1-2 teaspoons sprinkles or extra graham crumbs
Instructions
-
1Preheat your oven to 375°F (190°C). Line a tray with parchment—unless you like scraping marshmallow off metal (I do not).
-
2Roll out your pie dough a bit on a floured surface. Try to make it roughly 1/8 inch thick, but don’t bust out the ruler—no one’s grading.
-
3Cut the dough into 8 rectangles—well, 16 if you count both sheets. The size? Kinda like the store ones, maybe 3×4 inches. I use a pizza cutter because knives and I don’t always see eye to eye.
-
4Lay half the rectangles on your pan. On each, pile a small handful of chocolate chips, a heaping spoon of marshmallow creme, and a sprinkle of graham crumbs. Try not to overload (the urge is strong), because it’ll ooze right out.
-
5Top with the matching dough rectangles. Use a fork to crimp the edges (makes you look fancy, hides leaks), then poke a few holes on top for steam. Trust me: learned this the hard way.
-
6Brush the tops with egg wash. Or don’t, if you forgot. They’ll still bake up nice, just less golden.
-
7Bake about 15–18 minutes or until golden brown. Don’t panic if filling tries to escape—happens every time, still delicious.
-
8Let them cool 10-15 minutes, or as long as you can stand. (This is where I always burn at least one finger. Every. Single. Time.)
-
9For the icing: Stir together powdered sugar, milk, and (if you want) cocoa powder until you get a pourable glaze. I add a little less milk for a thicker icing—it’s personal.
-
10Spread that icing over the cooled poptarts. Toss on sprinkles or extra graham crumbs. Try not to eat them all instantly—good luck.
CLICK FOR NUTRITION INFO
↑
Approximate Information for One Serving
Serving Size:
1 serving
Calories:
320 caloriescal
Protein:
4gg
Fat:
14gg
Saturated Fat:
0g
Trans Fat:
0g
Cholesterol:
0mg
Sodium:
0mg
Potassium:
0mg
Total Carbs:
45gg
Fiber:
0g
Sugar:
0g
Net Carbs:
0g
Vitamin A:
0
Vitamin C:
0mg
Calcium:
0mg
Iron:
0mg
Nutrition Disclaimers
Number of total servings shown is approximate. Actual number of servings will depend on your preferred portion sizes.
Nutritional values shown are general guidelines and reflect information for 1 serving using the ingredients listed, not including any optional ingredients. Actual macros may vary slightly depending on specific brands and types of ingredients used.
To determine the weight of one serving, prepare the recipe as instructed. Weigh the finished recipe, then divide the weight of the finished recipe (not including the weight of the container the food is in) by the desired number of servings. Result will be the weight of one serving.
Did you make this recipe?
Please consider Pinning it!