Let’s Talk Teriyaki—Aloha Style!
Hey there! So, I’ve got this recipe that I just have to share with you. It’s for Hawaiian Grilled Teriyaki Chicken, which I first tried during a family barbecue a few summers ago. My uncle, who thinks he’s a grill master (and honestly, he kind of is), whipped it up one afternoon, and we all fell in love. The tangy-sweet sauce just hits the spot! Plus, it’s got that island vibe that makes you feel like you’re on a mini vacation. Anyway, I digress. Let’s dive into why you’re gonna love this dish as much as I do.
Why You’ll Love This Chicken
I make this when I need a quick win in the kitchen. It’s one of those dishes that makes everyone think you put in way more effort than you actually did. My family goes crazy for it because it’s sweet, savory, and just a bit tangy (and let’s be real, we all love food on sticks, right?). Even my picky eaters can’t resist! The best part? It’s pretty hard to mess up—trust me, I’ve tried.
Grab These Ingredients
- 4 boneless chicken breasts (or thighs if you’re feeling fancy)
- 1 cup soy sauce (I sometimes use tamari when I’m out)
- 1/2 cup pineapple juice (canned is fine—even the stuff form a tin works)
- 1/4 cup brown sugar
- 2 cloves garlic, minced (or more if you’re a garlic lover!)
- 1 tablespoon fresh ginger, grated (my grandma swore by the fresh stuff)
- 2 tablespoons sesame oil
- Optional: sliced scallions and sesame seeds for garnish

How to Cook This Heavenly Chicken
- Start by whisking together the soy sauce, pineapple juice, brown sugar, garlic, ginger, and sesame oil in a bowl. This is your teriyaki marinade. Taste it! If it needs more sweetness, toss in some sugar.
- Place the chicken in a zip-top bag and pour the marinade over it. Seal the bag and squish it around so the chicken is well-coated. Let it sit in the fridge for at least an hour. (But if you’re patient, overnight is even better!)
- Preheat your grill to medium-high. If you’re like me, this is where you start to feel all chef-y.
- Grill the chicken for about 6-7 minutes per side, or until it’s cooked through and has some nice grill marks. Don’t worry if it looks a bit weird at this stage—it always does!
- Once done, let the chicken rest for a few minutes. This is usually when I sneak a taste.
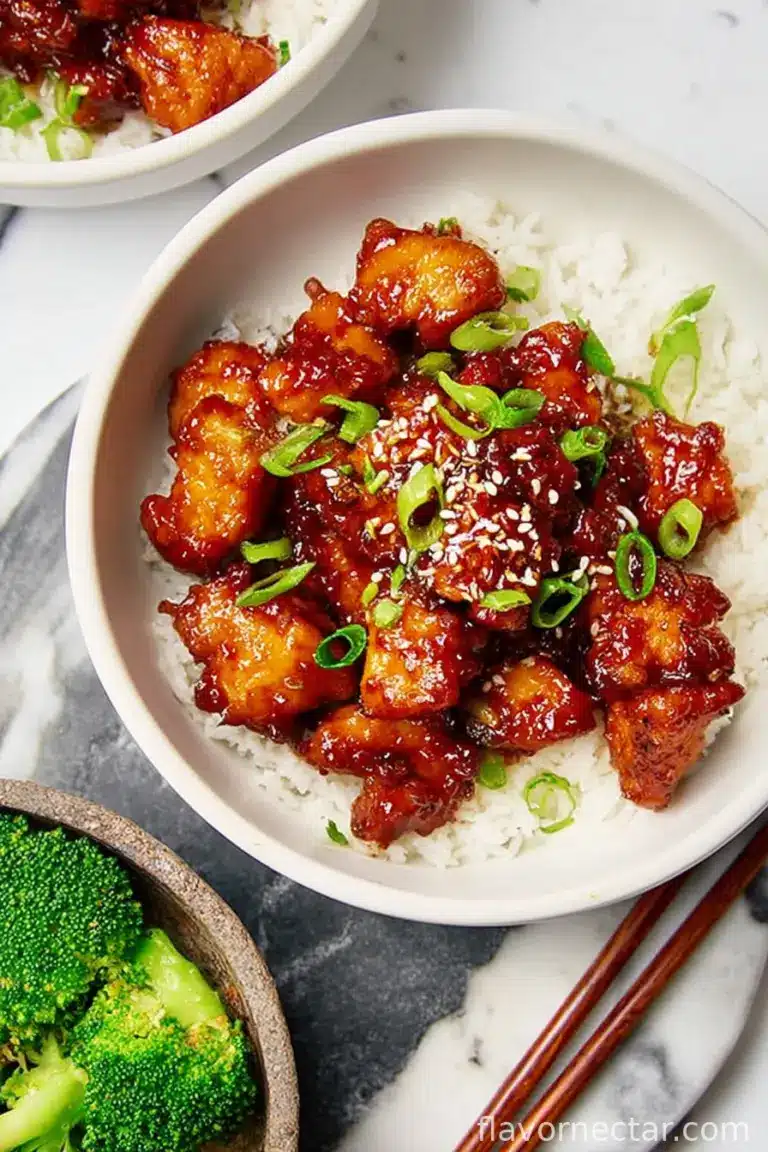
- Slice it up and sprinkle with sliced scallions and sesame seeds if you like. Serve it up and watch it disappear!
Some Notes From My Kitchen
Here’s a discovery: if you let the chicken marinade too long, it can get a bit too salty—so, maybe don’t leave it in there for days on end. Also, I once tried throwing everything in a slow cooker. It wasn’t bad, but it lost that grilled magic.

Variations I’ve Tried (and Some That Didn’t Pan Out)
I once added some chili flakes for a spicy kick, and it was a hit! On the flip side, I tried using lemon juice instead of pineapple once, and it just wasn’t the same. Lesson learned.
If You Don’t Have a Grill…
No grill? No problem! A grill pan works just fine. Or even your broiler in a pinch. It’s all about getting that char.

How to Store Your Leftovers
In my house, this chicken rarely lasts the day! But if you do have leftovers, store them in an airtight container in the fridge. They’re great for up to 3 days, though I think this tastes even better the next day.
What to Serve This With
We love pairing this with white rice and a side of grilled veggies. A bit of mango salsa on the side never hurts either. During one picnic, we even served it with potato salad… don’t ask why, but it worked!
Little Pro Tips I Picked Up Along the Way
I learned the hard way that rushing the marinade step isn’t a good idea. I once thought an hour was enough, and it was… okay? Just not amazing.
Answering Your Burning Questions
Q: Can I use bottled teriyaki sauce instead? A: Sure, you can, but fresh is best if you can swing it!
Q: What if I don’t have fresh ginger? A: You could use ground ginger in a pinch, but cut back the quantity a bit.
Q: Do I really need to let it rest? A: Absolutely! It helps lock in all those juicy flavors.