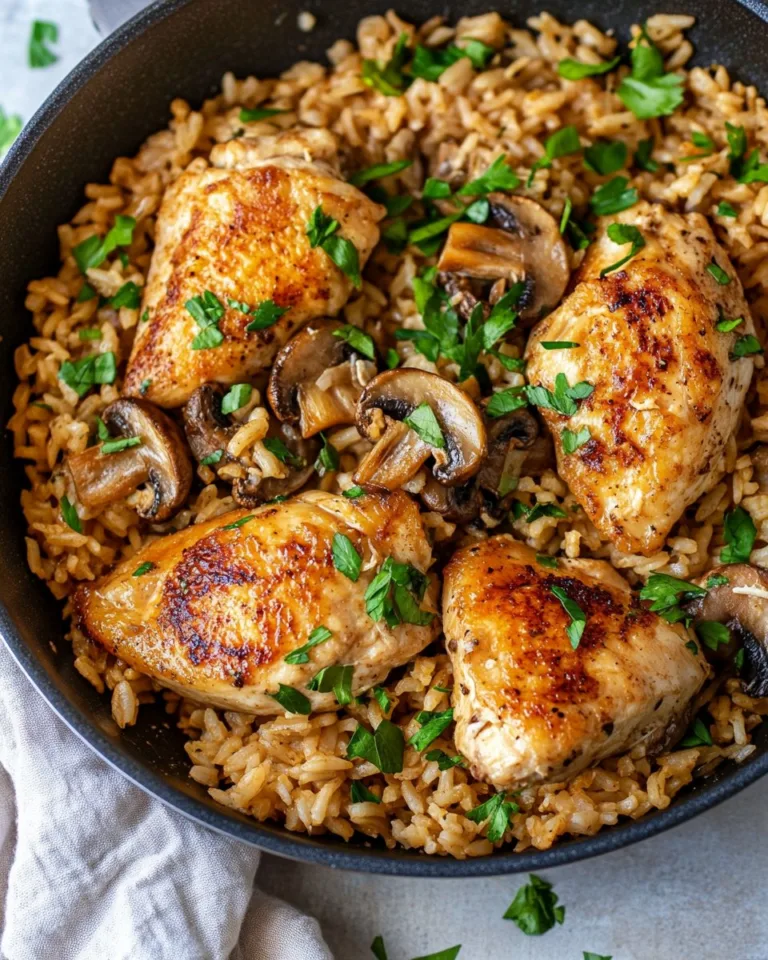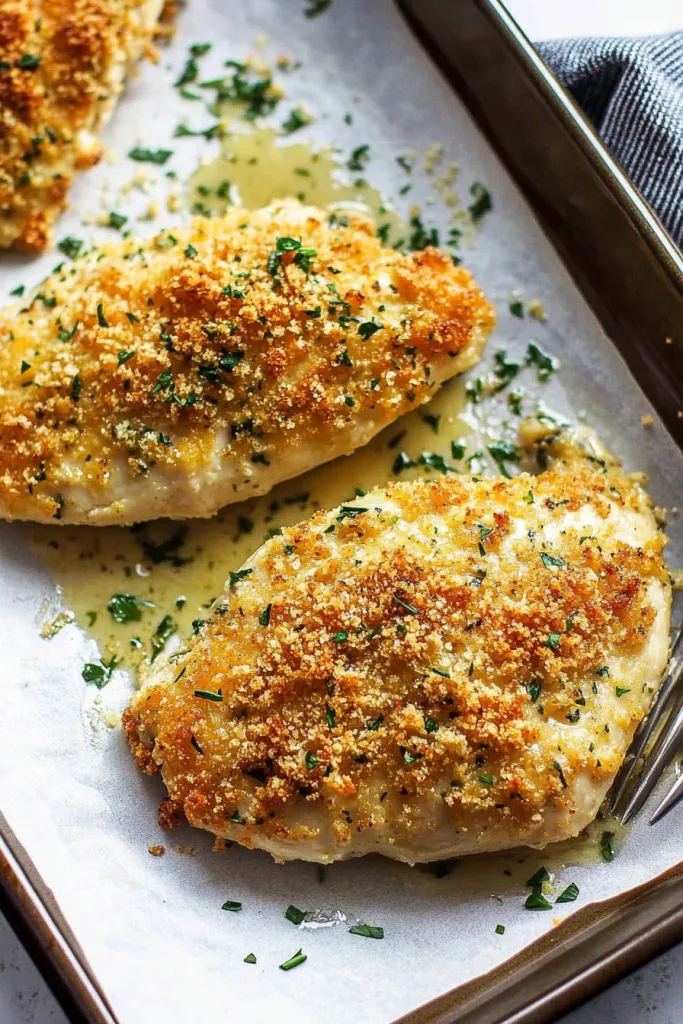
Hey there! Let me tell you about the time I ventured into making Garlic Parmesan Crusted Chicken. You know, it was one of those days where everything felt like a culinary experiment. I remember the first time I made it—let’s just say, the kitchen smelled like a garlic lover’s heaven. My family was drawn into the kitchen like moths to a flame. (In a good way!)
Why You’ll Love This
I make this dish whenever my family needs a quick comfort meal. You know, something that’s quick but feels fancy enough to impress. They go bonkers for it, probably because it’s cheesy (who doesn’t love cheese?) and has that perfect crunch. Honestly, the hardest part is stopping them from picking at the crust before dinner’s even served!
Ingredients
- 4 boneless chicken breasts (or thighs, if you’re going for juicier)
- 3/4 cup of grated Parmesan cheese (I sometimes sneak in Pecorino Romano when I’m out of Parmesan)
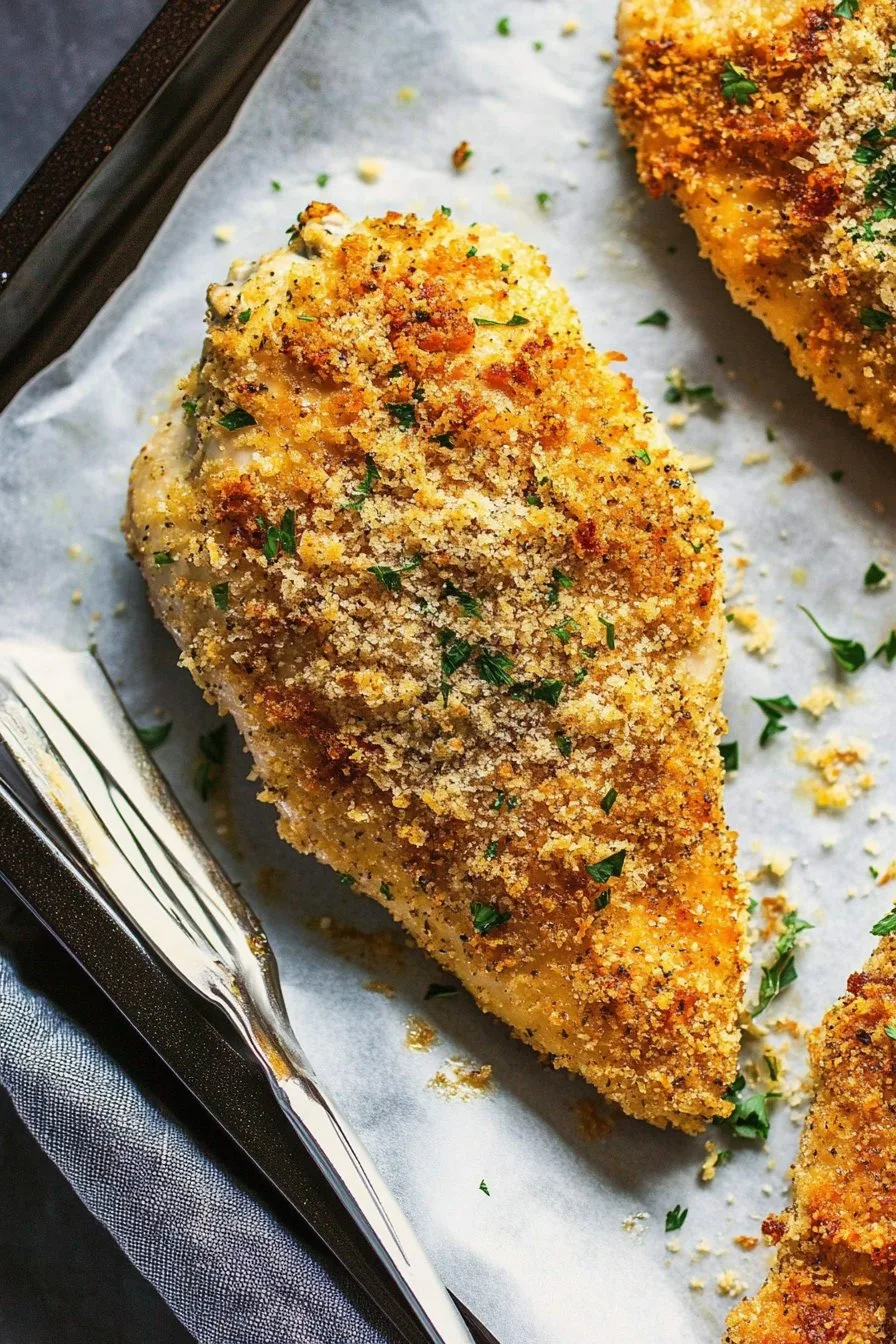
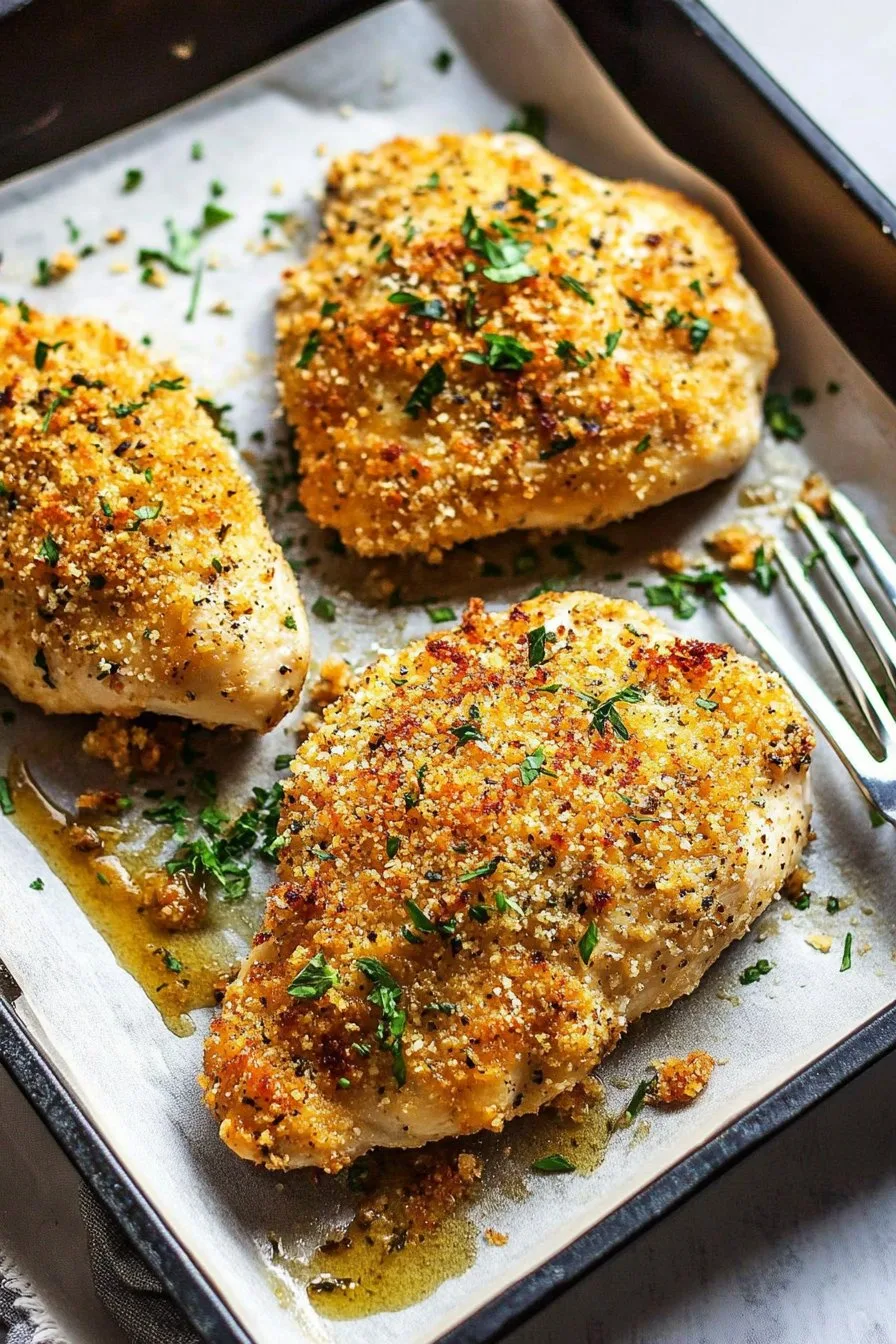
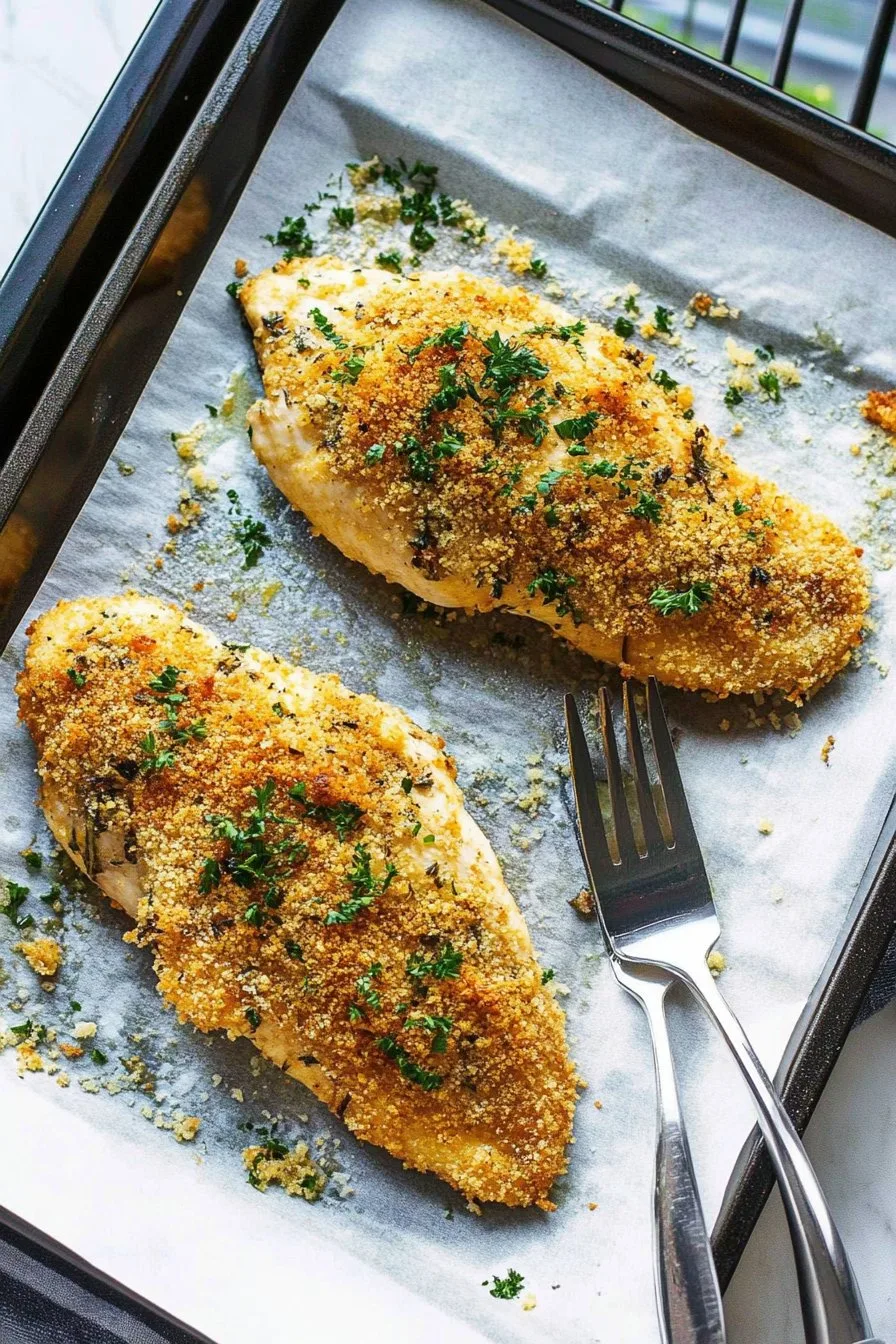
- 1 cup of breadcrumbs (panko works a treat, but hey, any crumbs’ll do)
- 2 tablespoons of minced garlic (feel free to add more if you’re a garlic fiend like me)
- 1 teaspoon of Italian herbs (Oregano? Basil? Just throw in what you’ve got!)
- Salt and pepper to taste
- 2 eggs, beaten
- 2 tablespoons of olive oil (my grandmother swore by extra virgin, but honestly, use what you have)
Directions
- Preheat your oven to 400°F (about 200°C for my friends across the pond). This gives the perfect crunchy crust without turning your kitchen into a sauna.
- In a bowl, mix the Parmesan, breadcrumbs, garlic, and Italian herbs. Season with salt and pepper. (This is where I usually sneak a taste!)
- Dip each chicken piece into the beaten eggs, then coat it generously with the breadcrumb mixture. Don’t worry if it looks like a mess at this stage—it’s meant to be a little chaotic.
- Heat the olive oil in a skillet over medium heat. Brown the chicken on each side for about 3-4 minutes. You’re looking for a golden color, not perfection.
- Transfer the chicken to a baking dish. Pop it in the oven for about 15-20 minutes, or until cooked through. (I always say, those last 5 minutes are perfect for a quick tidy-up!)
Notes
I’ve discovered through trial and error that letting the chicken rest for a few minutes after baking really locks in the juices. Also, if you’re out of breadcrumbs, crushed crackers make a surprisingly good substitute.
Variations
I once tried adding a dash of chili flakes for a bit of heat—it was a hit! Although, that time I attempted to coat the chicken in crushed cornflakes instead of breadcrumbs, well, let’s just say it didn’t quite have the crunch I was after.
Equipment
You don’t need anything fancy for this recipe. If you don’t have a skillet, a regular frying pan and some elbow grease will do the job just fine.
Storage Information
If you manage to have leftovers (good luck with that!), they keep well in the fridge for up to two days. But honestly, in my house, it never lasts more than a day!
Serving Suggestions
I like to serve this with a simple green salad or some roasted veggies. Oh, and a little extra Parmesan on top never hurts.
Pro Tips
Don’t rush the browning step, trust me. I once tried hurrying through it and the crust didn’t have the crunch I craved. A little patience here goes a long way.
FAQ
Can I use chicken thighs instead of breasts? Absolutely! Thighs are juicier and add an extra layer of flavor.
Is it okay to skip the skillet step? Well, if you’re short on time, you can. But honestly, browning first makes a difference in texture.
Can I make this gluten-free? Totally. Just swap breadcrumbs for a gluten-free version. Easy peasy!