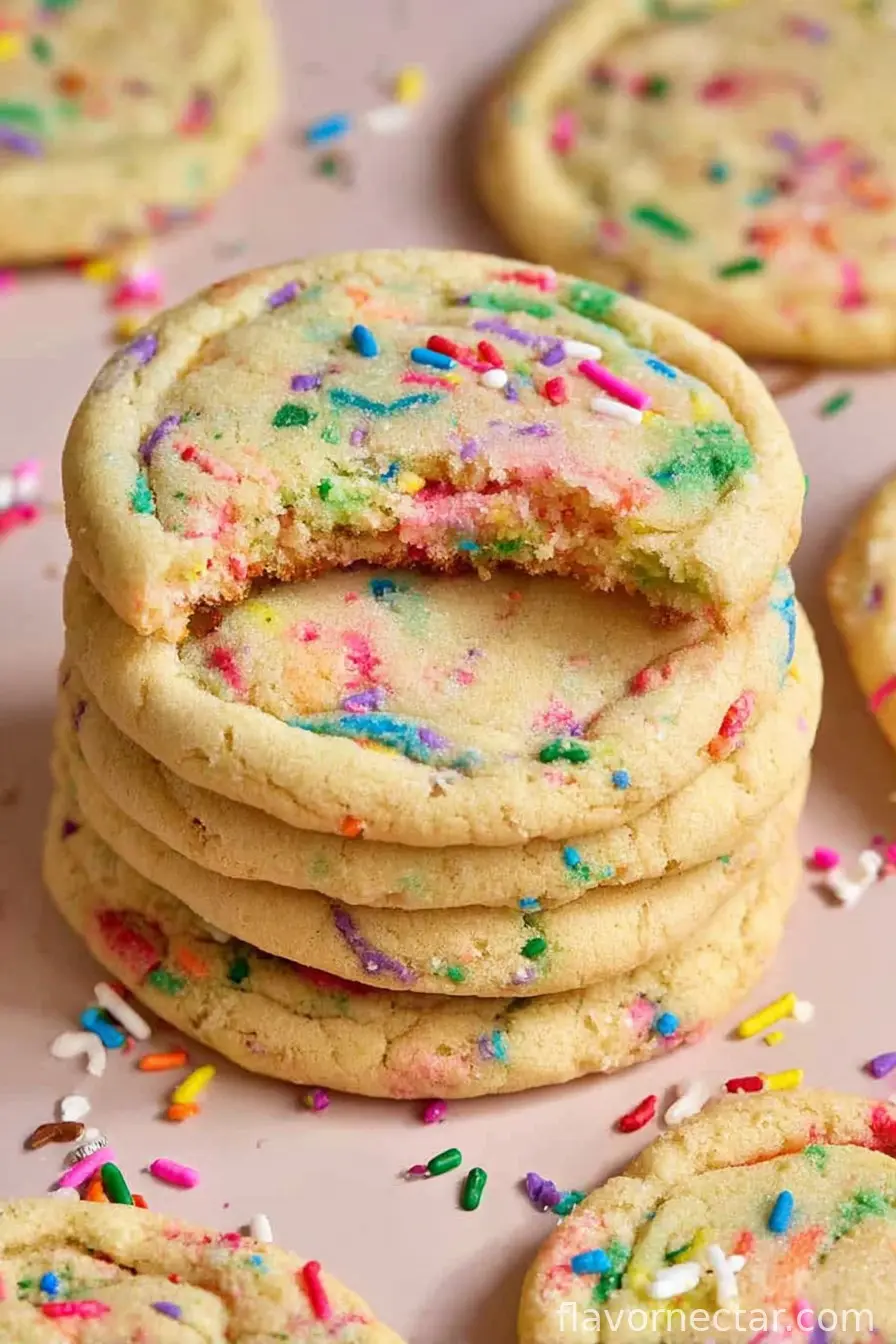
Let’s Bake Something That Actually Tastes Like a Party
I can’t even count how many times I’ve ended up making Funfetti Birthday Cake Cookies for a get-together, only to have the plate wiped clean before I can sneak a second one for myself. No joke, the nostalgia of funfetti cake but in chewy cookie form? Absolute winner. Plus, there’s just something about rainbow sprinkles that makes any bad day 10% brighter. One time my youngest tried to sneak extra sprinkles, which turned the cookies slightly psychedelic—as in positively dotted with color, maybe a tad too enthusiastic, but honestly, is there such a thing as too many sprinkles? (I vote no.)
Why You’ll Love These (And Why I Make Them So Much)
I make these for everything from birthday parties to those random Wednesday nights when the week just won’t quit. The kids ask for them instead of cake (fine by me, less chance of needing to find candles at the last second!). But, wait—if you’re imagining a dry, too-crunchy cookie, erase that mental image. These are super soft in the middle, a little crispy on the edges, and the flavor is so much like cake that it’s basically a two-for-one. Once I forgot the almond extract, and suddenly my husband was asking what was missing—turns out, that tiny splash really does something. So now I triple-check before baking.
The Ingredients (With Substitutions & a Dash of Family Lore)
- 1 cup unsalted butter (softened; salted works, just skip the pinch of salt later—I do this all the time when I’m low on butter)
- 1 1/4 cups granulated sugar (sometimes I sneak in 1/4 cup brown sugar for extra chewiness)
- 2 large eggs (room temp supposedly makes them fluffier, but who’s got that kind of time?)
- 2 teaspoons vanilla extract (my grandmother always used the cheap stuff, and her cookies were amazing, so use whatever you have)
- 1/4 teaspoon almond extract (it’s subtle, but don’t skip if you can help it)
- 2 3/4 cups all-purpose flour (I tried using a ‘cup for cup’ gluten free flour once—worked surprisingly well!)
- 1 teaspoon baking soda
- 1/2 teaspoon baking powder
- 1/2 teaspoon salt (omit if using salted butter, like I forget to a lot)
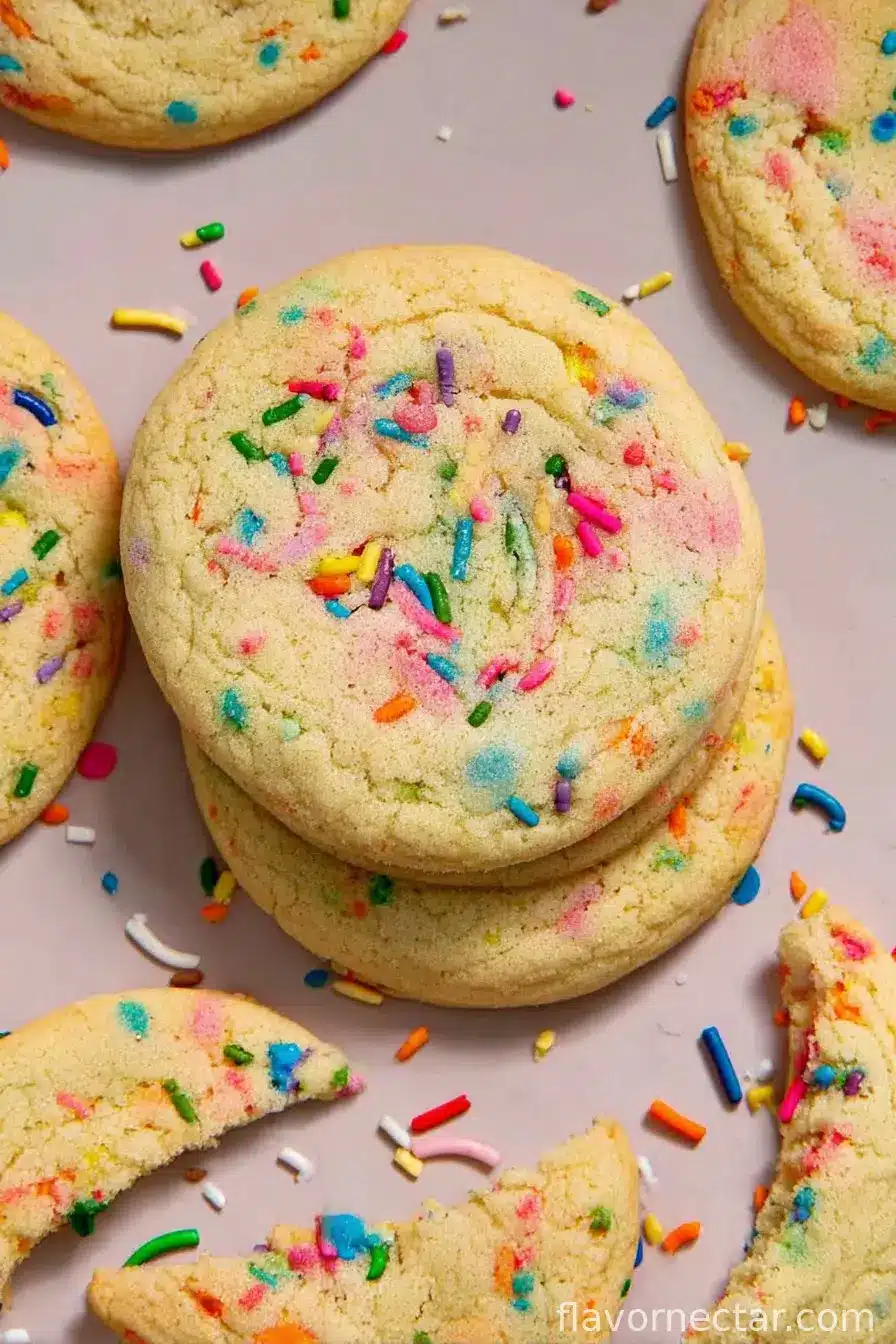
- 1/2 cup rainbow sprinkles (the long ones—not the little balls, which tend roll off. Though honestly, I’ve used both in a pinch)
- 1/3 cup white chocolate chips (optional—but they really make it taste more like cake, in my humble opinion)
How To Make These Cheerful Cookies
- Preheat your oven to 350°F (180°C). Line a couple of baking sheets with parchment, or grab that old silicone mat—works just as well.
- Cream the butter and sugar until it’s super fluffy—like, you want it to look almost whipped. This takes 2-3 minutes with a mixer, or… arm power if you skipped your workout today.
- Beat in eggs, vanilla, and almond extract. One egg at a time is what they always say, but sometimes I’m impatient and toss both in at once. So far, zero disasters.
- In a separate bowl, whisk flour, baking soda, baking powder, and salt. Honestly, sometimes I skip the extra bowl. Not the end of the world if a bit of flour puffs up in your kitchen.
- Mix the dry stuff into the wet stuff. Go slow! No one likes finding a rogue flour pocket in their cookie.
- Fold in sprinkles and white chocolate chips. This is where I usually taste a bit of dough; it’s not strictly necessary, but who’s policing home bakers?
- Scoop dough into 1.5-inch balls (or just grab a heaping spoonful—fancy cookie scoops are great until you realize they’re stuck in the back of the drawer). Space them out—these spread a bit.
- Bake for 10-12 minutes, until the edges are just golden. The centers will look a little underdone, and that’s exactly how you want it. Trust me on this; overbaking ruins the magic.
- Cool on the tray for 5 minutes, then transfer to a wire rack. Or, honestly, just eat one warm, standing over the tray. We all do it.
Some Handy Notes I Wish I’d Had
- Letting the cookie dough rest in the fridge for a half hour makes for even thicker cookies—but I rarely have the patience (or foresight) for this.
- The almond extract can be a bit strong if you overdo it. Once I used double and my friends claimed they tasted like marzipan birthday bricks. So just… don’t.
- Sprinkles: The classic rainbow “jimmies” work best. The little nonpareils can bleed into the dough or roll away, which is just a bit of a nuisance really.
Variations (Yes, I’ve Tested These. Results Were… Mixed!)
- Lemon zest + white chocolate = surprisingly fresh. Give it a whirl when you feel fancy.
- I tried stuffing some with strawberry jam. It was messy. Delicious, but—a total headache for cleanup. Maybe not worth it unless you’re feeling bold.
- Chocolate sprinkles in place of rainbow: did this for my brother’s “grown-up birthday” once, but honestly, it just looked less festive. Guess you can’t win them all!
Do You Actually Need Special Equipment?
You don’t need anything fancy here. A hand mixer is convenient, sure, but I’ve made these by hand with a wooden spoon and a lot of elbow grease. Cookie scoop? Nice, but two spoons or your hands do the job. Parchment is less messy, but butter on a tray works if that’s all you’ve got. If you don’t have a wire rack, just let them cool on the tray (or… eat them fast enough, no cooling required!).
Storing Them (Not That You’ll Need To)
Supposedly, they keep in an airtight box for up to 4 days. In my house, they don’t survive 24 hours. If you do manage to stash some away, I think they taste even better the next day—chewier, more flavorful. You can freeze the dough too, just scoop out balls and freeze them raw. Baked cookies freeze fine for a couple weeks, if you have self-control.
How We Like To Serve Them
Honestly, we just stack them on a plate and call it good, but for parties, I’ve sandwiched two cookies together with a bit of buttercream (dangerous, honestly). A scoop of ice cream on top? Yes, please. My youngest insists on a candle, birthday or not.
Pro Tips (Learned the Hard Way)
- I once tried to bake a double batch all at once. Turns out—cramming two trays in the oven isn’t always your friend. Some burnt edges, some raw centers. Just do them one at a time.
- Don’t overmix after adding the flour, or they’ll get tough, which is a little soul-crushing after you’ve waited for cookie dough.
- Letting them cool on the tray that extra five minutes really does matter—otherwise, they break apart when you pick them up. (Voice of experience here!)
Questions I Actually Get (And My Honest Answers)
-
Can I use funfetti cake mix?
For that flavor? Sure. But honestly, the from-scratch version is softer and you can control the sweetness. Also, less mystery ingredients. -
How do I make them chewier?
Try subbing in a little brown sugar as I mentioned above, or chill the dough. Or just underbake. Chewy is all about timing (and a bit of luck). -
My cookies spread too much! Should I panic?
Don’t panic. Either your butter was too warm or the oven too hot. Next time, just chill that dough for a bit before baking. -
Are these actually good for birthdays?
Oh yes. Also for Mondays, snow days, or “It’s 3pm and I need a treat” days. -
Is all this talk about almond extract worth it?
Maybe not if you hate almond, but even the almond-adverse at our table have been converted. It’s like… a hidden flavor boost. On second thought, don’t overdo it.
Okay—I’ll stop rambling now. Go forth and bake up a batch! If you wind up with a kitchen covered in sprinkles, that’s just proof of a good time.
Ingredients
- 1 cup unsalted butter (softened; salted works, just skip the pinch of salt later—I do this all the time when I’m low on butter)
- 1 1/4 cups granulated sugar (sometimes I sneak in 1/4 cup brown sugar for extra chewiness)
- 2 large eggs (room temp supposedly makes them fluffier, but who’s got that kind of time?)
- 2 teaspoons vanilla extract (my grandmother always used the cheap stuff, and her cookies were amazing, so use whatever you have)
- 1/4 teaspoon almond extract (it’s subtle, but don’t skip if you can help it)
- 2 3/4 cups all-purpose flour (I tried using a ‘cup for cup’ gluten free flour once—worked surprisingly well!)
- 1 teaspoon baking soda
- 1/2 teaspoon baking powder
- 1/2 teaspoon salt (omit if using salted butter, like I forget to a lot)
- 1/2 cup rainbow sprinkles (the long ones—not the little balls, which tend roll off. Though honestly, I’ve used both in a pinch)
- 1/3 cup white chocolate chips (optional—but they really make it taste more like cake, in my humble opinion)
Instructions
-
1Preheat your oven to 350°F (180°C). Line a couple of baking sheets with parchment, or grab that old silicone mat—works just as well.
-
2Cream the butter and sugar until it’s super fluffy—like, you want it to look almost whipped. This takes 2-3 minutes with a mixer, or… arm power if you skipped your workout today.
-
3Beat in eggs, vanilla, and almond extract. One egg at a time is what they always say, but sometimes I’m impatient and toss both in at once. So far, zero disasters.
-
4In a separate bowl, whisk flour, baking soda, baking powder, and salt. Honestly, sometimes I skip the extra bowl. Not the end of the world if a bit of flour puffs up in your kitchen.
-
5Mix the dry stuff into the wet stuff. Go slow! No one likes finding a rogue flour pocket in their cookie.
-
6Fold in sprinkles and white chocolate chips. This is where I usually taste a bit of dough; it’s not strictly necessary, but who’s policing home bakers?
-
7Scoop dough into 1.5-inch balls (or just grab a heaping spoonful—fancy cookie scoops are great until you realize they’re stuck in the back of the drawer). Space them out—these spread a bit.
-
8Bake for 10-12 minutes, until the edges are just golden. The centers will look a little underdone, and that’s exactly how you want it. Trust me on this; overbaking ruins the magic.
-
9Cool on the tray for 5 minutes, then transfer to a wire rack. Or, honestly, just eat one warm, standing over the tray. We all do it.
CLICK FOR NUTRITION INFO
↑
Approximate Information for One Serving
Serving Size:
1 serving
Calories:
170 caloriescal
Protein:
2gg
Fat:
8gg
Saturated Fat:
0g
Trans Fat:
0g
Cholesterol:
0mg
Sodium:
0mg
Potassium:
0mg
Total Carbs:
24gg
Fiber:
0g
Sugar:
0g
Net Carbs:
0g
Vitamin A:
0
Vitamin C:
0mg
Calcium:
0mg
Iron:
0mg
Nutrition Disclaimers
Number of total servings shown is approximate. Actual number of servings will depend on your preferred portion sizes.
Nutritional values shown are general guidelines and reflect information for 1 serving using the ingredients listed, not including any optional ingredients. Actual macros may vary slightly depending on specific brands and types of ingredients used.
To determine the weight of one serving, prepare the recipe as instructed. Weigh the finished recipe, then divide the weight of the finished recipe (not including the weight of the container the food is in) by the desired number of servings. Result will be the weight of one serving.
Did you make this recipe?
Please consider Pinning it!