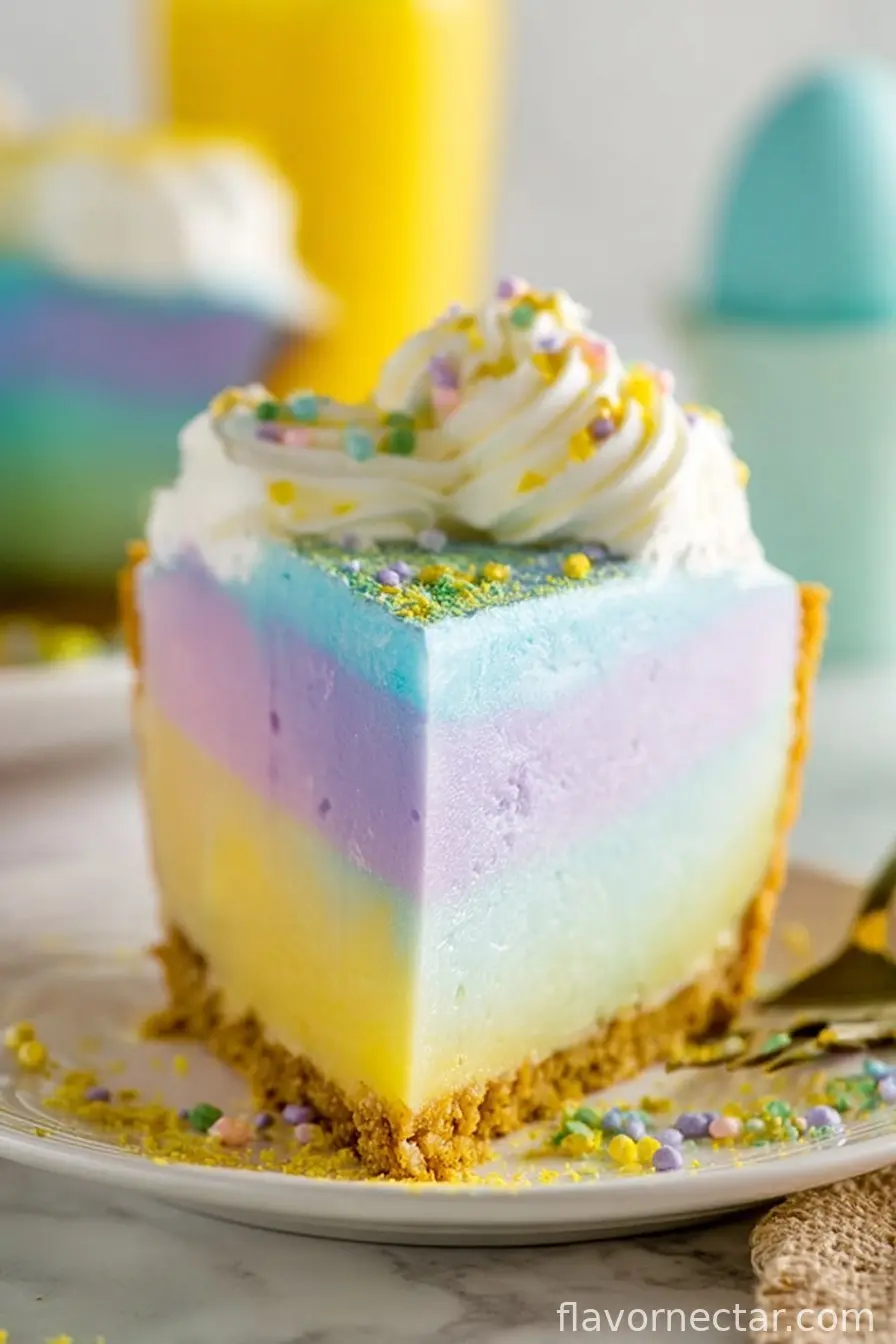
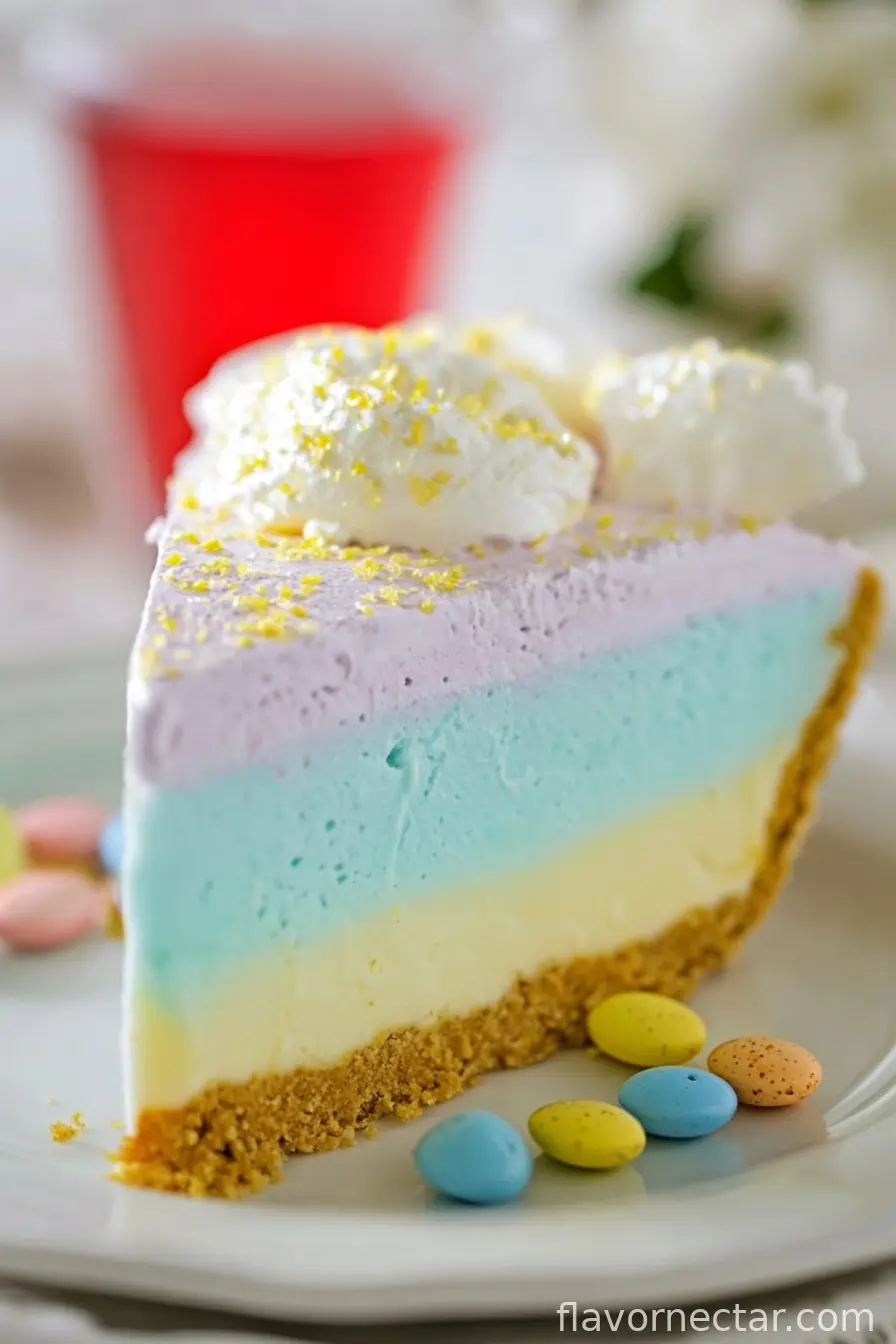
Hey y’all! If you’re looking for a show-stopping, fun, and simple dessert to brighten up your Easter table (or any spring celebration), you can’t go wrong with an Easter Jell-O Pie. This pie bursts with vibrant colors and sweet flavors that everyone – kids and adults alike – will love. Creamy, smooth, and delightfully refreshing, it’s as easy to make as it is impressive. Let’s get cooking!
Why You’ll Love This Easter Jell-O Pie
- Easy No-Bake Recipe: Zero oven time and only a few basic steps are needed.
- Make-Ahead Friendly: Perfect for prepping the day before your gathering.
- Colorfully Festive: The swirled colors make it a real centerpiece for spring or Easter celebrations.
- Creamy and Light: A luscious, mousse-like texture that’s never too heavy.
- Customizable Flavors: Pick your favorite Jell-O flavors to match your tastes or holiday theme.
Ingredients for Easter Jell-O Pie
- 1 pre-made 9-inch graham cracker crust (store-bought or homemade)
- 1 (3 oz) package lemon Jell-O
- 1 (3 oz) package strawberry Jell-O
- 1 (3 oz) package lime Jell-O
- 1 cup boiling water (for each Jell-O flavor, 3 cups total)
- 1 cup cold water (for each Jell-O flavor, 3 cups total)
- 1 (8 oz) package cream cheese, softened
- 1 cup powdered sugar
- 2 cups whipped topping (like Cool Whip), plus extra for garnish
- Sprinkles, pastel mini eggs, or additional garnishes (optional)
How to Make Easter Jell-O Pie
Step 1: Prepare the Jell-O Layers
- In three separate bowls, dissolve each Jell-O flavor in 1 cup boiling water; stir about 2 minutes until completely dissolved.
- Add 1 cup cold water to each bowl, stir, and refrigerate for 30-45 minutes until thickened but not fully set.
Step 2: Make the Creamy Filling
- In a large mixing bowl, beat the softened cream cheese and powdered sugar together until smooth and fluffy.
- Fold in 2 cups whipped topping until well combined and airy.
Step 3: Create the Colorful Swirl
- Spoon dollops of each partially-set Jell-O over the cream cheese filling.
- Use a butter knife or spatula to gently swirl the colors – don’t overmix for a pretty marbled effect.
- Spread the mixture evenly in the graham cracker crust.
Step 4: Chill and Decorate
- Refrigerate the pie at least 4 hours (or overnight) until fully set and firm.
- Top with extra whipped topping, sprinkles, or pastel decorations just before serving.
Notes for Making Easter Jell-O Pie
- Let your Jell-O thicken in the fridge until it has an “egg white” consistency for best swirling results.
- Full-fat cream cheese gives the silkiest texture—low-fat will work, but the pie may not set as firmly (learn more about cream cheese types).
- Don’t skip the chill time—overnight is ideal for easy slicing.
Fun Variations for Easter Jell-O Pie
- Tropical Easter Jell-O Pie: Swap lemon and lime Jell-O for pineapple and orange for a summery twist.
- Rainbow Jell-O Pie: Use 5-6 mini Jell-O packets in all colors of the rainbow for an ultra-vibrant dessert.
- Chocolate Graham Crust: Use a chocolate cookie crust for extra richness and a pretty contrast.
Required Equipment for Easter Jell-O Pie
- 2-3 medium mixing bowls
- Electric mixer or whisk
- Spatula
- Butter knife (for swirling)
- Pie pan (if making your own crust)
- Measuring cups and spoons
Storing Your Easter Jell-O Pie
Store your Easter Jell-O Pie covered in the refrigerator for up to 4 days. To prevent the whipped topping from deflating, add any final garnishes just before serving. Freezing is not recommended, as the texture will change.
Serving Suggestions & Pairings
- Serve slices chilled, topped with clouds of whipped topping and pastel sprinkles.
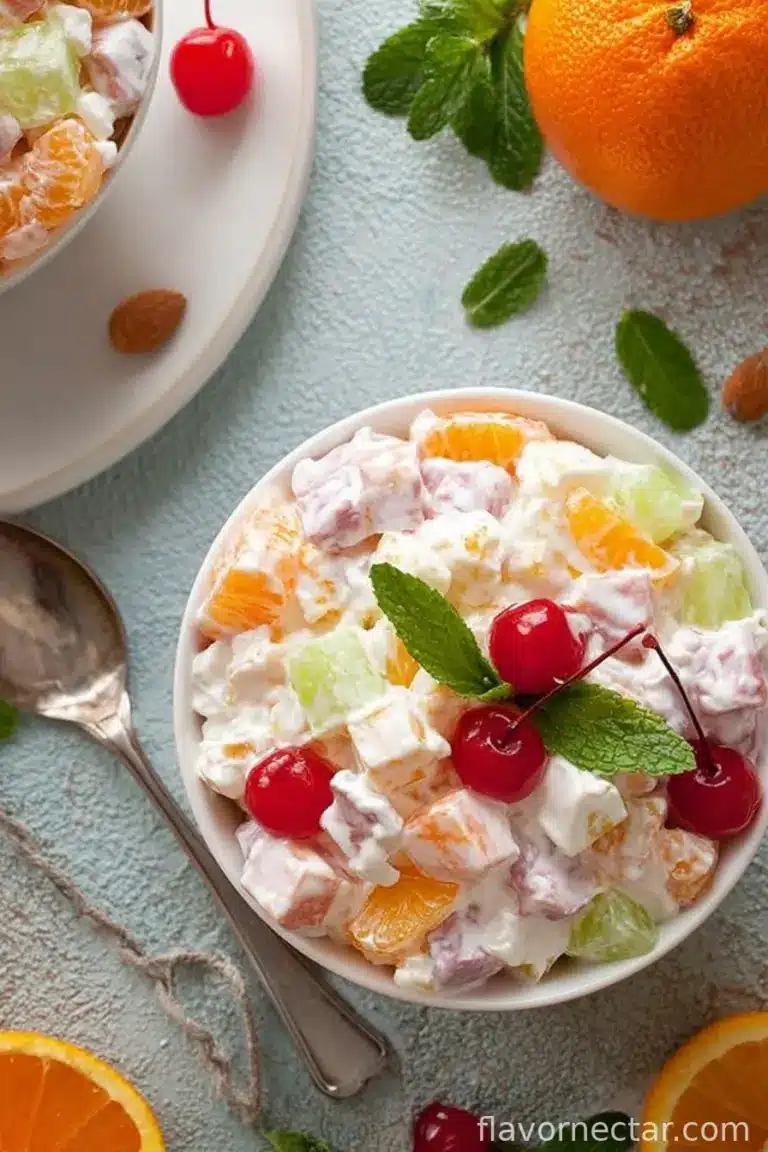
- Pair with fresh fruit salad, lemonade, or a light sparkling beverage for a refreshing contrast.
- This pie looks gorgeous on a spring-themed dessert table next to carrot cake or cookies!
Pro Tips for the Best Easter Jell-O Pie
- For a firmer pie, use slightly less cold water in your Jell-O mix if it’s a hot day.
- Want clean slices? Dip your knife in hot water and wipe between cuts for picture-perfect servings (see more slicing tips).
- Room temperature cream cheese ensures a lump-free, creamy filling every time. Learn more about cream cheese nutrition here.
FAQ: Easter Jell-O Pie
1. Can I use sugar-free Jell-O?
Yes! Sugar-free Jell-O works well and tastes great, but setting times may vary slightly.
2. What if I don’t have a store-bought crust?
No problem—just press 1½ cups crushed graham crackers mixed with 1/3 cup melted butter into a pie pan, then chill before filling.
3. Can I use fresh fruit in my Jell-O pie?
Absolutely! Add sliced strawberries, blueberries, or kiwi along with the swirled layers for extra flavor and texture.
Ingredients
- 2 (3 oz) boxes assorted Jell-O gelatin (such as lemon and berry blue)
- 1 cup boiling water
- 1/2 cup cold water
- 1 (8 oz) tub whipped topping, thawed
- 1 graham cracker pie crust (9-inch)
- 1/2 cup cream cheese, softened
- 1/4 cup granulated sugar
- Assorted pastel sprinkles, for garnish
Instructions
-
1In a medium bowl, dissolve each packet of Jell-O gelatin in 1/2 cup boiling water, and then add 1/4 cup cold water to each. Stir until dissolved and let cool to room temperature.
-
2In a large mixing bowl, beat softened cream cheese and granulated sugar together until smooth and creamy.
-
3Fold whipped topping into the cream cheese mixture until well combined and fluffy.
-
4Pour half the cream mixture into the graham cracker crust. Spoon one cooled gelatin flavor gently over the cream mixture, then spoon the remaining cream mixture, and layer with the second gelatin flavor. Swirl gently with a knife for a marbled effect.
-
5Refrigerate the pie for at least 4 hours or until set. Just before serving, garnish with pastel sprinkles.
CLICK FOR NUTRITION INFO
↑
Approximate Information for One Serving
Serving Size:
1 serving
Calories:
230 caloriescal
Protein:
3gg
Fat:
8gg
Saturated Fat:
0g
Trans Fat:
0g
Cholesterol:
0mg
Sodium:
0mg
Potassium:
0mg
Total Carbs:
36gg
Fiber:
0g
Sugar:
0g
Net Carbs:
0g
Vitamin A:
0
Vitamin C:
0mg
Calcium:
0mg
Iron:
0mg
Nutrition Disclaimers
Number of total servings shown is approximate. Actual number of servings will depend on your preferred portion sizes.
Nutritional values shown are general guidelines and reflect information for 1 serving using the ingredients listed, not including any optional ingredients. Actual macros may vary slightly depending on specific brands and types of ingredients used.
To determine the weight of one serving, prepare the recipe as instructed. Weigh the finished recipe, then divide the weight of the finished recipe (not including the weight of the container the food is in) by the desired number of servings. Result will be the weight of one serving.
Did you make this recipe?
Please consider Pinning it!!