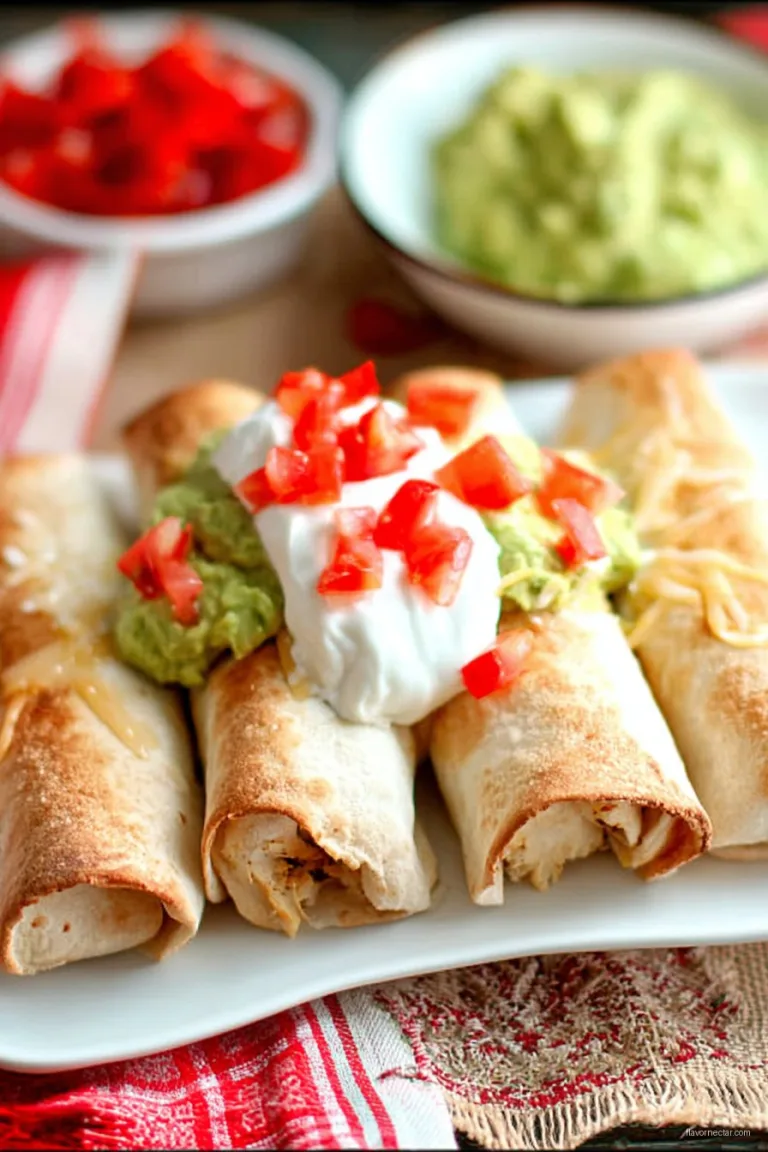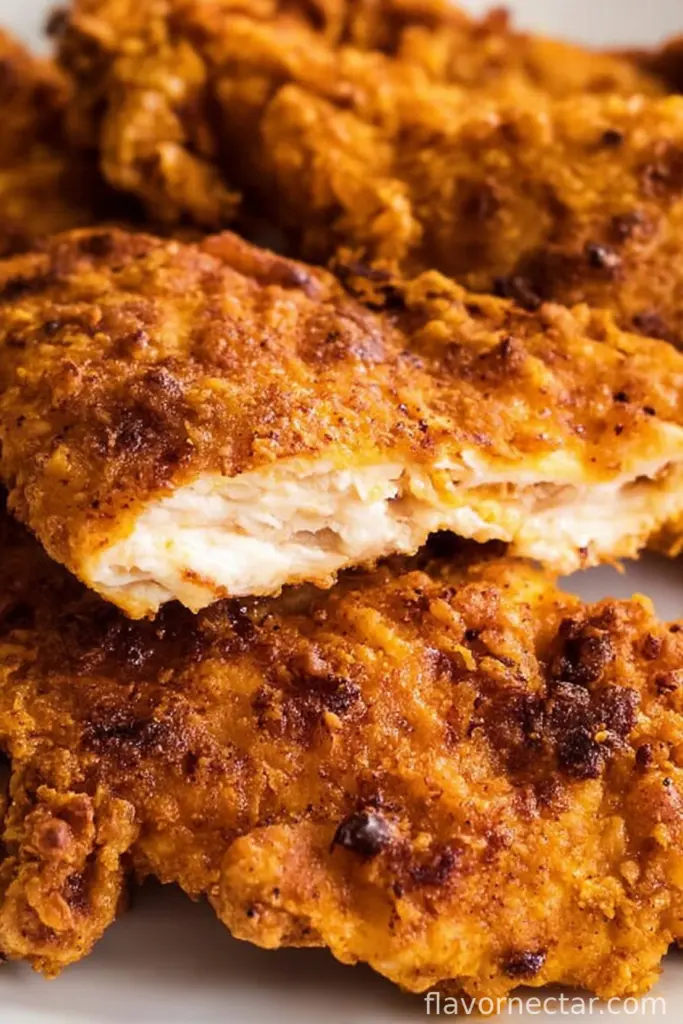
Let’s talk crispy oven fried chicken—pull up a chair!
I’ve made this recipe so many times, my oven practically knows what’s coming as soon as I put on my apron (not that I always wear one. Half the time I just wipe my hands on my jeans and hope nobody walks in). Crisping chicken in the oven was my white whale for years, to be honest. The first batch I made was barely a step up form a soggy sock. But here we are, many test drives—and a few well-earned crispy wings—later.

The first time I made this, my kid declared, “This is better than the bucket!” which is honestly all the validation I needed. There’s something about that crunchy, craggy coating meeting juicy chicken underneath… I could go on, but if I do, I might make a midnight batch.
Why I keep coming back to this chicken (again and again)
I usually whip this up for Sunday dinner (with way too many sides that barely fit the table). My family goes absolutely nuts, even though they know I’ve tried a gazillion versions. It’s my go-to when I’m craving comfort food but don’t want to smell like a deep fryer for two days. And, fun fact: after a few soggy misadventures, I discovered cornflakes actually work way better than breadcrumbs (though some purists might clutch their pearls). Plus, you don’t have to crowd around the stove splattered in oil—big bonus for my dry-clean-only T-shirts I never learn not to wear when cooking, sigh. I make a massive batch, and somehow, there’s never any left for lunch. Or breakfast. I’ve looked.
Here’s what you need (roughly-speaking)
- 2 pounds chicken pieces (wings, drumsticks, thighs—it’s your circus. I sometimes use all thighs because they stay super juicy, but you do you.)
- 1 cup buttermilk (or just regular milk with a splash of vinegar—seriously, it’s fine in a pinch)
- 1 large egg
- 2 cups crushed cornflakes (Panko crumbs are okay if that’s all you’ve got. My neighbor swears by saltines, but I think my dog eats them more than we do.)
- 3/4 cup all-purpose flour
- 1 teaspoon smoked paprika (or sweet paprika—my grandmother always insisted on smoked, which, honestly, I can’t always find in the back of my pantry…)
- 1 teaspoon garlic powder
- 1 teaspoon onion powder
- Salt and pepper to taste (I just go by feel, a pinch here, a good shake there)
- 1/4 cup oil (vegetable or canola. Sometimes I use olive oil, but I’m not sure it matters much. Seems fancy, doesn’t it?)
- Optional: A pinch of cayenne pepper if you like a little yee-haw in your crunch
How I make my (honestly too good) oven fried chicken
- Preheat your oven to 425°F (218°C). Crank it, but trust me, the high heat gets things going. Line a baking sheet with foil and stick a wire rack on top. Actually, if you don’t have a rack, just lay the chicken on the foil—it might get a bit less crispy underneath but you won’t lose sleep.
- Mix the marinade: In a big bowl, whisk together buttermilk and egg with a small tsunami of black pepper. Dump in your chicken pieces, toss to coat, then let them marinate at least 30 minutes (overnight is best—but guess what, I rarely remember to plan ahead and it’s still good).
- Prep the coating: Crush up those cornflakes. I stuff them in a bag and bash them with a rolling pin (or wine bottle, depending on the week) until they’re chunky—not dust! Mix with flour, paprika, garlic powder, onion powder, and a good pinch of salt and pepper.
- Coat the chicken: This is my kid’s favorite part. One piece at a time, lift chicken from the buttermilk, let the extra drip off, then toss it in the cornflake mix. Really press it in there—you want the crust chunky. (This is where I usually sneak a taste. No shame.)
- Arrange on the rack: Place coated chicken on your rack or sheet, and drizzle a little oil over each piece. I use a spoon and do a zigzag, nothing fancy.
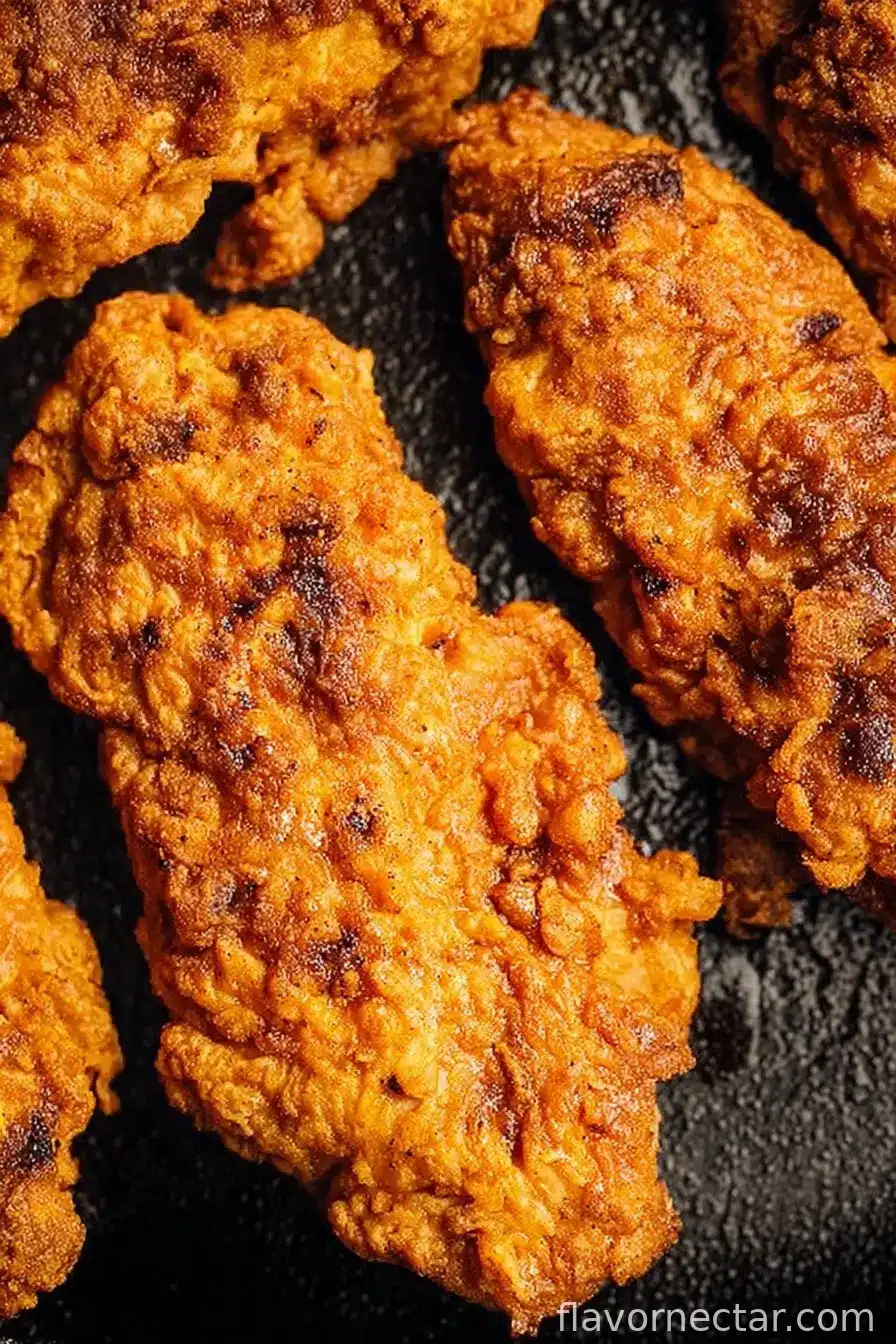
- Bake: Pop into the oven for about 40-45 minutes until golden, crispy, and the inside hits 165°F. Flip over about 30 minutes in if you remember; it helps with that all-around crunch. Don’t worry if some bits look extra-dark, they’re usually the tastiest.
- Rest (if you can wait): I let it sit 5 minutes before serving so nobody burns their tongue (not that this has ever stopped certain impatient family members…)
Stuff I’ve learned (usually the hard way): Notes
- Turns out, the more uneven your cornflake crumbs, the crunchier the chicken. Don’t bother with perfect crumbs—the funky bits rule.
- Sometimes I realize halfway through I’ve run out of buttermilk; sour cream thinned with water works too. Or Greek yogurt in a fix… I’m basically making it up as I go here.
- Try not to stack the chicken on the pan—give it some breathing room so the edges get crisp. Trust me, I’ve overcrowded it and just got pale, sad chicken.
Tried-and-true (and not-so-true) variations
- Swap in hot sauce for half the buttermilk if you’re feeling bold. Did it once, got addictively spicy chicken (and a few watery eyes at the table…oops).
- I tried a gluten-free version with rice flour and gluten-free cornflakes. Actually, not bad at all.
- For some reason, using potato chips instead of cornflakes didn’t work for me–tasted, uh, odd. Wouldn’t recommend unless you just really love chips!
Gear you’ll need (and clever workarounds)
- Wire rack (but foil’s okay if you don’t have one–just flip your chicken halfway and you’ll probably be fine!)
- Big bowl for the coating
- Baking sheet (occasionally I use my massive old pizza pan when the regular ones are in the dishwasher. Works just as well.)
- Something to bash cornflakes—a rolling pin, wine bottle, or even a coffee mug in a pinch!
How I (try to) store leftovers
In theory, these stay crisp in the fridge for up to 3 days, snug in an airtight container. Real talk—mine have only made it to the next morning once; I caught someone sneaking them cold, standing by the fridge. They’re surprisingly decent cold, by the way.
How I love to serve this crunchy chicken
We pile ours up on a big platter, usually with mashed potatoes and a mountain of slaw (bonus points if you toss in some pickle chips). Sometimes I cut up leftovers and toss them on a salad—makes me feel virtuous, even though I know full well where they came from. Or, on Friday nights, we go wild and make chicken sandwiches with spicy mayo. Personal favorite right there.
Pro tips I’ve learned the messy way
- Don’t rush the marinating. I once tried to speed it up and skipped the soak—just didn’t taste the same, and the breading kept sliding off like it was trying to quit the chicken. Not ideal.
- Be generous with the oil drizzle. Once (in a health-kick mood) I tried to skip oil altogether; big regret, came out dry as dust.
- You can absolutely double the batch, but you’ll need a second tray, or they’ll steam. Learned that one the hard way—and nothing makes you grumpier than a tray of limp chicken after all that work!
FAQ (people actually ask me these and yeah, I get it)
Q: Can I use boneless chicken?
Totally! Works great with tenders or breasts (though keep an eye on ’em, they cook a bit quicker).
Q: How do I get the crust to stick better?
I find dredging the chicken straight from the marinade–nice and drippy–helps. I used to pat them dry first, but actually, I find it works better if you go straight from wet to crumb. Live and learn!
Q: What if my coating looks splotchy or falls off?
That’s normal! Sometimes the first batch has a mind of its own. Give everything a good press into the crumbs, and don’t stress if it’s not picture perfect. It’s all belly anyway.
Q: Is this really as crispy as fried?
Honestly? Maybe not exactly the same as a deep fryer chicken (I mean, gravity’s doing different things), but this gets awfully close without the third-degree oil splatters. And the flavor punch is all there. Cross my heart!
Q: Can I freeze it?
I have, but the reheated results are a bit hit or miss–sometimes the coating softens. If you do, reheat in a super hot oven to bring back some crunch.
Anyway—if you’ve got a chicken craving and don’t fancy the takeout queue (or the clean-up), give this a go. And send me a note if your wire rack survives, because mine’s on its last leg. Now, where did I put that extra roll of foil…?
Ingredients
- 4 bone-in, skin-on chicken thighs
- 1 cup buttermilk
- 2 cups panko breadcrumbs
- 1/2 cup all-purpose flour
- 2 teaspoons smoked paprika
- 1 teaspoon garlic powder
- 1 teaspoon onion powder
- 1 teaspoon salt
- 1/2 teaspoon black pepper
- 2 tablespoons olive oil (for drizzling or spraying)
Instructions
-
1Preheat your oven to 425°F (220°C). Line a baking sheet with parchment paper or foil and place a wire rack on top; lightly coat with cooking spray.
-
2In a large bowl, marinate the chicken thighs in buttermilk for at least 15 minutes to tenderize and moisten the meat.
-
3In a shallow dish, mix together the panko breadcrumbs, flour, smoked paprika, garlic powder, onion powder, salt, and black pepper.
-
4Remove each chicken thigh from the buttermilk, letting excess drip off, then coat generously in the breadcrumb mixture. Press to ensure proper adhesion.
-
5Place the coated chicken thighs on the prepared rack. Drizzle or spray olive oil over the tops to help them become golden and crispy.
-
6Bake for 40 minutes, or until the chicken is golden brown and cooked through (internal temperature should reach 165°F/74°C). Let rest for a few minutes before serving.
CLICK FOR NUTRITION INFO
↑
Approximate Information for One Serving
Serving Size:
1 serving
Calories:
400cal
Protein:
33 gg
Fat:
17 gg
Saturated Fat:
0g
Trans Fat:
0g
Cholesterol:
0mg
Sodium:
0mg
Potassium:
0mg
Total Carbs:
28 gg
Fiber:
0g
Sugar:
0g
Net Carbs:
0g
Vitamin A:
0
Vitamin C:
0mg
Calcium:
0mg
Iron:
0mg
Nutrition Disclaimers
Number of total servings shown is approximate. Actual number of servings will depend on your preferred portion sizes.
Nutritional values shown are general guidelines and reflect information for 1 serving using the ingredients listed, not including any optional ingredients. Actual macros may vary slightly depending on specific brands and types of ingredients used.
To determine the weight of one serving, prepare the recipe as instructed. Weigh the finished recipe, then divide the weight of the finished recipe (not including the weight of the container the food is in) by the desired number of servings. Result will be the weight of one serving.
Did you make this recipe?
Please consider Pinning it!!