Hey there! So, let me tell you about this crispy fried cod fish sandwich. It’s been a staple in my kitchen ever since that summer when I was obsessed with perfecting my fish frying skills. I remember standing there with oil splatters everywhere, but the aroma was absolutely worth it. It took me back to those beachside shacks where the fish was always fresh, and the sea breeze filled your lungs. So, ready to make your kitchen a bit like that?
Why You’ll Love This
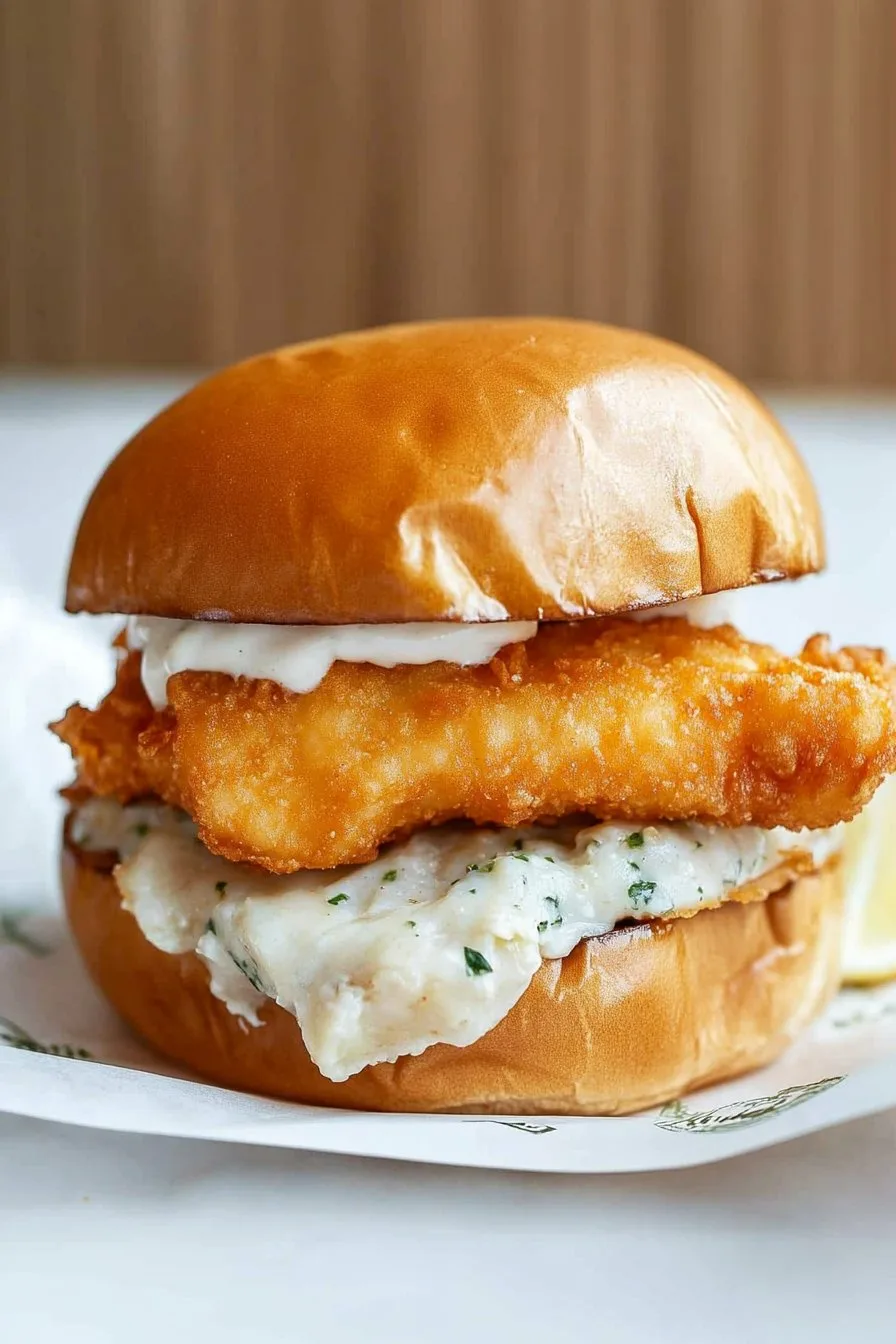
I make this sandwich when I’m craving something indulgent yet comforting (and let’s be real, it’s not always easy to find the right balance). My family goes crazy for this because the fish is crispy, the sauce tangy, and the bread just perfect. It’s like having a bit of seaside summer on a plate, even in the dead of winter! Oh, and have I mentioned the crunch? It’s an absolute game-changer.
Ingredients List
- 4 cod fillets (I sometimes use haddock if that’s what I’ve got on hand)
- 1 cup all-purpose flour (or whole wheat, if you’re feeling fancy)
- 2 eggs, beaten (remember to beat them well – I once didn’t and it was a mess)
- 2 cups panko breadcrumbs (honestly, any breadcrumbs will do in a pinch)
- Salt and pepper to taste
- Vegetable oil for frying
- 4 brioche buns (or any good sandwich buns)
- Your favorite tartar sauce (homemade is great, but store-bought is fine too)
- Lettuce leaves and tomato slices (for the freshness factor, y’know?)

Directions
- First off, pat the cod fillets dry with a paper towel. Dry fish = crispy fish! Season them with salt and pepper.
- Set up your dredging station. Flour in one shallow dish, eggs in another, and breadcrumbs in the last. It’s like a little assembly line.
- Now, dip each fillet in flour, then eggs, then breadcrumbs. Make sure they’re well-coated (this is where I usually sneak a taste of the breadcrumbs).
- Heat about half an inch of oil in a large skillet over medium heat. Once it’s hot (test with a breadcrumb – if it sizzles, you’re good), gently place the fillets in the oil.
- Fry the fish for about 3-4 minutes per side, until golden brown. Don’t worry if it looks a bit weird at this stage – it always does!
- Remove the fillets and let them drain on a plate lined with paper towels.
- Toast the buns in the oven or a toaster (I sometimes forget this step, but it really makes a difference).
- Assemble your sandwiches: bun, tartar sauce, lettuce, tomato, crispy cod, and more tartar sauce if you’re feeling adventurous.
Notes
I’ve found through trial and error that letting the fish rest on a wire rack after frying actually keeps it crispier than plopping it on paper towels, but I’m usually too hungry to be patient!

Variations
Once, I tried adding a dash of hot sauce to the egg mixture for a spicy kick—worked like a charm. But, when I tried using almond flour instead of all-purpose flour for a ‘healthier’ version, it didn’t quite meet my expectations. Live and learn, right?
Equipment
If you don’t have a skillet, you can use any deep pan. And if you’re missing a dredging station, a few plates will do the trick.

Storage Information
You can keep the leftover fish in the fridge for up to two days, though honestly, in my house, it never lasts more than a day!
Serving Suggestions
We love serving this with a side of coleslaw or sweet potato fries. My kids even like dipping their sandwiches in extra tartar sauce (they get that form their dad).
Pro Tips
I once tried rushing the dredging process and regretted it because the fish didn’t coat properly. So, give it the time it needs!
FAQ
Q: Can I use a different type of fish?
A: Definitely! Haddock works really well, and I’ve heard tilapia is decent too.
Q: What’s the best oil to use?
A: I usually go with vegetable oil, but any neutral oil like canola will work.
Hopefully, this gives you a taste (pun intended) of how you can make your own crispy fried cod fish sandwich. It’s a bit of trial and error, but that’s what makes cooking fun, right? Enjoy!