Let’s Talk Cheese and Crunch (You Ready?)
I still remember the first time I tried making cheese sticks at home. I was in college, the snack cravings hit at midnight, and honestly, the dorm microwave just wasn’t cutting it. I tried to fry string cheese in a tiny pan; let’s just say half the cheese ended up stuck to the bottom (and my roommate tried to hide his laughter behind a bag of chips). But I refuse to let a little cheese escape defeat me, so I’ve tinkered with this recipe ever since. Now these crispy fried cheese sticks are a family favorite, especially when we’re feeling snacky or need a little edible hug. Oh, and if you hear some crunching in the background—that’s probably me doing a taste test. Quality control and all that!
Why You’ll Love Making These Cheese Sticks (Or At Least Crave Them)
I make these whenever we’re planning a movie night, or just when I need to bribe my kids into helping tidy the kitchen. My family goes bonkers every time—my youngest calls them “cheese wands” (no magic, unless you count cheese pulling apart in slow-mo). I’ll admit, sometimes I get lazy and skip double breading, but then a few cheese sticks always burst open—seriously, don’t be me here. And if you’ve ever been disappointed by the limp, soggy ones from the freezer aisle, these are a whole different kettle of fish. Or, you know, cheese.
Here’s What Goes Into Them (Plus Some Swaps)
- 10 sticks of mozzarella cheese (cut from a block, or just grab string cheese—the kind in lunchboxes works fine. Once I tried cheddar, and it was messier but tasty!)
- 2 large eggs (fresh from the coop is the dream, but honestly, store eggs are what I use)
- 2 tablespoons milk (any milk really, I’ve even used oat milk in a pinch)
- 1 cup all-purpose flour (I know someone who uses cornstarch, but flour’s easiest for me)
- 2 cups Italian seasoned breadcrumbs (My grandmother swore by homemade, but I usually just pick up store-brand. Sometimes I go half panko for extra crunch.)
- 1/2 teaspoon garlic powder (optional, but I like a garlicky kick)
- Oil for frying (honestly, any neutral oil—I’ve used veggie, canola, and even peanut once when I ran out mid-batch!)
- Salt and pepper, to taste (I eyeball this, it’s never the same twice)
How I Make ‘Em: My Not-So-Perfect Method
- First, set out your cheese sticks. If you’re using string cheese, you can skip the slicing part (unless you like mini ones—up to you!).
- Get three bowls lined up. Put the flour in one; beat the eggs with milk in another (I use a fork or, when I can’t find one, a chopstick—don’t judge!); and breadcrumbs with garlic powder, salt, and pepper in the last.
- Coat the cheese sticks in flour (this is where things get a bit messy—some people like to glove up, I go in bare-handed). Then dunk them in the egg mix, making sure they’re fully wet, and roll ‘em around in the breadcrumbs.
- Important bit: For extra crunch and less cheese leakage (that’s a thing), I repeat the egg and breadcrumb stage. Double dunk, double bread—worth the effort, I promise. Sometimes I skip it when I’ve had a long day, but the cheese sticks rebel.
- Pop the coated sticks on a tray and—here’s where I changed my tune—let them chill in the freezer for at least 30 minutes. Actually, longer is better, especially if you’re chatting with friends and forget about them for an hour. Colder cheese = less goo all over your pan.
- Heat oil (about 1–2 inches deep) in a heavy pot or deep skillet to 350°F (well, 175°C for the metric folks). No thermometer? I drop in a breadcrumb—if it sizzles, you’re good to go (unless it burns right away, then turn down the heat!).
- Fry the sticks in batches for about 1–2 minutes, turning once, until golden brown. Don’t crowd the pan—they like some elbow room. I use tongs, but in a pinch, a slotted spoon works. Transfer to a kitchen towel-lined plate. This is where I always sneak one (don’t tell anyone).
Notes (Aka Things I Learned the Hard Way)
- If your cheese stick busts open, it’s probably because it wasn’t cold enough. Or maybe you got lazy with the breading (guilty… more than once).
- I’ve burned my fair share, usually when gabbing on the phone. Focus on the oil for those brief 2 minutes—no multi-tasking!
- You can freeze them pre-fried and just fry straight from the freezer when you need a cheese fix in a hurry.
Variations I’ve Played Around With (One Was a Flop)
- I tried using pepper jack once—super good, but way gooier. Watch for leaks!
- Panko crumbs make them crunchier, but sometimes they fall off mid-fry if you don’t double coat.
- I once attempted a baked version. I mean, the flavor was fine, but the crunch? Nah, I missed the oil. Maybe air fryer would be better, still not quite the same vibe.
Do You Need Fancy Gear?
A thermometer is technically helpful, but honestly, I usually use the “breadcrumb sizzle” test I mentioned above. And if you don’t have a deep pot, just use your biggest skillet; they’ll be fine as long as you have enough oil so they float a bit. Oh, and if you’re like me and run out of tongs—two forks work (clumsy but gets the job done).
Storing Extras (If There Are Any…)
Okay, officially? Store leftovers in an airtight container in the fridge, and reheat in the oven at 375°F (makes them crisp again). But honestly, in my house, they never make it past breakfast the next day—cold cheese sticks are a guilty pleasure all their own.
Got People Over? Here’s How I Serve ‘Em
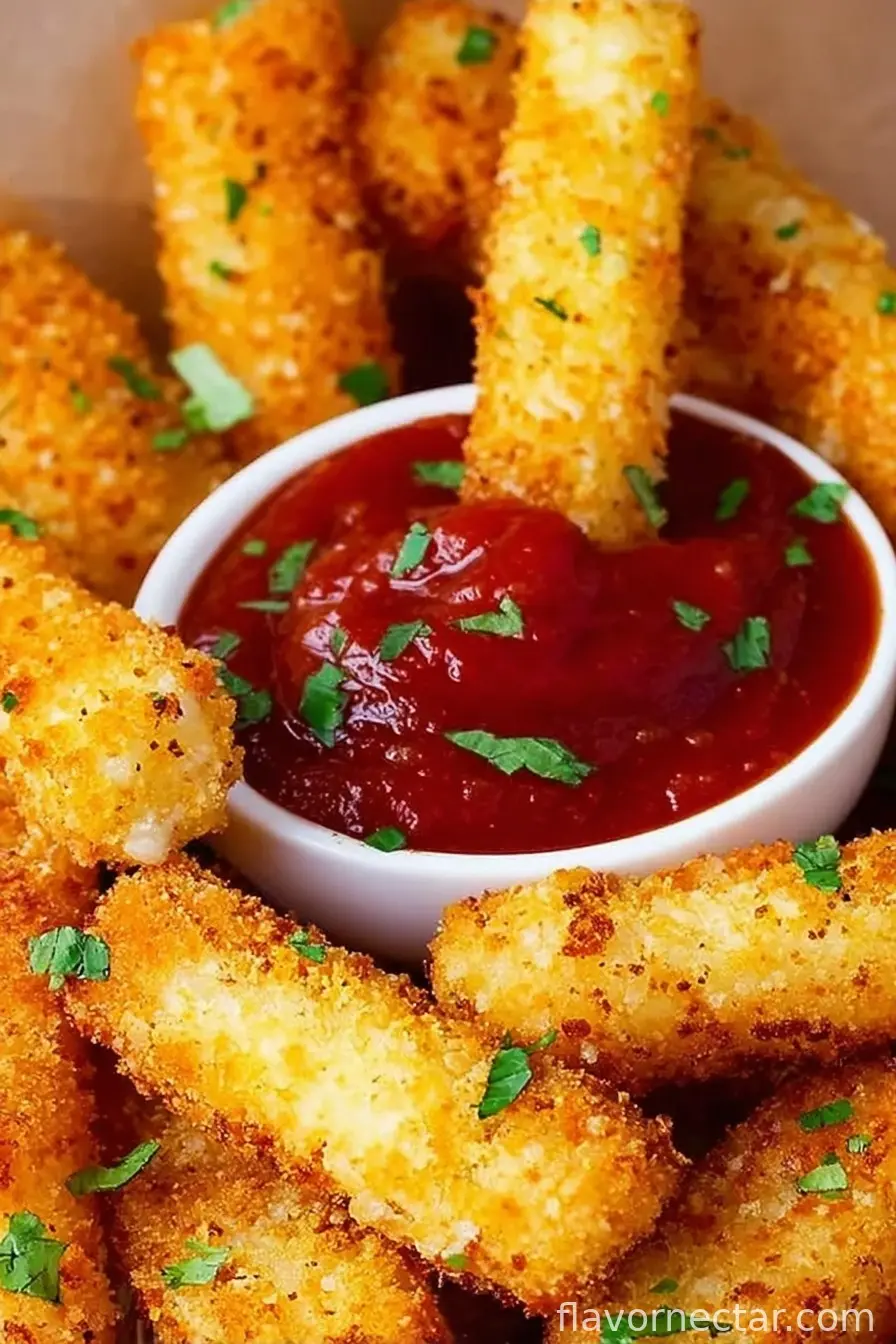
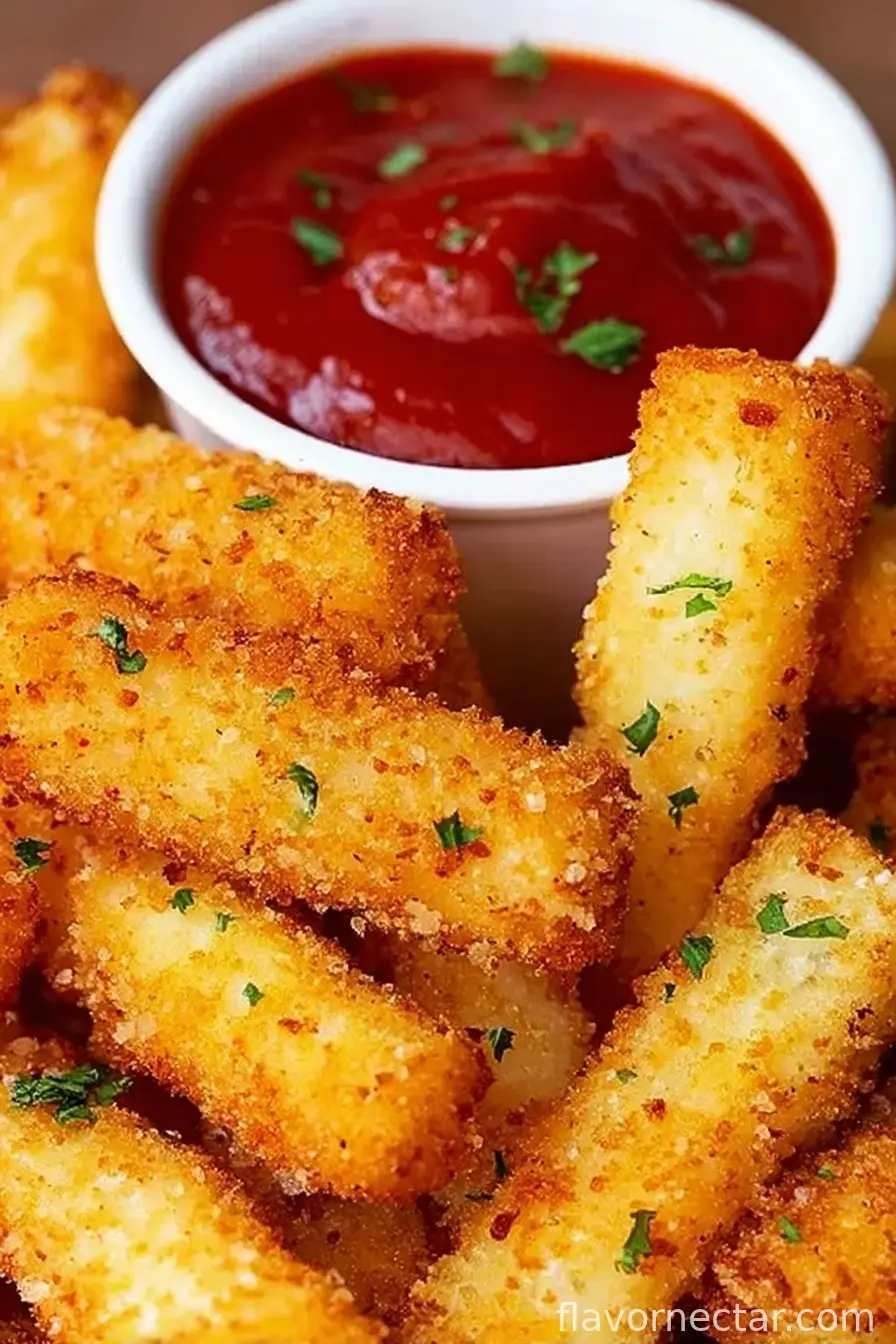
I like ‘em piled high on a big platter with warm marinara for dunking. (Ranch dressing is the backup if I’ve run out, and once my husband made his own chipotle mayo that was better than I expected.) Sometimes I sprinkle some fresh parsley so it looks fancier, but mostly, they disappear faster than I can garnish.
Pro Tips—AKA “Don’t Do What I Did”
- I once tried to fry them with the oil too cool. Result? Goo everywhere. Wait till it’s truly hot, even if your stomach’s rumbling!
- Don’t rush the freezing. I promise, it’s worth the wait. Skipping it = cheesy lava.
- If the breading starts falling off—just squish it back on. No one will notice post-fry. Or maybe that’s just me being optimistic?
You Asked, I Answered (FAQ)
-
Can I make these gluten-free?
Yep! Swap in gluten-free flour and breadcrumbs—I did this for my aunt once, and they were almost as good as my usual batch. -
Can I use different cheeses?
Absolutely, but mozzarella is classic. Cheddar works, but leaks more. Pepper jack adds a kick. -
What oil is best?
Whatever neutral oil you got. Honestly, I’ve used vegetable, canola, and even peanut (once, when the cupboard was bare!). -
Help! My breading falls off!
Yeah—it happens. Double coat and freeze longer. Or just patch it and fry anyway. Life’s too short. -
Can I prep these ahead?
Definitely! Freeze the breaded sticks, then fry from frozen. Handy for last-minute munchies.
And that’s it. Now go make some noise in the kitchen—your taste buds will thank you (and maybe your neighbors too, if you share). Cheers from my snack-loving heart to yours!
Ingredients
- 10 sticks of mozzarella cheese (cut from a block, or use string cheese)
- 2 large eggs
- 2 tablespoons milk
- 1 cup all-purpose flour
- 2 cups Italian seasoned breadcrumbs
- 1/2 teaspoon garlic powder (optional)
- Oil for frying (vegetable, canola, or peanut oil)
- Salt and pepper, to taste
Instructions
-
1First, set out your cheese sticks. If you’re using string cheese, you can skip the slicing part (unless you like mini ones—up to you!).
-
2Get three bowls lined up. Put the flour in one; beat the eggs with milk in another (I use a fork or, when I can’t find one, a chopstick—don’t judge!); and breadcrumbs with garlic powder, salt, and pepper in the last.
-
3Coat the cheese sticks in flour (this is where things get a bit messy—some people like to glove up, I go in bare-handed). Then dunk them in the egg mix, making sure they’re fully wet, and roll ‘em around in the breadcrumbs.
-
4For extra crunch and less cheese leakage (that’s a thing), I repeat the egg and breadcrumb stage. Double dunk, double bread—worth the effort, I promise. Sometimes I skip it when I’ve had a long day, but the cheese sticks rebel.
-
5Pop the coated sticks on a tray and—here’s where I changed my tune—let them chill in the freezer for at least 30 minutes. Actually, longer is better, especially if you’re chatting with friends and forget about them for an hour. Colder cheese = less goo all over your pan.
-
6Heat oil (about 1–2 inches deep) in a heavy pot or deep skillet to 350°F (well, 175°C for the metric folks). No thermometer? I drop in a breadcrumb—if it sizzles, you’re good to go (unless it burns right away, then turn down the heat!).
-
7Fry the sticks in batches for about 1–2 minutes, turning once, until golden brown. Don’t crowd the pan—they like some elbow room. I use tongs, but in a pinch, a slotted spoon works. Transfer to a kitchen towel-lined plate. This is where I always sneak one (don’t tell anyone).
CLICK FOR NUTRITION INFO
↑
Approximate Information for One Serving
Serving Size:
1 serving
Calories:
410 caloriescal
Protein:
19gg
Fat:
24gg
Saturated Fat:
0g
Trans Fat:
0g
Cholesterol:
0mg
Sodium:
0mg
Potassium:
0mg
Total Carbs:
31gg
Fiber:
0g
Sugar:
0g
Net Carbs:
0g
Vitamin A:
0
Vitamin C:
0mg
Calcium:
0mg
Iron:
0mg
Nutrition Disclaimers
Number of total servings shown is approximate. Actual number of servings will depend on your preferred portion sizes.
Nutritional values shown are general guidelines and reflect information for 1 serving using the ingredients listed, not including any optional ingredients. Actual macros may vary slightly depending on specific brands and types of ingredients used.
To determine the weight of one serving, prepare the recipe as instructed. Weigh the finished recipe, then divide the weight of the finished recipe (not including the weight of the container the food is in) by the desired number of servings. Result will be the weight of one serving.
Did you make this recipe?
Please consider Pinning it!