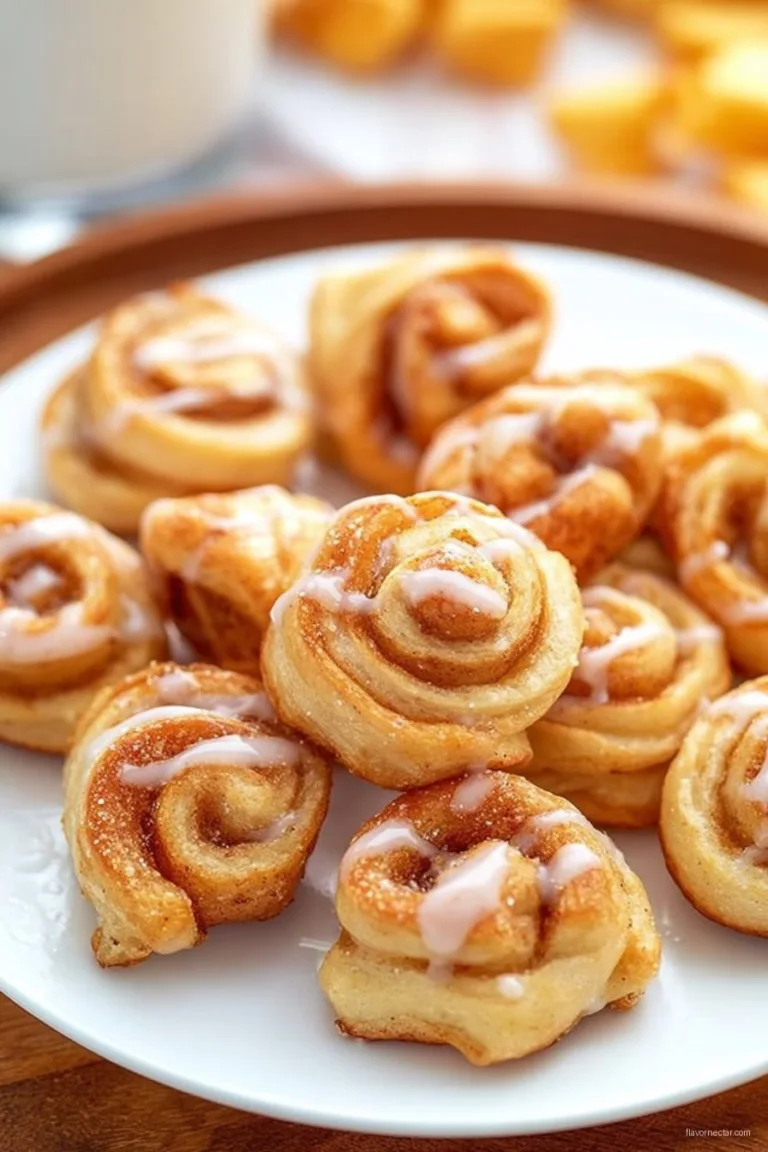
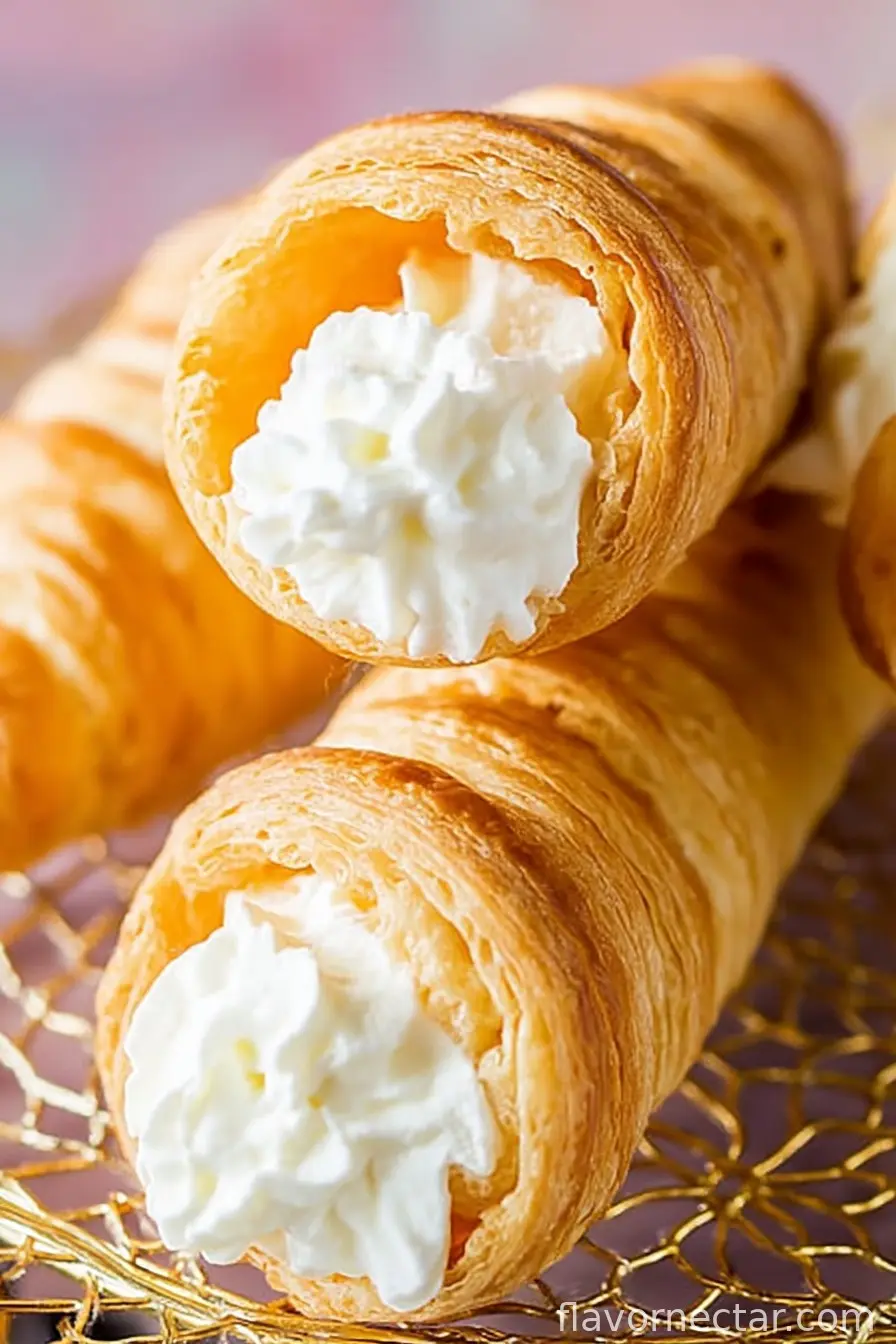
If you’ve ever found yourself with an irritable sweet tooth at midnight and no patience left for complicated desserts, welcome to my club! Cream horns are basically my peace treaty with pastry: not fussy, always impressive, and honestly a lot easier to make than I used to think. I remember the first time I tried to get the filling inside the pastry and it sort of…exploded sideways. Lucky for me, my kids thought this was hilarious and promptly ate the evidence. Now, making cream horns is my little weekend ritual—sometimes more successful than others, but always delicious.
Why You’ll Love This (Even If You’re Not a Pastry Pro)
I make these cream horns when I’m craving something fancy but don’t want to fuss around with dough for hours. My family goes slightly bonkers for these, especially because the filling is so creamy and the pastry is, well, pretty much a cloud wrapped around sugar. (Seriously, if you can open a freezer and have ten minutes to chase runaway pastry dough, you can do this.) Not gonna lie—rolling puff pastry tightly around a mold used to scare the socks right off me, but it’s honestly more forgiving than it looks.
And hey, if you get a little dizzy swirling pastry around cylinders, there’s always shortcut options that’ll save your arms and your dignity!
Ingredients (Plus Some Substitutes I Won’t Tell Anyone About)
- 1 sheet frozen puff pastry, thawed (I sometimes use store-brand; my grandmother swears by the big-name stuff, but eh—use what you’ve got!)
- 2 tablespoons granulated sugar (or a bit more if you like things sweet, which I definitely do)
- 1 egg, beaten (for brushing—I’ve gotten away with milk once or twice, in a pinch)
- 1 cup heavy whipping cream (sometimes I cheat with ready-made whipped cream if I’m truly knackered)
- 2 tablespoons powdered sugar (more or less—taste as you go, nobody’s watching)
- 1/2 teaspoon vanilla extract (the good stuff if you’ve got it, but I’ve used cheap and it’s still great)
- Optional: chocolate chips for dipping or drizzling (if you like it a bit fancier)
How to Make Cream Horns Without Losing Your Mind
- Preheat your oven to 400°F (205°C), because nothing derails me faster than forgetting to turn it on and then realizing halfway through assembly. Happens way too often, honestly.
- On a lightly floured surface, unfold your puff pastry. Give it a gentle roll with a rolling pin—you’re looking for about 1/8-inch thick, but I’ll admit, I’ve gone a bit wonky with it and the world didn’t end.
- Cut the pastry into strips about one inch wide. Some people use a ruler (I have, like, once), but I just eyeball it most times.
- Lightly grease your cream horn molds (if you have them). If not—and here’s a hack—wrap some foil into cone shapes, as clumsy as you like. It works in a pinch. Promise.
- Wrap each strip around a mold/cone, starting at the pointed end and overlapping as you go. Don’t panic if it unravels—just patch it up. Life’s too short for perfect pastry spirals.
- Brush the wrapped cones with the beaten egg. Sprinkle with granulated sugar if you wanna be a bit extra (I always do).
- Place horns (mold and all) seam-side down on a baking tray lined with parchment paper. Bake for 13 to 16 minutes. Keep an eye out after 12, as oven moods can differ wildly. You’re aiming for golden and puffy.
- Let the pastry cool for a couple of minutes, then gently slide it off the molds. Sometimes I use a butter knife to help, but don’t jab too hard or you might shatter all your hard work—voice of experience.
- For the filling, whip the heavy cream with powdered sugar and vanilla until stiff peaks form. (This is when I usually sneak a taste—consider it quality control.)
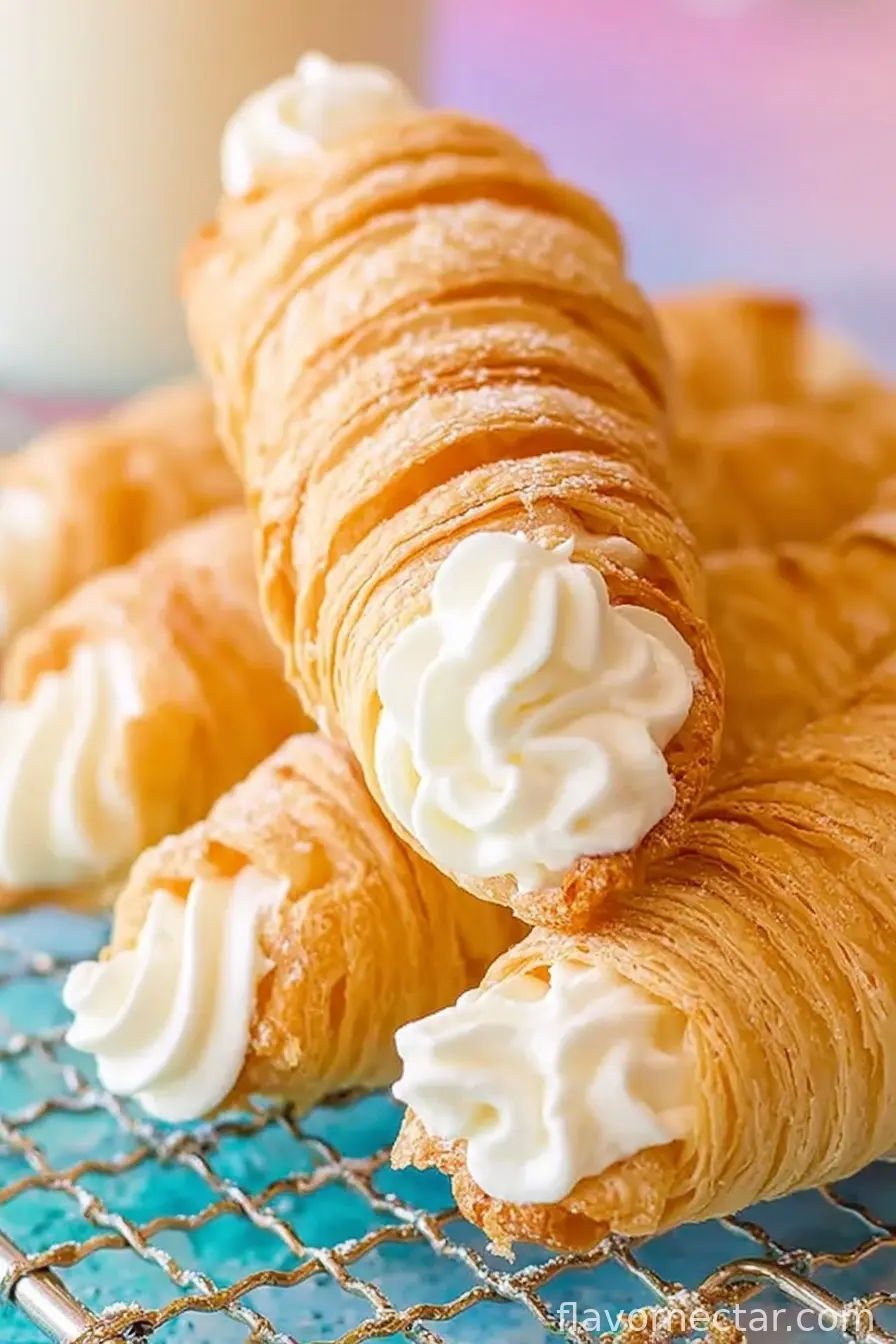
- Once the horns are cool, pipe or spoon the whipped cream inside. (Spoon is messier but that’s half the fun, isn’t it?)
- If feeling fancy, melt a handful of chocolate chips and drizzle or dip the ends. This is entirely optional but makes people act like you spent all day on them.
Notes (AKA: Stuff I Learned the Hard Way)
- If you over-bake, they’ll be too crisp to bite through without decorating the front of your shirt with crumbs. Not that that’s ever happened to me…
- For the filling, sometimes I add a spoonful of mascarpone if it’s lurking in the back of my fridge. Turns out super rich.
- I once tried using a double layer of pastry for extra height—it just ended up doughy in the middle. Stick to one layer, I reckon.
Funny Experiments (Some Winners, Some Duds)
I tried filling these with lemon curd once—too runny, kinda dribbly. But Nutella and whipped cream? That’s a yes from me (and everyone else). I’ve also swapped in cinnamon sugar instead of plain; nice autumn vibes. Jam swirls looked amazing but dripped everywhere. Live and learn!
Equipment (Workarounds Totally Welcome)
- Cream horn molds or cones (absolutely ideal, but foil or even a twisted up bit of parchment paper will do—creativity is the mother of necessity, or however that goes)
- Mixing bowls (one big, one smallish; I’m forever running out and reaching for salad bowls instead…they work fine)
- Hand mixer or strong whisk, if your arms are up for an adventure
- Piping bag (ziplock with the corner snipped works, in a pinch)
- Baking tray, parchment paper—usual business
How to Store Cream Horns Like a Procrastinator
Truth is, in my house, these rarely survive longer than a day, what with everyone nibbling when they pass through the kitchen. But if you have better willpower, store finished cream horns in the fridge in an airtight container. Without the cream, you can keep the pastry in a tin for 2–3 days. (Top tip: fill them just before serving for ultimate crispiness.)
How I Like to Serve Them
Usually, I let my cream horns chill in the fridge for half an hour so the cream sets a little firmer and tastes refreshingly cold. My gran used to serve hers with a dusting of powdered sugar and a mug of tea. Totally works for coffee too—a sweet treat for the afternoon blues.
Some Things I Won’t Rush Again (Pro Tips Form My Blunders)
- Don’t try to wrap piping hot pastry with cream. I once did it in a rush—melty disaster. Wait until they’ve properly cooled off or you’ll just end up with a soggy, sad horn.
- Egg wash is worth the extra 30 seconds. Skipping it once made the horns really pale and sort of…meh looking. Also the sugar on top caramelises beautifully.
FAQ (Culled From Real-Life Questions…and a Few Stray Thoughts)
- Can I freeze cream horns? Technically yes, but I find the texture suffers a bit—especially with the filling. You can freeze the baked shells, though.
- What’s the best way to shape the cones if I don’t have molds? Foil cones are honestly fine (and creative!). One friend uses sugar ice cream cones wrapped in foil. Brilliant, right?
- Do I have to use puff pastry? You probably could try phyllo but honestly it’s a faff. Puff pastry is best for the classic fluffy, flaky layers—and it’s less fiddly.
- Can I add fruit? Yep, berries in the filling are delish. I’d avoid anything too juicy (learned that one the sticky way).
- Is there a low-sugar version? You can skip the sprinkle on top and use less sugar in the cream, but these are meant to be a treat, so I say don’t deny yourself!
And just as a random aside (because I get asked), yes, the kitchen will smell amazing while these bake. Better than the posh bakery down the block, if you ask me. Have fun baking, and may your cream stay firmly inside the horn!
Ingredients
- 1 sheet frozen puff pastry, thawed (I sometimes use store-brand; my grandmother swears by the big-name stuff, but eh—use what you’ve got!)
- 2 tablespoons granulated sugar (or a bit more if you like things sweet, which I definitely do)
- 1 egg, beaten (for brushing—I’ve gotten away with milk once or twice, in a pinch)
- 1 cup heavy whipping cream (sometimes I cheat with ready-made whipped cream if I’m truly knackered)
- 2 tablespoons powdered sugar (more or less—taste as you go, nobody’s watching)
- 1/2 teaspoon vanilla extract (the good stuff if you’ve got it, but I’ve used cheap and it’s still great)
- Optional: chocolate chips for dipping or drizzling (if you like it a bit fancier)
Instructions
-
1Preheat your oven to 400°F (205°C), because nothing derails me faster than forgetting to turn it on and then realizing halfway through assembly. Happens way too often, honestly.
-
2On a lightly floured surface, unfold your puff pastry. Give it a gentle roll with a rolling pin—you’re looking for about 1/8-inch thick, but I’ll admit, I’ve gone a bit wonky with it and the world didn’t end.
-
3Cut the pastry into strips about one inch wide. Some people use a ruler (I have, like, once), but I just eyeball it most times.
-
4Lightly grease your cream horn molds (if you have them). If not—and here’s a hack—wrap some foil into cone shapes, as clumsy as you like. It works in a pinch. Promise.
-
5Wrap each strip around a mold/cone, starting at the pointed end and overlapping as you go. Don’t panic if it unravels—just patch it up. Life’s too short for perfect pastry spirals.
-
6Brush the wrapped cones with the beaten egg. Sprinkle with granulated sugar if you wanna be a bit extra (I always do).
-
7Place horns (mold and all) seam-side down on a baking tray lined with parchment paper. Bake for 13 to 16 minutes. Keep an eye out after 12, as oven moods can differ wildly. You’re aiming for golden and puffy.
-
8Let the pastry cool for a couple of minutes, then gently slide it off the molds. Sometimes I use a butter knife to help, but don’t jab too hard or you might shatter all your hard work—voice of experience.
-
9For the filling, whip the heavy cream with powdered sugar and vanilla until stiff peaks form. (This is when I usually sneak a taste—consider it quality control.)
-
10Once the horns are cool, pipe or spoon the whipped cream inside. (Spoon is messier but that’s half the fun, isn’t it?)
-
11If feeling fancy, melt a handful of chocolate chips and drizzle or dip the ends. This is entirely optional but makes people act like you spent all day on them.
CLICK FOR NUTRITION INFO
↑
Approximate Information for One Serving
Serving Size:
1 serving
Calories:
310 caloriescal
Protein:
4gg
Fat:
21gg
Saturated Fat:
0g
Trans Fat:
0g
Cholesterol:
0mg
Sodium:
0mg
Potassium:
0mg
Total Carbs:
26gg
Fiber:
0g
Sugar:
0g
Net Carbs:
0g
Vitamin A:
0
Vitamin C:
0mg
Calcium:
0mg
Iron:
0mg
Nutrition Disclaimers
Number of total servings shown is approximate. Actual number of servings will depend on your preferred portion sizes.
Nutritional values shown are general guidelines and reflect information for 1 serving using the ingredients listed, not including any optional ingredients. Actual macros may vary slightly depending on specific brands and types of ingredients used.
To determine the weight of one serving, prepare the recipe as instructed. Weigh the finished recipe, then divide the weight of the finished recipe (not including the weight of the container the food is in) by the desired number of servings. Result will be the weight of one serving.
Did you make this recipe?
Please consider Pinning it!