You Know Those Mornings? Yeah, This Is the Hero Recipe
Honestly, if you’d asked me five years ago if I’d ever get excited about oats soaking in the fridge, I’d have snorted and kept eating my slightly burnt toast. But then life stomped down the hall in pajamas (hi, teenagers) and I needed breakfast that didn’t demand a clean frying pan at 7am. That’s when these chocolate peanut butter overnight oats came into play—at first as a kinda last-resort, then as my go-to savior. One time, I forgot about them for two days and when I finally dug the spoon in, well, let’s just say I regret nothing except not making more. Oh, and if you hear suspicious scraping noises from the kitchen late at night, that’s probably just me ‘checking the texture.’ Right. Texture.

Why I’m Always Making These
I make this when I know tomorrow morning will be slightly (or completely) bonkers, or if I’m craving that comforting peanut-buttery-chocolate thing but don’t want to bake. My kids go through them faster than I expect. Also? They’re forgiving. I’ve definitely measured with my heart a few times, especially with the cocoa powder. And—confession—I’m always suspicious of ‘healthy’ breakfasts, but this one feels like dessert in disguise (just don’t ask me about the actual nutritional info, because who needs math at breakfast?).
Here’s What You’ll Need (or Probably Already Have)
- 1/2 cup old-fashioned rolled oats (I’ve absolutely used quick oats in a pinch, though Grandma would probably roll her eyes)
- 2/3 cup milk of choice (honestly, anything goes—almond, oat, regular cow’s milk; I’ve even tried chocolate milk once, oops)
- 1 1/2 tablespoons peanut butter (creamy or crunchy; natural is good, but don’t panic if it’s the processed kind you have on hand)
- 1 tablespoon unsweetened cocoa powder (sometimes I fudge it and do a heaping spoonful)
- 2 teaspoons honey or maple syrup (or whatever sticky sweetener you stumble upon first)
- Pinch of salt (trust me, this tiny bit does wonders)
- 1/4 teaspoon vanilla extract (if you remember—I’ve forgotten and it’s still tasty)
- Optional: A small handful of chocolate chips (these sometimes sneak in when I’ve had a long day)
How I Actually Make It (Tiny Messes Included)
- Find a mason jar, old jam jar, or honestly any bowl with a lid. If you have a fancy overnight oats container, power to you. Add 1/2 cup oats.
- Pour in 2/3 cup milk. If you’re not entirely awake, it’s fine if it’s a little less or more. Give it a swirl.
- Now, drizzle in the 1 1/2 tablespoons peanut butter. I have, more than once, micowaved it for 10 seconds so it’s easier to mix. Optional, but my wrists say thanks.
- Sift in 1 tablespoon cocoa powder. Or just dump it straight in if you can’t find your sifter (guess which camp I’m in). Stir gently. This is where I occasionally sneak a taste, quality control and all.
- Add 2 teaspoons honey or maple syrup, pinch of salt, and the vanilla. Mix it all—mash up any stubborn peanut butter clumps as best you can. Don’t worry, it’ll all come together overnight. If it looks slightly weird, that’s normal.
- Stir in a small handful of chocolate chips if you’re feeling it. Or don’t—totally up to you. Sometimes I live on the edge.
- Put the lid on (pretty important unless you like crunchy fridge oats from whatever’s floating around in there). Stick in the fridge at least 6 hours. Overnight is ideal, though I tend to peek after three just because I’m impatient.
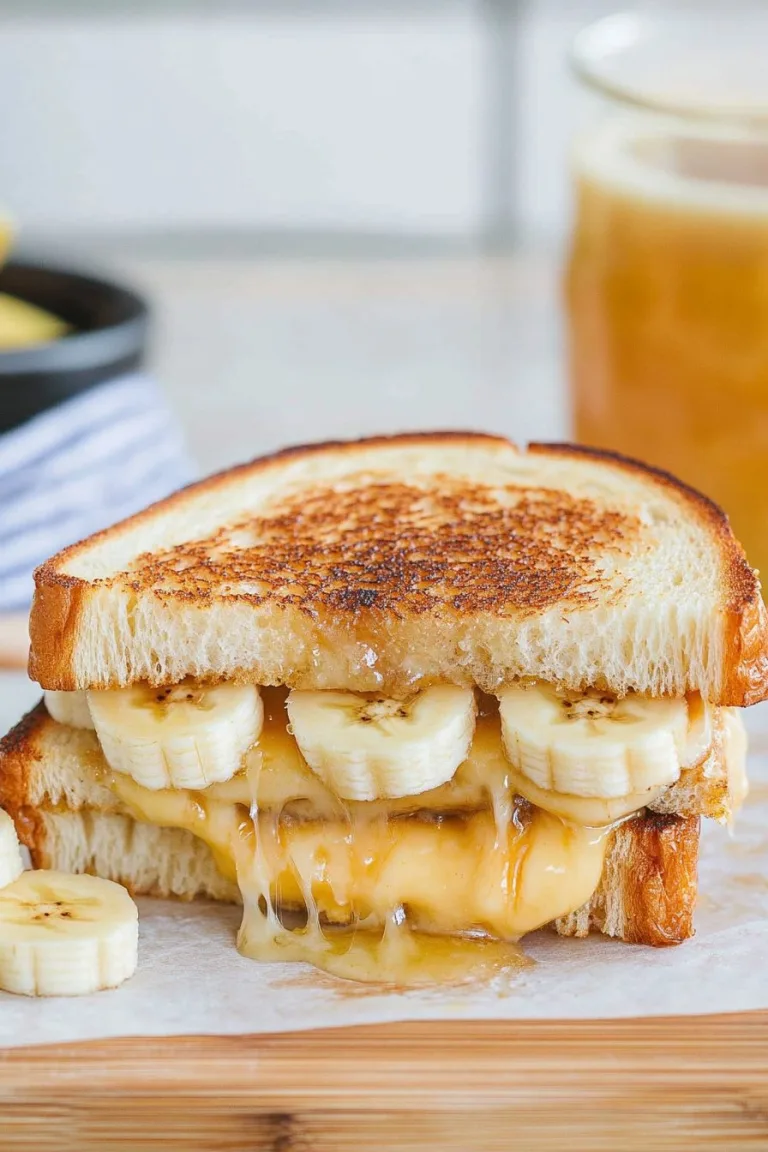
- In the morning, grab a spoon, give everything one more stir (sometimes it’s a bit gloopy at first). Top with extra peanut butter, banana slices, or totally nothing at all if you’re running out the door.
Notes from the Front Lines
- If your oats seem too thick in the morning, splash in a bit more milk—I’ve done this half-awake and you can’t mess it up.
- I tried microwaving my jar once to take the chill off. Let’s just say, the metal lid and I are no longer speaking.
- The flavor is even better on day two, but somehow… it never survives that long in my house.
Variations I’ve (Mostly) Survived
- Swapped peanut butter for almond butter—still dreamy.
- Stirred in chia seeds for that fancy cafe vibe—totally works, just adds a little thickeness.
- Tried yogurt instead of some of the milk. Creamier, but then it almost feels too much like dessert. Not that I’m really complaining.
- Attempted hazelnut spread instead of PB… it was a bit much, and my husband gave me The Look. Save that experiment for late-night solo snacking.

Gear (But If You Don’t Have Something, Shrug It Off)
- A jar or bowl with a lid is perfect, but I’ve actually just used cling film over a mug before. Works in a pinch.
- A spoon or fork for stirring.
- If you’re feeling fancy, a rubber spatula helps with scraping the peanut butter, but honestly, I usually just use my finger (don’t tell my kids).
How Long Will These Last? (In Theory)
Technically, these should keep in the fridge for three days. But, if your family is like mine, they’ll vanish within 24 hours; sometimes, I even hide the jar at the back of the fridge behind the pickles. Shh.
Serving Ideas—How We Like ‘Em
I love adding a handful of granola on top for crunch, or sliced banana when I’m not feeling lazy. My youngest insists on extra chocolate chips (for breakfast!) while I sometimes just eat it straight out of the jar sitting on the back step. Your call.
What I Wish I Knew Sooner (Pro Tips From My Mistakes)
- Don’t try to rush the soaking—seriously, I once ate it after an hour and it was like eating sweet gravel. Not recommended.
- Actually, if you use steel cut oats, just… don’t. They never soften enough, or at least not in my fridge.
- Hot weather? Use cold milk, it helps everything blend. Learned that the sweaty way after roadtripping with the kids one summer; not my finest hour.
FAQ—Because I’ve Been Asked, More Than Once
- Can I make this dairy-free? Oh, absolutely. I’ve used almond milk, oat milk, even coconut milk (though the coconut flavor’s pretty strong).
- Do I have to use peanut butter? Nope, you could swap with any nut or seed butter. Sunflower butter is my neighbor’s go-to, and she says it’s just as good. Actually, sometimes I do half-and-half if I’m low on PB.
- Can I prep a week’s worth? Technically, probably, but honestly the taste is freshest the first couple days. Batch prepping is great in theory—if your people don’t gobble it all at once, unlike mine.
- Is it really breakfast, or dessert? Friend, it’s both. Sometimes, I eat it at 9pm and call it “late-night energy oats.” Who’s judging?
- My oats are thin/runny—what gives? Stir, let it sit a bit longer, or add chia seeds if you want it thicker. On the flip side, just add a splash of milk if it’s too stiff. These oats are very forgiving—kinda like me, before coffee.
- Can I use flavored yogurt? Yeap. It’s sweeter but… not exactly a bad thing, unless you want really plain oats.
Ingredients
- 1/2 cup old-fashioned rolled oats (I’ve absolutely used quick oats in a pinch, though Grandma would probably roll her eyes)
- 2/3 cup milk of choice (honestly, anything goes—almond, oat, regular cow’s milk; I’ve even tried chocolate milk once, oops)
- 1 1/2 tablespoons peanut butter (creamy or crunchy; natural is good, but don’t panic if it’s the processed kind you have on hand)
- 1 tablespoon unsweetened cocoa powder (sometimes I fudge it and do a heaping spoonful)
- 2 teaspoons honey or maple syrup (or whatever sticky sweetener you stumble upon first)
- Pinch of salt (trust me, this tiny bit does wonders)
- 1/4 teaspoon vanilla extract (if you remember—I’ve forgotten and it’s still tasty)
- Optional: A small handful of chocolate chips (these sometimes sneak in when I’ve had a long day)
Instructions
-
1Find a mason jar, old jam jar, or honestly any bowl with a lid. If you have a fancy overnight oats container, power to you. Add 1/2 cup oats.
-
2Pour in 2/3 cup milk. If you’re not entirely awake, it’s fine if it’s a little less or more. Give it a swirl.
-
3Now, drizzle in the 1 1/2 tablespoons peanut butter. I have, more than once, micowaved it for 10 seconds so it’s easier to mix. Optional, but my wrists say thanks.
-
4Sift in 1 tablespoon cocoa powder. Or just dump it straight in if you can’t find your sifter (guess which camp I’m in). Stir gently. This is where I occasionally sneak a taste, quality control and all.
-
5Add 2 teaspoons honey or maple syrup, pinch of salt, and the vanilla. Mix it all—mash up any stubborn peanut butter clumps as best you can. Don’t worry, it’ll all come together overnight. If it looks slightly weird, that’s normal.
-
6Stir in a small handful of chocolate chips if you’re feeling it. Or don’t—totally up to you. Sometimes I live on the edge.
-
7Put the lid on (pretty important unless you like crunchy fridge oats from whatever’s floating around in there). Stick in the fridge at least 6 hours. Overnight is ideal, though I tend to peek after three just because I’m impatient.
-
8In the morning, grab a spoon, give everything one more stir (sometimes it’s a bit gloopy at first). Top with extra peanut butter, banana slices, or totally nothing at all if you’re running out the door.
CLICK FOR NUTRITION INFO
↑
Approximate Information for One Serving
Serving Size:
1 serving
Calories:
370cal
Protein:
13 gg
Fat:
15 gg
Saturated Fat:
0g
Trans Fat:
0g
Cholesterol:
0mg
Sodium:
0mg
Potassium:
0mg
Total Carbs:
45 gg
Fiber:
0g
Sugar:
0g
Net Carbs:
0g
Vitamin A:
0
Vitamin C:
0mg
Calcium:
0mg
Iron:
0mg
Nutrition Disclaimers
Number of total servings shown is approximate. Actual number of servings will depend on your preferred portion sizes.
Nutritional values shown are general guidelines and reflect information for 1 serving using the ingredients listed, not including any optional ingredients. Actual macros may vary slightly depending on specific brands and types of ingredients used.
To determine the weight of one serving, prepare the recipe as instructed. Weigh the finished recipe, then divide the weight of the finished recipe (not including the weight of the container the food is in) by the desired number of servings. Result will be the weight of one serving.
Did you make this recipe?
Please consider Pinning it!