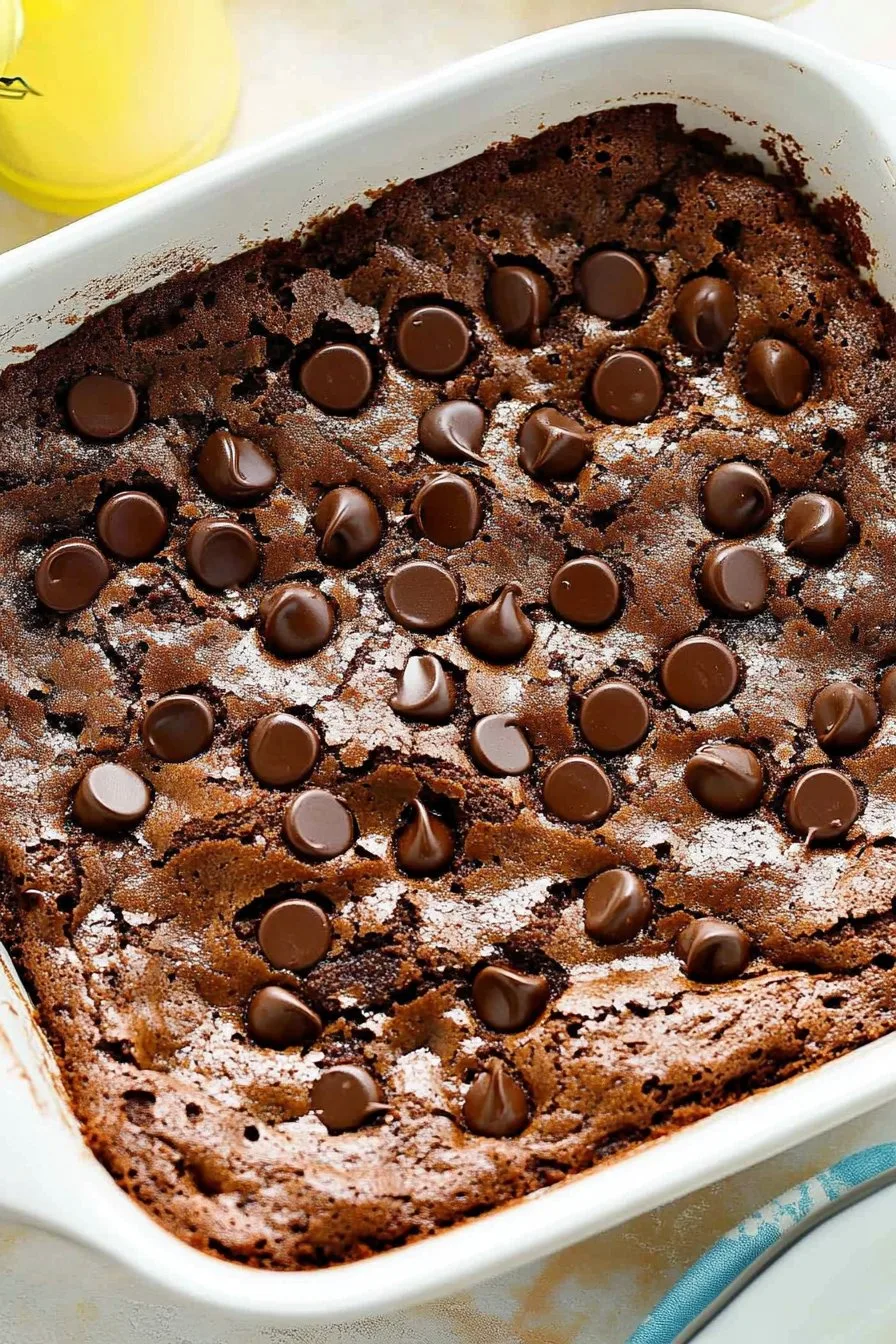
Hey there! So, let me tell you about this Chocolate Dump Cake that’s practically become a family legend in my house. I first stumbled upon this recipe when my kids were begging for something sweet, but I was fresh out of energy (and patience). It’s one of those recipes that feels like it was made for people like me, who occasionally forget they have something in the oven. There’s something about just tossing ingredients into a pan that feels rebellious – in a good way!
Why You’ll Love This Cake
I make this when I need a quick dessert that doesn’t involve fancy techniques or, honestly, much thinking at all. My family goes crazy for it, especially when I’m running short on time but still want to impress (or at least look like I tried). Plus, there’s something oddly satisfying about not following the usual baking rules. Who knew chaos could taste so good?
What You’ll Need
- 1 box of chocolate cake mix (I’ve used different brands – they all work fine)
- 1 can of cherry pie filling (or swap for raspberry if you’re feeling wild)
- 1 can of crushed pineapple, undrained (my grandma swears by the brand she used, but honestly, pineapple is pineapple, right?)
- 1 cup of chopped nuts (optional, but gives a nice crunch)
- 1/2 cup butter, melted (some folks use margarine – no judgment here)
How to Make It
- Preheat your oven to 350°F (or just wing it if your oven is like mine and seems to have a mind of its own).
- In a 9×13 inch pan, dump the cherry pie filling and crushed pineapple. Some folks mix them, but I like to let them mingle on their own.
- Sprinkle the dry cake mix over the fruit. It might look a bit weird at this stage – don’t sweat it. It’s all going to come together.
- Pour that melted butter over everything. I usually sneak a taste here because why not?
- Top with nuts if you’re using them (or not, if you’re already nuts like me).
- Bake for about 50 minutes or until the top is golden brown and bubbly. I personally don’t time it too strictly – I just go by the smell wafting through the house.
My Baking Notes
I’ve found through trial and error (and maybe a few burnt edges) that this cake does better if you don’t stir everything together. Trust me, I’ve tried. Also, be careful with the butter – too much and you might end up with a soggy bottom (and not the kind that wins baking shows).
Tweaks and Experiments
Once, I tried using apple pie filling instead of cherry – not my best moment. However, adding a sprinkle of cinnamon to the mix? That was a happy little accident.
Stuff You Might Need
If you don’t have a 9×13 pan, you can probably use something similar. I once used a roasting pan in a pinch – it was a bit unconventional, but it worked!
Storage Tips
Store any leftovers in the fridge (like they’ll last that long). I think it tastes even better the next day – if you can believe it. But honestly, in my house, it never lasts more than a day!
Serving Ideas
I like to serve this cake warm with a scoop of vanilla ice cream, but my kids prefer it with whipped cream. It’s a matter of personal taste – no wrong choices here!
Lessons Learned
Don’t rush the melting butter step. I once tried to speed it up in the microwave and got a small butter explosion instead. Patience pays off!
Questions I Get Asked
Can I use fresh fruit instead of canned? Well, you could, but I’ve never tried it. Canned is just easier for this recipe.
Is this cake gluten-free? Not unless you find a gluten-free cake mix, which I’ve seen around, but I haven’t tested myself.
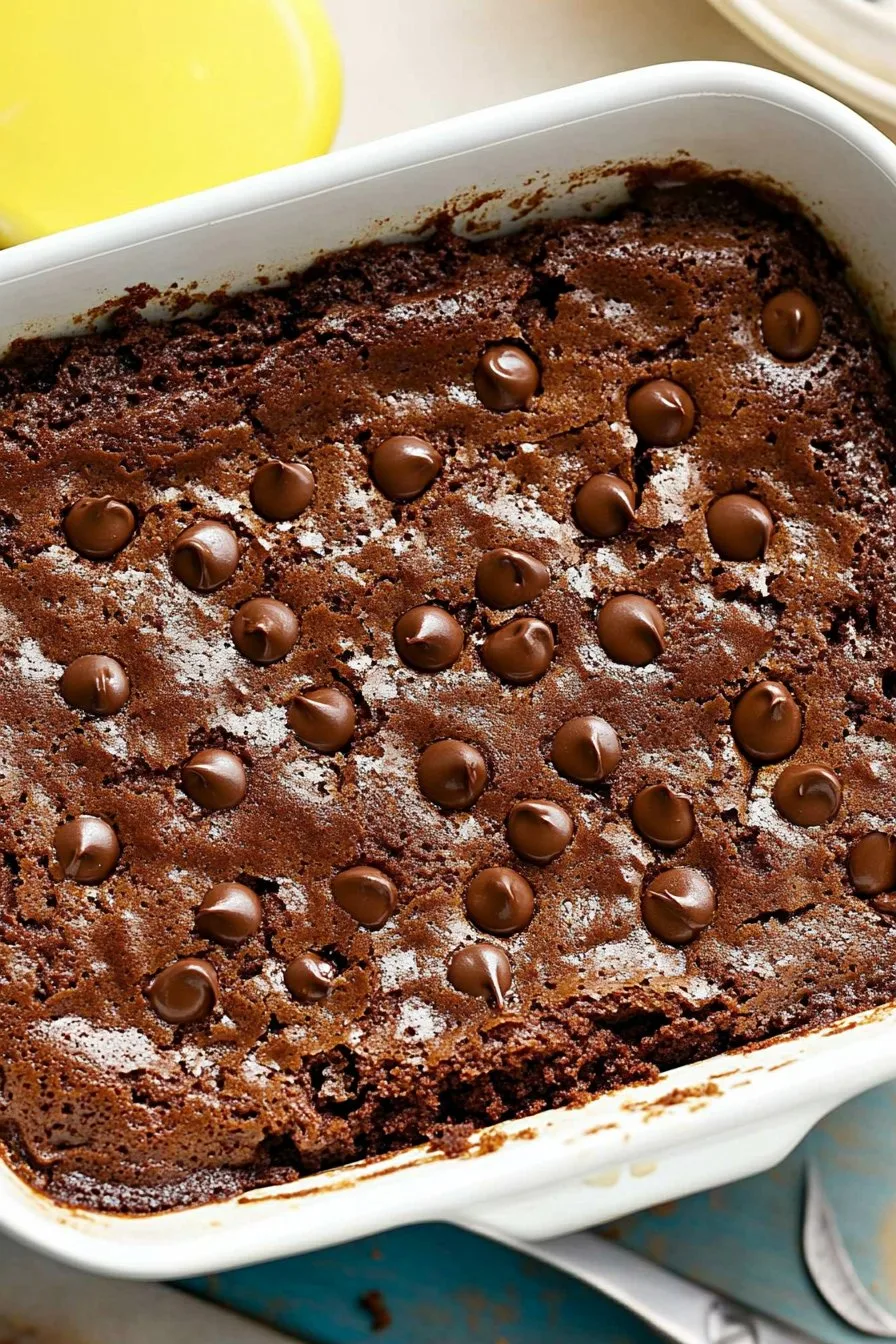
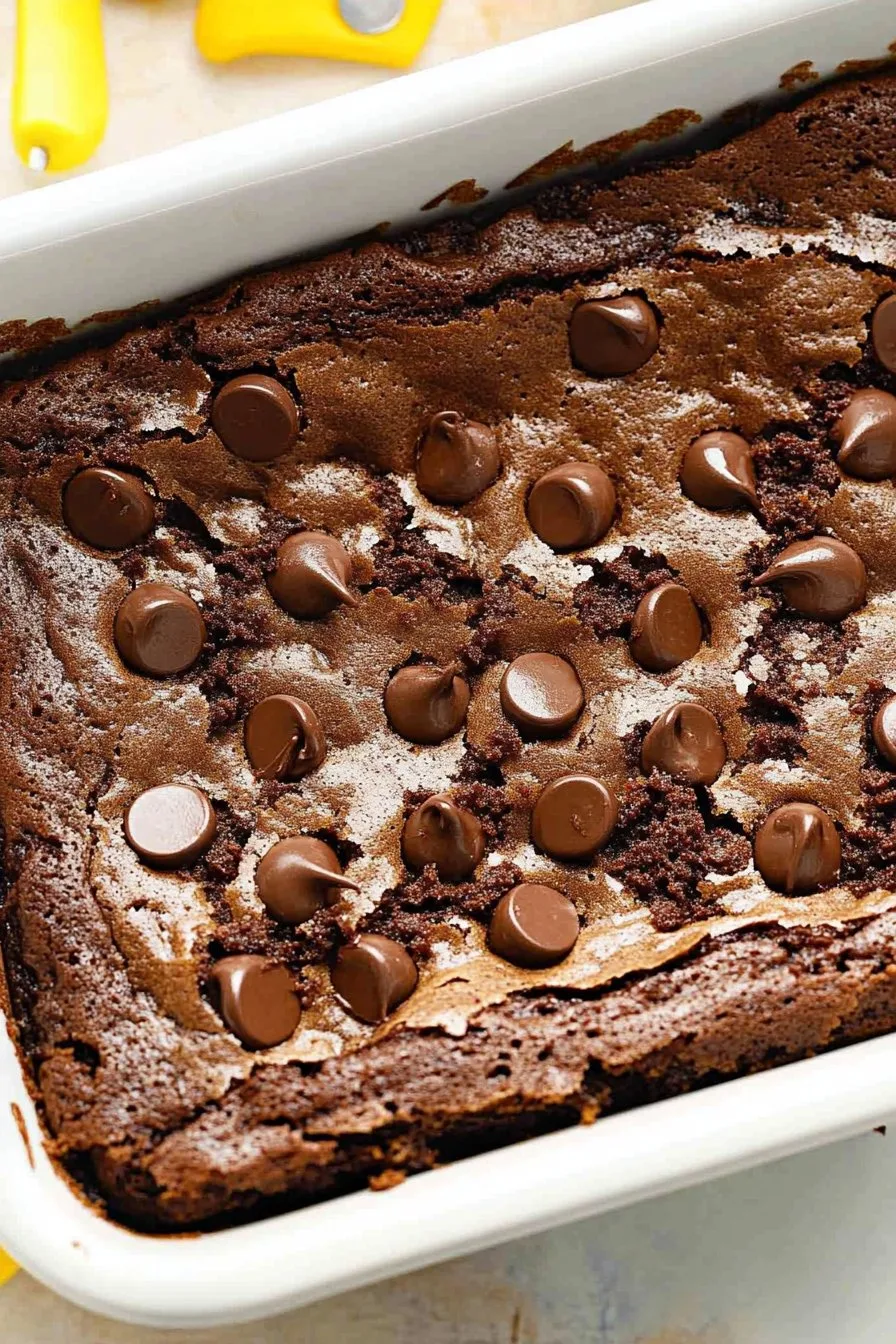
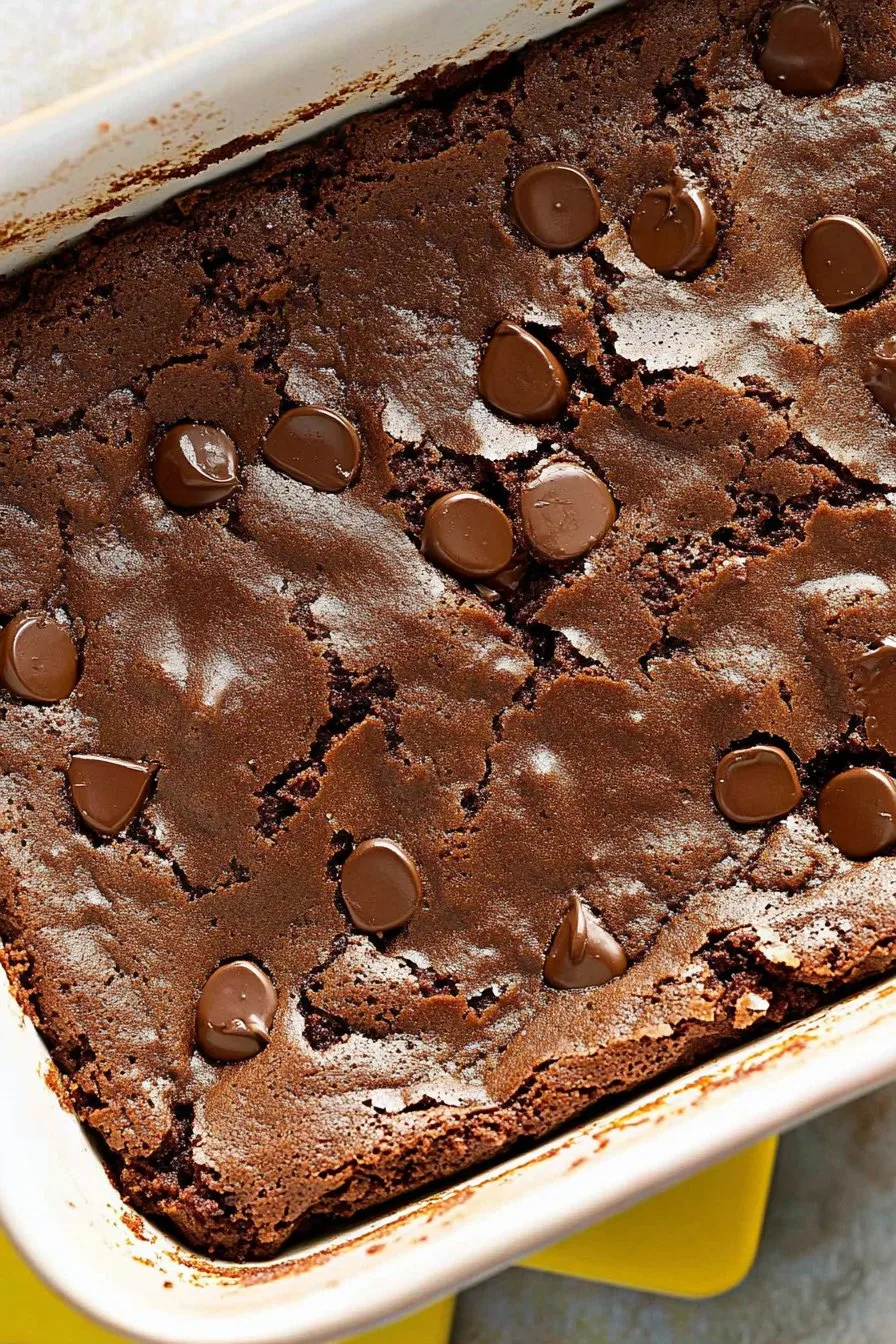
Can I add chocolate chips? Absolutely, why not? I mean, who doesn’t love a little extra chocolate?