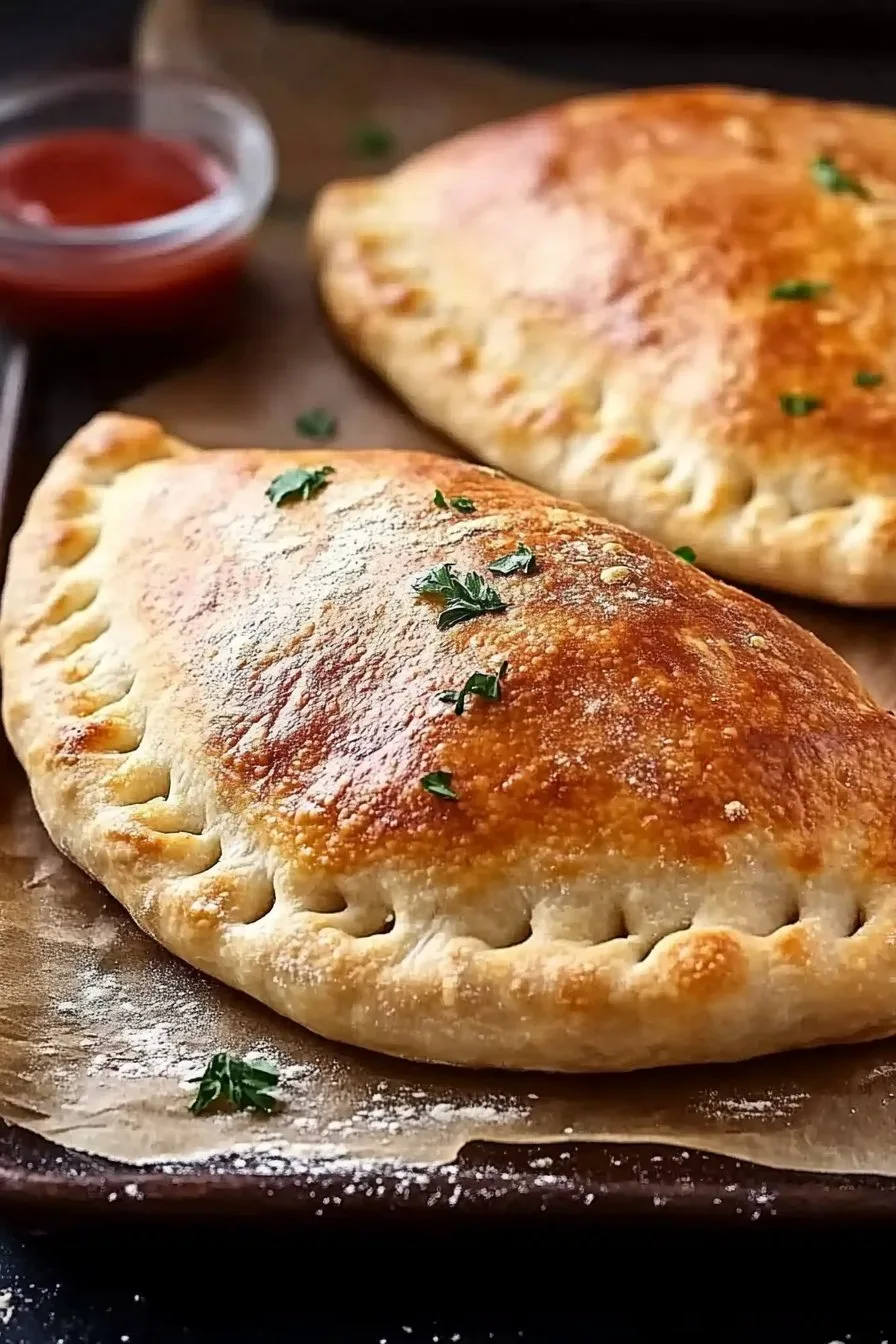
The Joy of Making Calzones at Home
Hey there! So, calzones—those deliciously stuffed, warm pockets of happiness—have a special place in my kitchen. The first time I tried making them, I was all thumbs, and the kitchen looked like a flour bomb went off. But hey, we live and learn, right? My kids still tell the story of the ‘Great Calzone Catastrophe’ with glee! But honestly, once you get the hang of it, you’ll be folding these up like a pro, maybe even with a glass of wine in hand.
Why You’ll Love This Recipe
I make this when I need a little taste of Italy at home, without shelling out for takeout. My family goes crazy for this because it’s like having their own personal pizza pocket (and who doesn’t love that?). Plus, it’s a great way to use up those odds and ends in the fridge. Oh, and if you’re ever frustrated with dough sticking to everything, I’ve been there—but a little extra flour goes a long way!
What’s In It: The Ingredients
- Pizza dough – Store-bought is a lifesaver, but if you’re feeling ambitious, making your own is fun.
- Tomato sauce – Any jarred sauce works; my grandmother always insisted on homemade, but let’s be real, not every day is a Sunday.
- Mozzarella cheese – Shredded or sliced. I sometimes grab whatever cheese I have lurking in the fridge.
- Ham or salami – Or skip it for a veggie version.
- Optional fillings – Bell peppers, mushrooms, olives—you do you!

How to Get It Done: Directions
- Preheat your oven to 400°F. This is where I usually realize I forgot to take the tray out of the oven from last time—I’m not alone, right?
- Roll out the dough. Aim for a circle, but any shape that kind of resembles a circle will do. If it’s sticking, just sprinkle a bit of flour.
- Spread the sauce over one half of the dough. Don’t go too crazy; leave some space at the edges for sealing!
- Layer on the cheese and fillings. And here’s where I sneak a taste—quality control and all that.
- Fold over the dough and seal the edges. It’s okay if it looks a bit wonky; it’s part of the charm.
- Transfer to a baking sheet. Use parchment paper if you have it. If not, give the tray a good greasing.
- Bake for 15-20 minutes. Keep an eye out—once the top is golden and the smell irresistible, you’re there.
Notes from My Kitchen
You know, I once skipped the step of sealing the edges properly, thinking it wasn’t a big deal. Let’s just say, cheese lava on the baking sheet is not fun to clean. So, pinch those edges tight!
Variations to Try
I once tried stuffing them with leftover spaghetti bolognese—not my finest hour. But spinach and feta? Winner! Feel free to get creative with whatever you’ve got.
What if I Don’t Have a Pizza Stone?
No worries! Just use a regular baking sheet. That’s what I do most of the time, and it works like a charm.

How to Store Your Creations
These beauties can be stored in the fridge for a couple of days. Although, honestly, in my house, they rarely make it past dinner time! Just reheat them in the oven to retain that crispy goodness.
When It Comes to Serving
I love serving these with a simple green salad or some roasted veggies on the side. On lazy weekends, we dip them in extra marinara sauce—it’s a hit!
Pro Tips from My Calzone Chronicles
I once tried rushing through the sealing step and ended up with a calzone that resembled an abstract art piece. Take your time here—it’s worth it!
FAQs—Your Questions, Answered!
Can I use whole wheat dough? Absolutely! It gives a nice, nutty flavor. But if you’re not a fan, stick with the classic.
Do I need to let the dough rise? If it’s fresh, yes. But if you’re using store-bought, it’s usually ready to go. Isn’t that handy?
Can they be frozen? Yep, just freeze them after baking and pop them in the oven when you’re ready to eat. So convenient for future cravings!