So, you know how some days you just wake up and want to bake something that’s basically a hug in cookie form? That’s how I landed on these BEST Sugar Cookies (Soft & Chewy Perfect Cookies). They’ve sort of been my go-to stress bake since I burnt my first batch in my tiny old flat. My sister still teases me about that time I just ate all the dough instead because I got too impatient to use the oven. And shockingly, the dough was fantastic—just, well, maybe don’t eat a whole bowl raw. You’ve been warned.

Why I keep coming back to these Cookies (even after burning a batch or two)
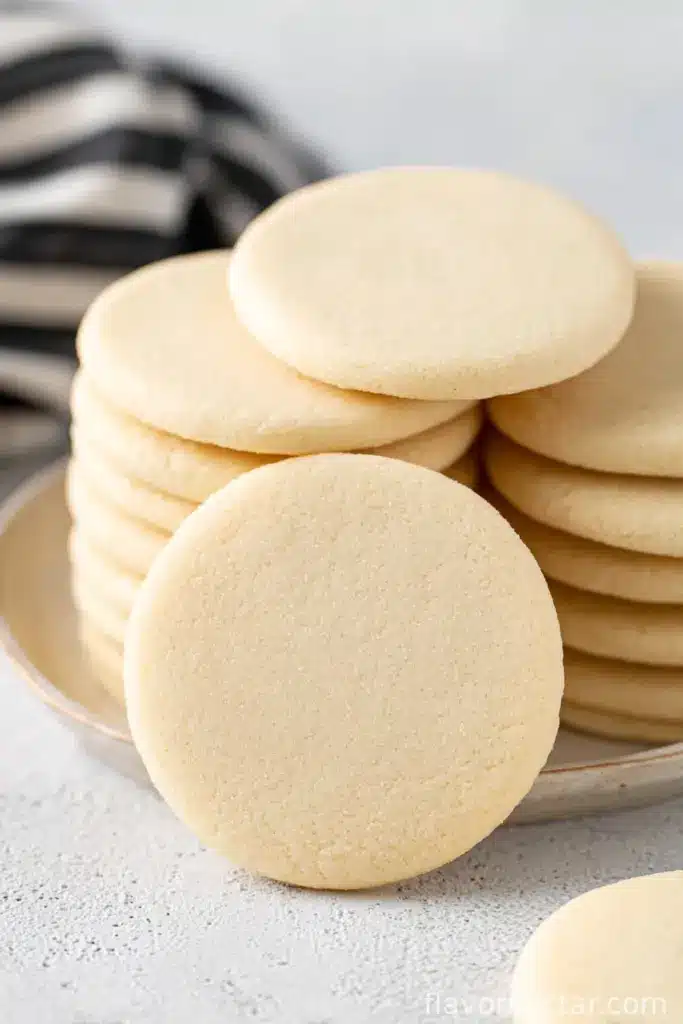
I make these every time there’s a birthday (or if I just want to fill the house with that cozy, vanilla-sugar smell that makes it feel like someone lit a candle, only tastier). My family goes wild for these—for reasons I still don’t fully grasp, since they’re so simple. Actually, my cousin once tried sneaking one before they’d even cooled properly, and it broke right in half because it was that soft. Who can blame her?
And if you’ve ever tried those rock-hard store cookies, you know the struggle. These are, hands down, better (and, okay, sometimes I’m too heavy-handed with the sprinkles, but no one minds). Plus, if you need an excuse to use up extra butter hiding out in your fridge—here you go.
What you’ll need to whip up the magic
- 2 and 3/4 cups (350g) all-purpose flour (I’ve used cake flour in a pinch; it makes ‘em even lighter. My grandma would insist on King Arthur, but store-brand’s never failed me)
- 1 teaspoon baking soda
- 1/2 teaspoon baking powder (I once forgot this. Don’t.)
- 1/2 teaspoon salt (sea salt if you’re feeling fancy—sometimes I use a generous pinch from the shaker)
- 1 cup (2 sticks or 227g) unsalted butter, softened (if I forget to take the butter out, I nuke it for maybe 12 seconds; don’t fully melt it though, lesson learned)
- 1 and 1/2 cups (300g) sugar (Honestly, I tried brown sugar—too chewy, but edible!)
- 1 large egg (room temp if you remember. I rarely do. Just let it sit a bit or run it under warm water for a minute; not rocket science)
- 2 teaspoons vanilla extract (Sometimes I’m heavy-handed with this. I swear no cookie regrets.)
- Optional: Extra sugar for rolling, colored sprinkles, or sanding sugar for a bit of razzle-dazzle (If you’re feeling British, call it a fairy cookie. My little nephew does!)
How it all comes together (not rocket science, promise)
- Preheat your oven to 350°F (180°C). Line baking sheets with parchment if you have it (greasing’s fine though—done that a dozen times). I sometimes forget and just slap the dough right on. So far, we’re all alive.
- Mix the dry stuff: In a big-ish bowl, blend the flour, baking soda, baking powder, and salt. Nothing fancy; I use a fork when I can’t find my whisk. Little lumps are okay, they’ll figure themselves out.
- Go on, cream the butter and sugar: With a mixer (stand or hand, or just a good ol’ wooden spoon if you’re in a rustic mood), beat the butter and sugar until kind of fluffy—like you could nap on it, but maybe don’t. If you want to sneak a taste now, you’re not the only one.
- Add the egg and vanilla. Mix until it looks smooth, but if it looks a bit split or weird—don’t panic. It comes together once the flour joins the party. Trust me, I’ve been there.
- Gradually add the dry ingredients in—maybe in three goes—mixing gently until it looks like a sunshine-colored cloud of dough. Don’t overdo it or it’ll go tough. (This is the bit where I sometimes get bored and eat a chunk of dough. Oops.)
- Pull golf ball-sized lumps of dough (or bigger—no judgments), and roll in the extra sugar if you fancy that crispy outside. Space them out on the tray. They spread like they’ve got somewhere to be.
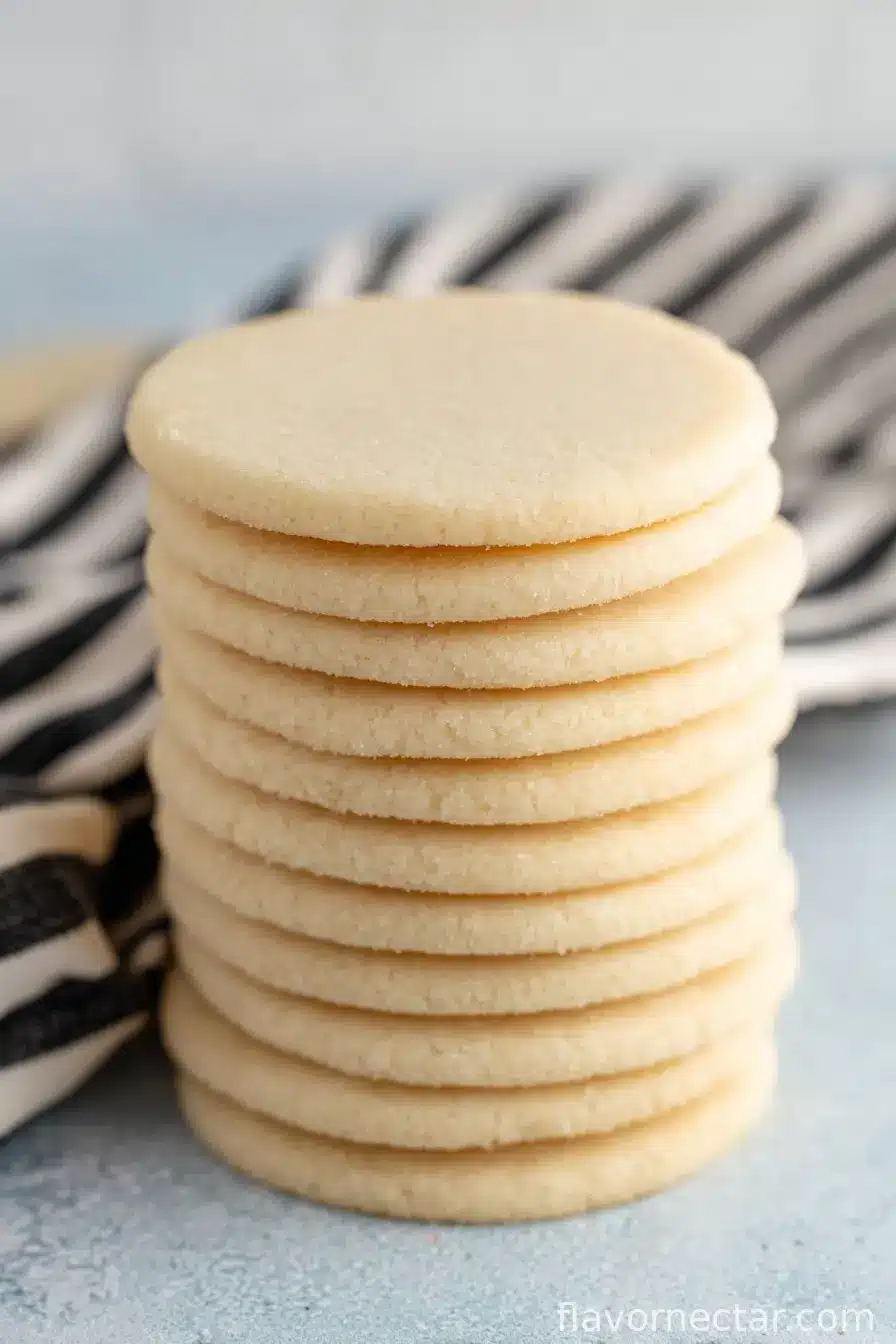
- Bake for about 8-10 minutes. They’ll look puffy and very very pale in the middle, just barely touched by gold on the edges. Take them out—they’re soft. They will finish cooking as they cool, so don’t second-guess yourself and bake longer… trust me, I learned the hard way.
- Let the cookies sit on the tray for 5 minutes (I always fail at this—usually steal one immediately and it crumbles, but, delicious crumbles).
- Transfer gently to a wire rack, or a plate with maybe a napkin underneath. Admire them as long as you can resist eating them.
My honest “what I wish someone told me” notes
- The softer your butter, the easier the creaming—if it’s too cold, your mixer will try to stage a walkout (mine once nearly did).
- Kinda dry dough? Splash in a tablespoon of milk—not too much! Too wet? Add a tiny bit more flour, but go slow.
- On second thought, don’t skip the sugar rolling step. It’s 45 seconds of effort and makes a world of difference.
- If your cookies are spreading too much, put the dough in the fridge for 15 minutes before baking. Or just embrace chunky cookies. Your call.
Experiments and misadventures (cookie confessions)
Once I tried these with lemon zest and everyone loved the brightness. Almond extract? Eh, just a tad; otherwise, it tastes funky. Tried peanut butter once and, well, it was interesting but not exactly a sugar cookie anymore—my mates were not impressed. If you want a chocolate-y spin, throw in a few handfuls of mini chips… though purists might shake their heads.
What if you’re missing some tools?
I do love my stand mixer, but I’ve made these with a good wooden spoon when the power went out (true story—felt like Laura Ingalls). Wire rack is nice, but a chopping board with some paper towels underneath is honestly just fine. You don’t need anything snazzy to have good cookies. No cookie scoop? Honestly, two spoons and your hands are high-tech enough.
How to store (not that they ever last)
Supposedly they’ll keep 3-4 days in an airtight tin or box, but in my house they’re lucky to see sunrise. If you want to freeze the dough, go for it—just let it defrost a bit before baking. Sometimes I think the cookies taste even better the next day, firmer edges, still soft inside. Mind you, storing them with a slice of bread keeps them extra chewy. Weird trick, I know, but it really does work.
How we love eating them (traditions and oddities)
These cookies make it onto every holiday plate, but honestly, they’re my favorite dunked in a mug of milky tea (is it weird to dunk cookies in tea? Oh well, I do it anyway.) My cousin’s kids use them as birthday cake toppers. Once, we made sandwich cookies with strawberry jam and it was surprisingly great.
Things I learned the messy way
- I once rushed the cooling step and got a tray full of delicious mush. Be patient for 5 minutes. That’s it.
- If you pack the flour too hard when measuring, you’ll get tough cookies. Fluff it up with a fork, scoop, and level off with a knife.
- Never underestimate the power of real vanilla. The imitation stuff works, but the depth from the real deal—game changer!
- Baking time is everything. Keep them slightly pale—8, maybe 9 minutes tops. They keep cooking after you take them out, even if it looks like they need more time.
Questions people actually ask me (and my best guesses)
- Do I have to chill the dough?
- Nah, not unless your kitchen’s a sauna or the dough is really soft. Sometimes I do, sometimes I don’t. Don’t overthink it.
- Can I use self-raising flour if that’s all I’ve got?
- Yeah, but skip the baking powder and salt. Might puff a tad more, but it’ll do in a jam—no drama.
- Butter vs. margarine—does it matter?
- Butter is best (flavor just wins), but in a pinch, margarine will work. The cookies might be a touch softer and, let’s be honest, you might notice a hint less flavor, but the world won’t end.
- Can I halve or double the recipe?
- Of course! Just eyeball the eggs (half an egg is weird, but I beat it and use “about half”—close enough). Big batch = more cookies, more happiness.
So there we go—a warts-and-all guide to the best (in my humble opinion) Sugar Cookies you’ll ever eat. Now, I’d say resist the urge to eat the raw dough, but who am I kidding? Enjoy, and if you drop a few crumbs on the floor, consider it good luck.
Ingredients
- 2 3/4 cups all-purpose flour
- 1 cup unsalted butter, softened
- 1 1/2 cups granulated sugar
- 1 large egg
- 2 teaspoons vanilla extract
- 1/2 teaspoon almond extract
- 1/2 teaspoon baking powder
- 1/2 teaspoon salt
Instructions
-
1Preheat oven to 350°F (175°C) and line baking sheets with parchment paper.
-
2In a large bowl, cream together the softened butter and granulated sugar until light and fluffy.
-
3Beat in the egg, vanilla extract, and almond extract until well combined.
-
4In a separate bowl, whisk together the flour, baking powder, and salt. Gradually add to the wet ingredients, mixing until a soft dough forms.
-
5Scoop dough by rounded tablespoons, roll into balls, and place on the prepared baking sheets. Flatten gently with your palm or the bottom of a glass.
-
6Bake for 8-10 minutes, or until the edges are just set and the centers look slightly underbaked. Cool on the baking sheets for 5 minutes, then transfer to a wire rack to cool completely.
CLICK FOR NUTRITION INFO
↑
Approximate Information for One Serving
Serving Size:
1 serving
Calories:
120 caloriescal
Protein:
1gg
Fat:
5gg
Saturated Fat:
0g
Trans Fat:
0g
Cholesterol:
0mg
Sodium:
0mg
Potassium:
0mg
Total Carbs:
17gg
Fiber:
0g
Sugar:
0g
Net Carbs:
0g
Vitamin A:
0
Vitamin C:
0mg
Calcium:
0mg
Iron:
0mg
Nutrition Disclaimers
Number of total servings shown is approximate. Actual number of servings will depend on your preferred portion sizes.
Nutritional values shown are general guidelines and reflect information for 1 serving using the ingredients listed, not including any optional ingredients. Actual macros may vary slightly depending on specific brands and types of ingredients used.
To determine the weight of one serving, prepare the recipe as instructed. Weigh the finished recipe, then divide the weight of the finished recipe (not including the weight of the container the food is in) by the desired number of servings. Result will be the weight of one serving.
Did you make this recipe?
Please consider Pinning it!!