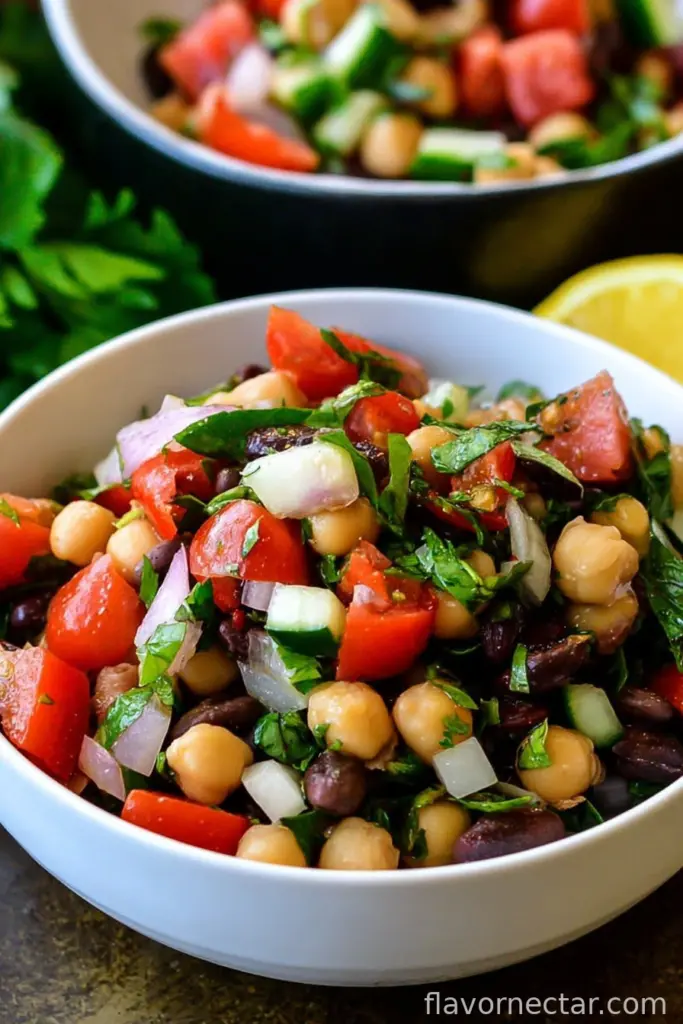
Hello, Let Me Tell You About Balela Salad (and Why My Socks Are Always Missing)
I have to admit, the first time I threw together a Balela Salad wasn’t exactly out of culinary ambition but more like accidental genius — I was late for a potluck (not my finest moment) and just grabbed what was in the pantry and fridge. Chickpeas, black beans, tomatoes, lemon, a couple greens… It’s honestly a Salad that forgives you for forgetting your shopping list. Incidentally, I also misplaced one of my socks that morning, so make of that what you will. But that day I discovered that Balela is basically summer in a bowl, every time. My family still teases me about my “oops” Salad that stole the show.

Why I Kinda Love Making This Salad (Even When I’m Tired)
I make this when I’ve got, like, three brain cells left after work but we still want to eat something fresh. Or when my kids are whining about “another boring dinner” (which is like, every Tuesday, apparently?). It’s a vegetarian dish so it feels wholesome, but nobody complains about the lack of bacon or whatever—shocking, honestly. And here’s the thing: my partner says the leftovers taste even better the next day, though I’ll be real, we don’t often have much left to prove that theory. Oh, and if you need something quick for a summer BBQ or a potluck, boom—this is it. No oven, no drama.
What Goes Into Balela Salad? (And Some of My Substitutions)
- 1 can (about 400g) chickpeas (aka garbanzo beans) – If I’m feeling energetic I’ll use cooked dried beans, but honestly, more often than not, it’s canned.
- 1 can black beans, drained and rinsed – Or kidney beans, which are what I grab when I accidentally bought the wrong can again.
- 1 big handful cherry tomatoes, chopped – Roma tomatoes work fine, or any tomato that refuses to get wrinkly in the fridge.
- 1/4 cup finely diced red onion – My grandmother always insisted on sweet onions but… nah, red’s what I usually have.
- 1/2 cup chopped fresh parsley – Flat-leaf, curly, whatever you’ve got.
- 1/3 cup chopped fresh mint leaves – Totally optional, and if you only have dried, use less (like a teaspoon or so).
- 1-2 cloves garlic, minced – I sometimes get lazy and use that pre-minced jar stuff, but don’t tell anybody.
- Zest and juice of 1 lemon – Lime works, in a pinch, but it does change the vibe a bit.
- 1/4 cup olive oil – You don’t need the fancy cold-pressed stuff… unless you want to show off or something.
- Salt and pepper to taste – Just keep that shaker handy.
- Optional extras: diced cucumber, bell pepper, a shake of cumin, little feta crumbs, whatever green bits you need to use up
Let’s Throw It Together (Actual Directions)
- Grab a big bowl. I always think I can get away with a medium one; learn from my messes – just use the big bowl.
- Dump in your chickpeas and black beans. It’s easier if you rinse and drain them first, trust me; bean juice all over the counter is not fun.
- Add your chopped tomatoes, onion, parsley, and mint. This is when it starts smelling fresh — and where I usually sneak a bite because, why not?
- Mince your garlic (or open your jar, wink) and toss it in with the zest and juice of the lemon. If you don’t have a zester, just peel off little strips and slice them thin-ish. Actually, sometimes I skip zest if I’m rushing.
- Drizzle in the olive oil and season with salt and pepper. I usually start with a tiny pinch and adjust later. You can always add, but can’t take away — story of my seasoning life.
- Mix everything up. Give it a solid stir (use your hands if that’s your thing – I won’t judge). Don’t worry if it looks slightly… chaotic. Somehow it sorts itself out after 5 minutes.
- Taste, then tweak. More lemon? Go for it. Needs zing? Sprinkle a little cumin. Or eh, just scarf it down.
- Let it sit for at least 15 minutes before serving – though if you’re running late like me, honestly, it’s still good straight away.
Some Notes I Learned by Trial (Mostly Error)
- Once I threw in too much mint, and it tasted like toothpaste. Less is more here, unless you’re obsessed with minty things.
- Chilling it for half an hour somehow brings it all together. But if you can’t wait, fair enough.
- The salad gets juicier as it sits, so mix before serving if it’s been in the fridge a while.
If You Want to Mix Things Up (Or Not…)
So, I once tried this with canned corn and, well, it wasn’t my greatest moment. A little feta on top is amazing though (salty and creamy – win-win). Sometimes I throw in leftover roasted veggies, which is a little weird, but it works as long as you don’t go overboard. And if you want more crunch, a handful of toasted pine nuts is pretty lush. Don’t ask me about the time I tossed in pickled jalapenos, though – spicy regret in action.
Do You Really Need Fancy Equipment? (Hint: Not Really)
You just need a bowl and something to stir with – a giant spoon or even your (clean) hands. No lemon squeezer? Use a fork or just your palm and squeeze like you mean it. If you’ve only got a dinner knife for the chopping, just take your time. I once used kitchen scissors to chop my herbs and surprisingly, it worked fine.
What About Leftovers? The Great Mystery
Stick any leftovers in an airtight box in the fridge. It’ll last two, maybe three days. Though honestly, in my house it never lasts a day – I tend to eat it straight from the fridge with a fork when no one’s looking. It can get a touch soggy but just stir and carry on. Sometimes the beans go a bit mushy after a couple of days though, so eat soonish if you like it snappy.
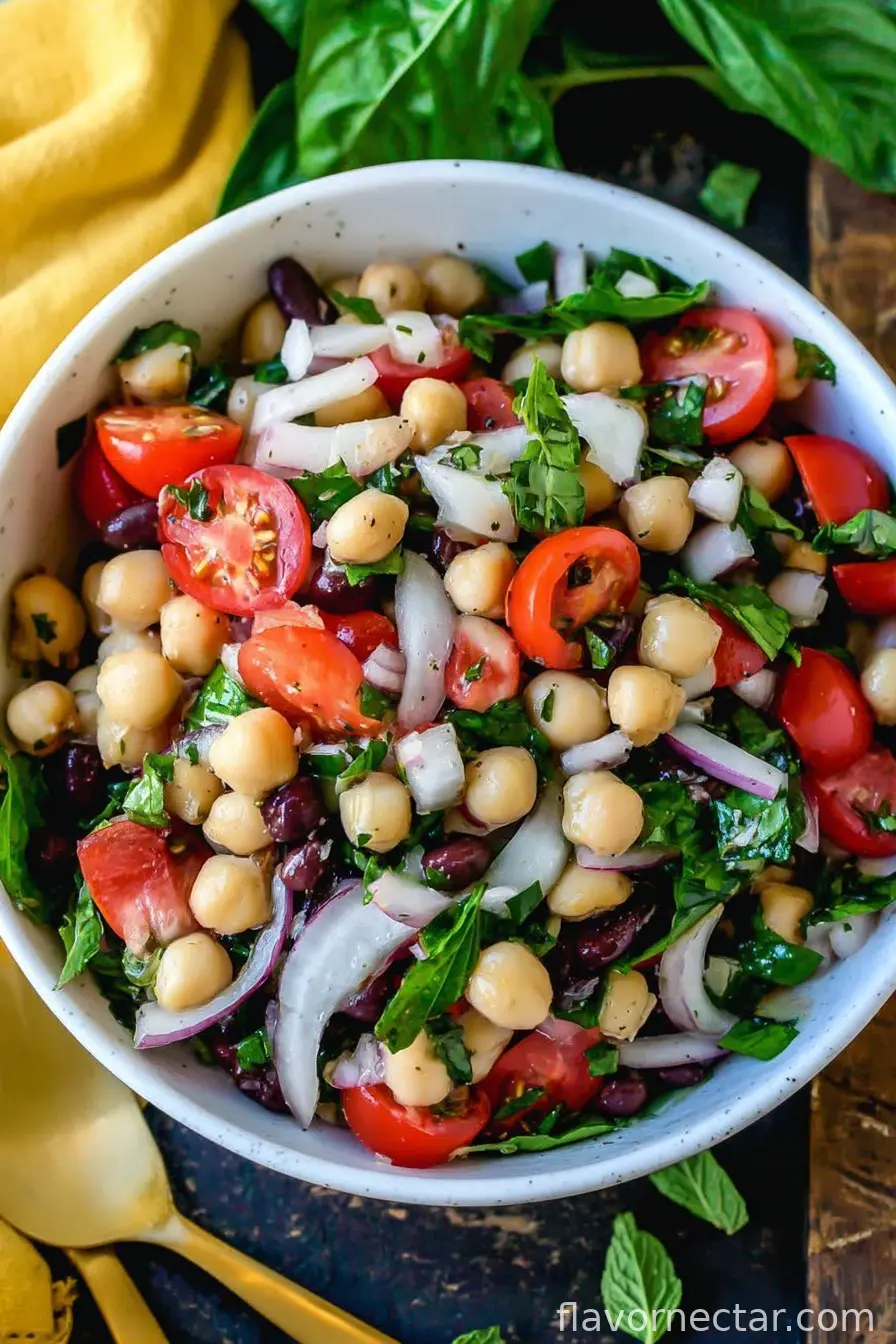
How I Like to Serve Balela (And How the Kids Actually Eat It)
Usually I throw it into a big serving bowl and let everyone help themselves. My kids scoop it onto tortilla chips like a chunky salsa – not traditional, but hey. Sometimes we stuff pitas with it and eat with crumbly cheese, or just pile it alongside grilled meat. I’ve eaten it for breakfast with fried eggs on top, too. Sundays are for breaking rules, right?
Stuff I Messed Up (and What You Probably Shouldn’t Skip)
- I rushed the marinating once and served it immediately — just meh. Take the extra 15 minutes if you can.
- Bought pre-chopped onions once, but they made it taste a bit weird. Fresh is worth it here. Actually, I find it works better if you soak chopped onion in a splash of lemon juice for a few minutes; takes the harsh edge off.
- Oh, and don’t forget to taste after mixing! I always think it’s seasoned, but I’m wrong like half the time…
FAQ (You’re Not the Only One Wondering!)
- Can I make this ahead? Yep! In fact, I think it tastes better the next day. Unless, you know, someone “accidentally” finishes it before then.
- What if I don’t like mint? Just skip it – or swap for basil or a touch more parsley. No big deal.
- Is Balela gluten-free? Sure is, unless you get wild with those pita chips.
- Can I use frozen beans? You can but you gotta cook them first (ask me how I know). They need to be tender before throwing ’em in the salad.
- Do I really need to chill it? I like it best that way, but sometimes I eat it while still warm. I mean, who’s going to stop me?
So there it is – my Balela Salad, full of flavor, a little bit of improv, and just the right amount of chaos. If you find my missing sock in your pantry, please let me know.
Ingredients
- 1 can (15 oz) chickpeas, drained and rinsed
- 1 can (15 oz) black beans, drained and rinsed
- 1 cup cherry tomatoes, halved
- 1/2 red onion, finely diced
- 1/2 cup fresh parsley, chopped
- 2 tablespoons fresh mint, chopped
- 1/4 cup extra-virgin olive oil
- 2 tablespoons fresh lemon juice
- 2 cloves garlic, minced
- Salt and pepper to taste
Instructions
-
1In a large bowl, combine the chickpeas, black beans, cherry tomatoes, red onion, parsley, and mint.
-
2In a small bowl, whisk together the olive oil, lemon juice, minced garlic, salt, and pepper.
-
3Pour the dressing over the bean mixture and toss well to combine.
-
4Let the salad sit for at least 10 minutes to allow flavors to meld.
-
5Serve chilled or at room temperature as a side or light main dish.
CLICK FOR NUTRITION INFO
↑
Approximate Information for One Serving
Serving Size:
1 serving
Calories:
290cal
Protein:
10 gg
Fat:
11 gg
Saturated Fat:
0g
Trans Fat:
0g
Cholesterol:
0mg
Sodium:
0mg
Potassium:
0mg
Total Carbs:
36 gg
Fiber:
0g
Sugar:
0g
Net Carbs:
0g
Vitamin A:
0
Vitamin C:
0mg
Calcium:
0mg
Iron:
0mg
Nutrition Disclaimers
Number of total servings shown is approximate. Actual number of servings will depend on your preferred portion sizes.
Nutritional values shown are general guidelines and reflect information for 1 serving using the ingredients listed, not including any optional ingredients. Actual macros may vary slightly depending on specific brands and types of ingredients used.
To determine the weight of one serving, prepare the recipe as instructed. Weigh the finished recipe, then divide the weight of the finished recipe (not including the weight of the container the food is in) by the desired number of servings. Result will be the weight of one serving.
Did you make this recipe?
Please consider Pinning it!!